When I visited my local Jo-Ann Fabrics store yesterday, my intent was to locate DK-weight yarn for a shawl I’d like to crochet for myself. Unfortunately, I couldn’t find a single skein, but fortunately, I passed the scrapbooking aisle where I couldn’t resist parting with some cash to purchase a Spellbinders flower-making die, specifically the Create a Sunflower Die D-Lite, released earlier this year. Jo-Ann’s just added these die templates that allow you to craft a paper flower, and they seem to be flying out of the store, based on all of the empty peg hooks I observed.
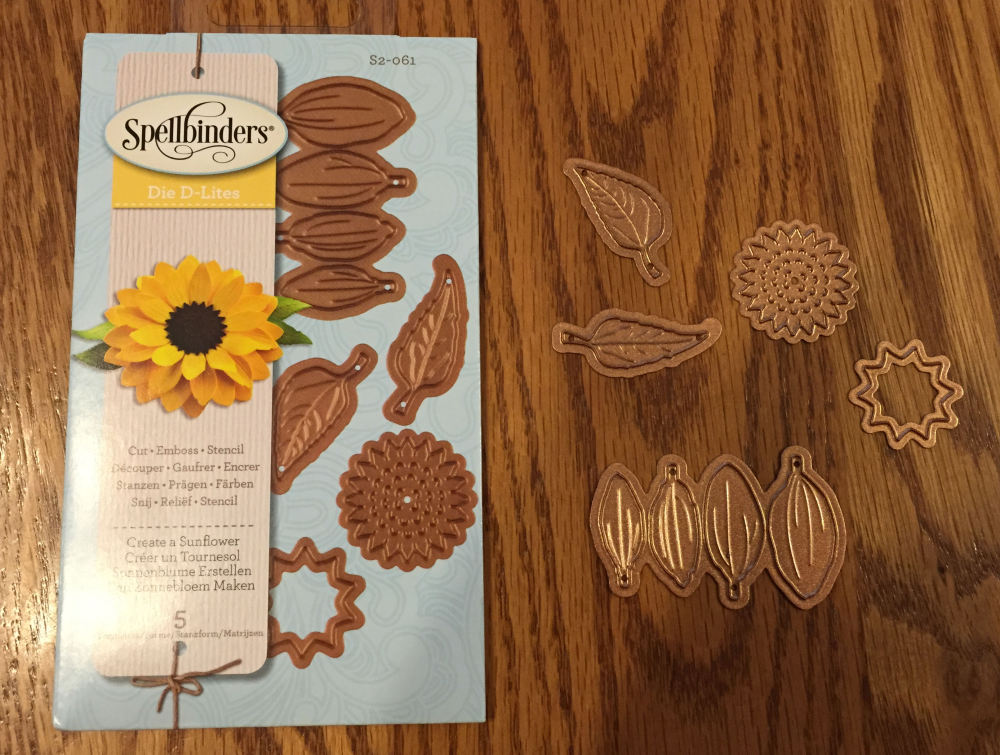
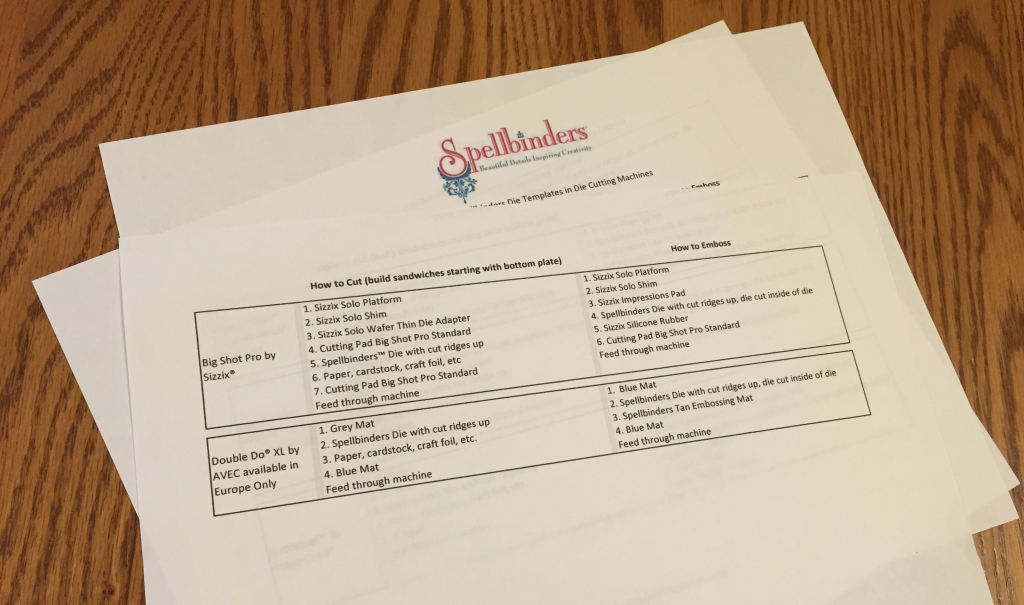
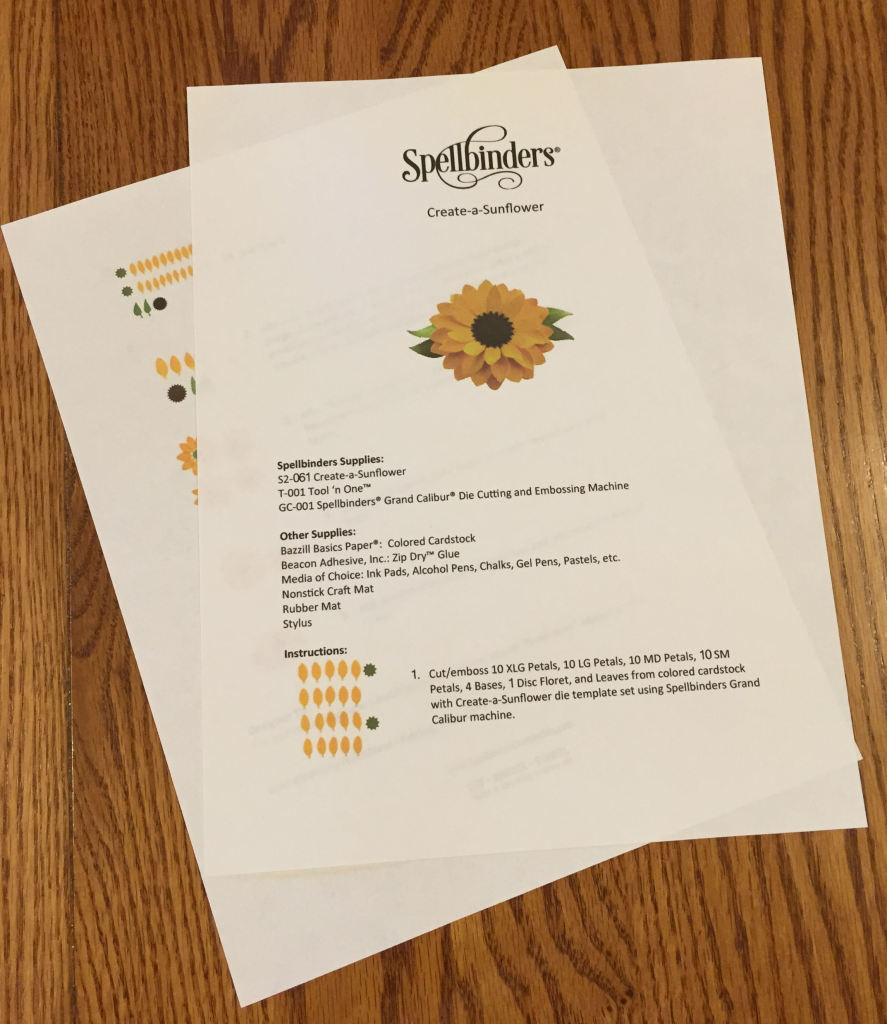
To use the die kit, you’ll need some kind of a die-cutting tool, whether that’s the Grand Calibur® by Spellbinders®, the Cuttlebugâ„¢ by Provo Craft®, the Big Shotâ„¢ by Sizzix®, or something else. Fortunately, Spellbinders provides a downloadable guide that tells you how to build a “sandwich” of parts and paper to run through your machine to cut or emboss the paper. If you click on the image below, you can download the guide.
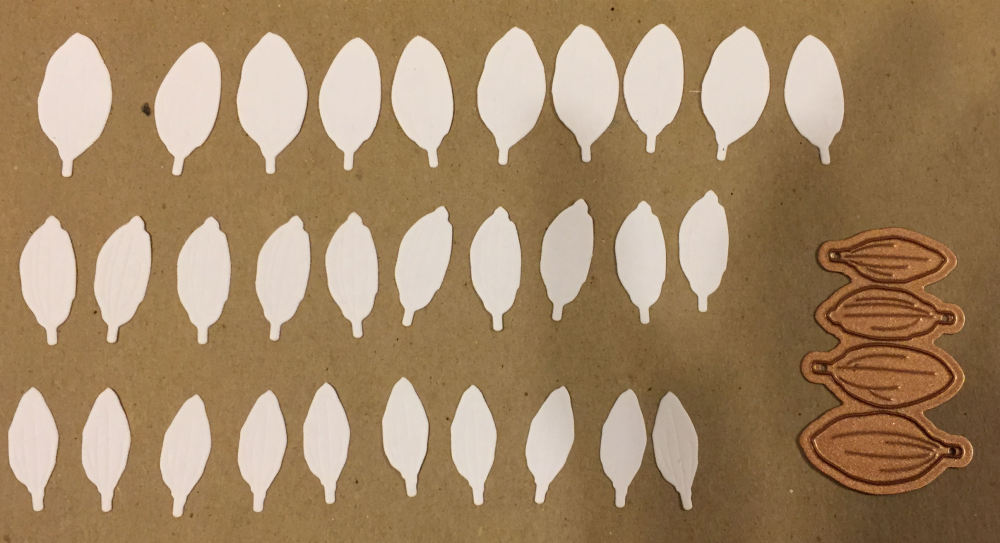
My own machine is a Big Shotâ„¢, so I followed the diagrams located beneath the flap of the die envelope: cut and emboss 10 extra large petals, 10 large petals, 10 medium-sized petals, and 10 small petals. This produces four layers of petals.

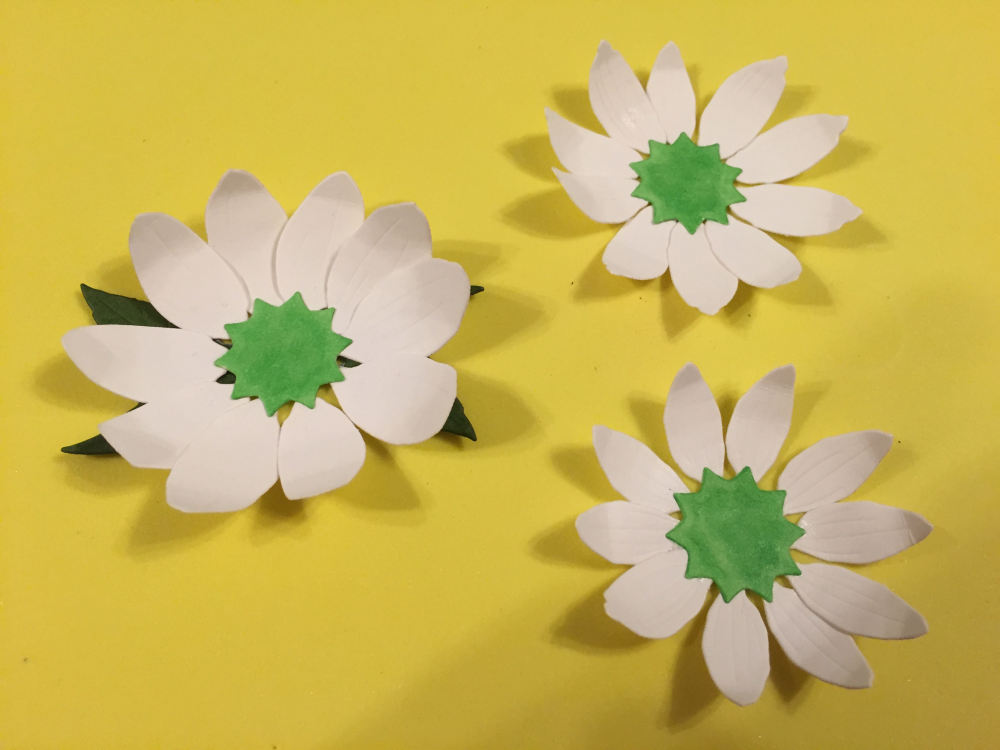
However, I diverged from the pattern almost immediately because I wanted to make a white Gerber daisy with three layers of petals instead of a sunflower with four layers. I determined the largest (and bottom) layer of petals would contain a combination of extra-large and large petals, the middle layer would contain middle-sized petals, and the top layer would contain small petals.
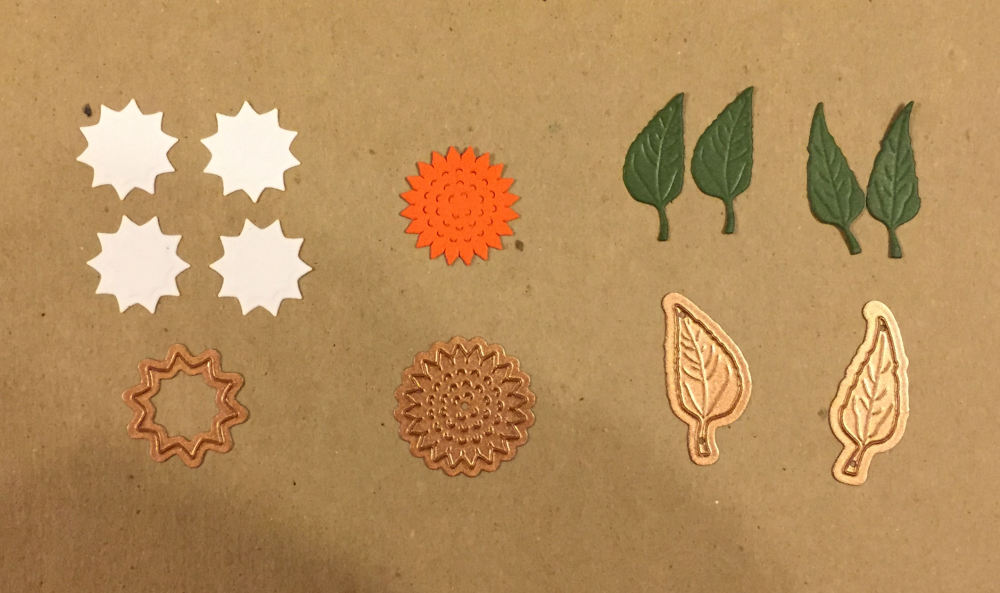
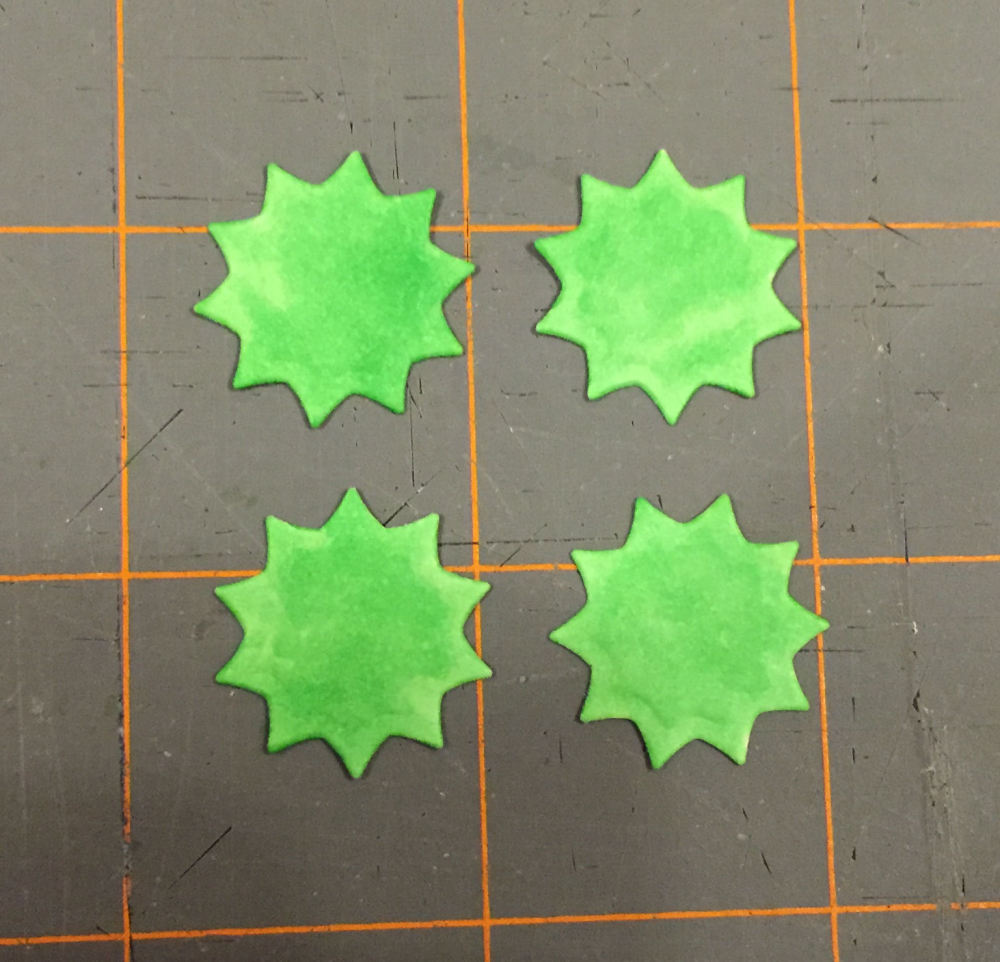
I then cut out 4 bases to which the petals are glued, 1 floret disc for the center of the flower, and 4 leaves. I figured I’d use the extra base for the bottom of the flower to help hold everything together.
The diagrams provided with the flower-making kit don’t provide assembly instructions, but you can download step-by-step instructions from the Spellbinders site, and modify things as you wish. Click on the image below to download the Create-a-Sunflower instructions.
I noticed that the flower bases in the instructions were green, but I had cut mine out in white because I didn’t have the right shade of green paper. Easy to fix! I simply colored the paper.
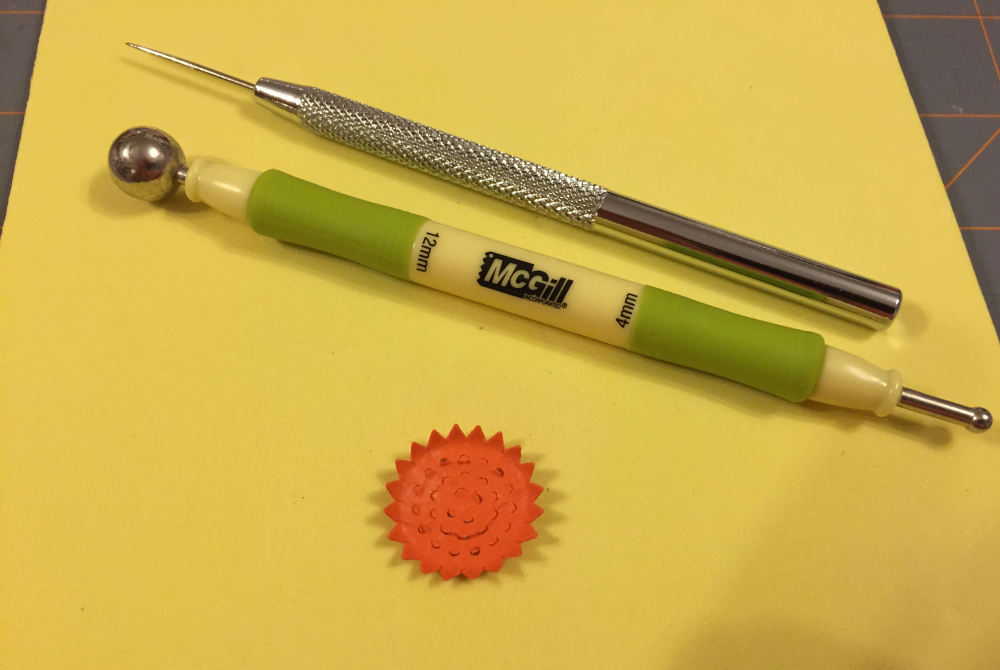
Next, I “rounded” the orange center of the flower using a McGill® stylus. I pierced the slits with a paper piercer to give the center some texture.
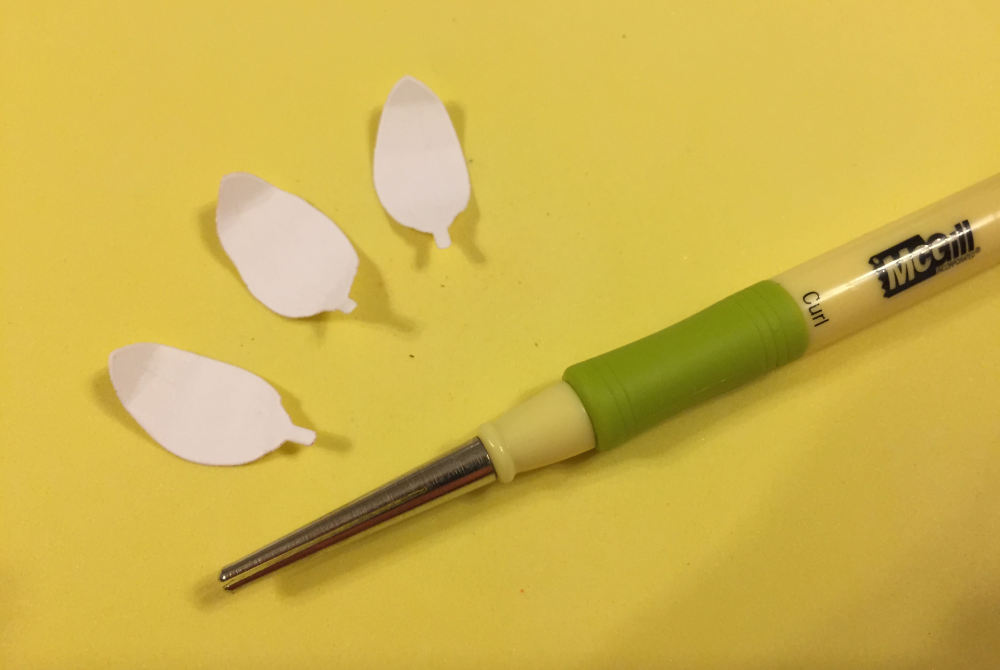
I curled each of the petals with a McGill® paper rolling tool, then dipped the stem of each petal in craft glue, and adhered it to a base.

I made three layers of flowers in graduated sizes, added leaves to the bottom of the largest layer, and adhered a base to the bottom of the flower to add strength to the fragile construction.

Then I stacked the flower layers, one inside the other, and adhered them to each other. I added the orange flower center, and thought I was done.
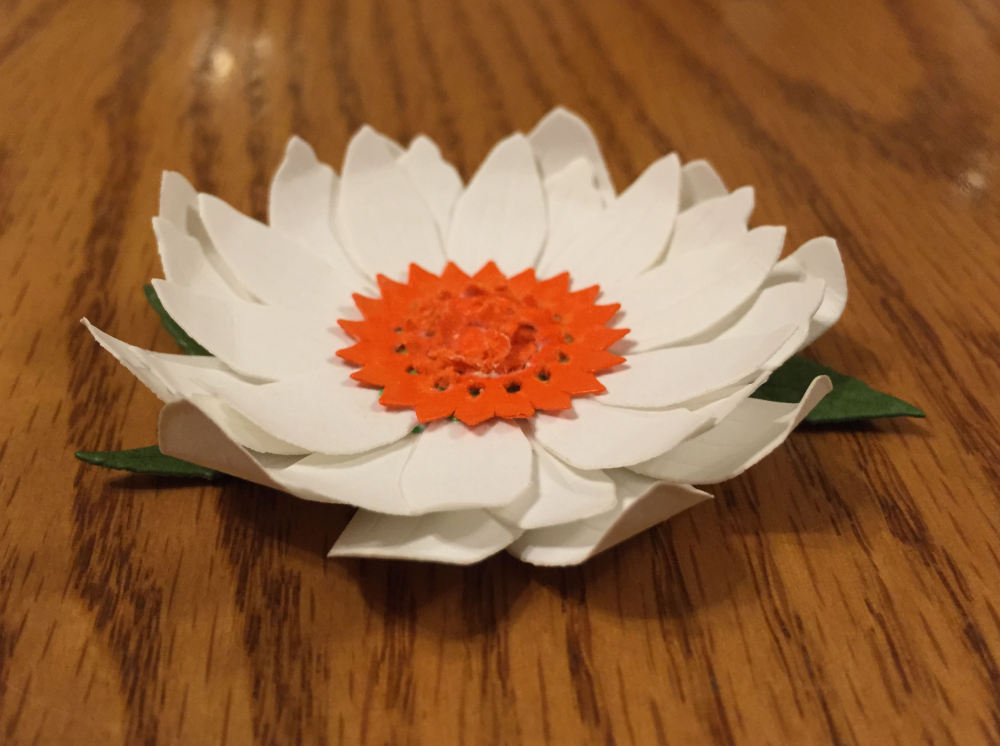
I decided to flatten the bottom layer of petals instead of having them curve up. Then I sprayed the flower with Tattered Angels Glimmer Mist in Pearl to add a little pizzazz. An added benefit was that after I dried the Glimmer Mist with a heat gun, the flower seemed to be sturdier. I’m not a chemist, but I would guess that there is an adhesive product in the liquid spray that contributes to this outcome. It also causes the paper to curl somewhat, which in this case is exactly what I want the petals to do.

And there you have it. I think I spent more time cutting out the parts of the flower and embossing them than I actually did for assembly. How can you use the flower? Decorate a scrapbook page, a gift package, a basket, or a wreath. Add a flower to wedding place cards, to a napkin ring, or simply scatter handmade flowers on a table cloth for a casual-but-sweet look. You could even glue paper flowers to a headband to dress it up, embellish a greeting card, or create a flower garland.
I used my sunflower die kit to make a Gerber daisy, but did I mention that I saw an empty peg hook for Create a Gerber Daisy dies? I have a feeling I’ll be visiting a different Jo-Ann Fabrics store soon to pick that one up. I’m not sure what the difference will be, but it probably doesn’t matter because I mix and match the parts of my flower-making die sets . . . and in the end they probably don’t resemble real flowers. My philosophy is that “anything goes” if it’s visually appealing!
© 2014 Judy Nolan. All rights reserved.
I can see that these must have taken quite a lot of time. But the end result is great! I love the addition of the Glimmer Mist!