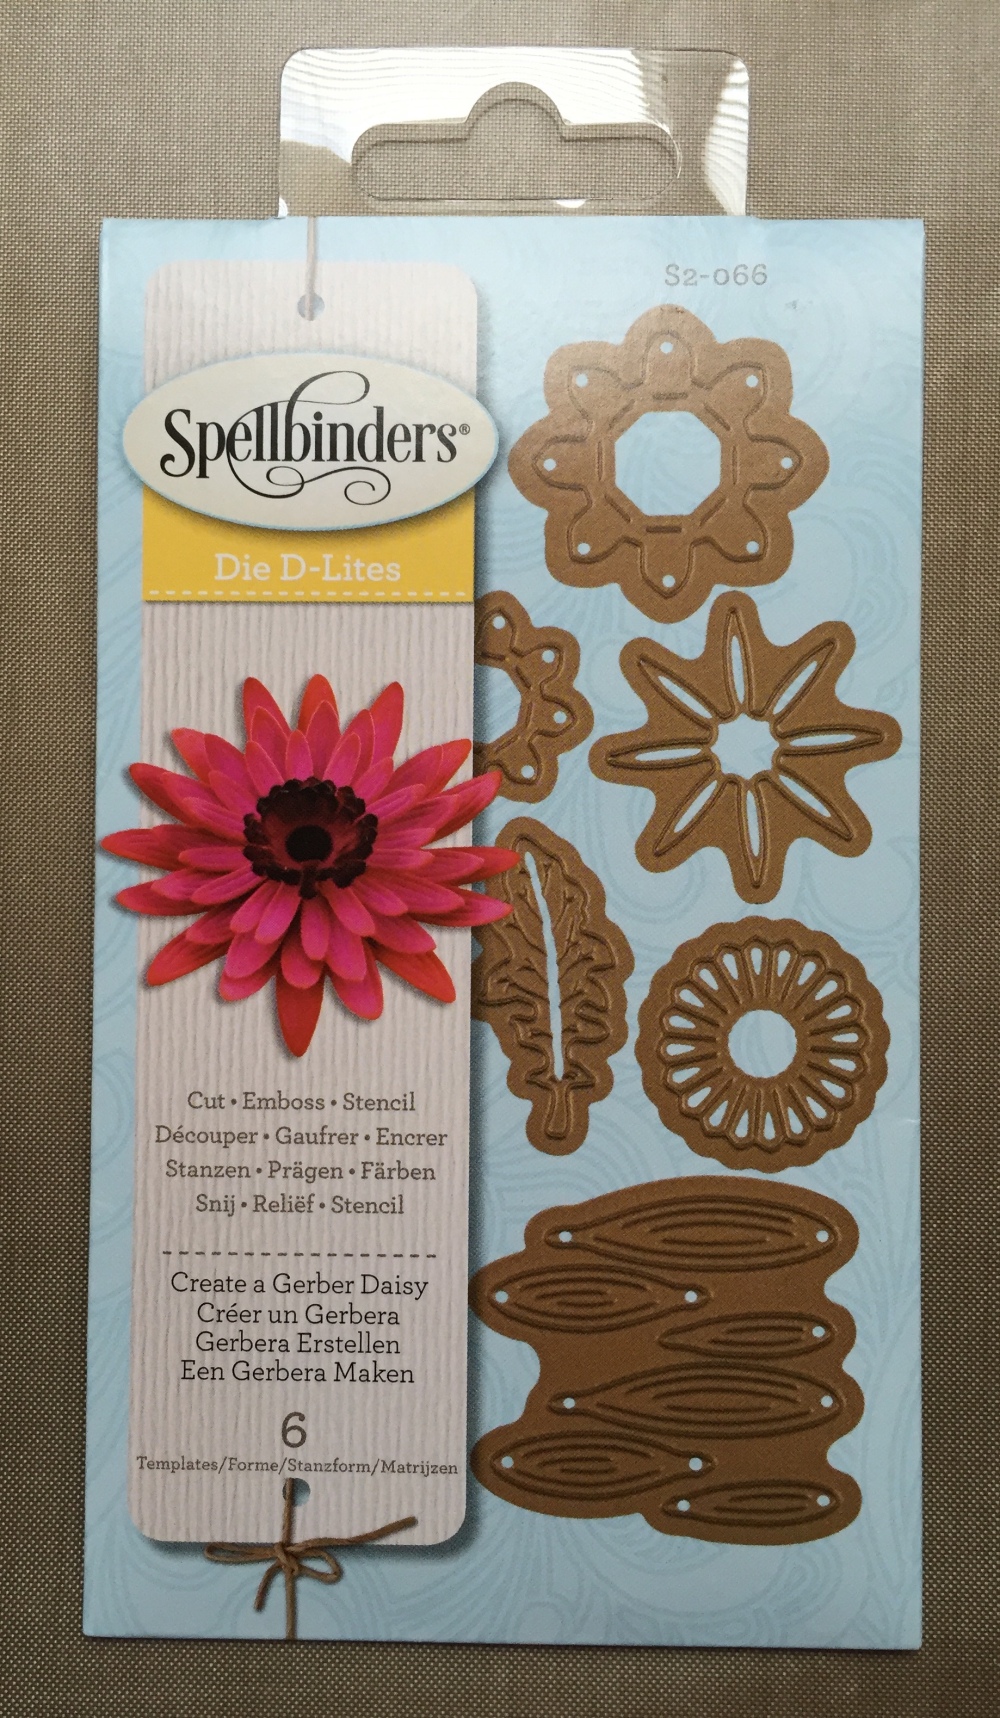
Yesterday I crafted my version of a Gerber daisy using the Spellbinders® Create a Sunflower Die D-Lite. Why a sunflower? Well, my local Jo-Ann Fabrics store ran out of the Gerber daisy dies, so I improvised. Today, however, I returned to Jo-Ann Fabrics—a different store—and picked up the appropriate die. I had wondered how different it is from the sunflower one, and it is definitely not the same, as you can see below.
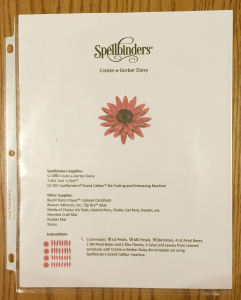
Although the envelope in which the die pieces are tucked comes with a diagram for flower assembly, you’ll want to download the PDF instructions because they fill in the blanks. Click on the photo below for the link.
I mentioned yesterday that I use my Big Shotâ„¢ to cut out the flower pieces and emboss them. Although the Spellbinders site does provide instructions for how to create a “sandwich” of parts and paper to accomplish these tasks, I ran across a video that shows an alternate method that is especially helpful if you don’t own all of the specialty accessories suggested in Spellbinder’s guide, “Using Spellbinders Die Templates in Die Cutting Machines.”
I’m not sure that Gerber daisies come in blue or lavender, but no matter. I have a book cover that needs a flower in those colors, so here we go: 16 large leaves, 16 medium leaves, 16 small leaves, 4 large petal bases, 2 small petal bases, 2 disc florets, 1 calyx, 5 leaves . . . and a partridge in a pear tree. Did I mention how tiny these little pieces are? I’m going to have to use tweezers to pick them up!

The paper I used is more of a perinwinkle blue, and I wanted a touch of lavender, so I added lavender with a colored pencil, and smudged the color a bit with a blending stump and Gamsol. If you’ve never heard of Gamsol, it is a 100% odorless mineral spirit. Some people say that baby oil works the same way. It probably does, but I happen to have some Gamsol on hand. I bought mine at Archivers before it closed its doors, but you can purchase supplies online from Inky Antics. My Gamsol came in a kit including a two-ounce bottle of Gamsol, blending stumps in sizes 2 and 4, instructions, and a sanding pad for cleaning up your blending stumps to prepare them for the next color. You can download a techniques tip sheet from Inky Antics that will tell you how to use Gamsol, but the video below provides visual instructions.
Here are my results, using Gamsol, a dark lavender-colored pencil, and a blending stump. I only colored some of the leaves. I like how the stems fit into slits in the petal base, by the way. It’s easy to space them equidistant from each other.
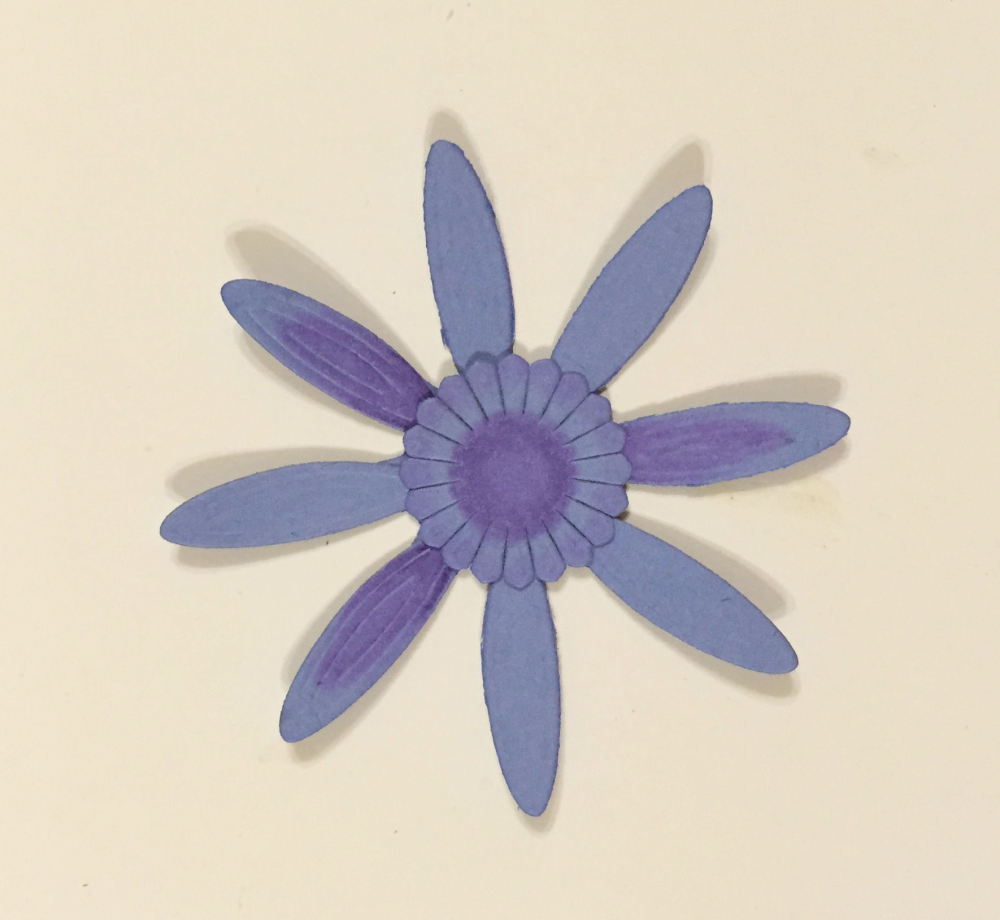
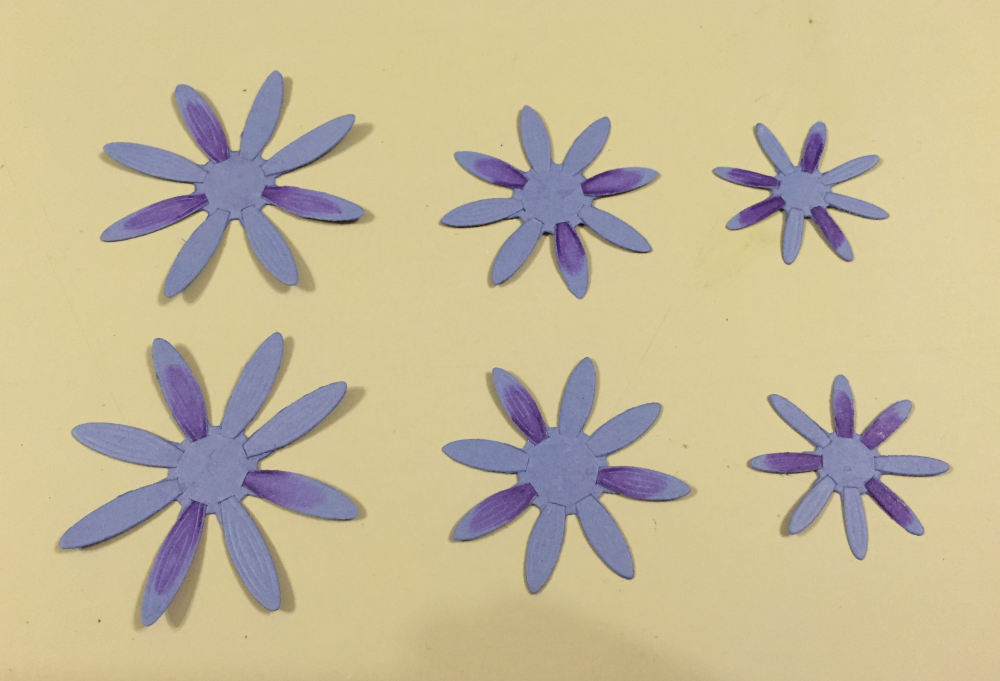
I colored several leaves for each of the six layers comprising the Gerber daisy, and glued the petals into place. This took quite a while because of how tiny the pieces are.
The next step was curling the petals, which I accomplished with my McGill paper curling tool. This is actually a two-ended tool with a slotted tip for anchoring paper and curling it around the rod, as shown, and a paper piercer on the other end.
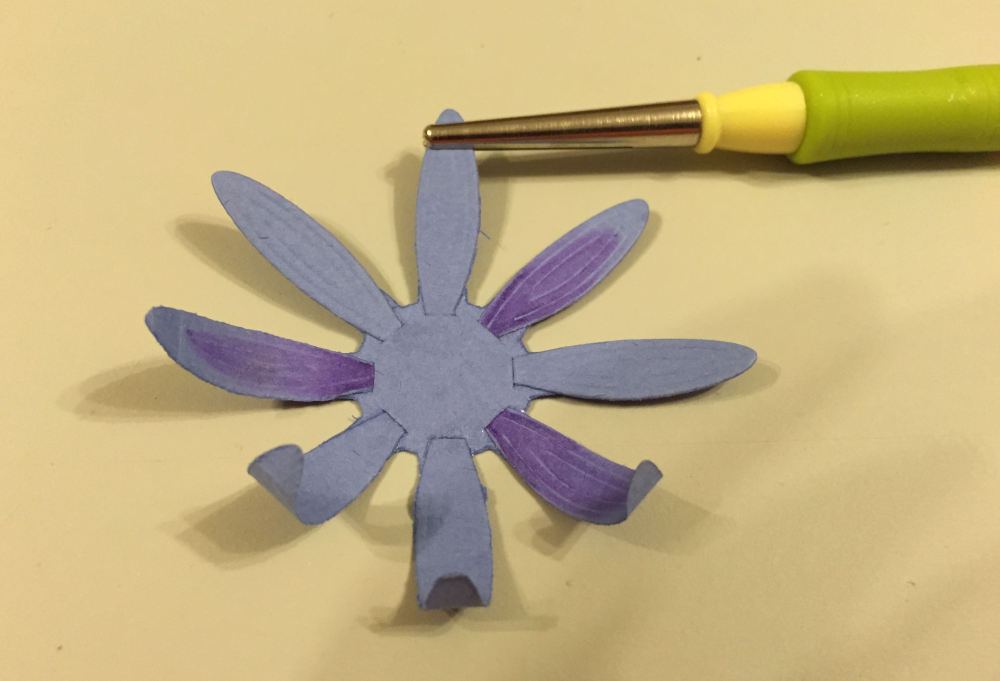
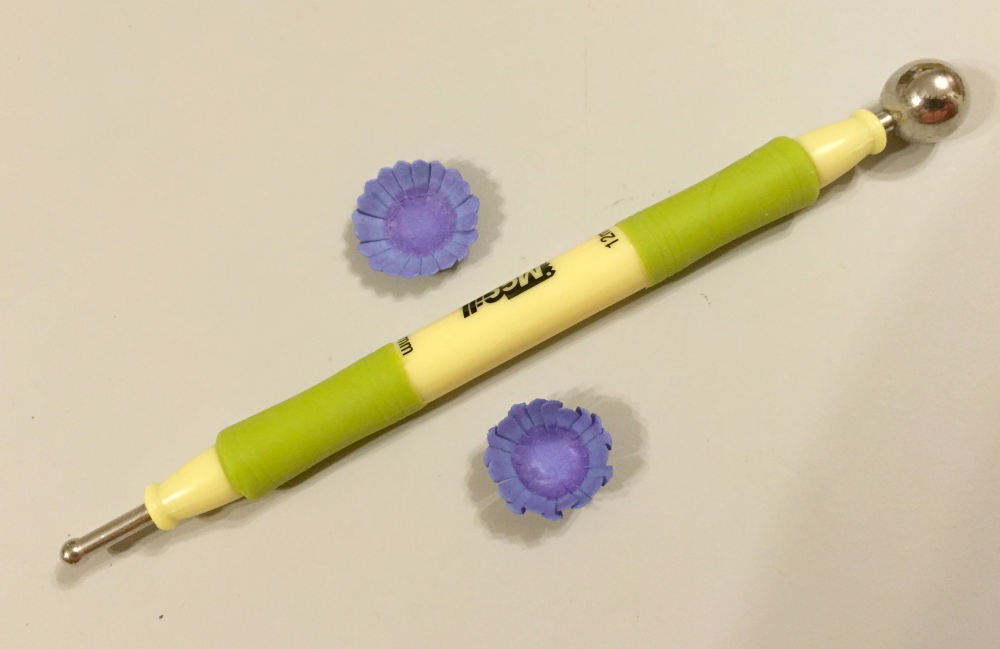
The florets in the center of the Gerber daisy are supposed to be dimensional, so I used the small ball on one end of a McGill stylus for one floret, and the larger ball for the other floret to cup them. I intended to nest one floret inside the other, giving the appearance that one was smaller, but you really can’t tell the difference in the final flower. I do think the smaller ball worked better.
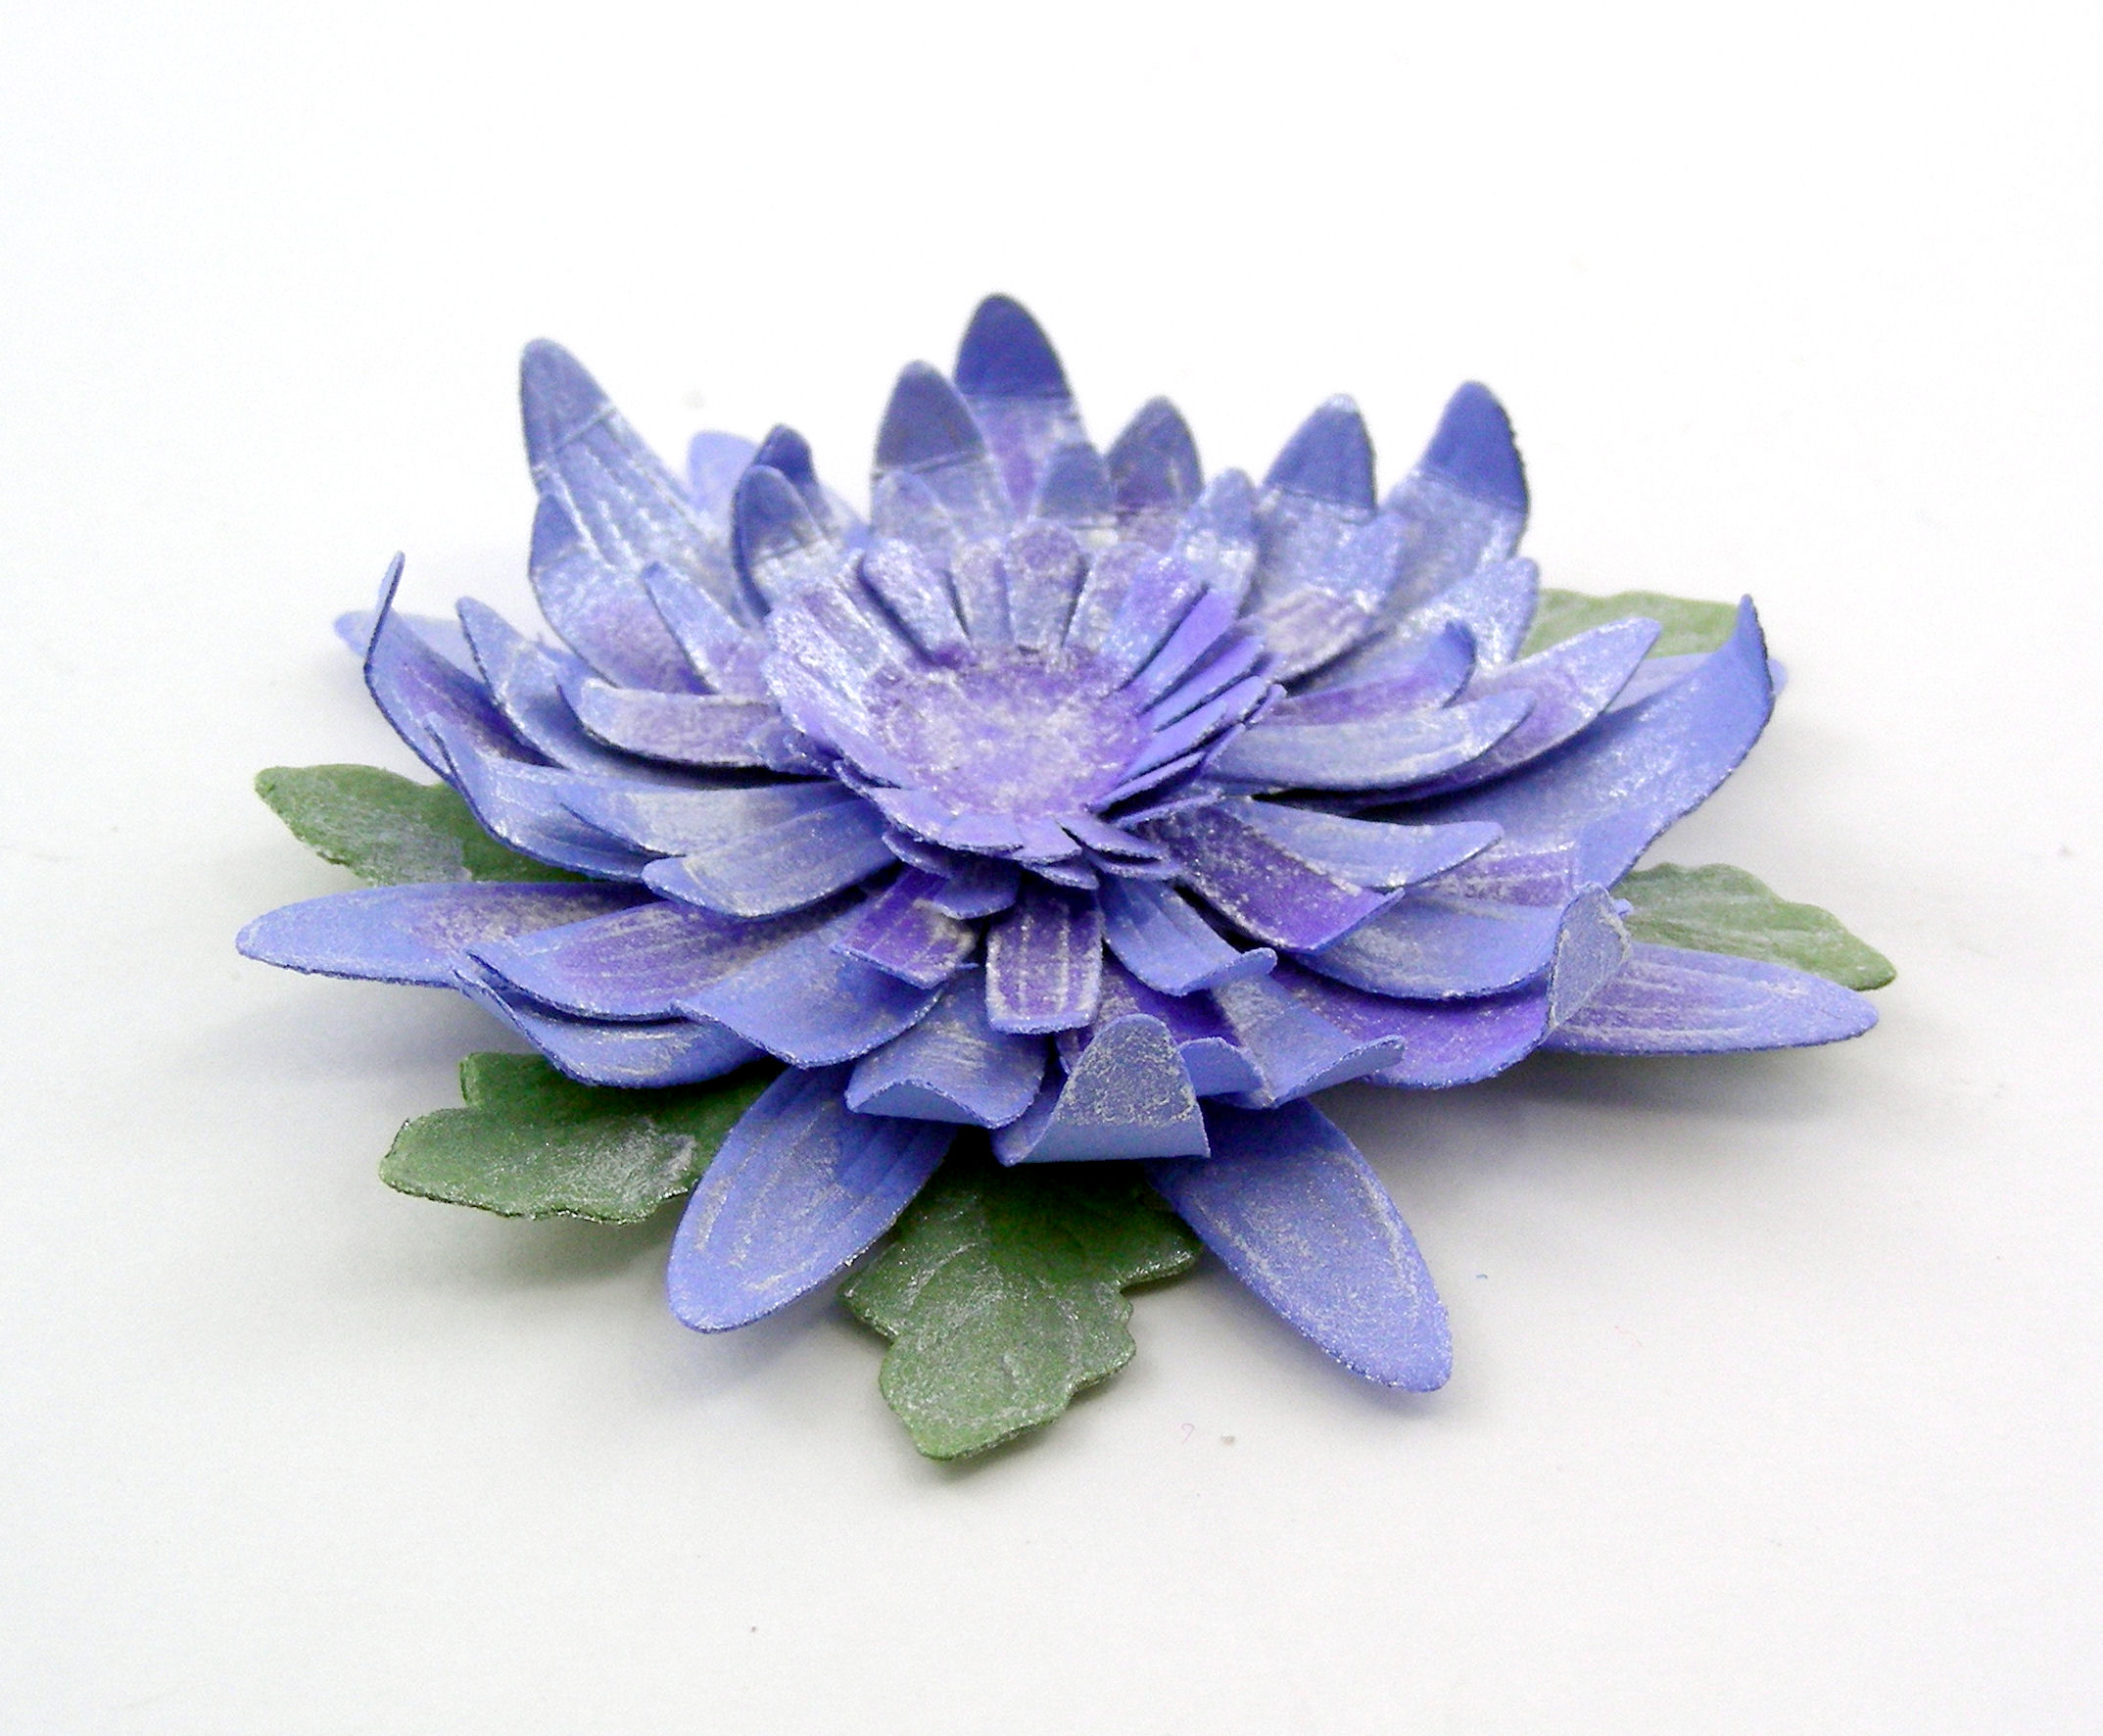
To complete the flower, I stacked the six layers, beginning with the largest layer. When I was finished, I decided to apply Perfect Pearls Mists by Ranger to the flower.
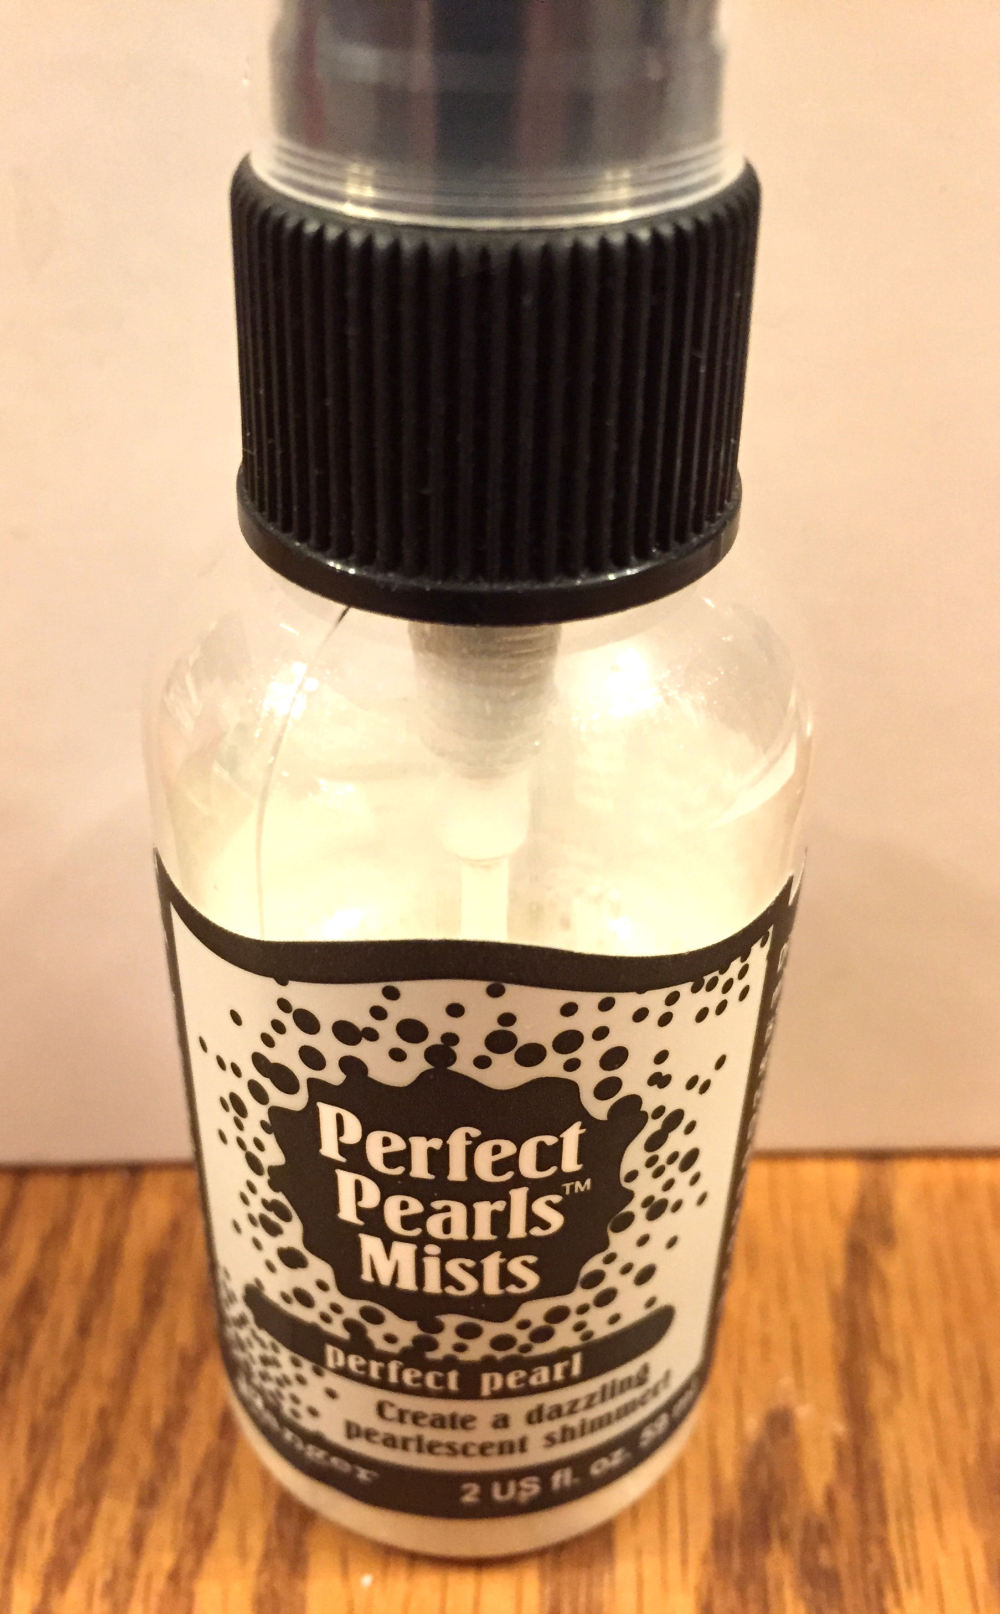
I didn’t shake the bottle well enough before spraying, so the flower got a much heavier dose of shine than I intended. Still, I think it worked out all right. It’s interesting how Perfect Pearls causes the blue and lavender colors to blend in a different way than the Gamsol.
If you have visited my MisterPenQuin shop on Etsy, then you know that I tend to use flowers on my book covers. It’s fun to come up with some variations, although I can’t imagine making a flower like this for every book because of the time involved. Have you ever worked with Spellbinder’s dies to make paper flowers?
© 2014 Judy Nolan. All rights reserved.
There really is quite a difference between the two flowers. They both look great and this will finish off your book so nicely.
Your Gerber daisy is beautiful! But SO many pieces!! I haven’t used Spellbinder dies, but we do have an AccuQuilt GO! Baby, which is nice for cutting small quilt squares and applique shapes precisely.