It’s that time of year once more, when preparations for fall craft shows are in full swing for crafters everywhere. Although it may feel, especially during the last few weeks before a show takes place, that things aren’t coming together fast enough, preparations for a successful selling event actually begin many months earlier. Unless you are selling at the same venues every year, you’ll have researched different possibilities ahead of time. Registration usually takes place at least six months before a craft show, although it is not unusual for confirmation to arrive as late as a month or two before an event. Meanwhile, you still have to take care of details under the assumption that you will be selling where you have registered.
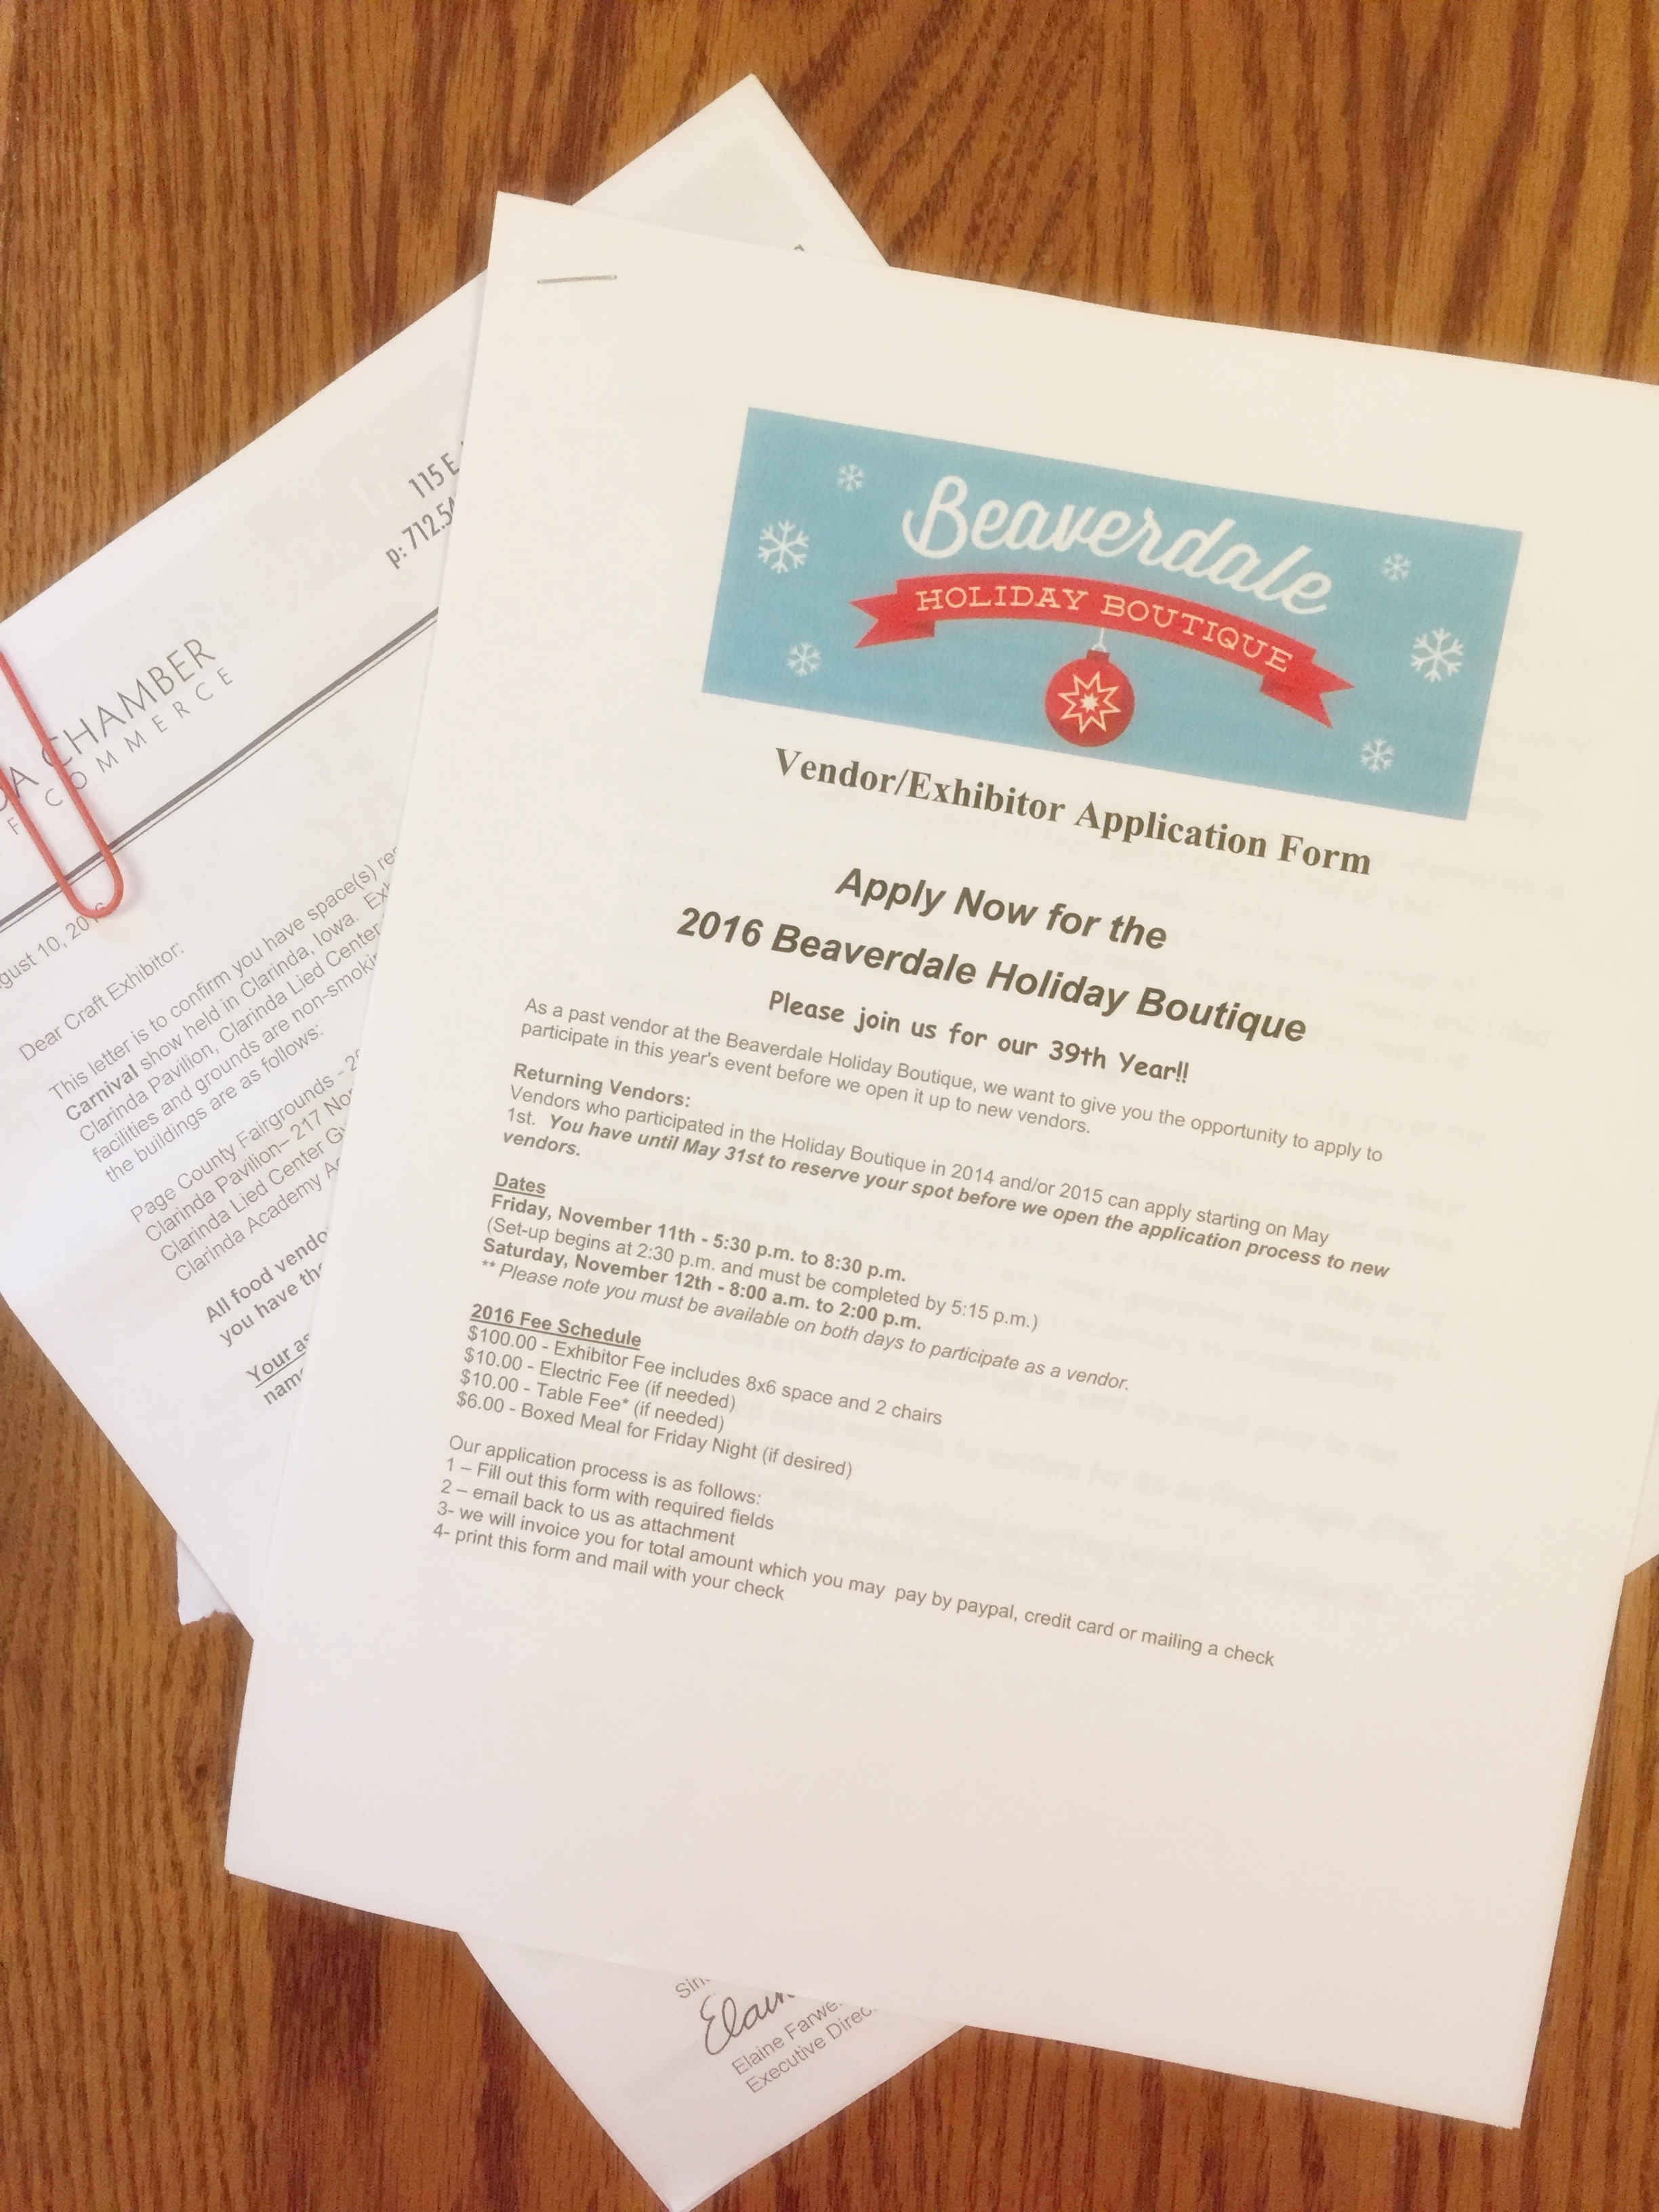
This post describes some of the usual tasks involved before, during and after craft shows, once you have registered for an event. Whether you sell at only two craft shows a year—which is typical for me—or as many as half a dozen craft shows or more, you’ll go through these preparations.
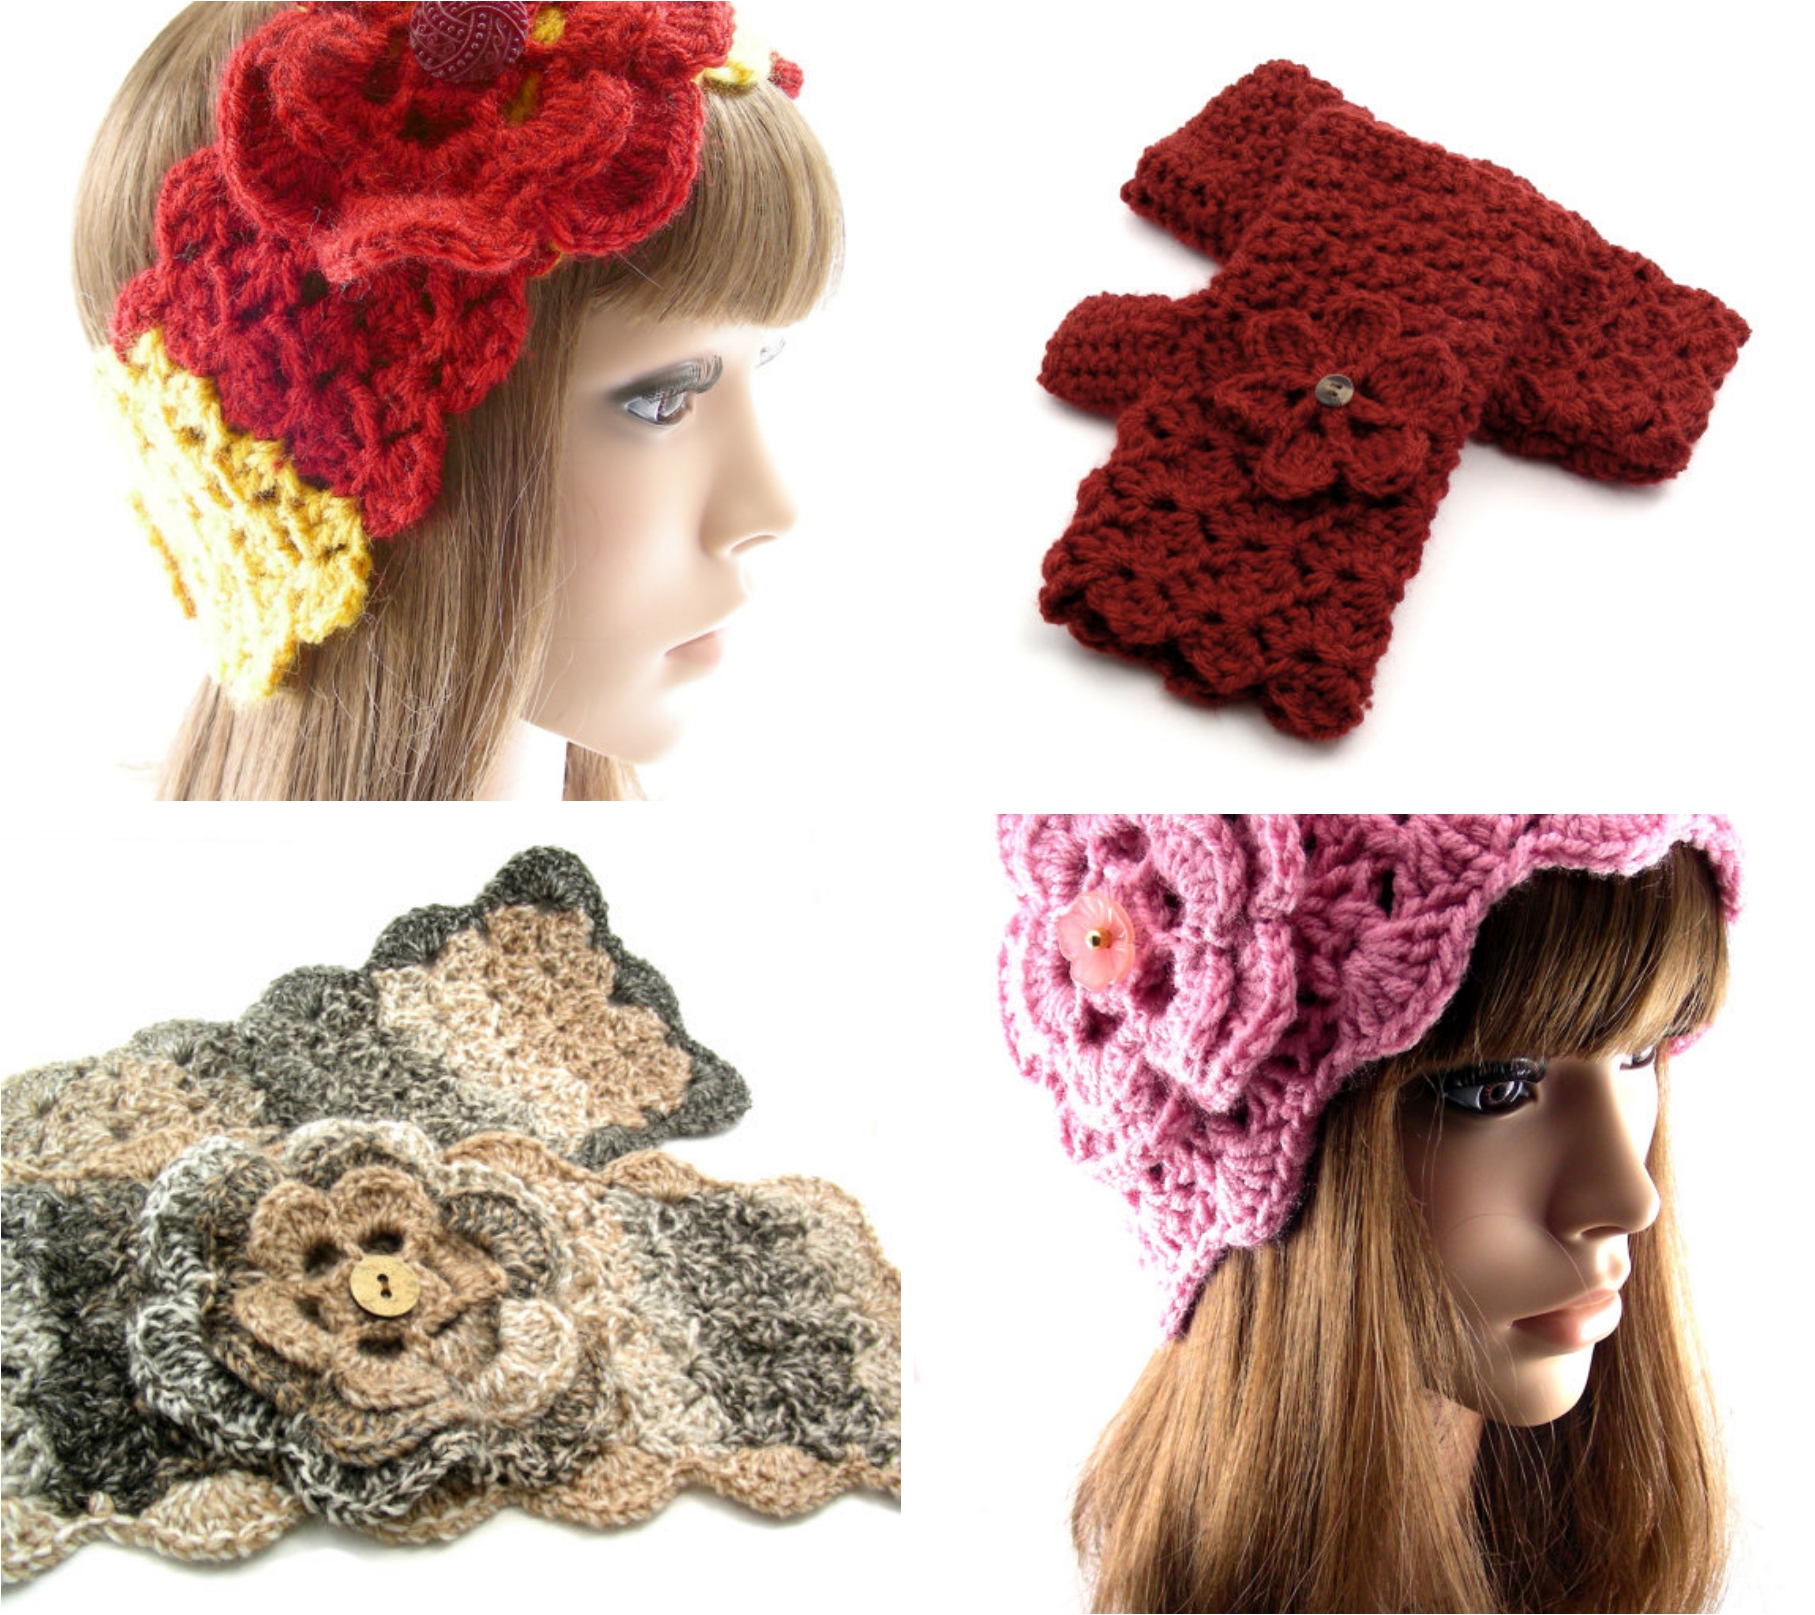
- Identify your best sellers. When you sell at a craft show, it’s not particularly effective to bring everything you make. That’s sort of like throwing mud up against a wall to see what sticks. To be fair, however, you probably will learn what your best sellers are over time. You may have to fail at a craft show before you can succeed. This also means you may need to sell at the same venue several times, tweaking different factors before you discover what works best for you. What I have learned for myself, for example, is that my crocheted winter accessories outsell my handmade books at craft shows, so obviously that is where I need to focus.
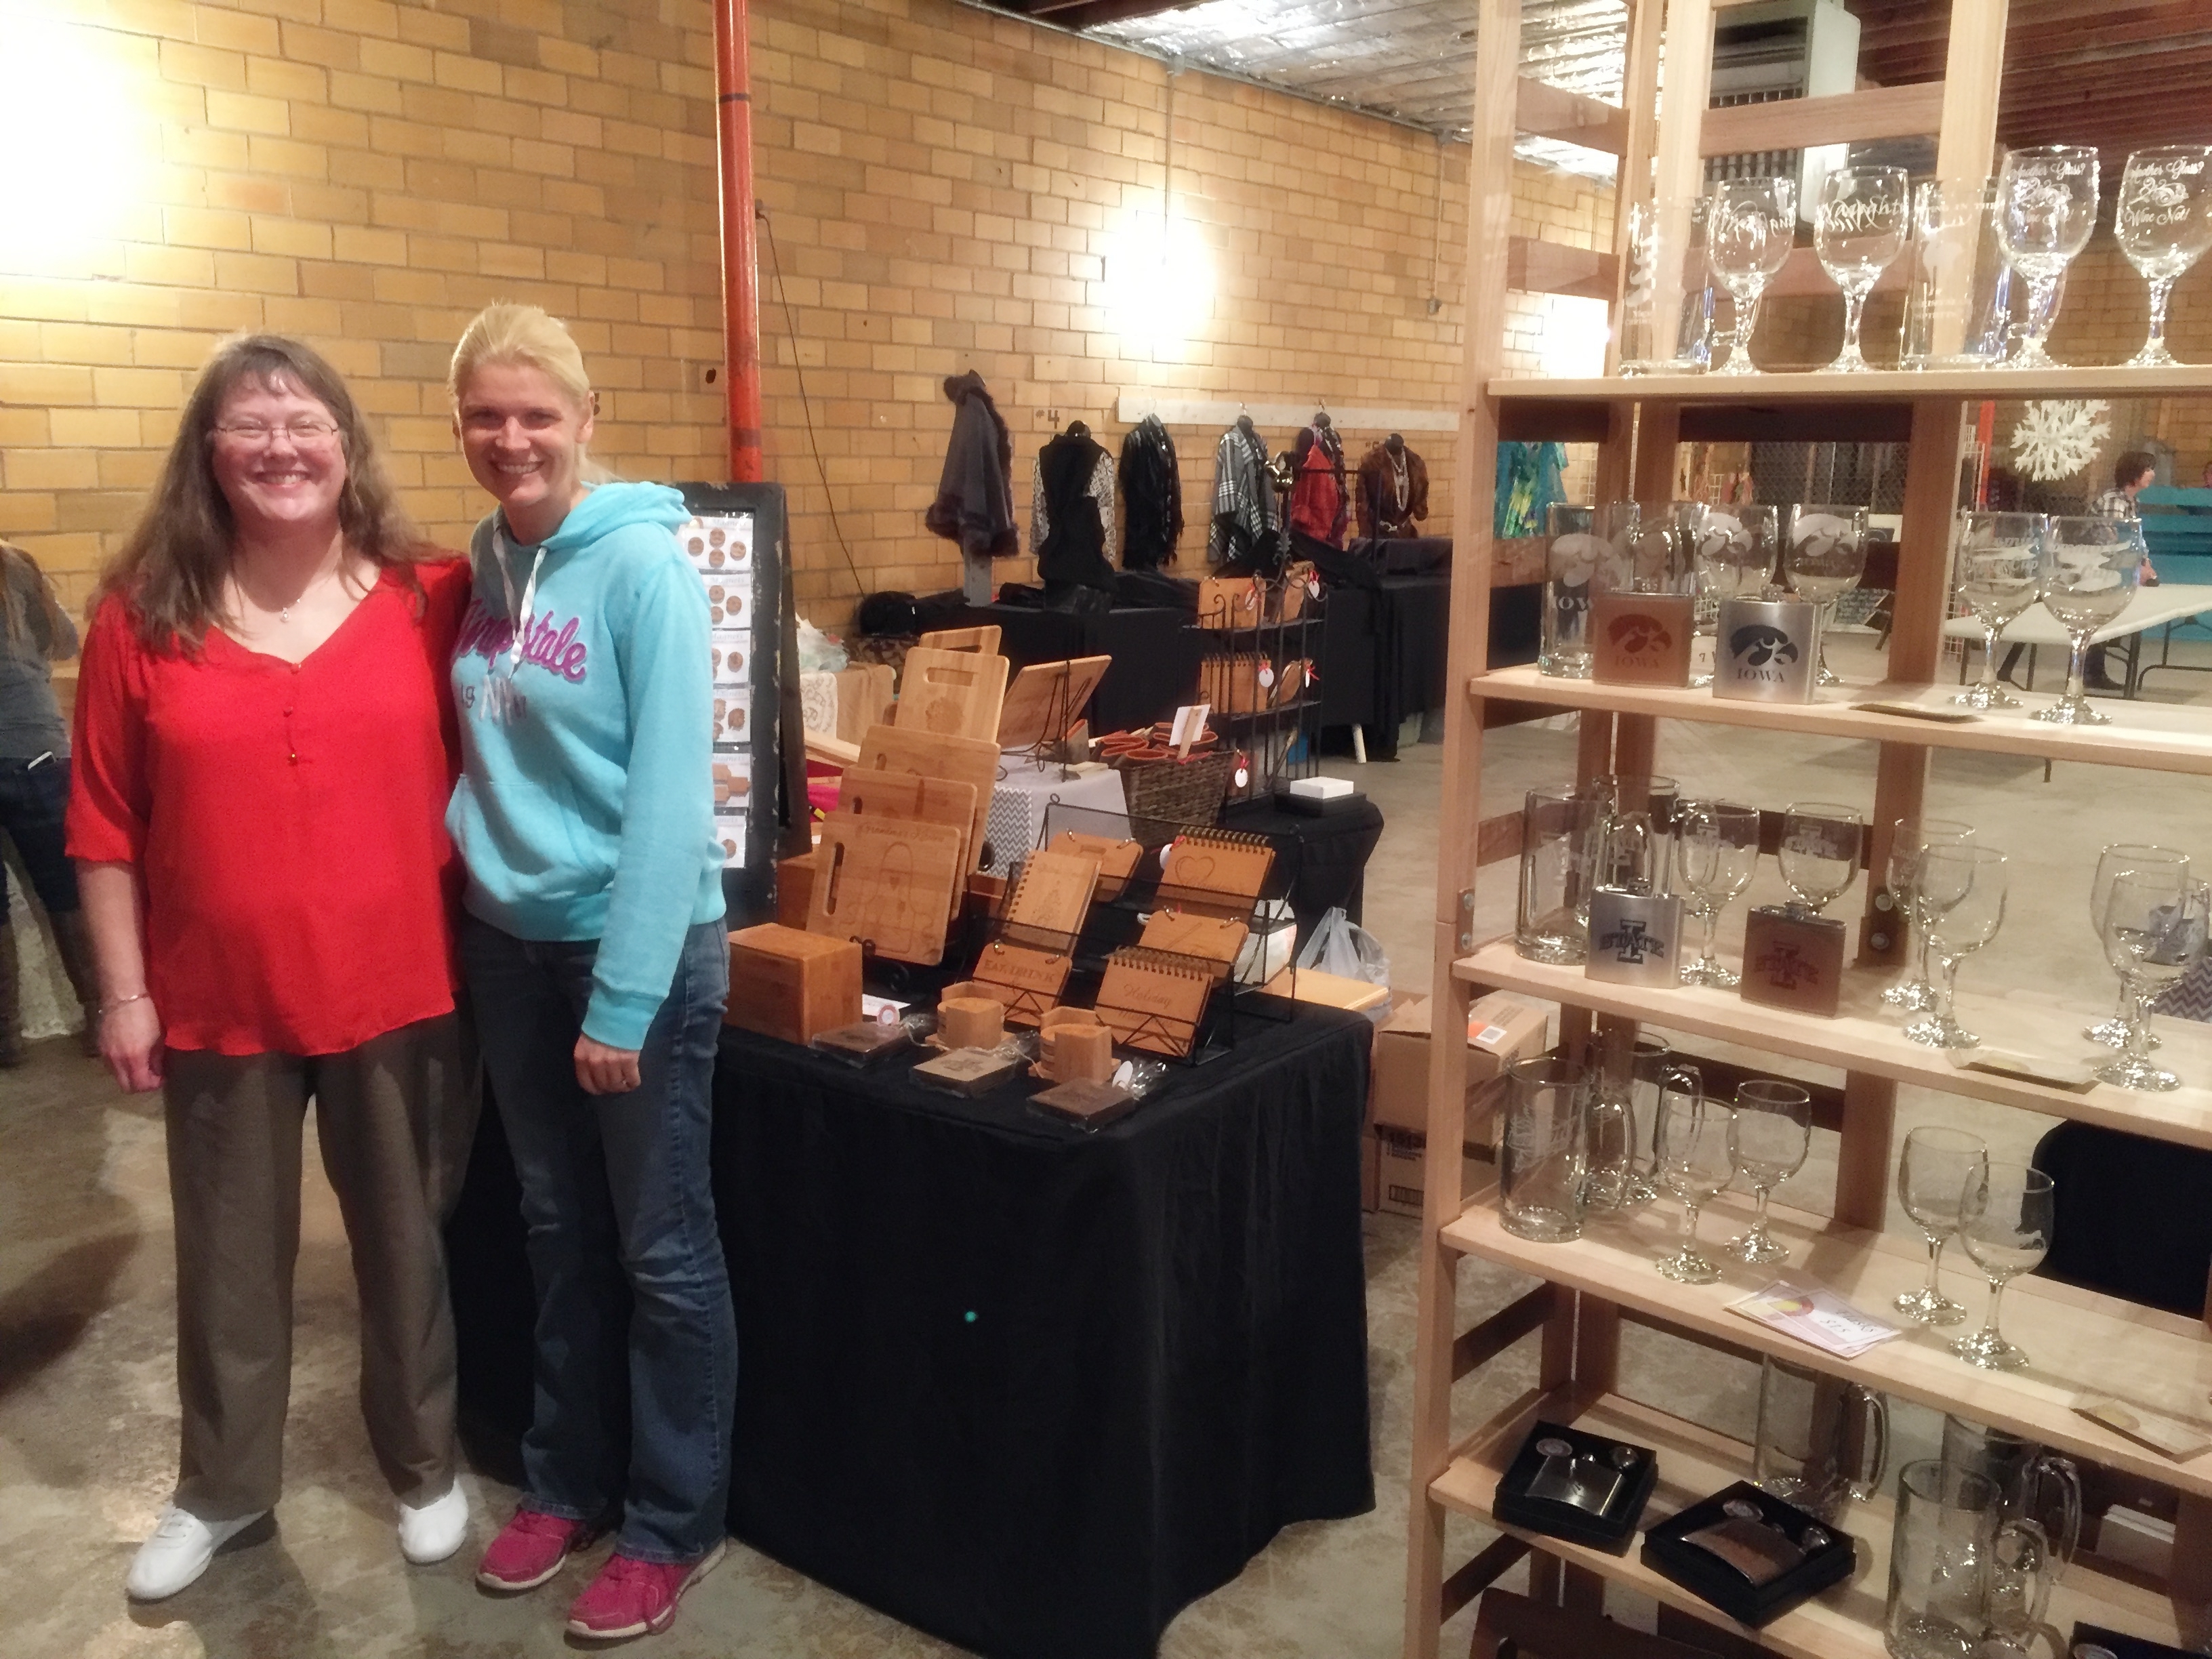
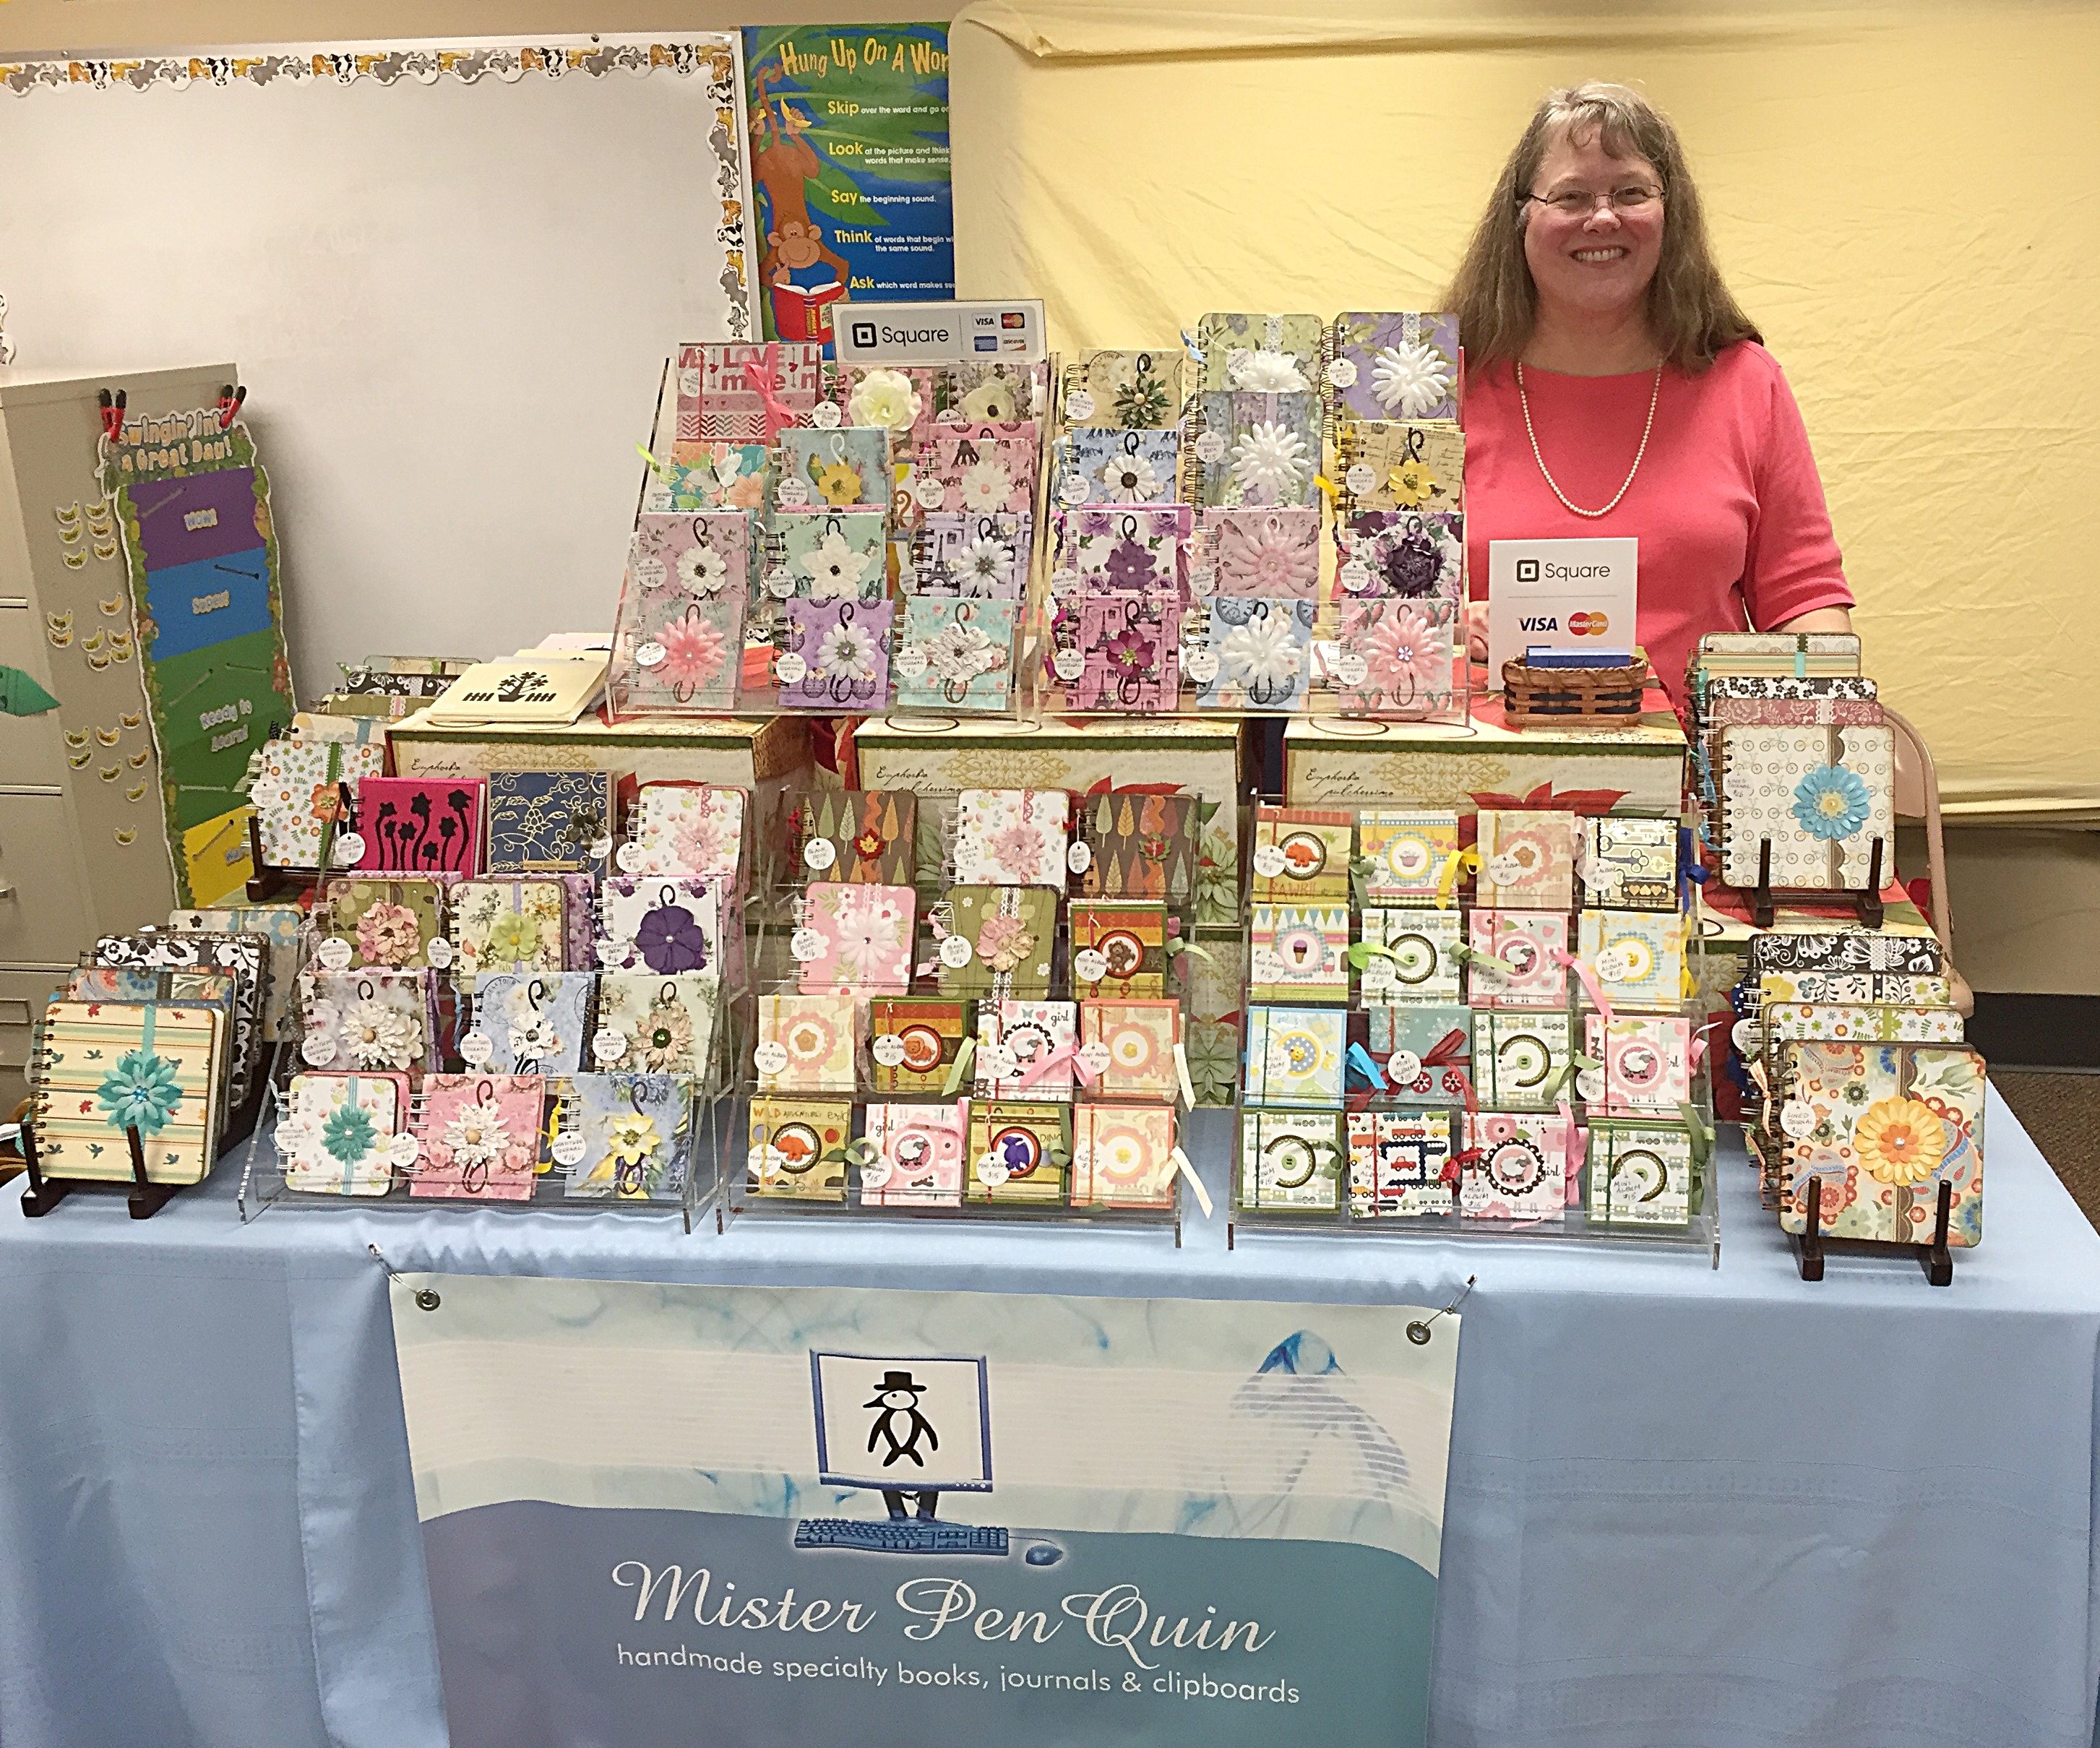
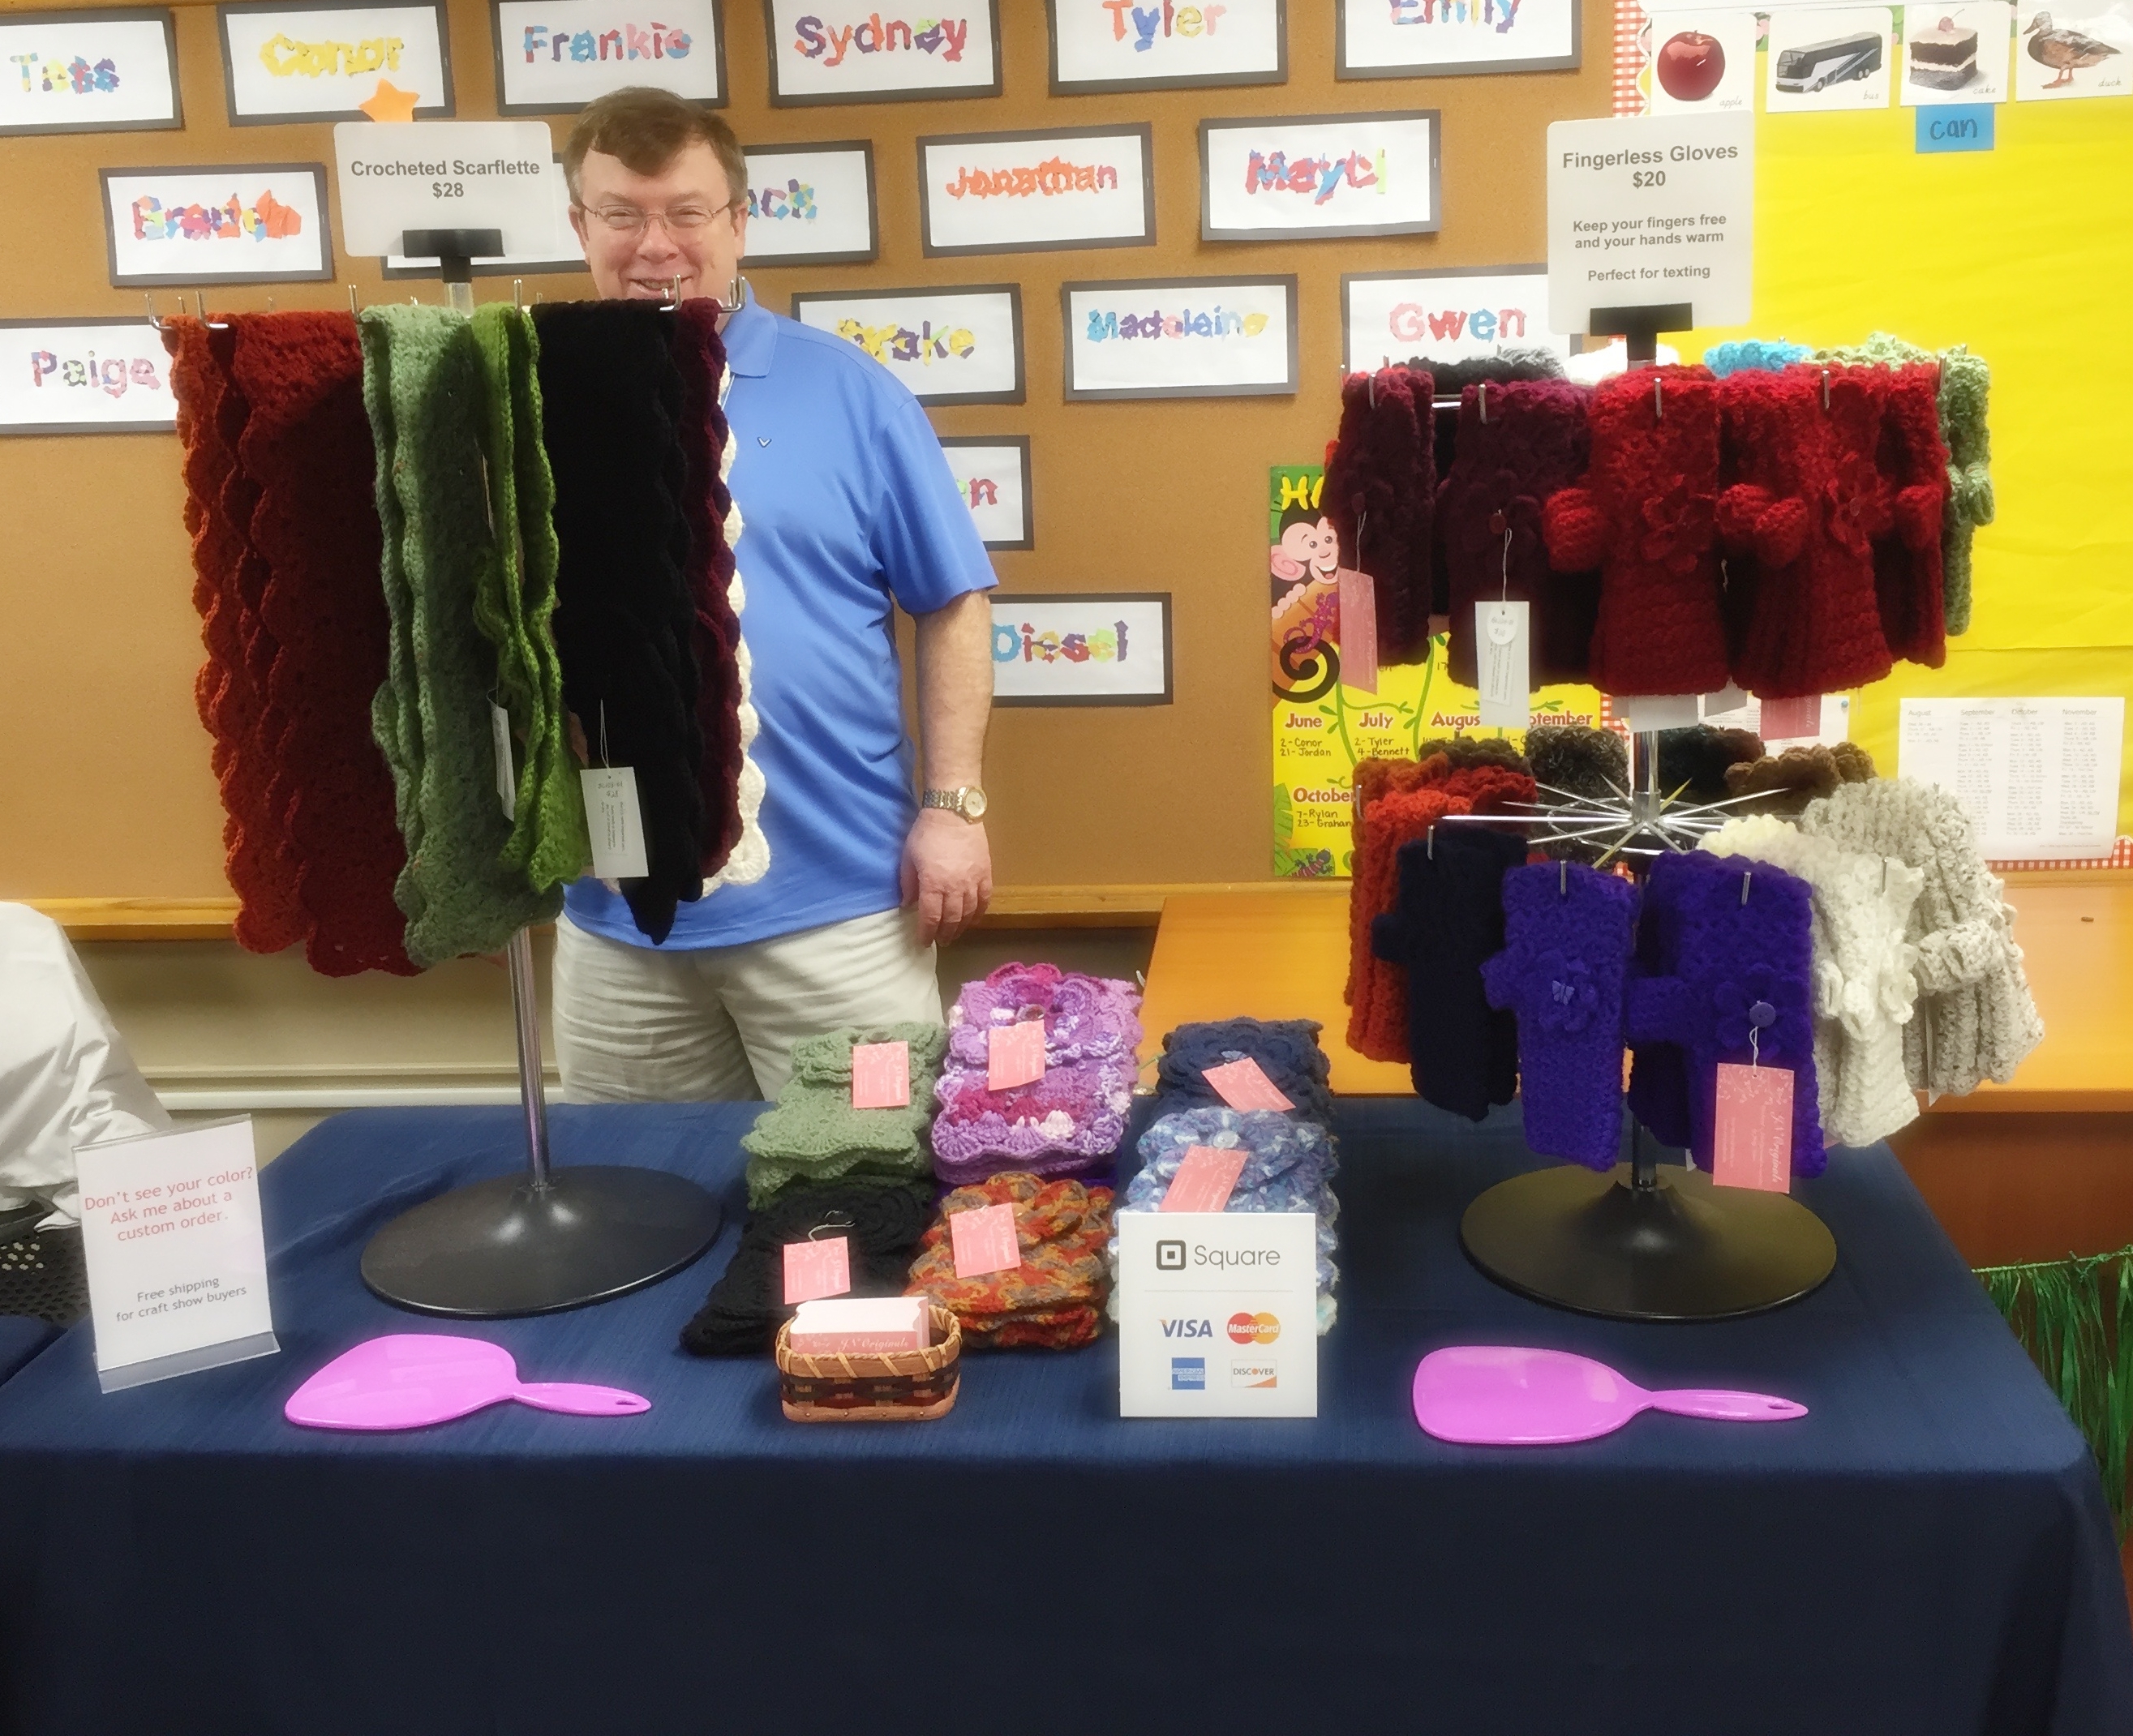
- Design your booth. What I appreciate as a shopper often guides me in setting up my booth as a seller. An attractive display, merchandise that is organized and accessible, and easily visible signage are important to me as a shopper, so those are some of the basics to which I adhere when I set up a booth. Make sure you know ahead of time whether the ambient lighting is appropriate for your items, or whether you will need to supplement it. Don’t assume electricity will be available; research ahead of time and pay for accessibility, if necessary. Be prepared for different table setup configurations, too, unless you have been guaranteed a specific location in advance. Although many venues will rent tables to you, you increase your flexibility when you bring your own tables. I have four-foot, five-foot and six-foot long heavy-duty folding tables that I can set up in various ways. Additionally, design your booth so that your merchandise does not lie entirely flat. The closer you can bring items to eye level, the easier you make it for your customers to shop. This also makes your booth more visually interesting. Don’t be afraid to invest in fixtures; over time that investment will pay off. The same thought applies to attractive table coverings; even if you use table cloths (as I do) instead of fitted coverings, make sure you stick to one color that doesn’t detract from what you sell, and make sure the table covering extends to the floor, especially from the customer’s side.
- Price your merchandise. I cannot state strongly enough how important it is for your items to be clearly marked with prices. Many shoppers will simply move on to the next booth if they have to ask the seller about the price. Absolutely use price tags, consider using removable adhesive labels that don’t leave a residue, and use tent cards. Post clearly whether or not you accept credit cards. Most people bring a limited amount of cash with them and don’t want to spend it in only one booth. Research payment options such as Square, PayPal, or Etsy that use a smart phone to process credit card transactions. (See also this post, My new Square reader finally arrived.)
- Have an advertising plan. Sometimes customers are not ready to purchase from you at a craft show. Provide as much information as you can, answering questions and suggesting options. Most importantly, prepare for post event sales by having business cards on hand that provide contact information. Consider having a banner printed for your booth that similarly provides contact information. Vista Print, for examples, prints high-quality banners for under $20 and even provides online design options. If you are doing multiple craft shows, have a stack of handouts available that provides buyers with dates and locations. You can also invite buyers to join your email list; be very clear, however, how this email list will be used. Many people feel that email lists are a source of spam.
- Arrange for help. Will you need assistance in toting tables, shelves and merchandise to the craft show? Will you need help after the show, when you vacate your selling space? It takes energy to set up selling space, energy you’ll need to use when you chat with potential buyers, so the more help you get with housekeeping tasks, the better you’ll feel overall about the selling experience. It’s nice, too, if you can find a friend or relative to help you sell; you never know when you will have to leave the booth for bathroom or snack breaks, or to take care of other business.
- Plan for the next show. Be situationally aware while you are at a craft show. Listen to your buyers’ conversations, noting suggestions for wished-for items or alterations. Obviously you will not be able to please every person, but you can take note of any patterns in questions or comments. Keep your eyes open for booth display ideas, and take time to chat with other sellers. You never know what selling tips you will pick up. When you get home from a craft show, assess your results. What items sold out? What items were requested that you did not have on hand? What items sold best or least? What items do you need to replace before the next show? Identify what went well, what could be improved, and what steps you can take to make future changes.
You’ll find other tips for craft show preparation in some of my older posts, as follows:
- Six craft show selling tips to apply in 2015
- 12 tips for creating effective craft show displays
- Putting together a successful craft show
- Preparing for a craft show
If you are planning to sell at one or more craft shows this fall, what preparation tips can you add to this list?
© 2016 Judy Nolan. All rights reserved.
Lining up help is such an important part of preparation!! Solo shows are so difficult.
You mentioned planning your display and having several tables – something I liked to do was create a sort of |_| shape with my display instead of the sort of n shape I frequently see. Spaces aren’t always deep enough for it, but I found drawing people in really helped me. They were more likely to stop and look when they could enter instead of feeling like they were blocking a busy walkway.
Great tips!
So many great tips (and great pictures) 🙂
I’ve found that it doesn’t matter how many price tags you put on something, people will still ask…lol! It can be a pain, but I’ve found it’s better to price every single item than have one price tag for multiple items.
And having help is SO nice! My mom is a savior at shows! She knows my products inside and out, so she can answer most questions if I have to step away or if I’m helping another customer.
And I seem to write down notes during every show; things people have requested, display ideas from other booths, etc. It’s always a learning process.
See you in a few weeks!!
very comprehensive, Judy!
I agree that pricing everything is important (even though it can be a pain!).
Sometimes, moving a couple things around in the display during a show is helpful.
Paying attention to customers’ interests and requests is very useful. Customers can have the best ideas!