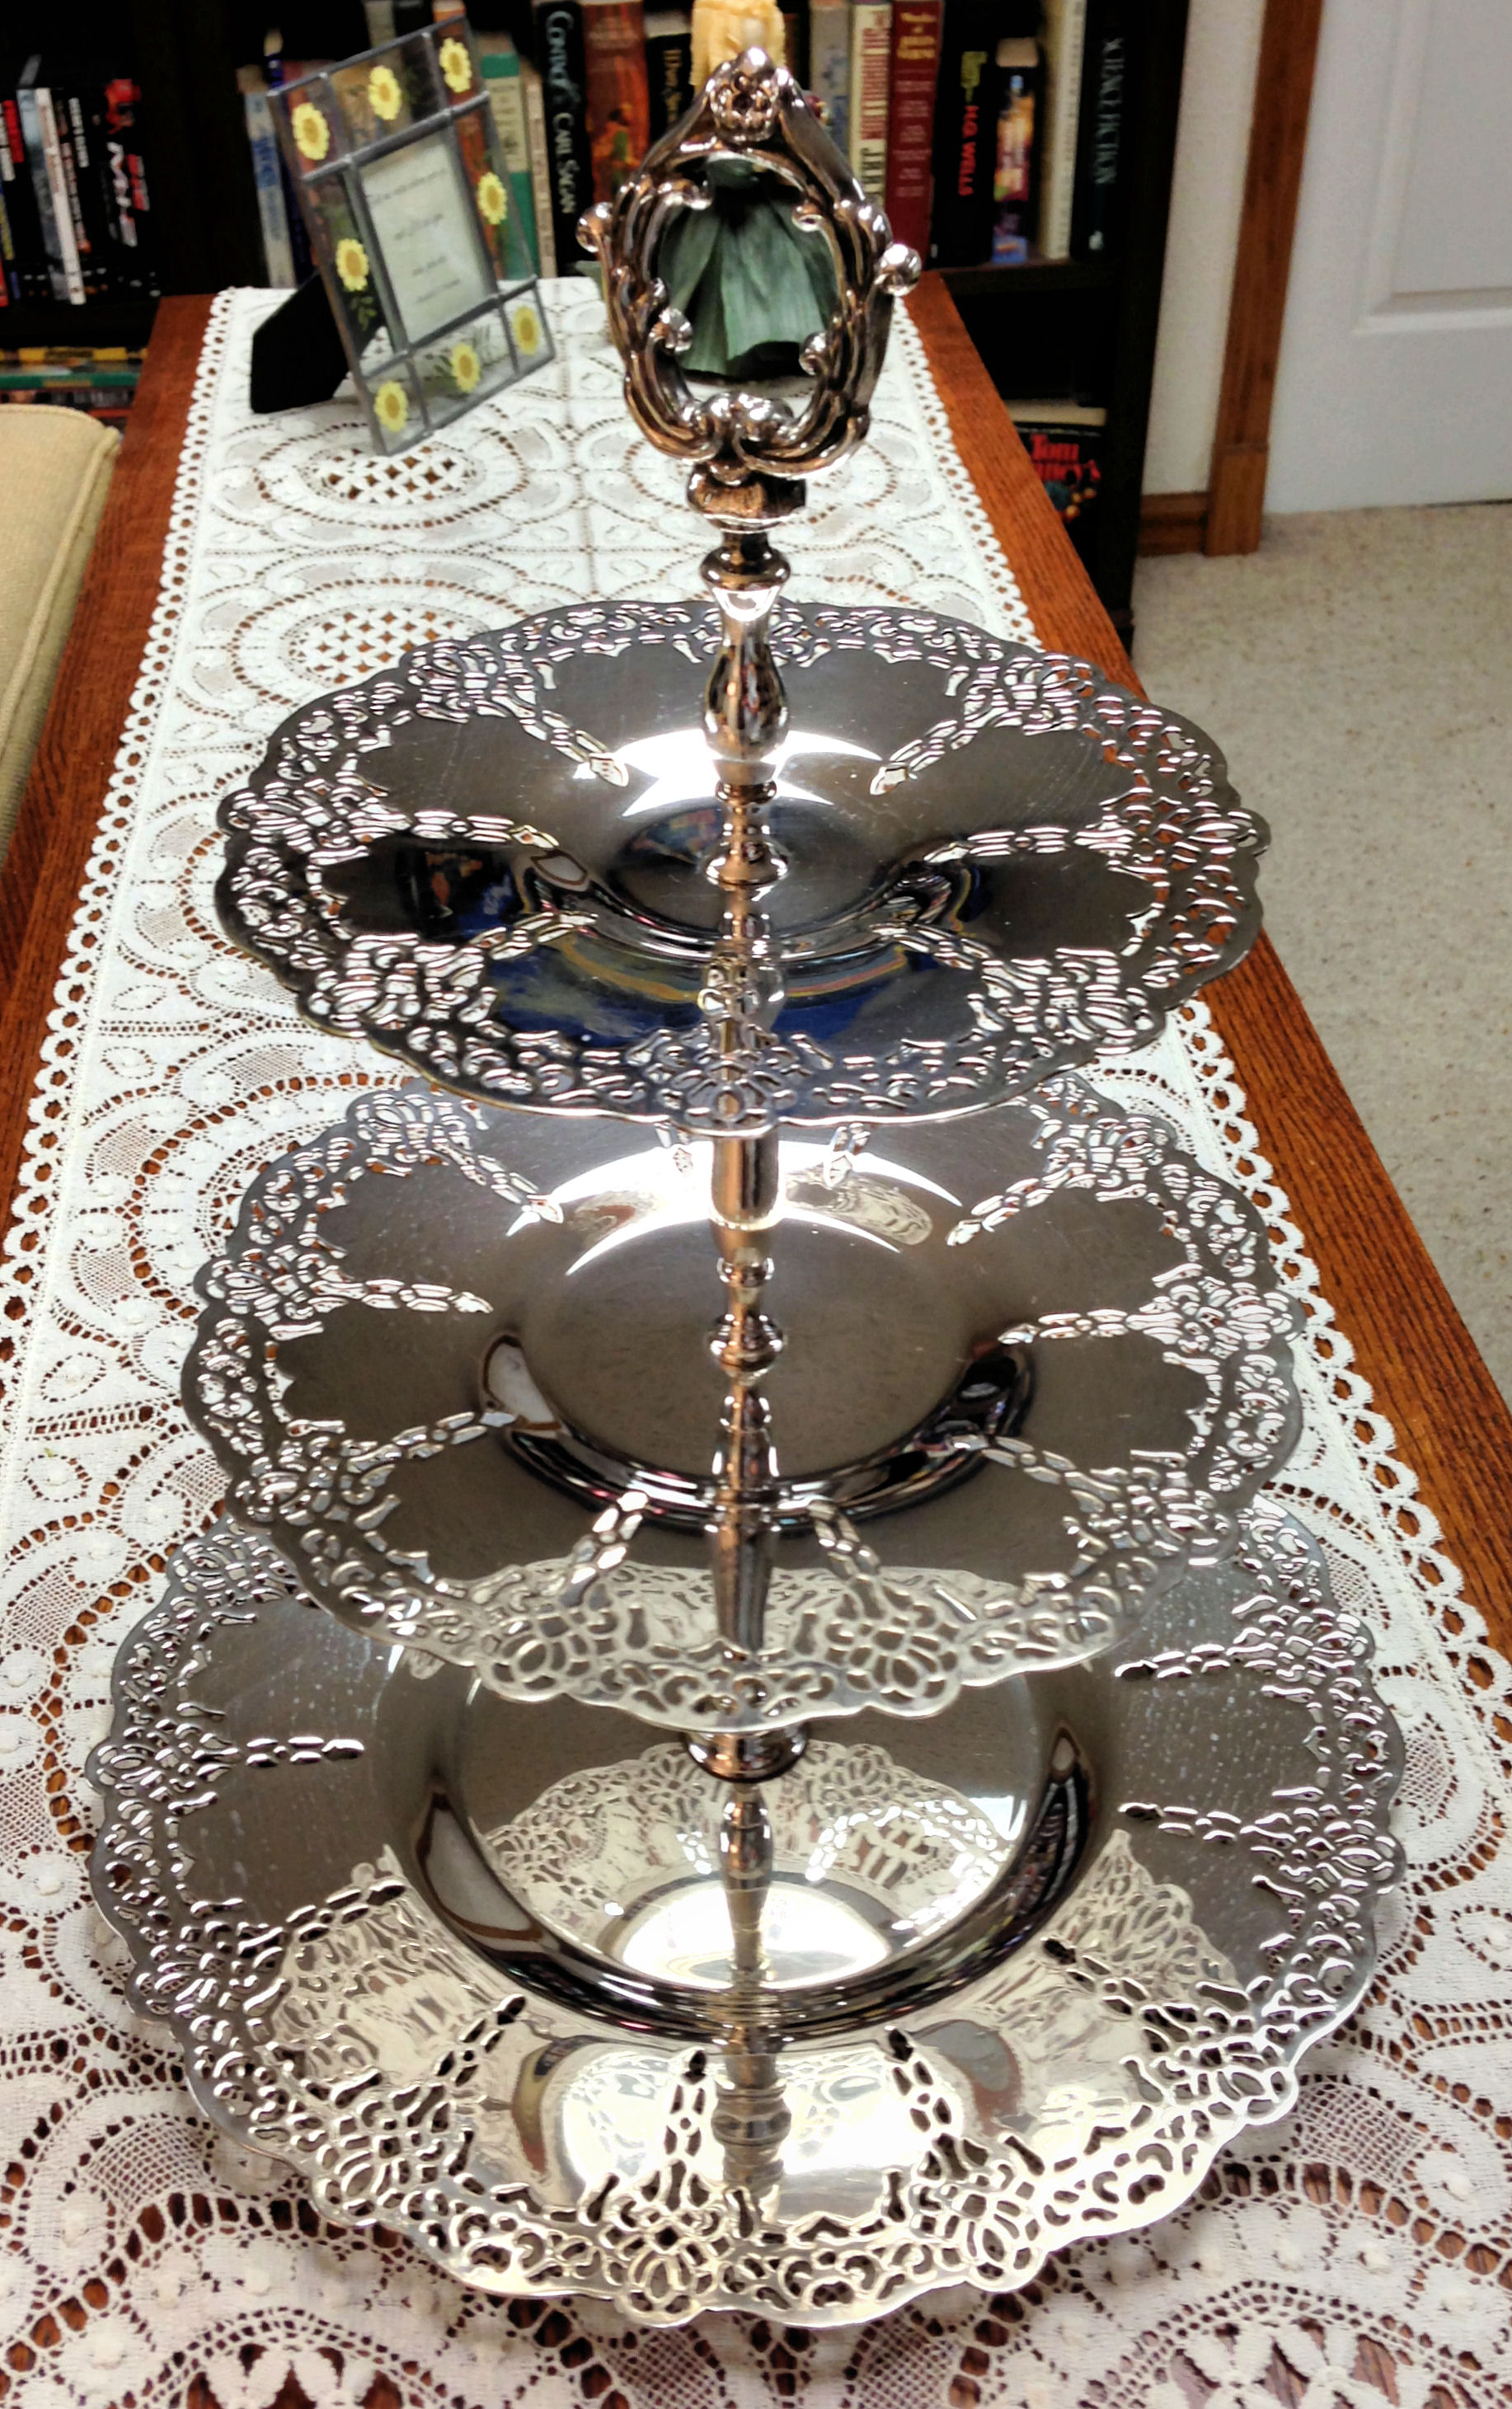
When I visit a craft show, I enjoy viewing not only the many different types of products, but also the creative ways that sellers display their merchandise. Let’s face it: many craftspeople do not have an unlimited budget for display fixtures. You’ll see picture frames propped up on table easels over which necklaces are draped, clothes drying racks doubling as scarf hangers, branches stuck in vases from which ornaments hang, and tiered dessert stands on which trinkets can be perched.
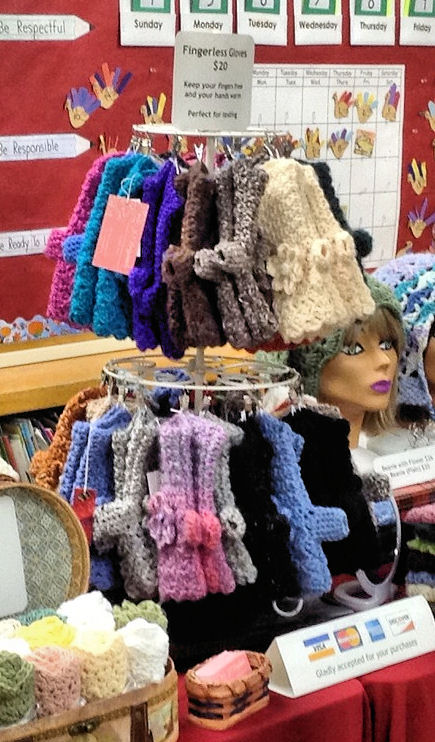
Last year at a craft show, I needed a rotating stand for fingerless gloves, so I tucked a Lazy Susan from my kitchen beneath a metal Christmas card “tree” I picked up at a scrapbooking store. I will admit that it was a bit wobbly, but it was a good experiment and it did rotate. This year I am replacing this “make-do” solution with a purchased rotating rack.
Another year I made magnet-backed memo pads and needed a way to display them that wouldn’t be horizontal. I stood a cookie tin on a Lazy Susan to achieve a four-sided display. The Lazy Susan idea can be applied many different ways.

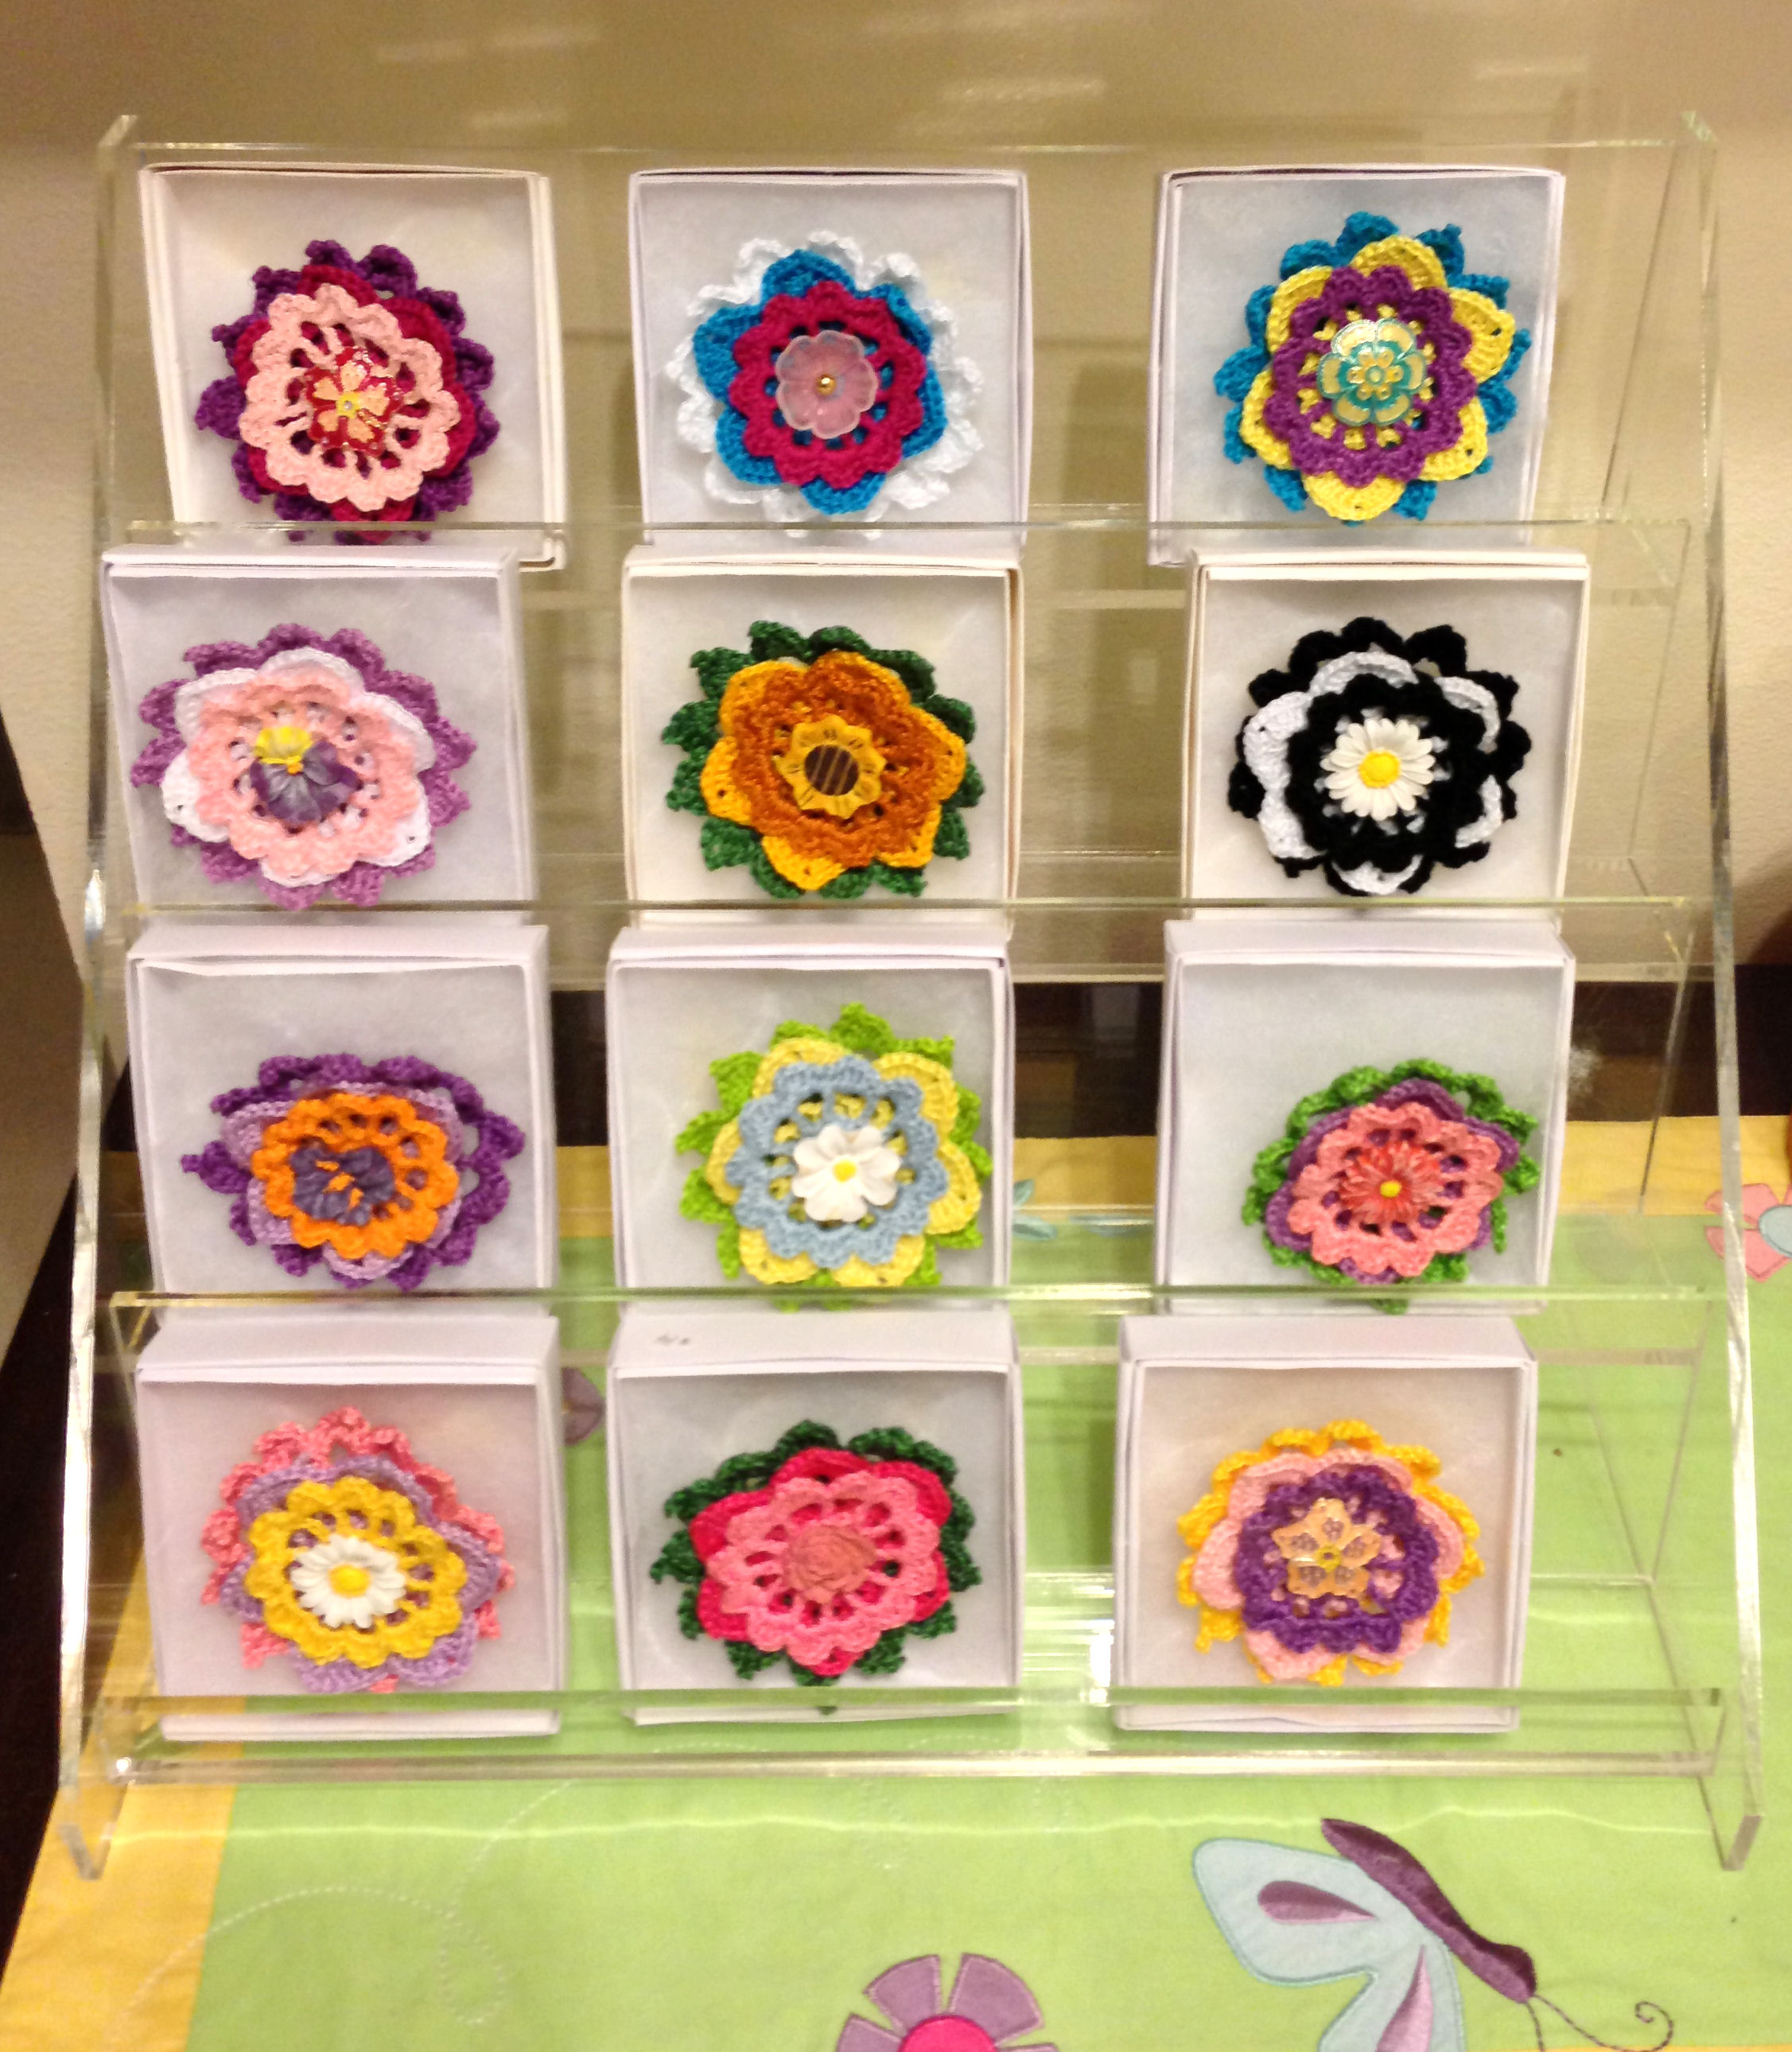
Sometimes there is no substitute for purchased display fixtures. I booked a craft show for this fall where I plan to sell the little books I make. The books are so small that they really need to stand up to be seen. I decided to buy four-tiered acrylic wallet racks I can just set down on a table. When I completed 18 mini books recently, I stood them up on the narrow, lipped shelves to get a feeling for what they might look like at a show. I ordered these display racks from Achieve Display. This company packs its merchandise very well so that it arrives in good condition.

Though my tiered wallet racks were rather expensive, I thought they were a good investment. I can use them for the crocheted flower brooches I make, too.
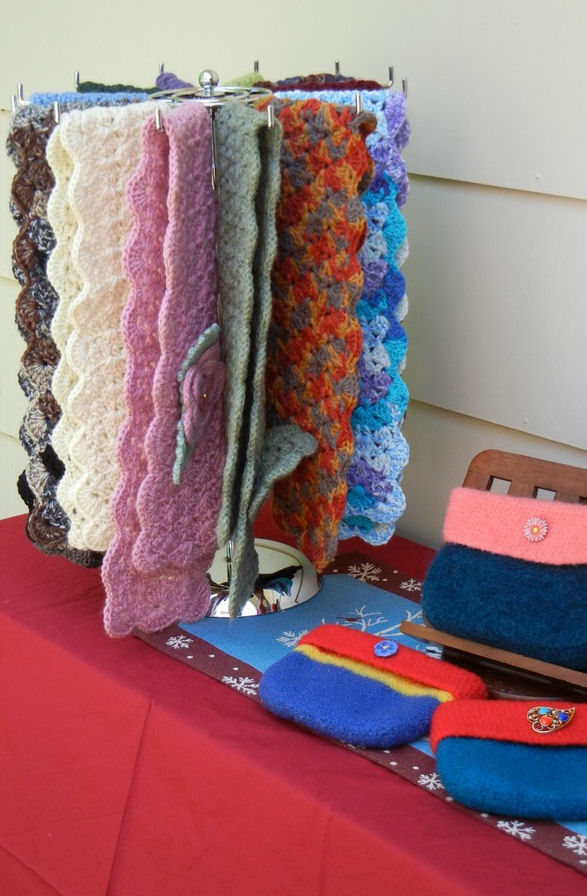
I also invested in wire spinner racks for my scarves after I realized how much I hate to shop at craft shows where crocheted or knitted goods are stacked flat on a table. Eventually, as people sift through the items, you end up with a messy jumble. I got the one below from Display Diva on Etsy, but Achieve Display carries them, too. In fact, you can get tiered spinner racks from them and a wide assortment of table display fixtures.
Whether you purchase your display fixtures, make them yourself, or turn a household item into a display piece, there are some guidelines you’ll want to keep in mind for an effective overall display:
1. Display fixtures should be easy to store in your vehicle and transport.
2. You don’t want to have display fixtures that are complicated to set up. Often you only have a couple hours for set-up.
3. Display fixtures need to draw the buyer’s eyes to merchandise, which often means bringing items to eye level, or at least higher than the level of any table you use.
4. Avoid fussy display fixtures that make it difficult for a shopper to remove the item to look at it closely or try it on.
5. Set up your displays at home ahead of time in different ways, and take photos with your smart phone so you’ll know ahead of time what options will work.
6. If you have wearable products, make sure you include a mirror in your set-up.
7. Pay attention to the stability of your display pieces. People like to touch merchandise, and you don’t want either the display to come crashing down on them, or for the merchandise to be damaged.
8. Be safety-conscious. Avoid fixtures with protruding pieces or sharp edges.
9. Be courteous to fellow sellers. Make sure your fixtures fit within your assigned space, and plan for easy egress so you can visit the bathroom or straighten your products without having to enter another seller’s space.
10. Pay attention to traffic patterns, and to where you sit or stand. Are people stepping inside booths or visiting tables pushed up toward the front of the booth? Your floor plan can turn away a more reserved buyer if he or she doesn’t want to get too close to the seller. This will differ from venue to venue, and from one type of product to another. A larger booth gives seller and buyer alike more breathing space, while a smaller space may require that you keep tables between you and your buyer to create a buffer. Observe other booths to see what seems to be working, and what does not.
11. Mark prices clearly.
12. Does your booth focus on a certain type of product, or do you have so many types of items that people don’t know what you are really selling? The former suggests a boutique and exclusivity, while the latter suggests a flea market and garage sale prices.
What tips can you add to these for creating an effective craft show display?
© 2013 Judy Nolan. All rights reserved.
Vertical displays are always a great idea. And making them spin makes them even more handy! I’m going to try your lazy susan idea with my necklace rack at my next show…thanks!
Great tips, Judy. Your new racks are a great investment.
Judy – what great ideas. Definitely going to check out “Achieve Display”. Those 2 hours of set-up seems like a lot, but sometimes that isn’t even enough. I always set up my Jewelry on their displays the night before and then wrap it tightly in bubble wrap – so all I have to do the next morning is unwrap the jewelry (this saved me so much time I wasted). Thanks for the great article!
I have various display pieces (mostly wood and country looking — I did ceramics back then) that I used when I had spaces in craft malls and I have hung on to them “just in case”! I have that same acrylic tiered rack too, but I got it for free!! Love the silver dessert stand — I’d have to definitely have one of those if I ever do a craft show again!
Your tips #10 and #12 are great — I had never thought of that reasoning. Definitely something to consider!
I like vertical displays and the acrylic ones you have chosen. My dad created stands for me when I sold dresses and bags which were great for shows.
Hello,
Thank you for your helpful tips.I was wondering if the 4 tiered acrylic wallet rack from Achieve Display was easy to take apart and assemble. I am doing craft shows and thought it would be easier to pack if the rack was not assembled. Also, does the acyrlic scratch easily?
Thank You
Suzie
Suzie, I have responded to you privately via email, but for anyone else reading Suzie’s question, the rack I purchased from Achieve Display is not the screw-together type. Instead, it is made of thick, hard-to-scratch acrylic whose components are glued together with thick, invisible glue. It is very sturdy, with acrylic that is almost 3/8 inch-thick. I plan to pre-load each rack with books, put the entire thing in a lidded plastic box, and transport it to craft shows that way.
Love this idea. I am going to be doing an in-home craft fair later this year and am looking for ideas for displaying my scarves and cowls in a small space. Now, my question. Do you have a pattern for the cowls you have on your display? I LOVE them! 🙂
Judy, could you please tell me where you purchased this table top spinning scarf rack?