Thus far, all of the clipboards in my MisterPenQuin Etsy shop have been of the miniature variety, 4-inches by 4-inches, designed to accommodate a Post-it® note pad. Last week, however, a customer asked if I could alter a 6-inch by 9-inch clipboard for her, decorating it with autumn-colored papers and one of my layered flowers. Why not?

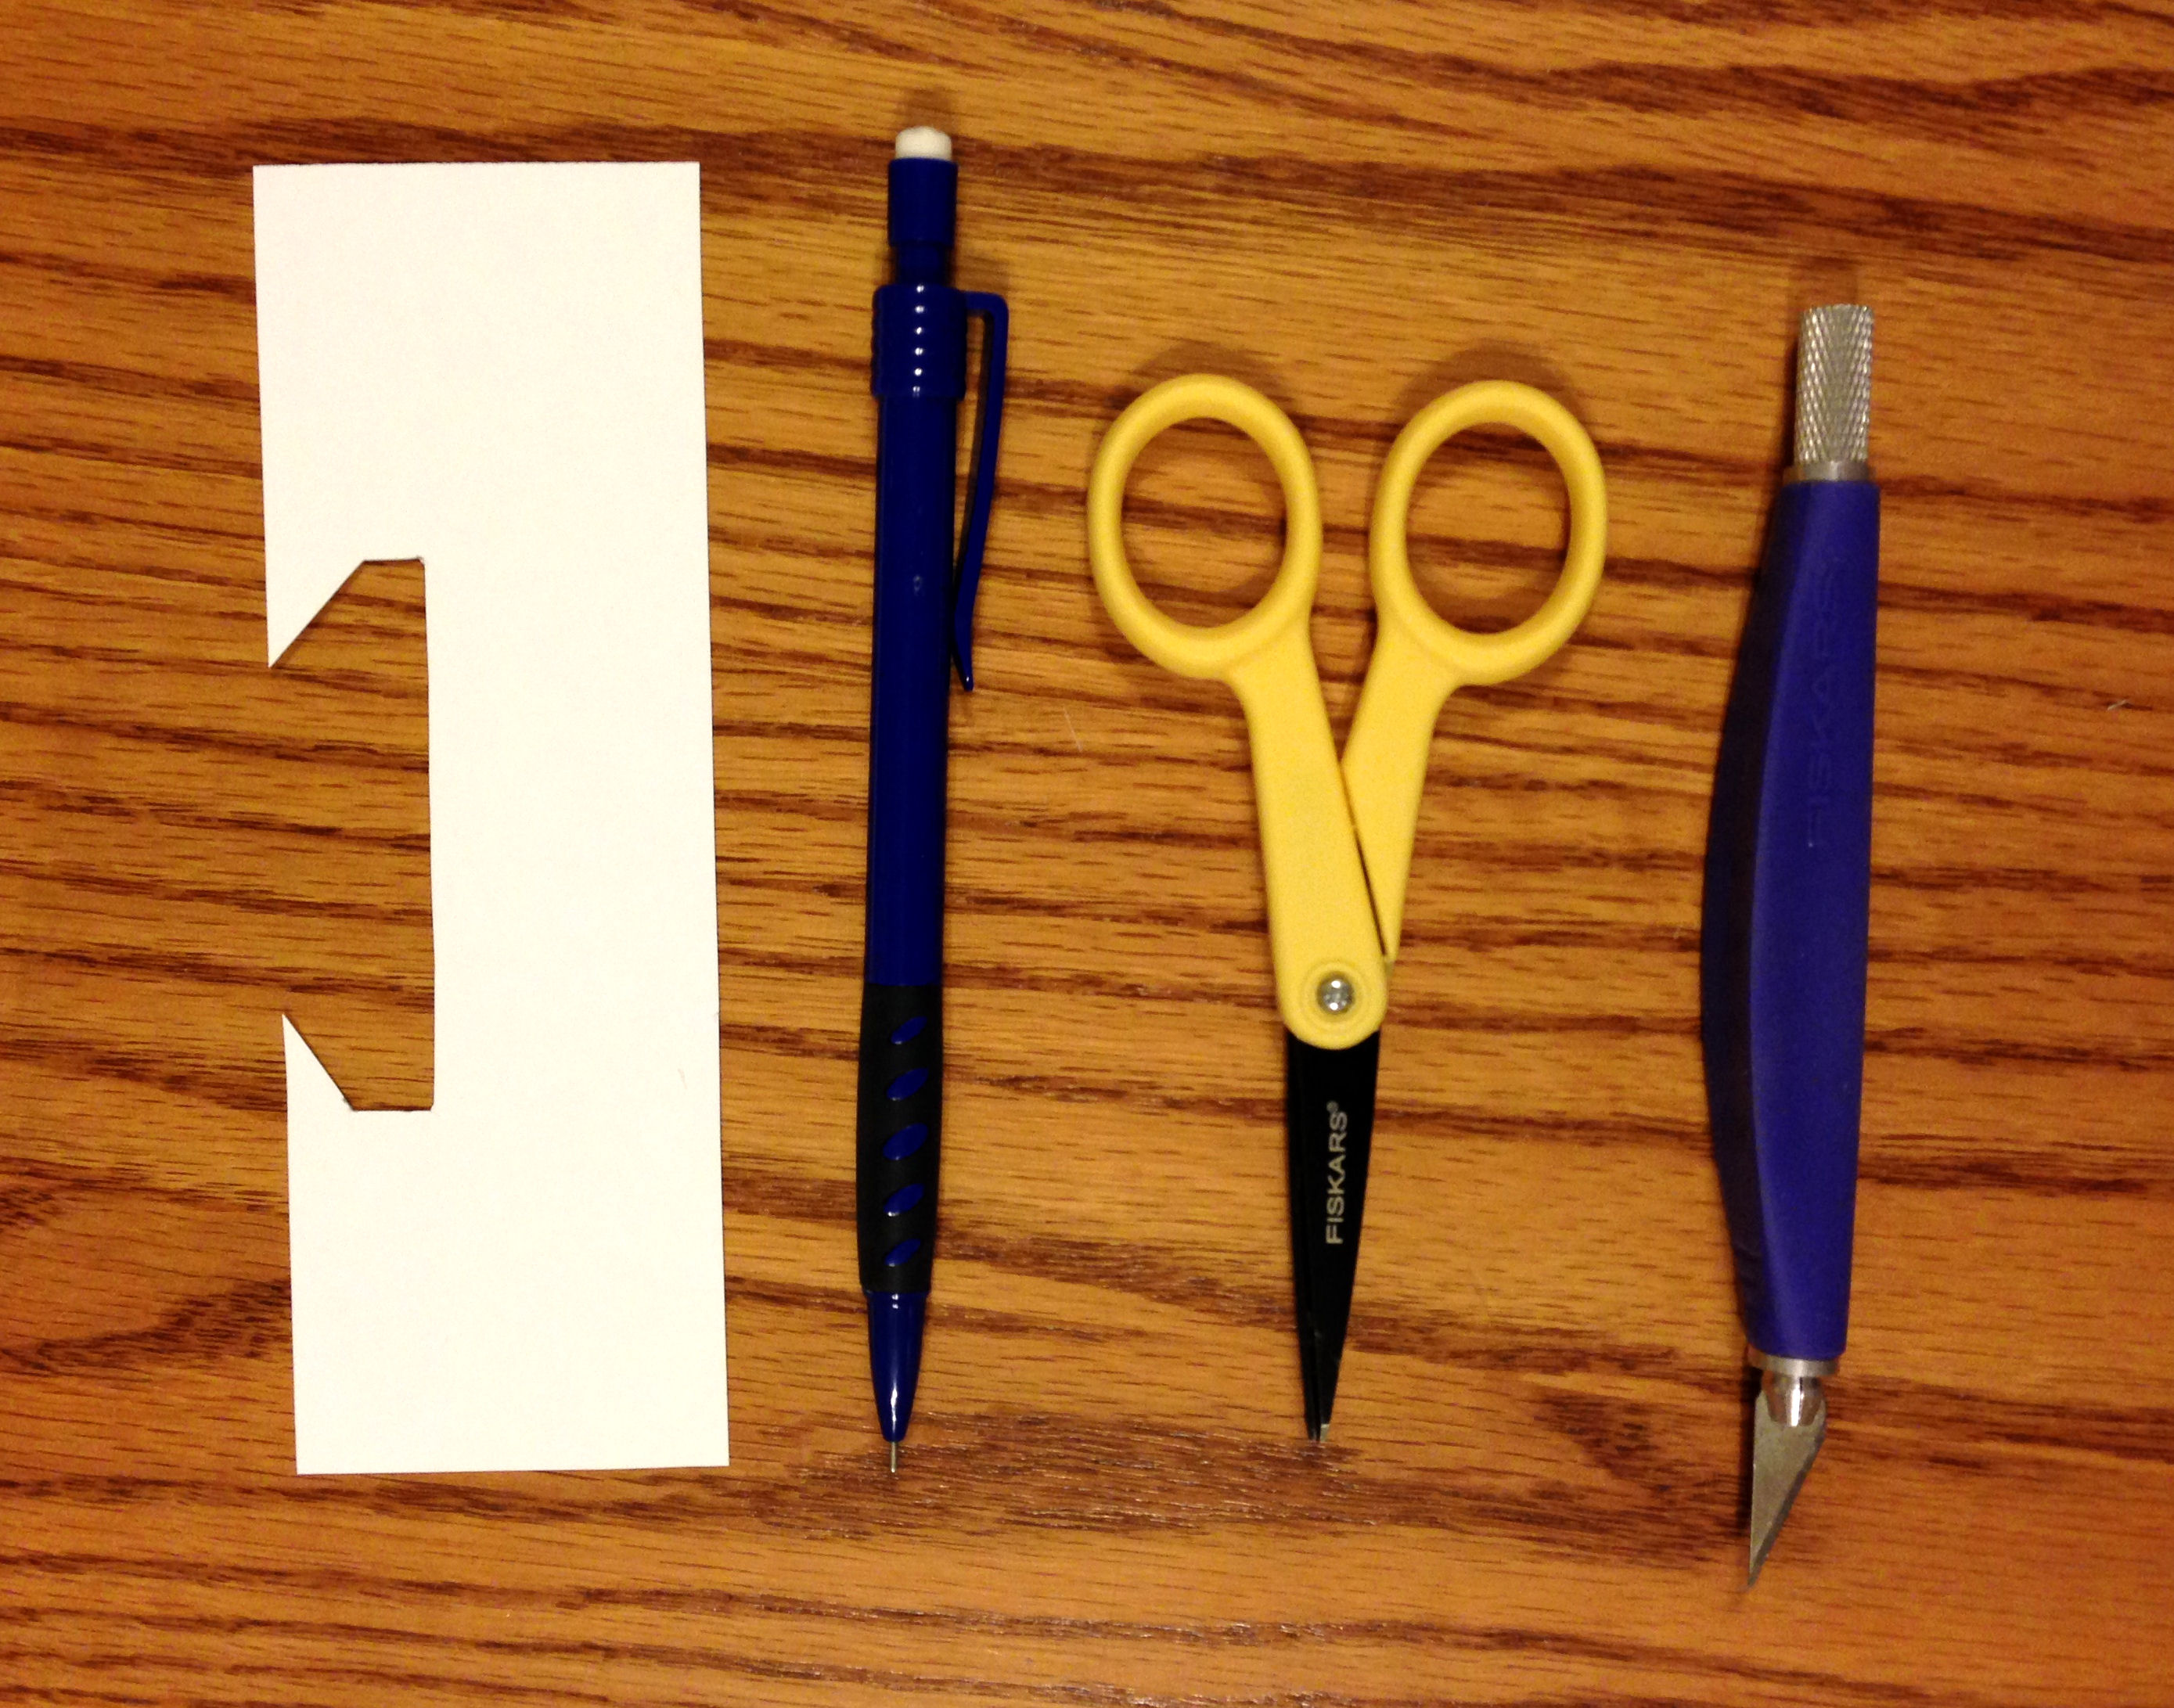
I began by gathering some basic tools: a template for the paper that would fit beneath the clip, a mechanical pencil for tracing around the template, scissors, and an Xacto knife for precise trimming.
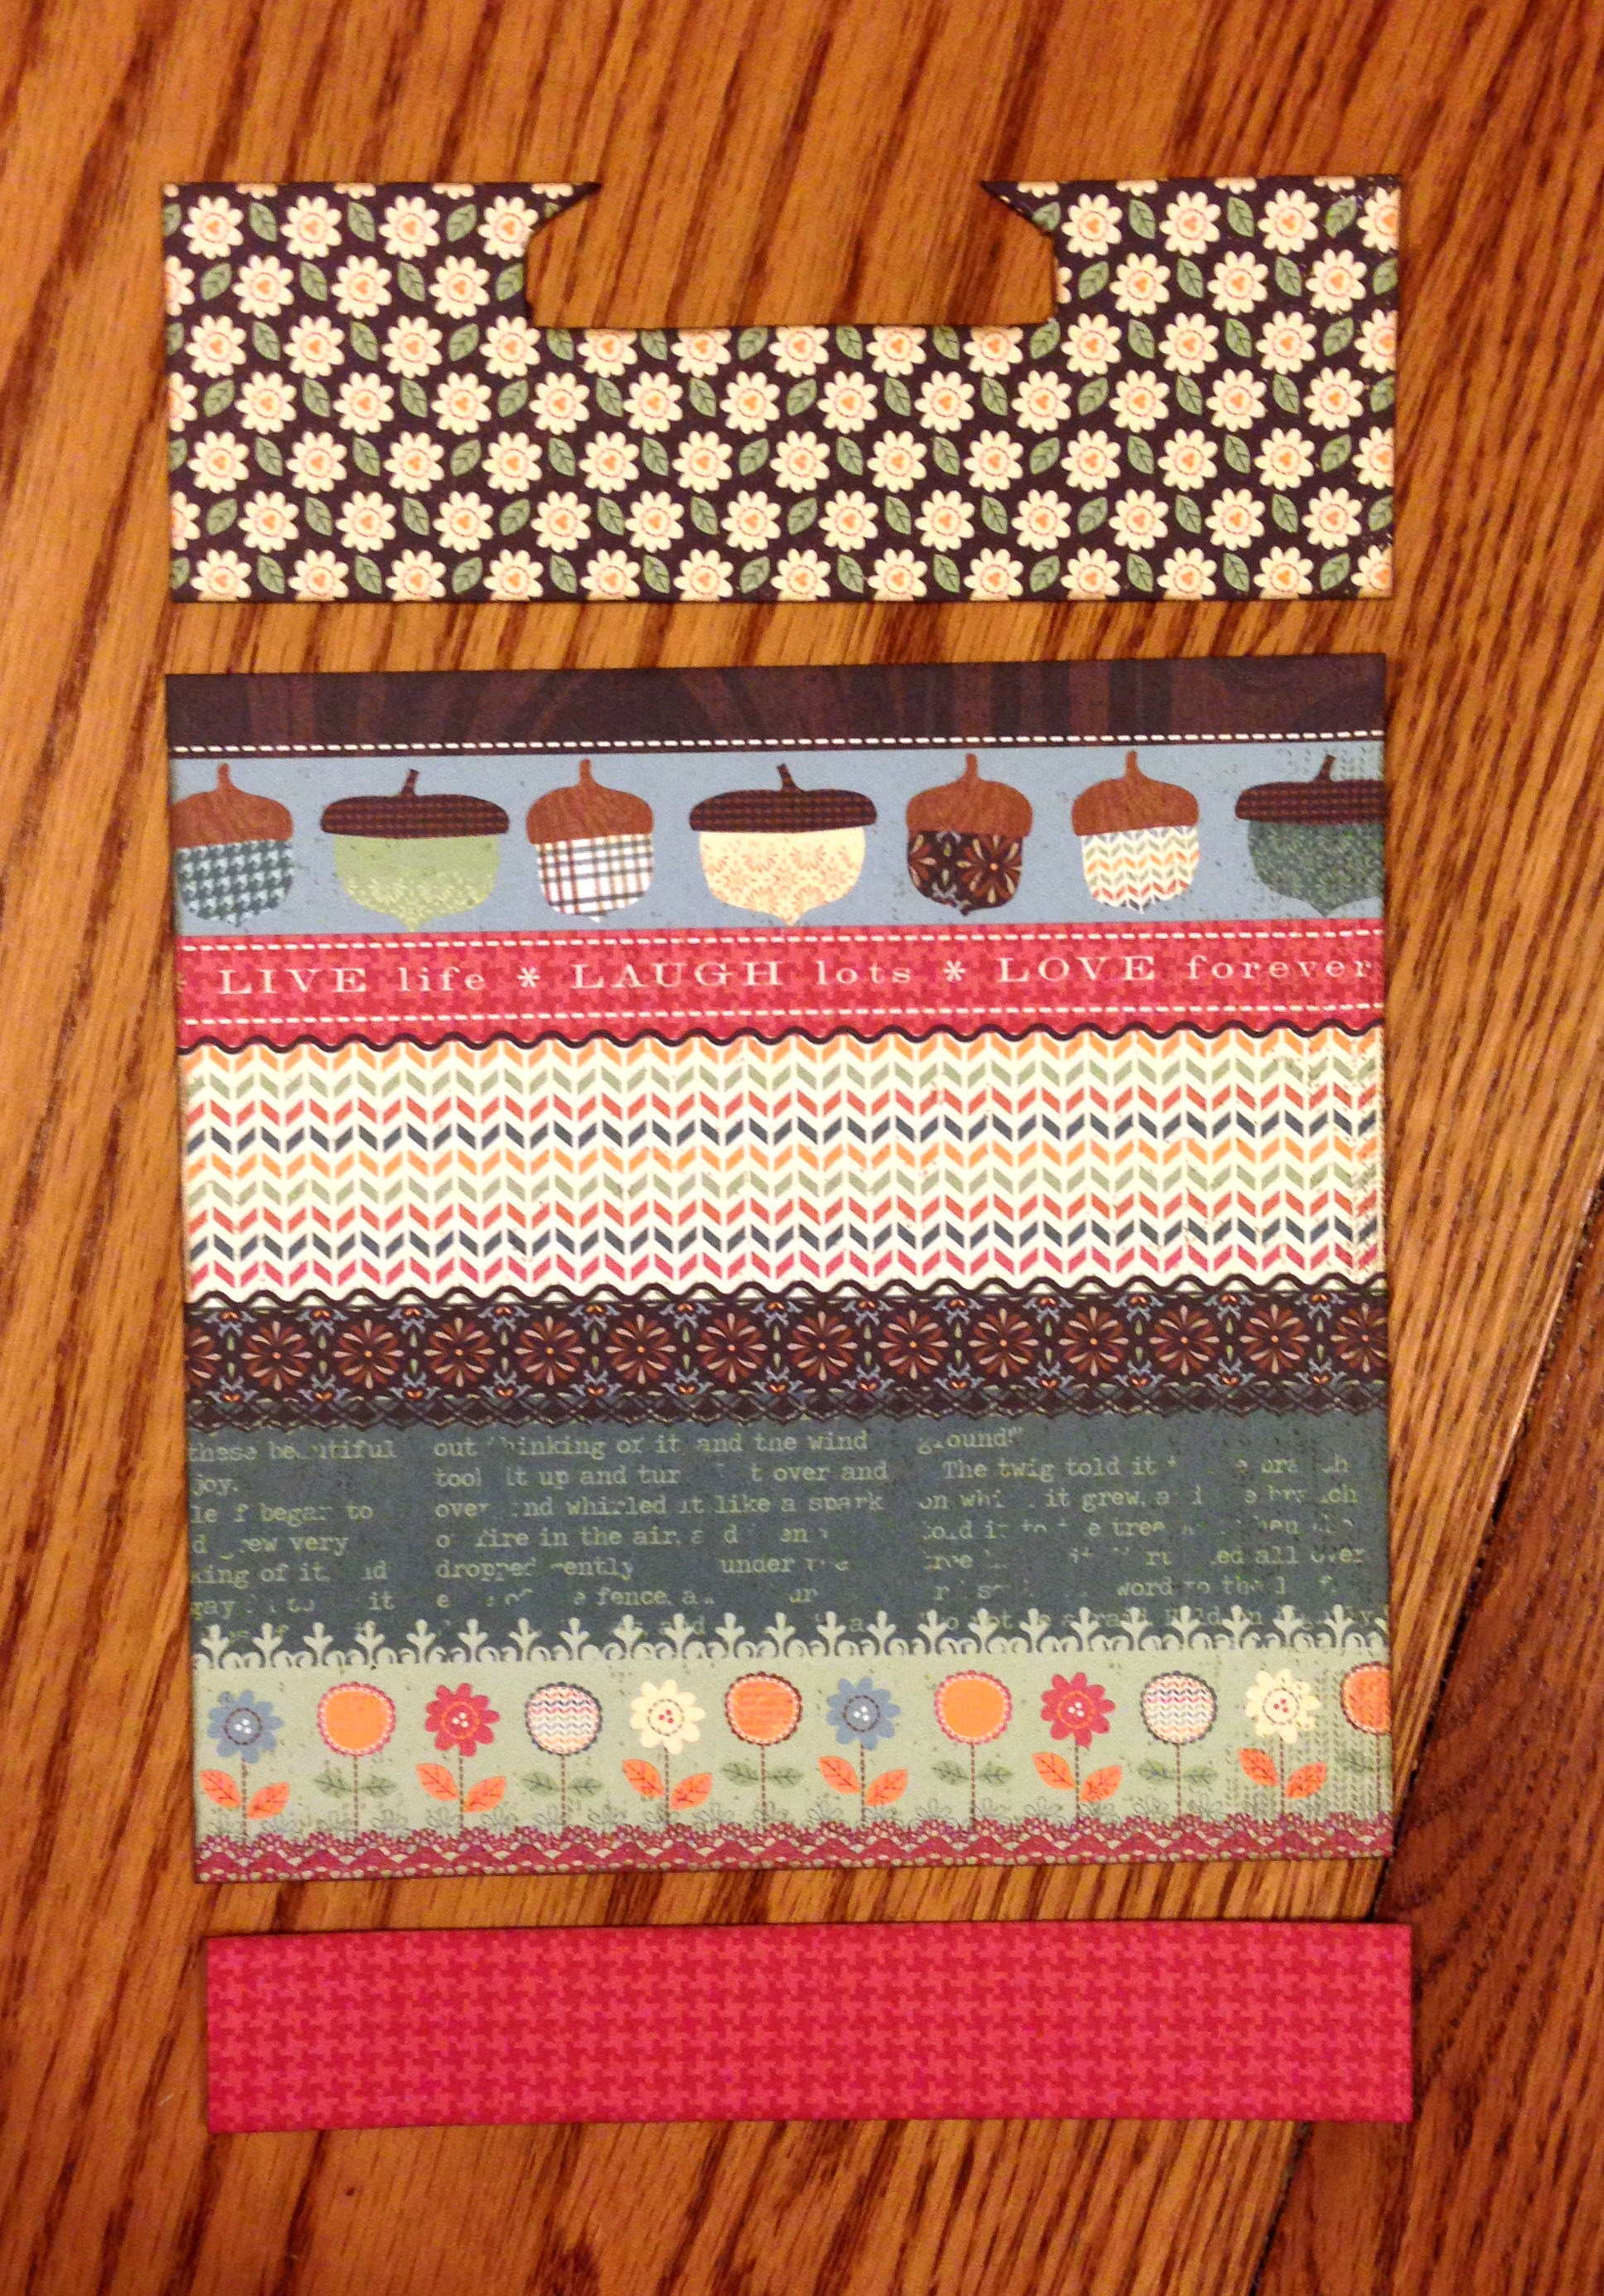
Next came my favorite part: selecting the papers for the clipboard and arranging them in the sequence they would be adhered to the clipboard. I usually use Mod Podge® Matte by Plaid® as a glue. There is a version of this that is designed for paper, but I have not noticed an appreciable difference between it and this version of Mod Podge®. Technically speaking, Mod Podge® acts as a water-based glue, sealer and finish, but I use it mainly as a glue because it’s tacky as a sealer and finish.
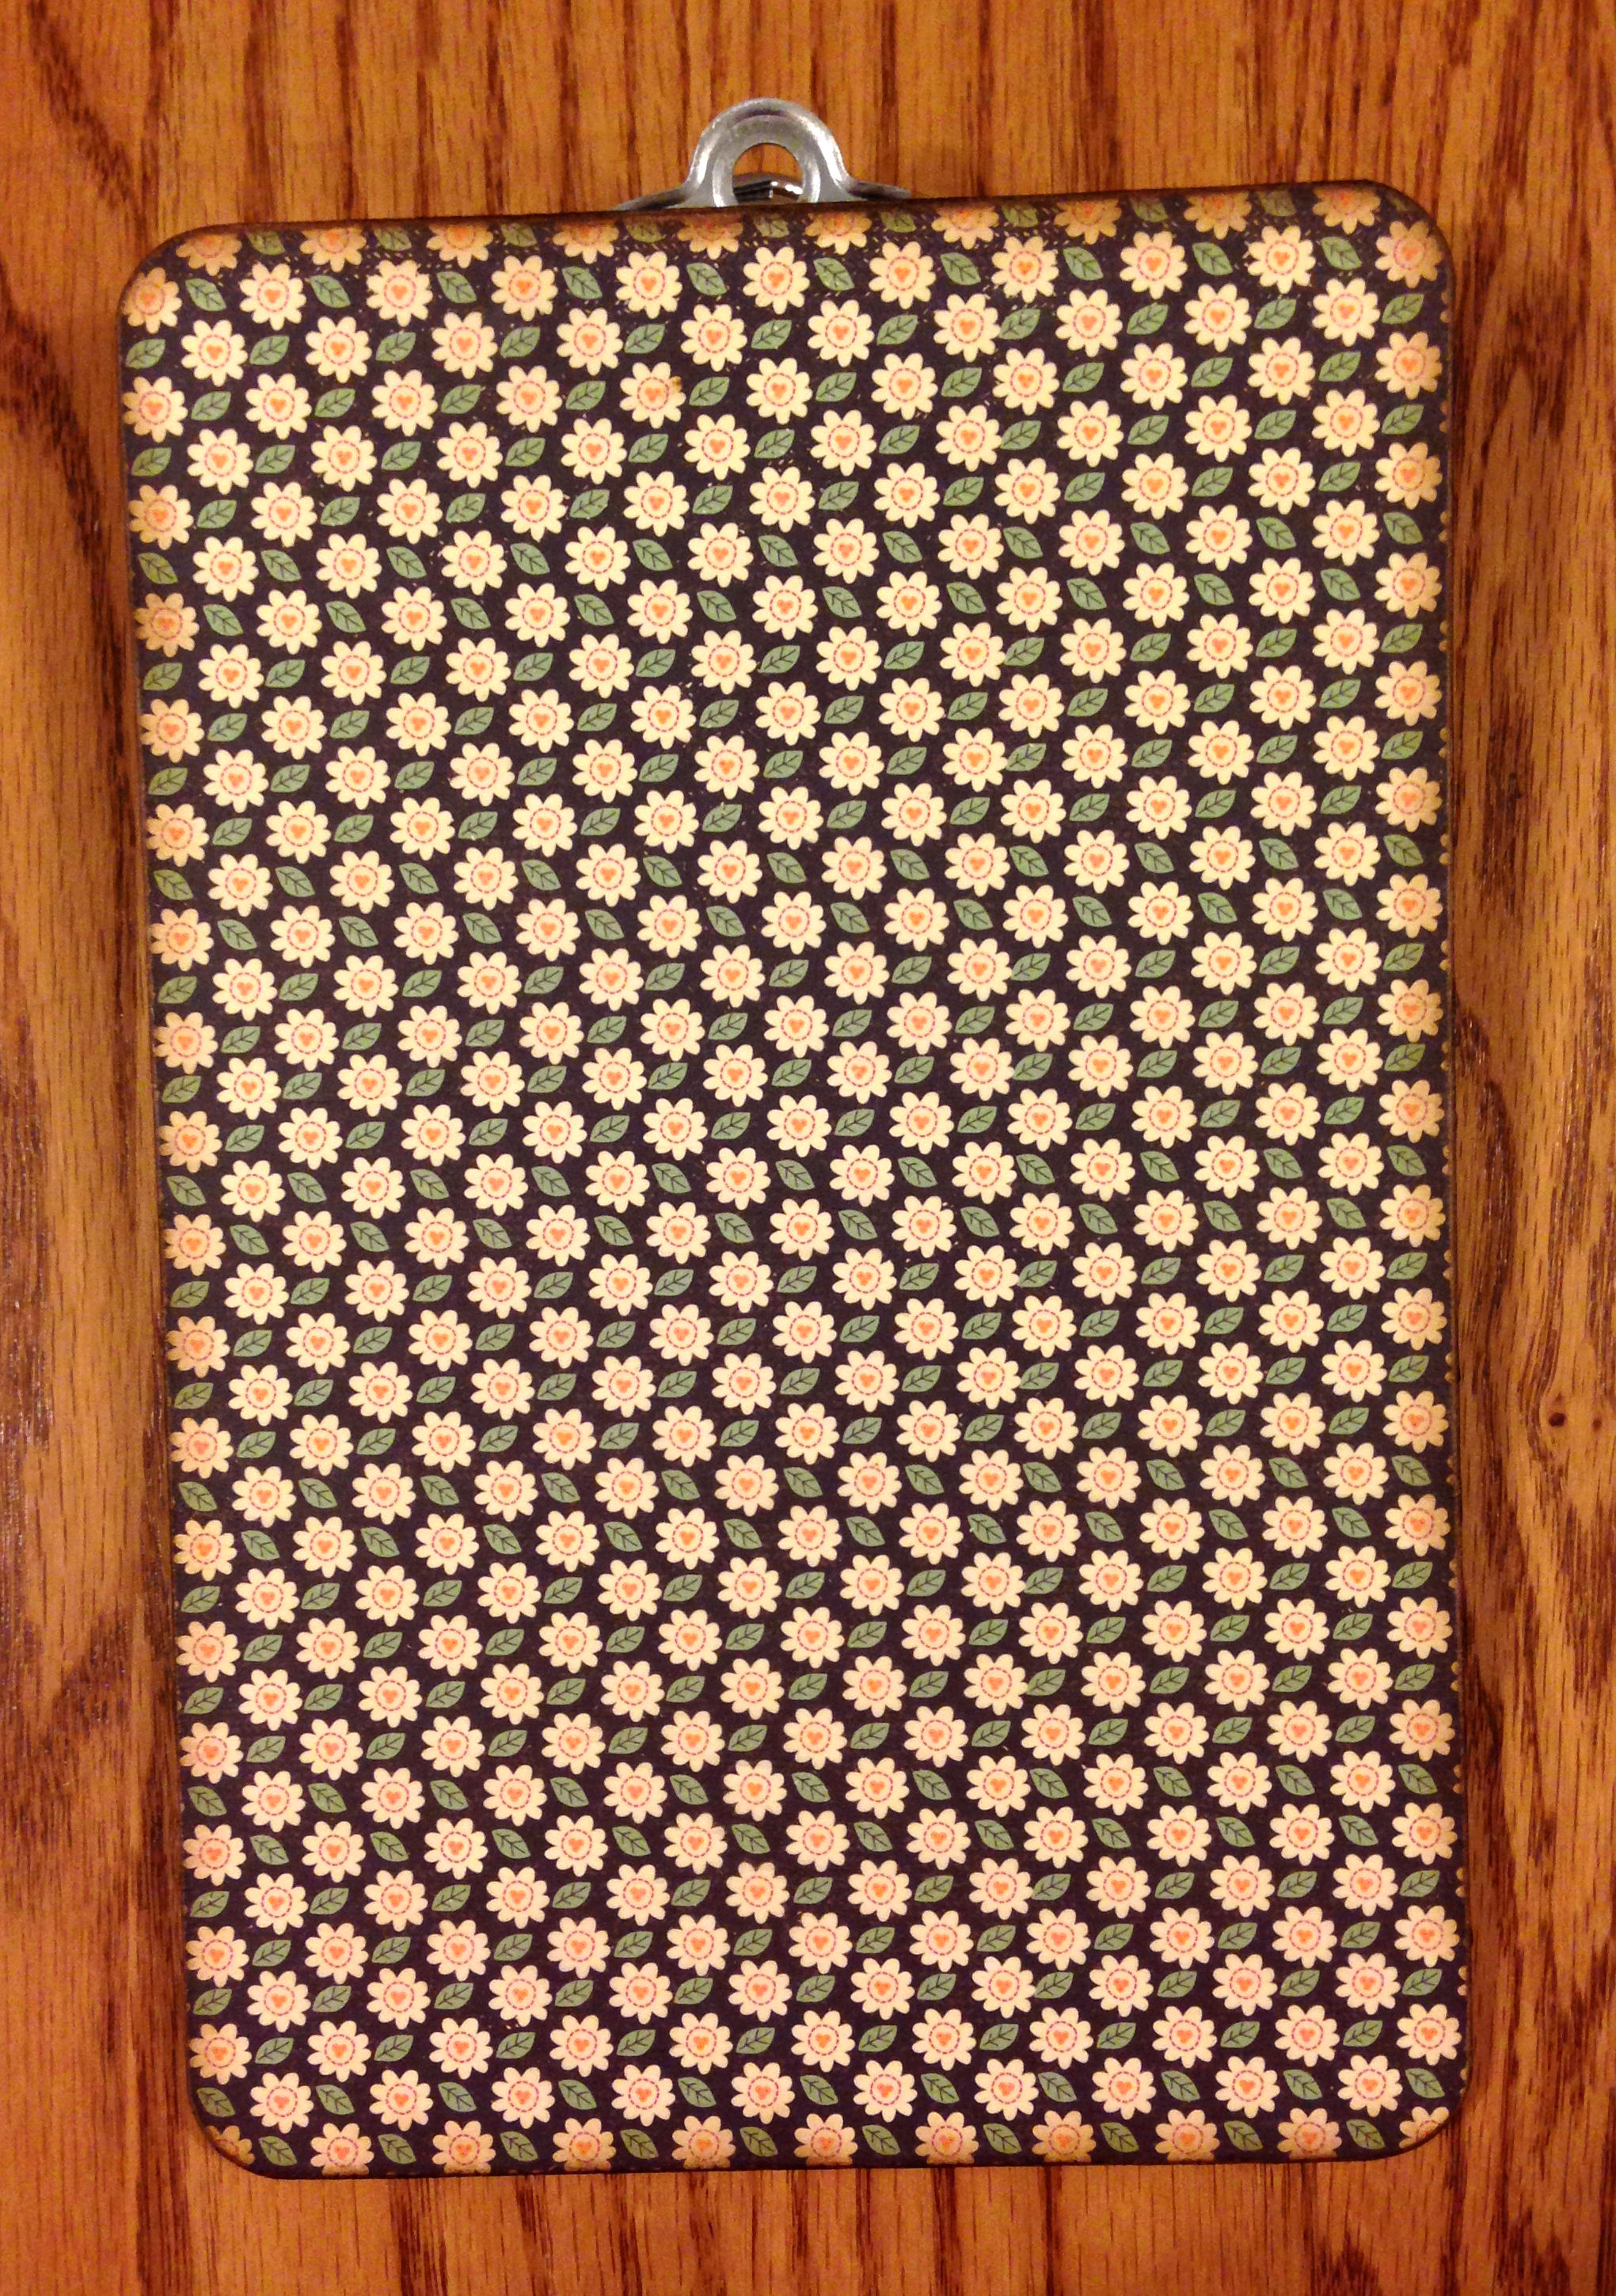
Once I adhere the papers to the clipboard, I sand the edges. The purpose of this is not so much to remove excess paper from the clipboard, but to “seal” the paper to the edge so that it does not lift up over time. After that, I stain the edges with Tim Holtz Distress Ink in Walnut Stain. This is the back side of the clipboard. I don’t suppose you really need to cover the back, but it gives the project a finished look.
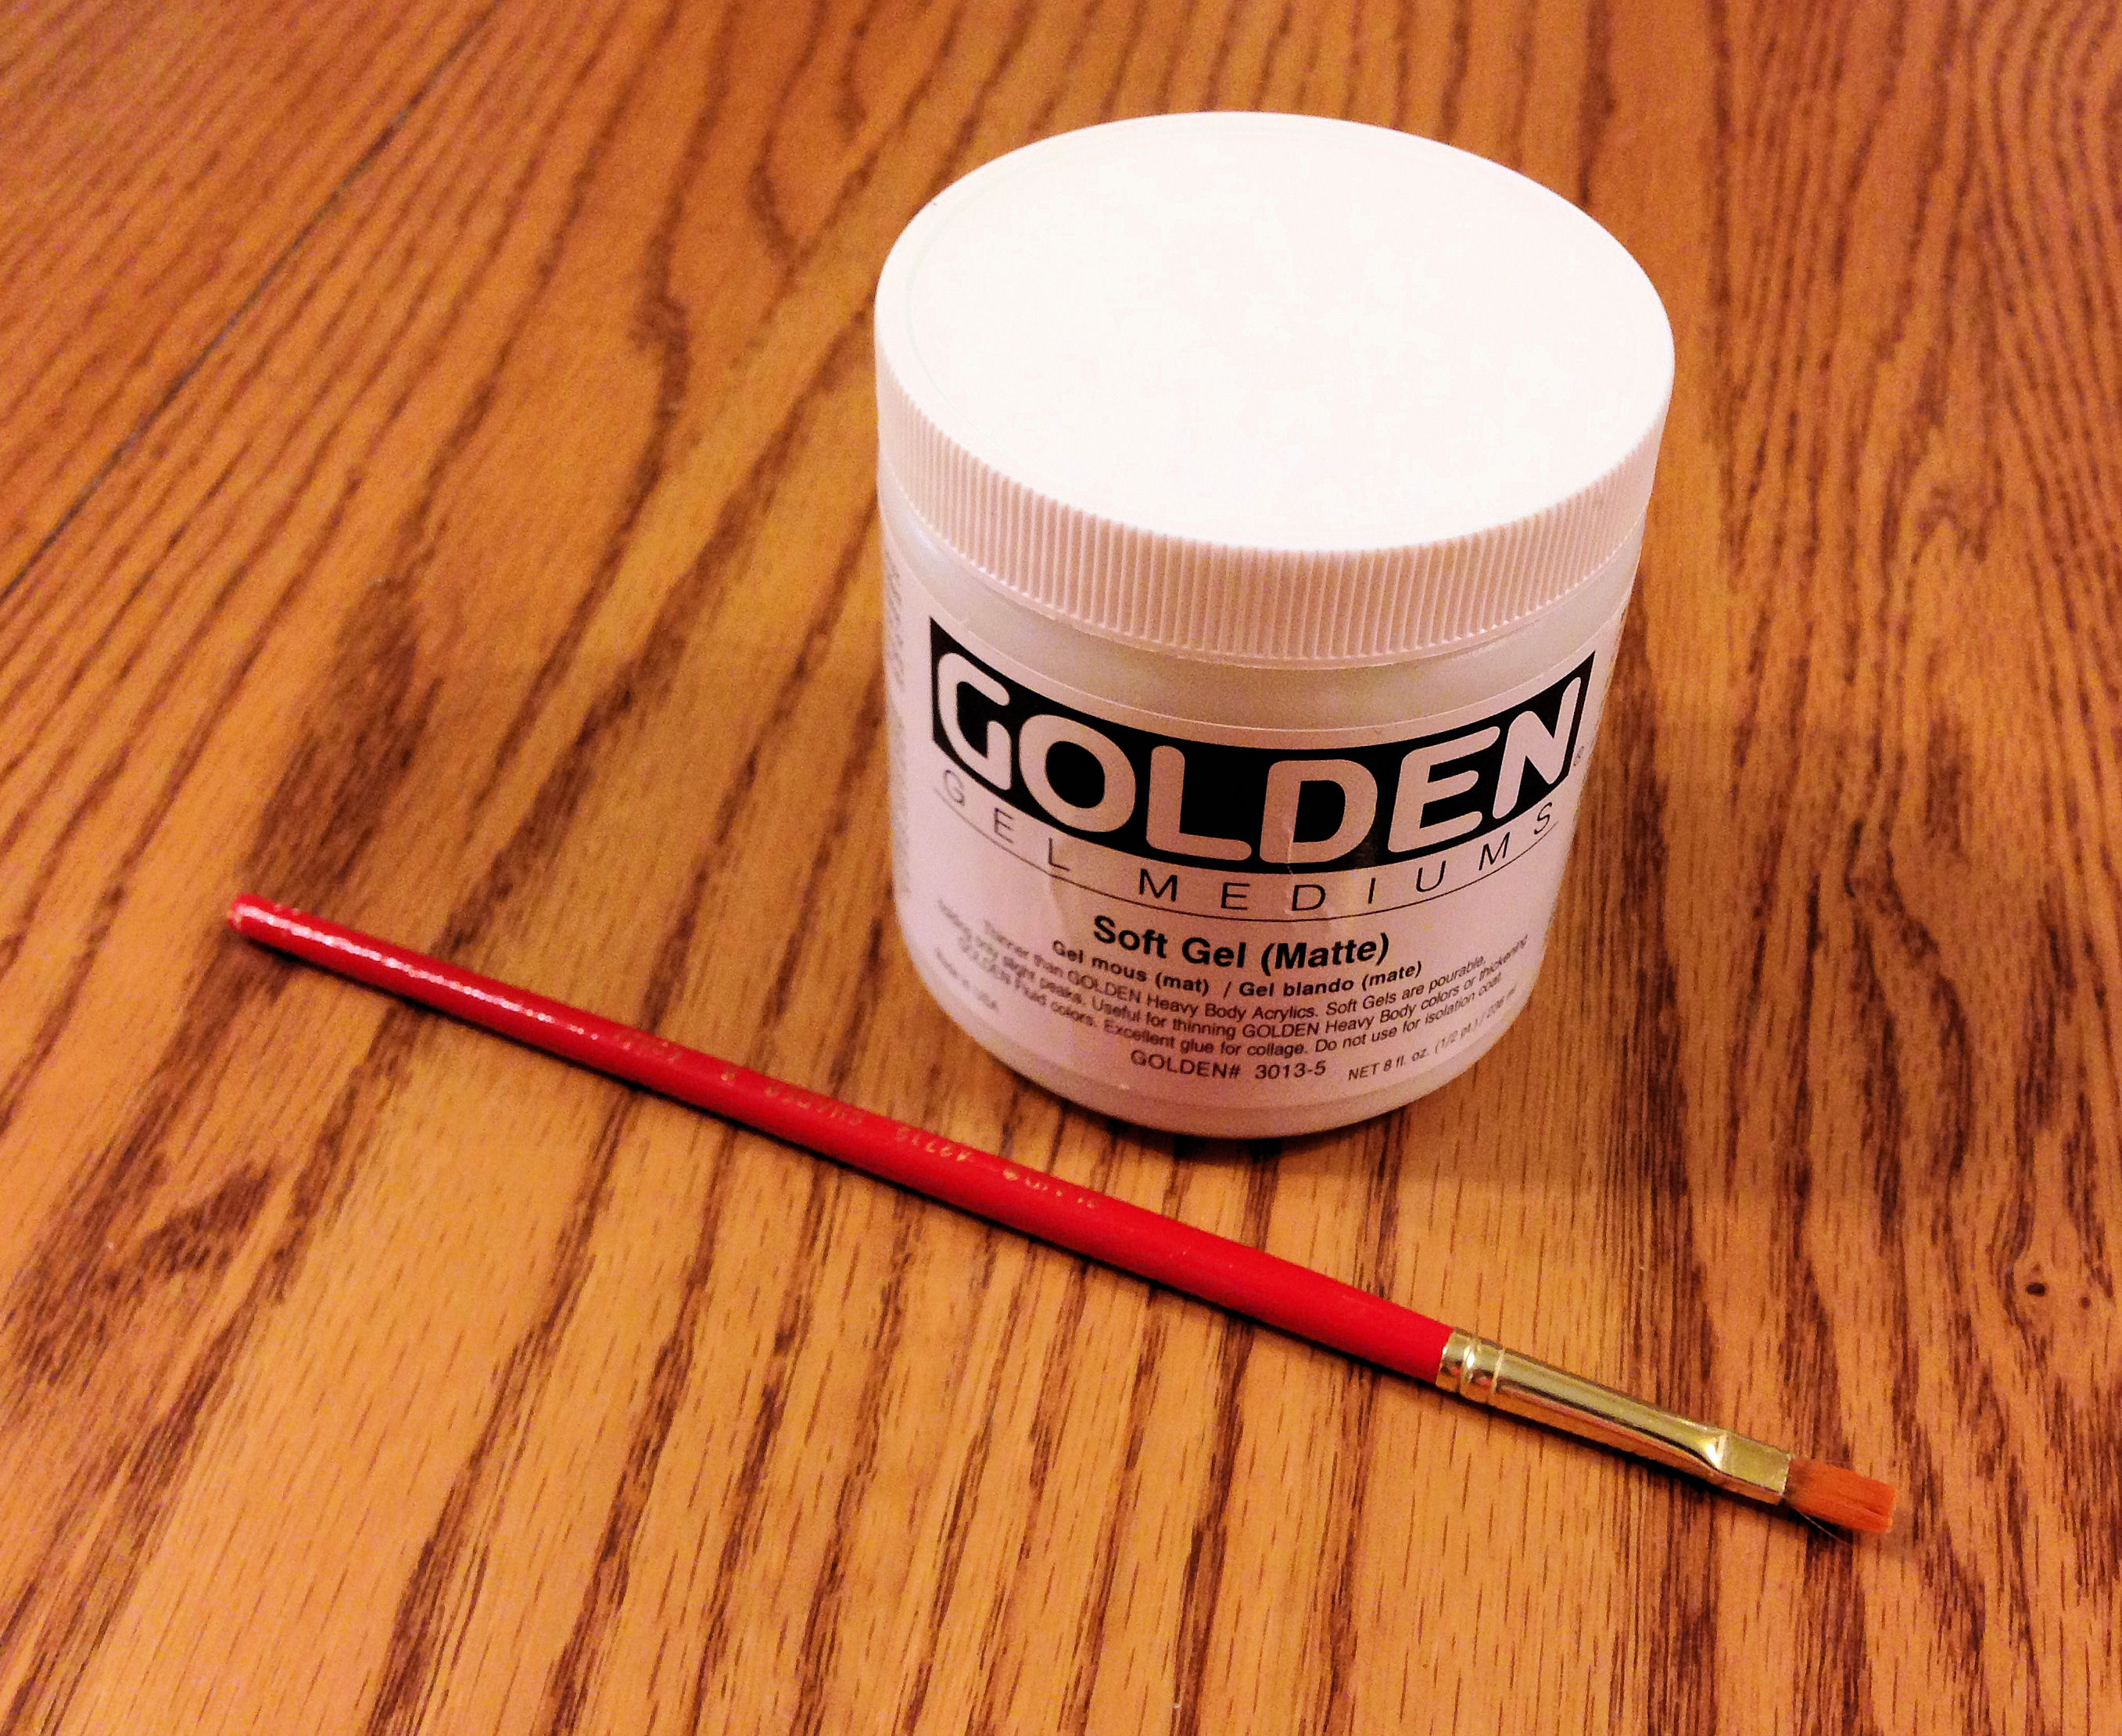
To protect the paper from water spills, nicks and clip abuse (that clip grips a paper pad pretty firmly, but when there’s nothing to grip, it acts like a knife on the decorative paper), I brushed it with several coats of an acid-free gel medium, specifically Golden Soft Gel Medium. A gel medium is typically used in collage work, much like Mod Podge®, but the difference is that it’s not tacky when it’s dry, thus it’s great to use as a sealer and finish. I don’t generally use it as a glue, however, because it is definitely more expensive to use than Mod Podge®.
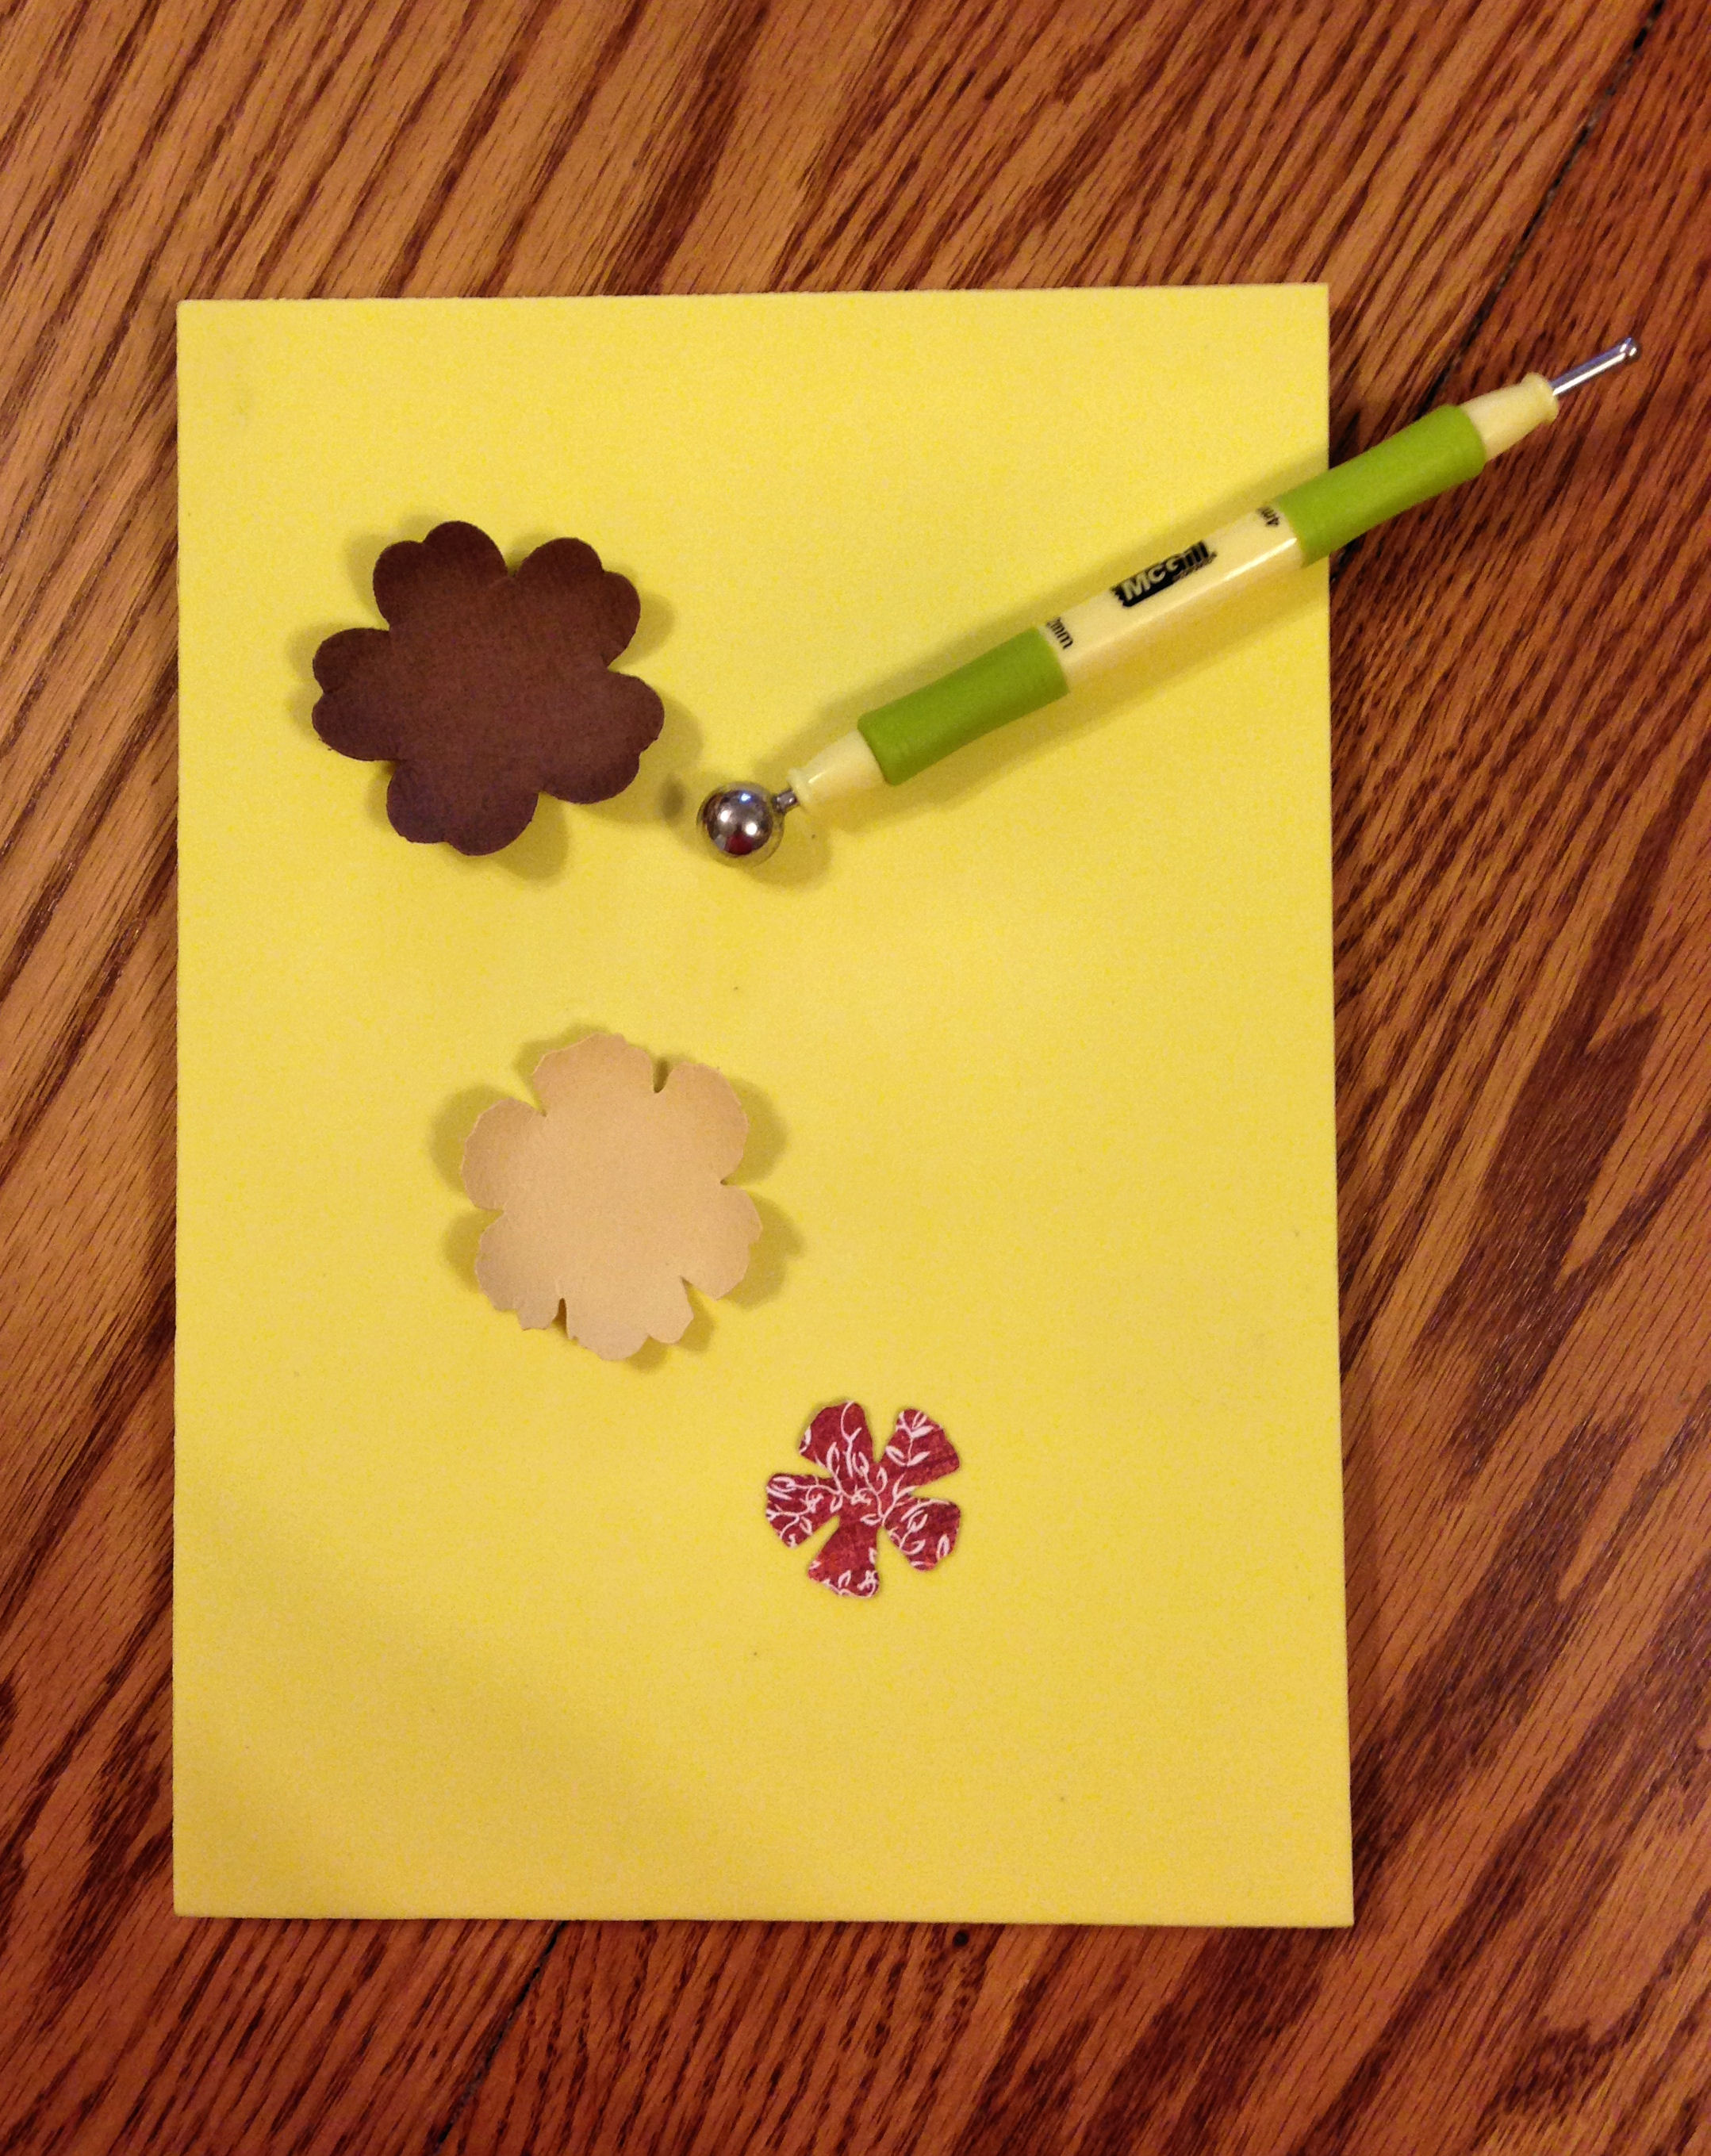
To make the layered flower, I used three different flower dies and my Big Shot to cut the flower shapes. There are so many different ways to make flowers that if you don’t own a die, it really doesn’t matter. You can even cut your flowers freehand, and then simply layer them. To give mine a 3-D look, I curved the petals by using a McGill® embossing stylus and mat.
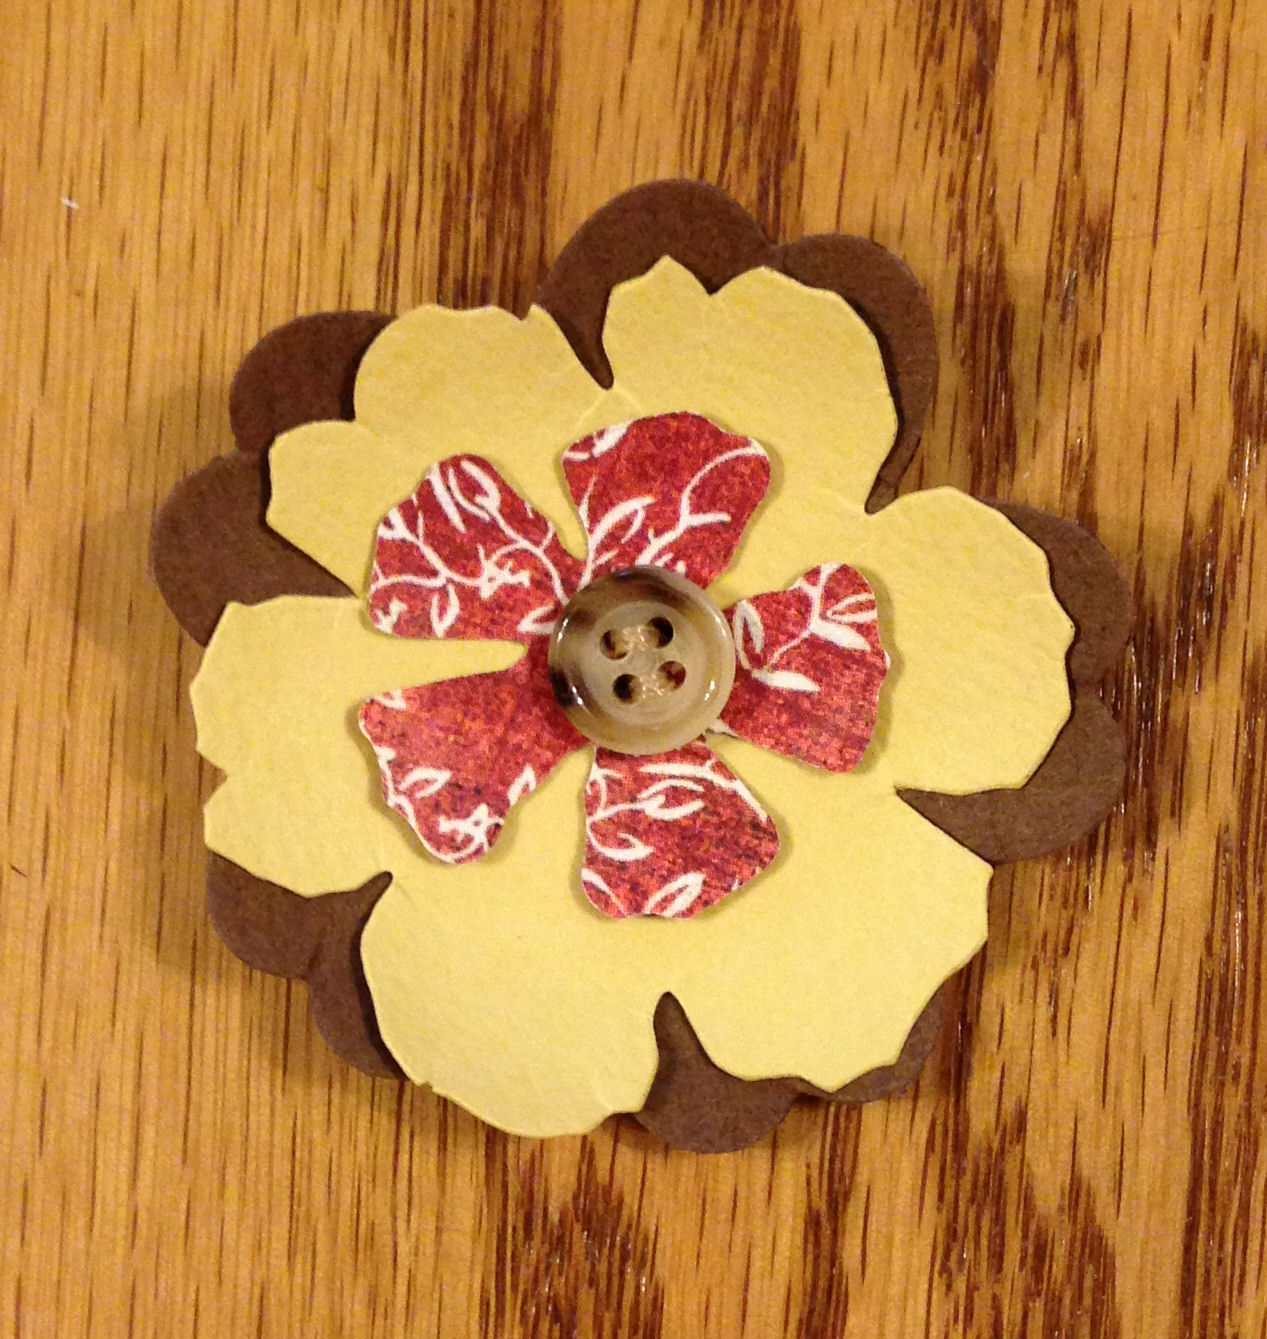
I applied some glue between the flower layers, and then sewed a button on top. I think it took longer to locate all of the equipment for the flower than it took to assemble it!
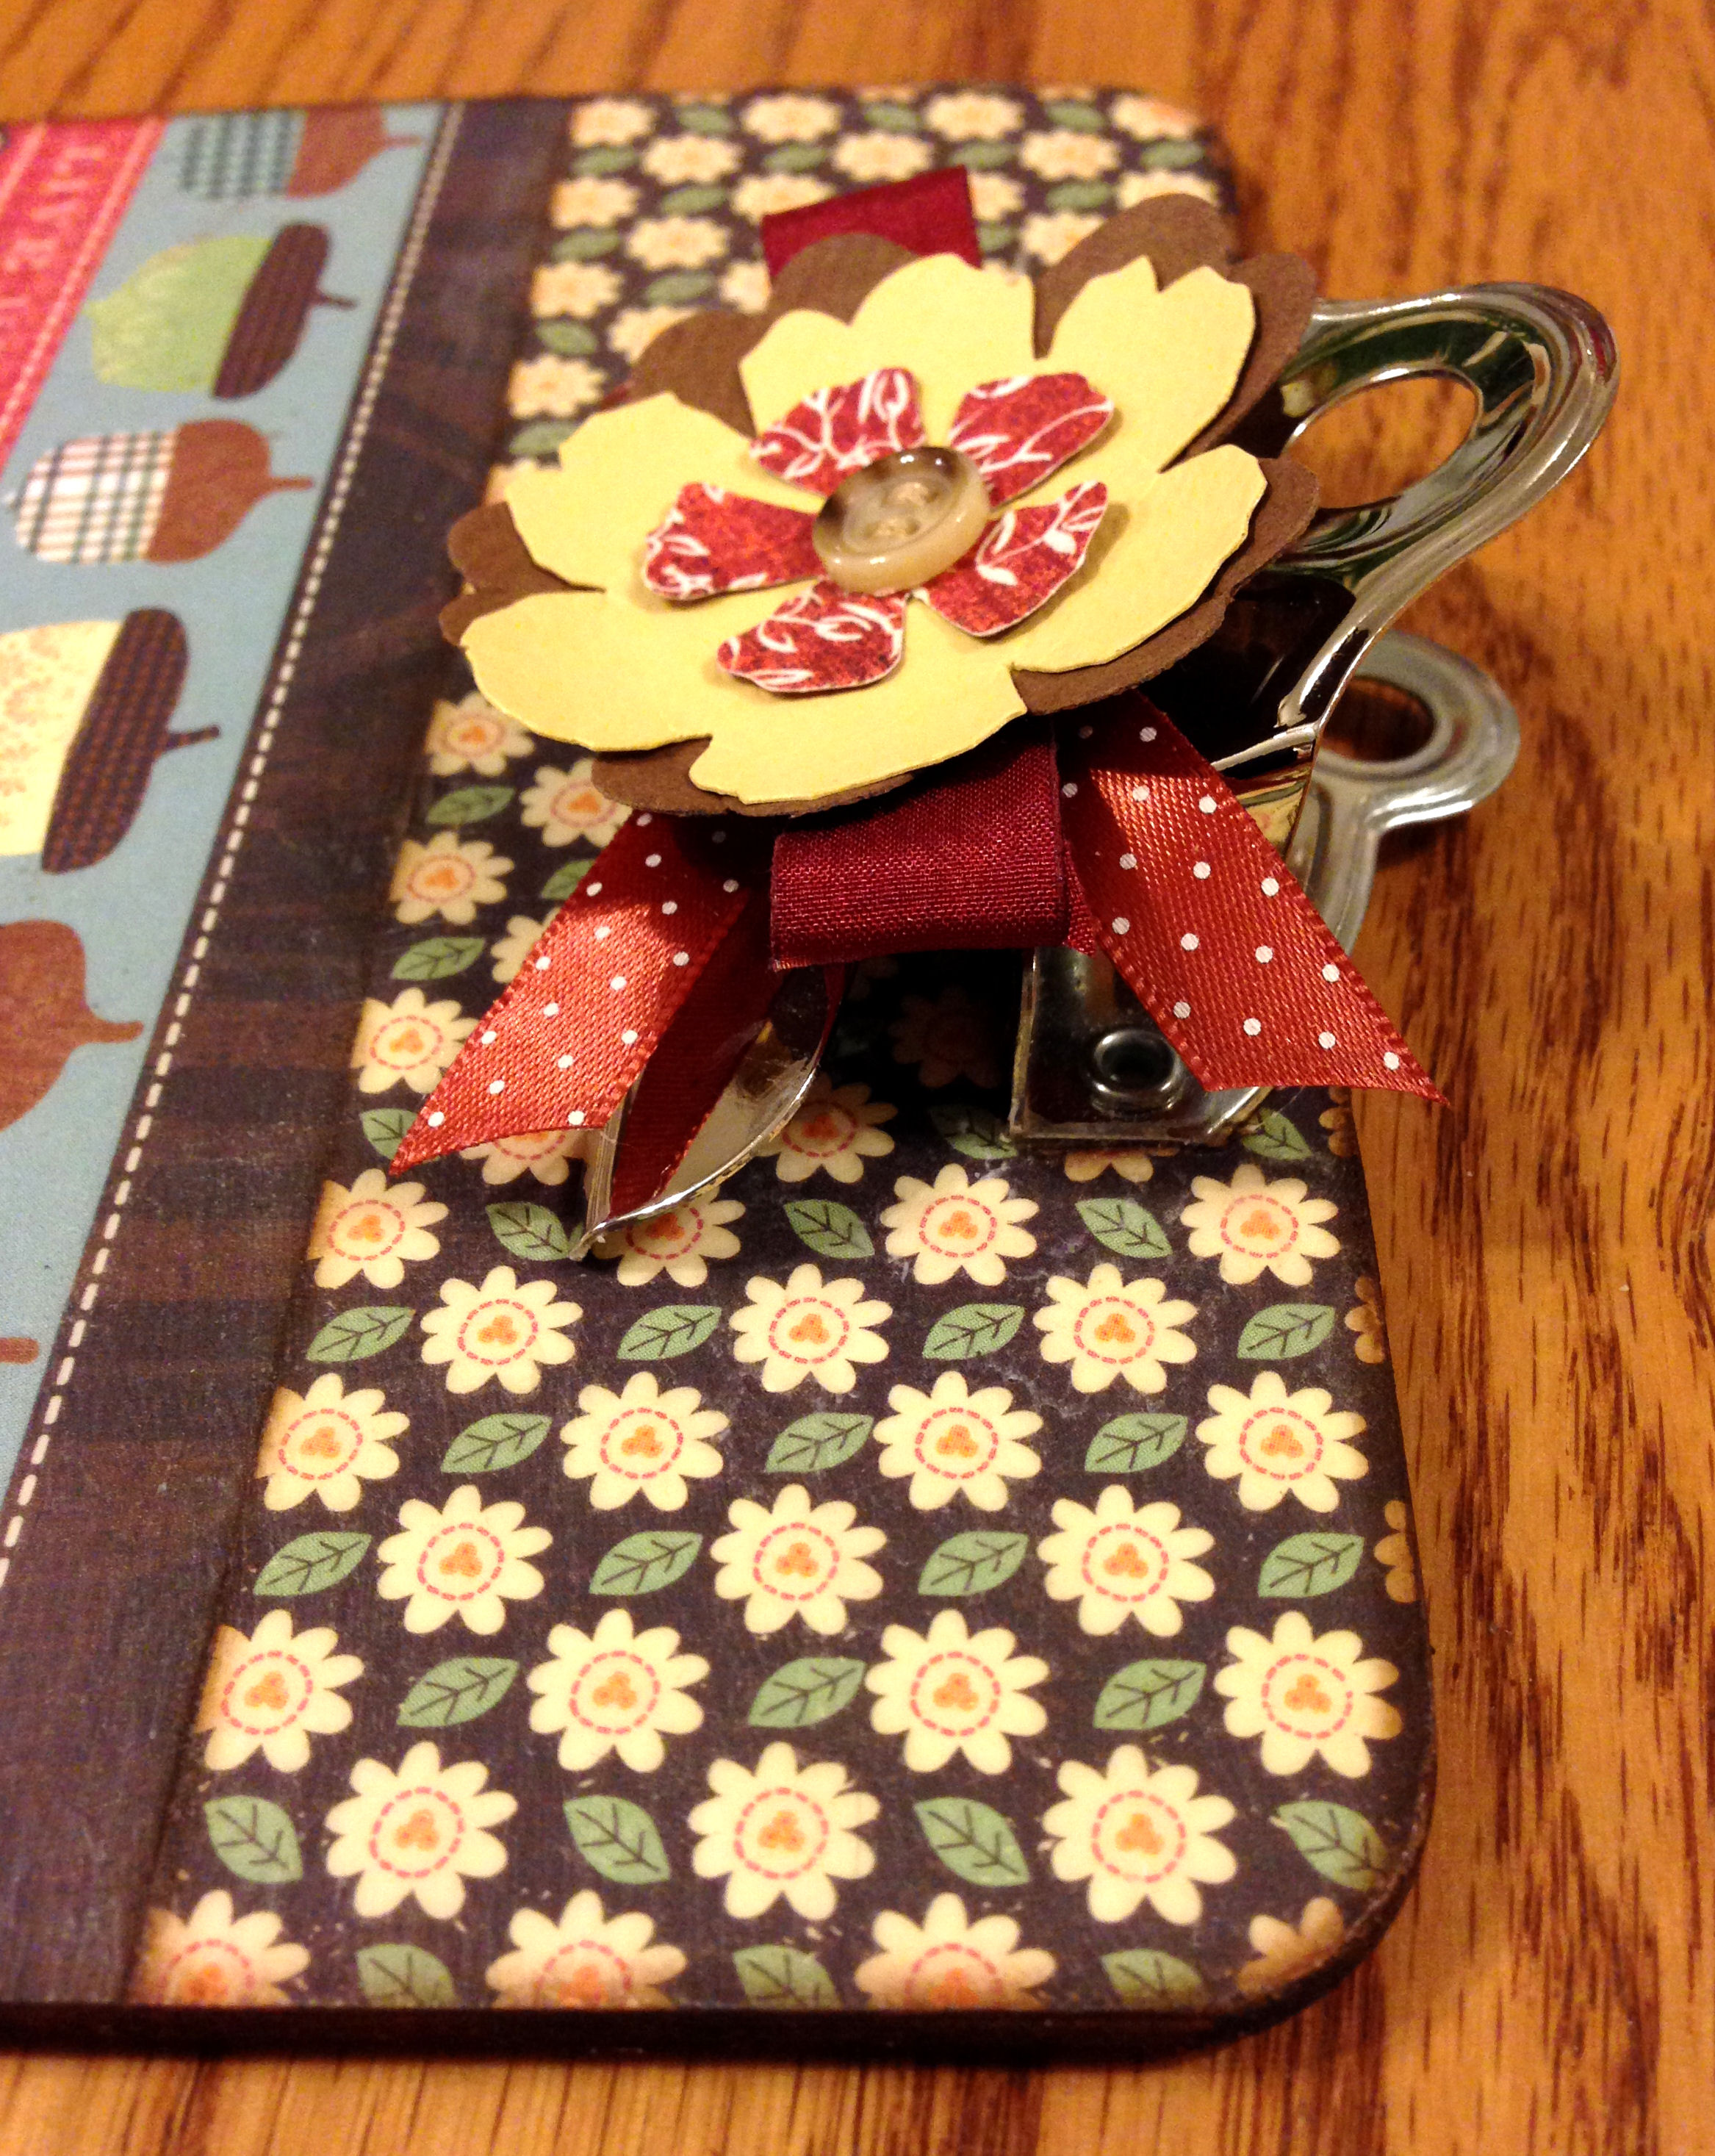
I added some coordinating ribbon to the back of the flower, and then attached the finished flower to the clip with adhesive Pop Dots from Plaid®.
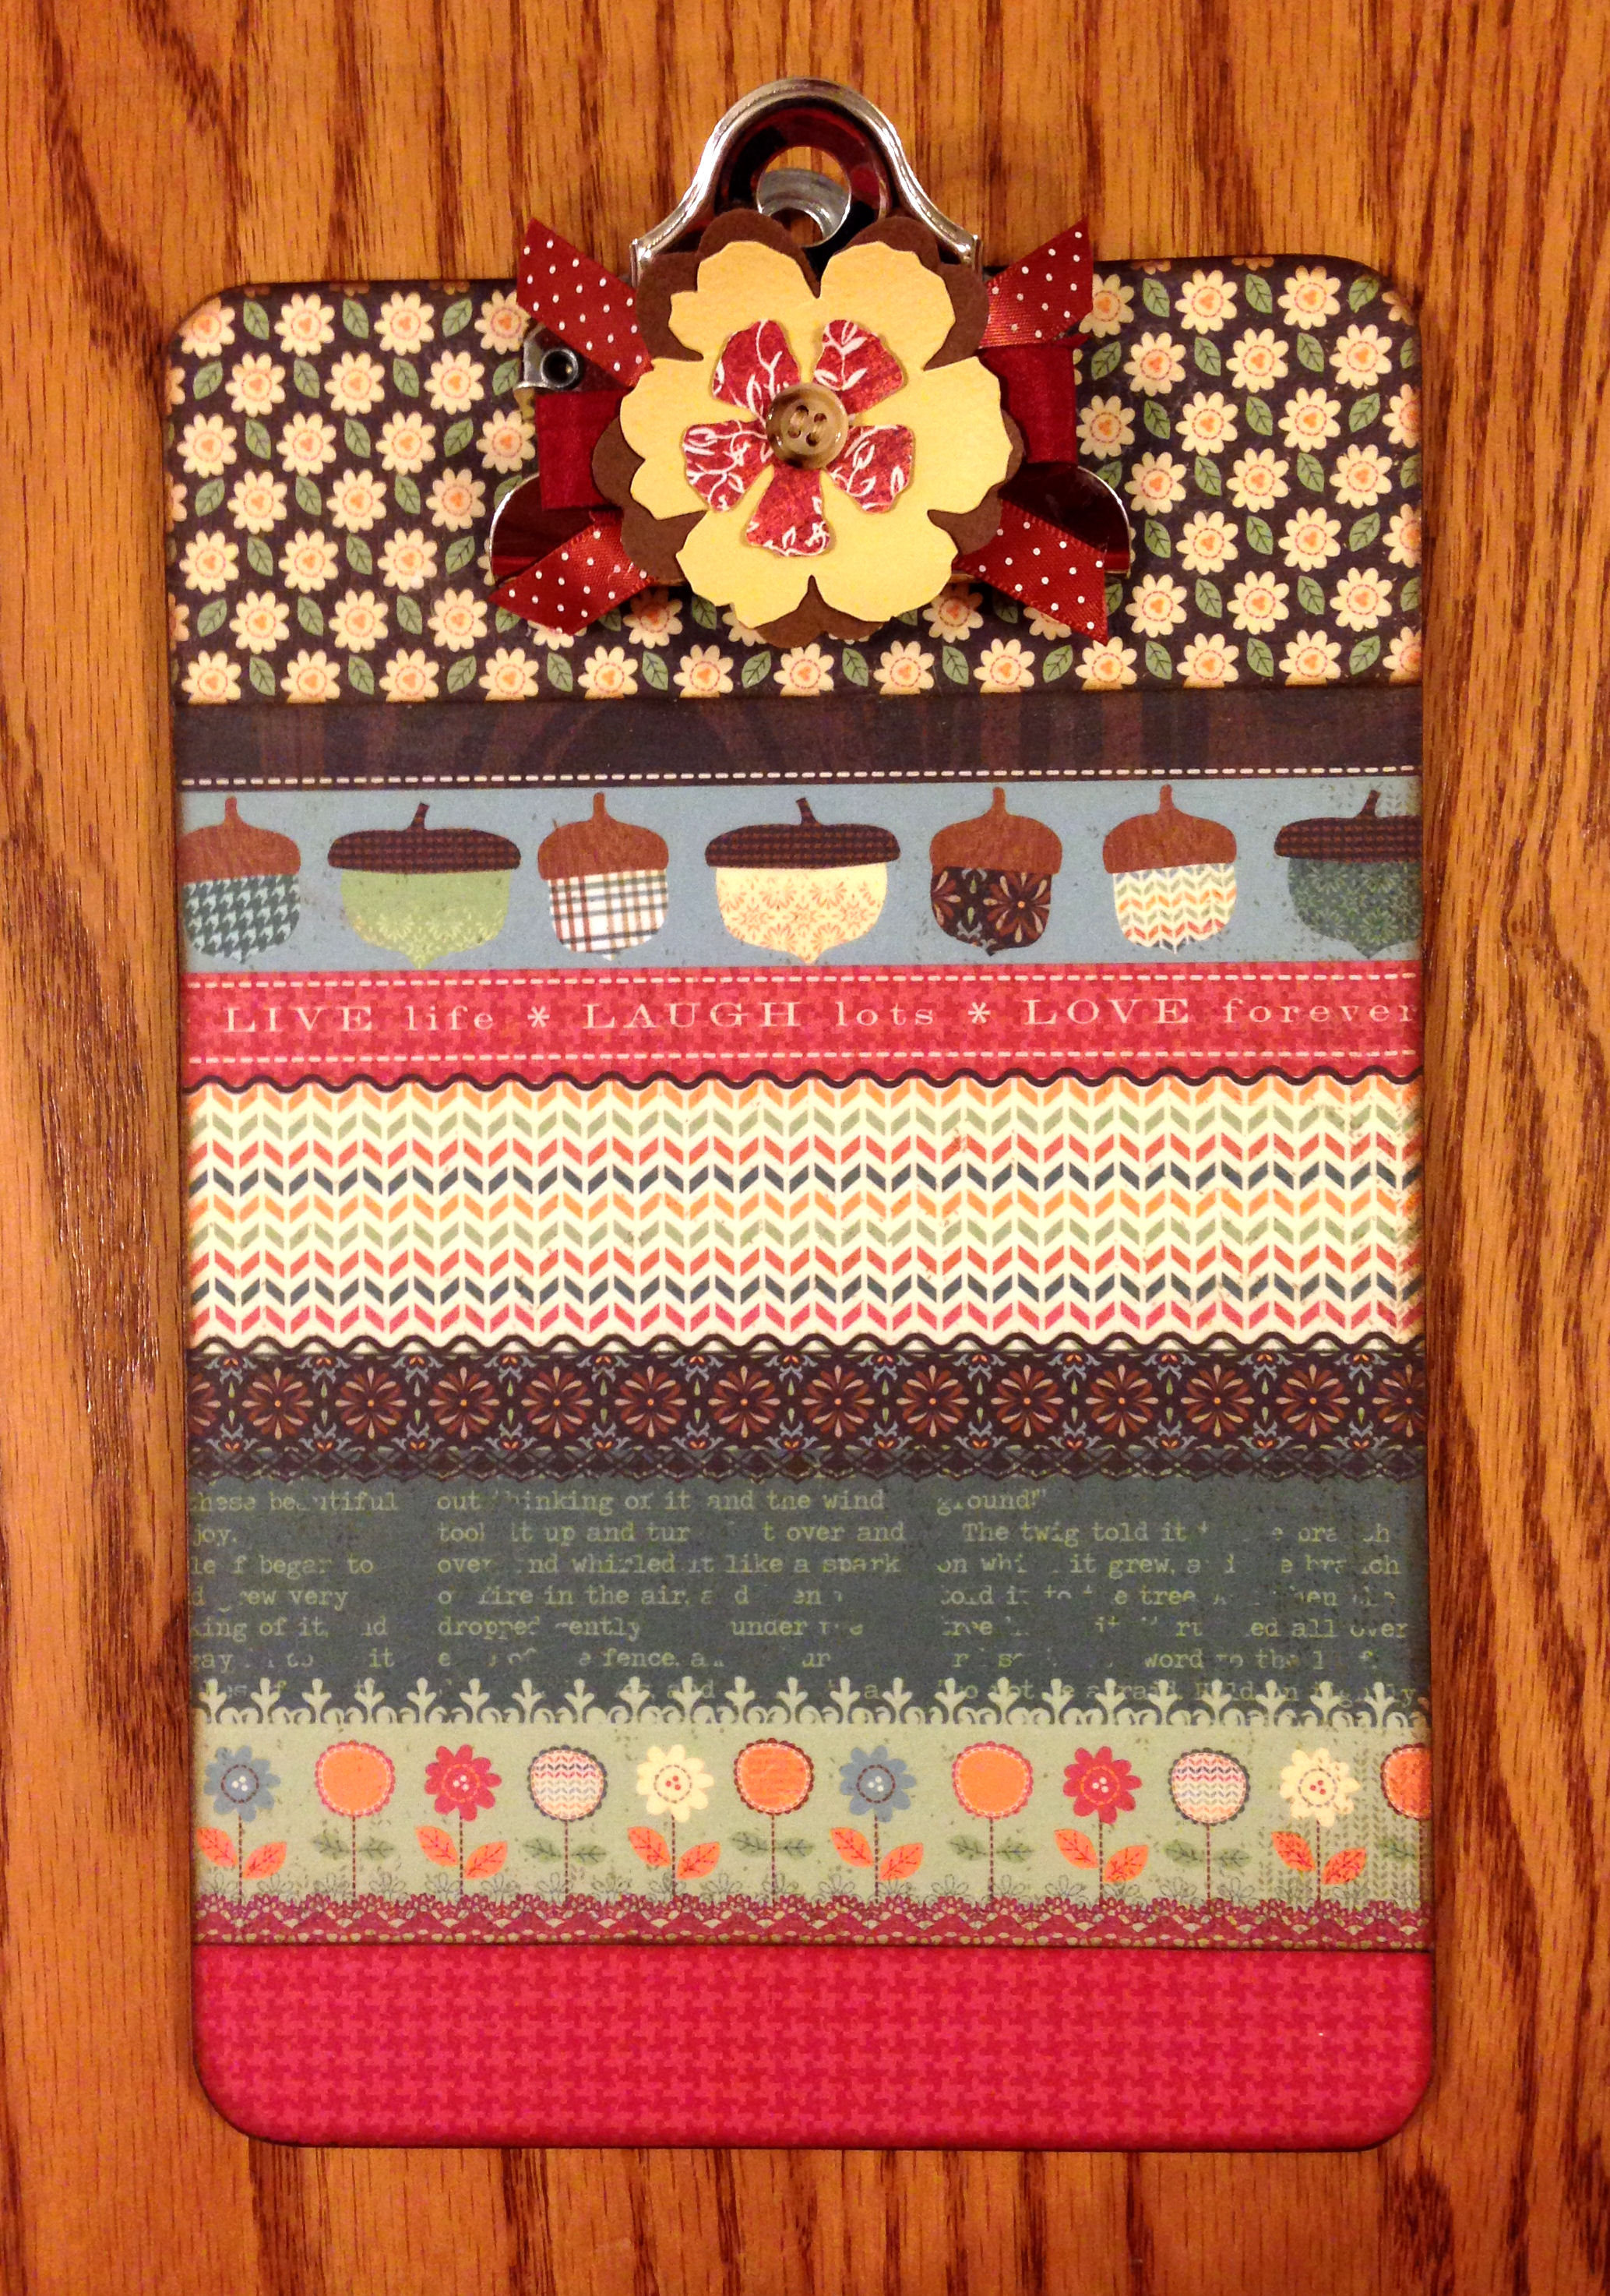
Here’s the finished clipboard, which will be shipped tomorrow. It takes a while to complete these clipboards, but it’s a fun process.
© 2014 Judy Nolan. All rights reserved.
I love it! I use a standard size clip board all the time at home and have a couple for craft shows as well. I’ve always thought about decorating them.
Wow – so much detail! The clipboard is really pretty and I’m sure your customer will love it.
Love seeing your process, even listing the products that you used! And I love the finished product–I am sure your customer will love it too!
I love seeing how different products come together. It looks great!