I seem to be on a roll this week, crafting paper flowers from Spellbinders dies. The flowers from the previous two days had lots of pieces and took quite a while to assemble, so today I decided to do an easy one using the Spellbinders “Blooms One” Die D-Lite, which consists of three daisy-like florets. No instructions were provided, likely because it is obvious that you’re supposed to cut out your shapes, stack them, and stagger the petals.
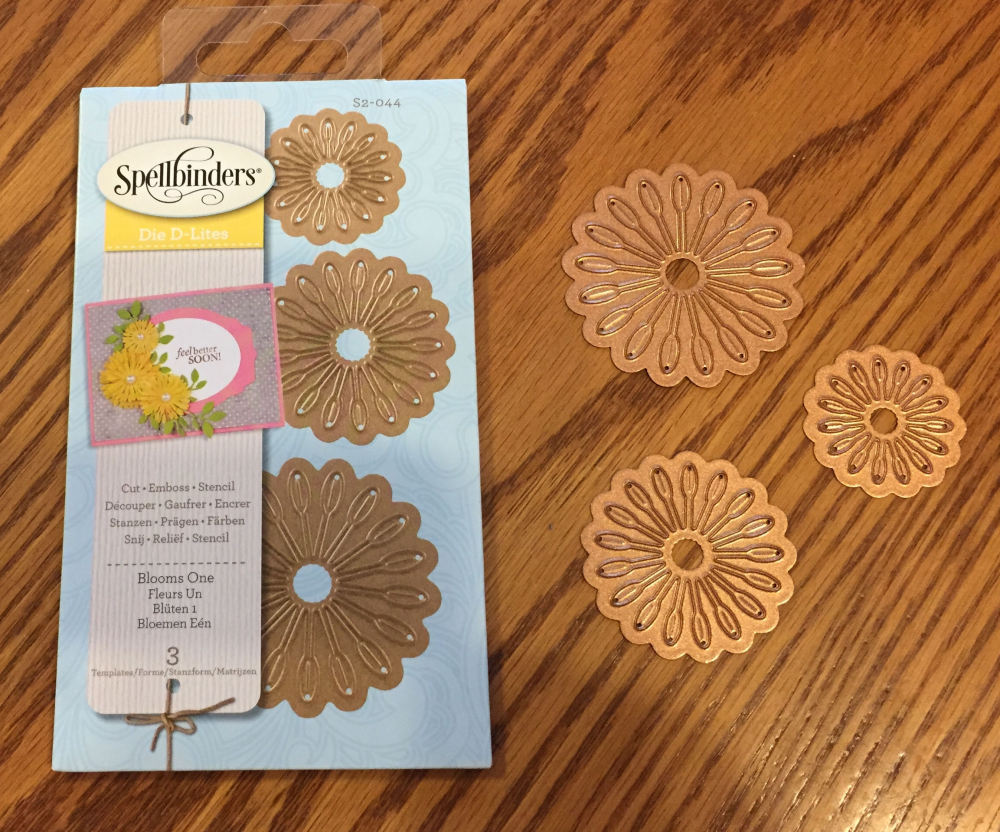
Well, I couldn’t have been more wrong. Take a good, close look at how thin each petal is, and you’ll understand. I used my standard Big Shotâ„¢ cutting platform instead of following the instructions provided by Spellbinders. They suggest building your paper-and-parts “sandwich” from the bottom, starting with a Solo Platform, Solo Shim, Wafer Thin Die Adapter, Cutting Pad, Spellbinders die with the ridges facing up, paper, and Cutting Pad. No way, I thought. That’s too many pieces to fuss with. I used my Solo Platform and two Cutting Pads, and ran it through the Big Shotâ„¢. It certainly cut the paper, but it didn’t cut all the way through. I attempted the same procedure no fewer than six times before it occurred to me I might need a shim to apply more pressure for a clean cut. Guess I’m a slow learner. In desperation, I used the envelope-style package for the die set as my shim. It was handy, so why not? I rushed the process, and cut a nice little flower shape in the package instead.
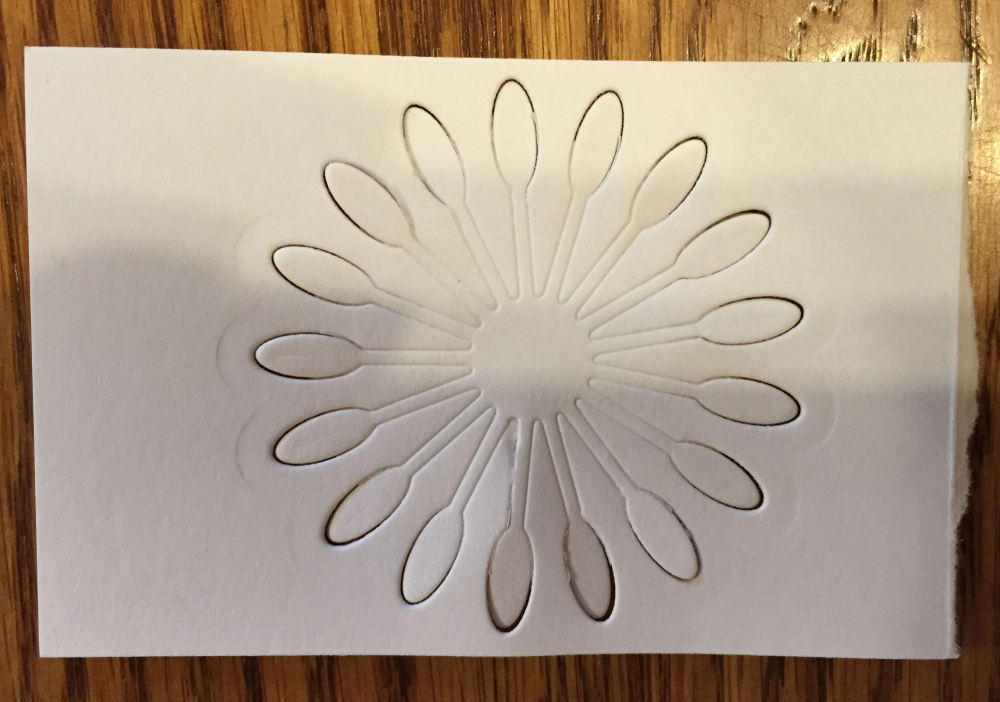
Wait a minute, I thought. Didn’t you buy a Magnetic Platform for wafer thin dies? And isn’t a Spellbinders die essentially a wafer thin die? I grabbed my Magnetic Platform, laid a Cutting Pad on top of it, set down the die and covered it with paper, and topped the “sandwich” with another Cutting Pad. Thankfully, this worked very well. I had to use a paper piercer to remove the paper die cut from the die, but that’s what you actually want to do, rather than having to separate a cutout from its background. The paper flower is wedged into the top of the die, and in the back of the die are holes where you use your paper piercer to poke out the shape.
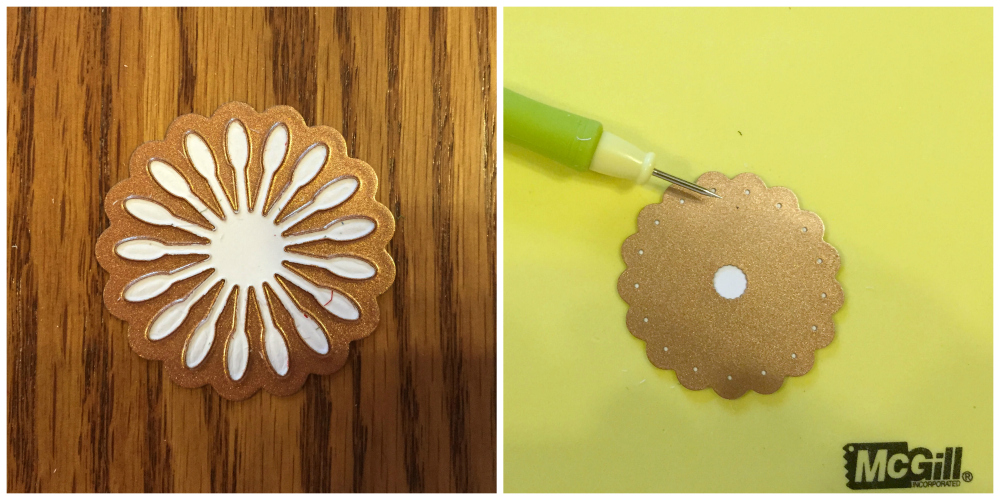 I went ahead and punched out two more sizes of the flower, and each one punched cleanly. Finally. But then I looked again at how thin the petals in each floret are, and realized that a stacked flower with these shapes would be too fragile to use on a book cover. Hmmm. But not if I give it a foundation.
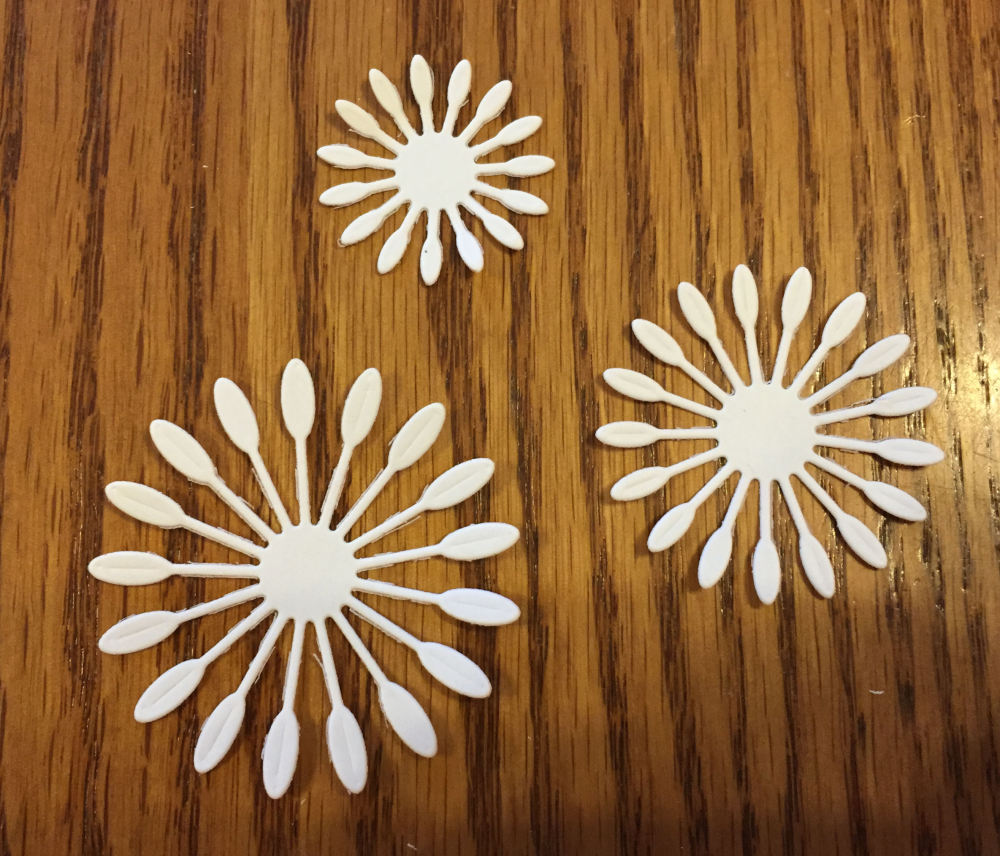
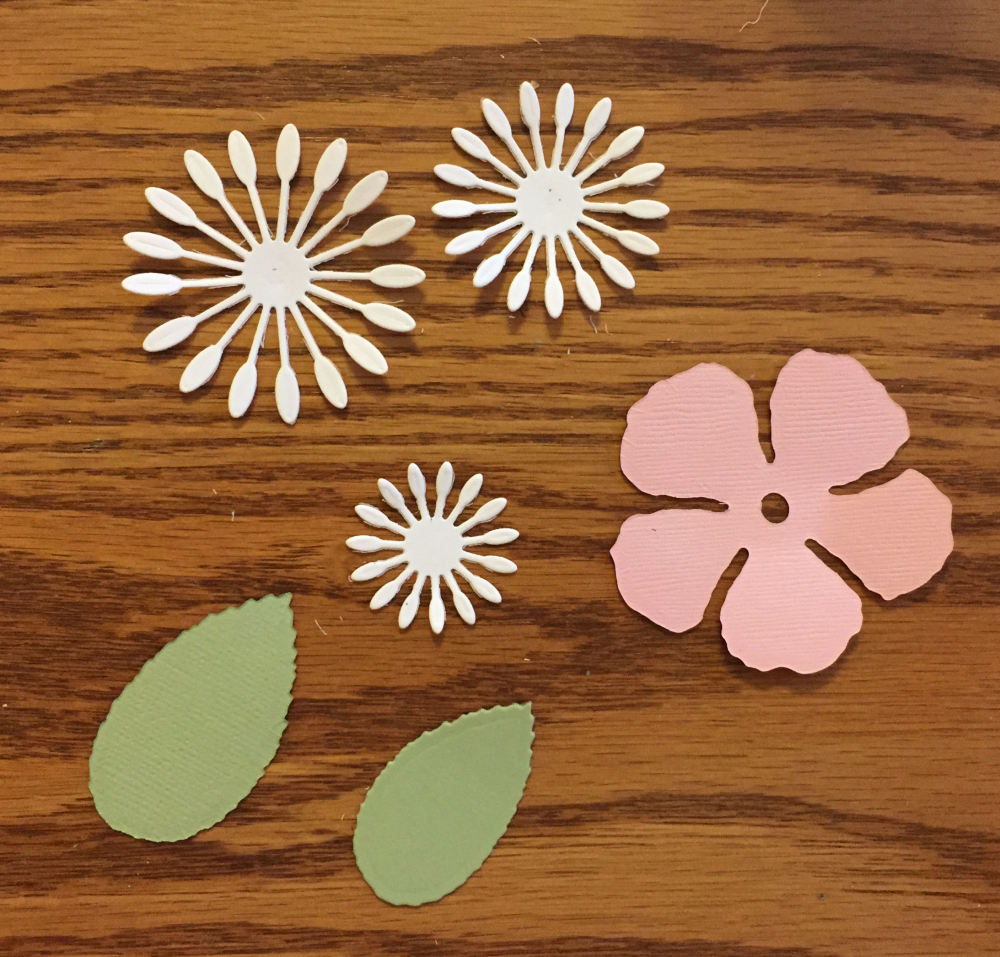
I pulled out my Donna Salazar Rose Creations die set, and selected one flower and two leaves to use as a foundation for the spindly flowers above. This is actually a Spellbinders die set, and it is one of my favorites. I ordered it online from Amazon because I couldn’t find it locally.
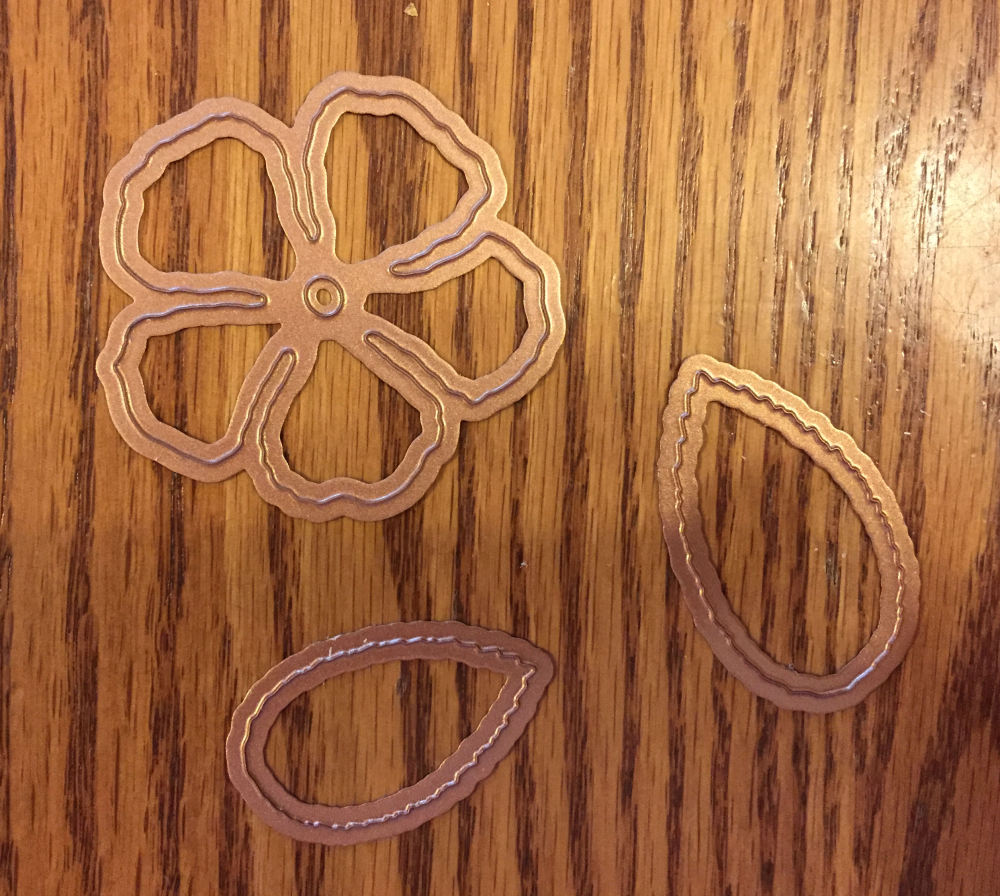
When I had cut out all of the pieces for my flower, this is what they looked like. I was ready to build my blossom, and I must say that this is what I had in mind today, when I was looking for a simpler flower to craft.
I sprayed all of the pieces with Tattered Angels Glimmer Mist in Pearl, and then dried them with a heat gun. Then I realized I should have used Distress Ink on the edges before spraying them to make the pieces stand out more. My compromise was to use Copic markers instead. These alcohol-based markers work on just about anything and don’t smear.
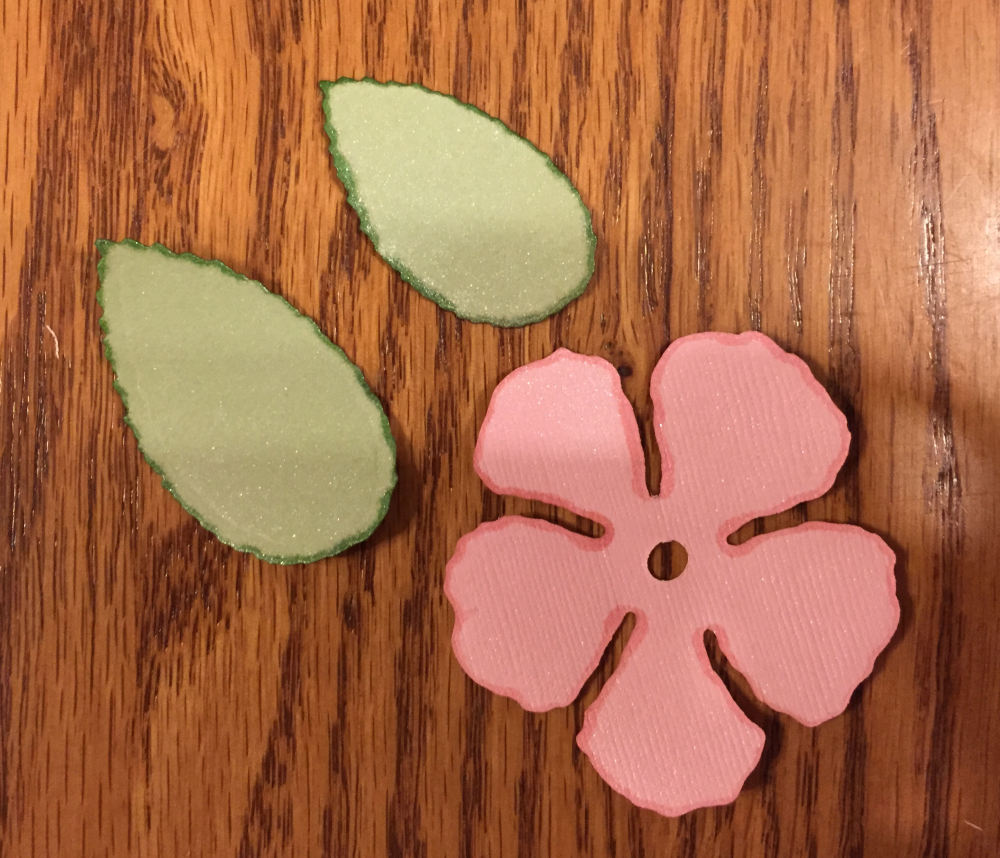
To give the flower some dimension, I reached for my McGill embossing mat and an embossing stylus, and used a circular motion to break up the paper fibers, cup the flower petals and curve the leaves. Spraying the pieces with that Glimmer Mist helped, too, since it causes the paper to bend when you dry it with a heat gun. I also used a small stylus to “draw” veins in the leaves.
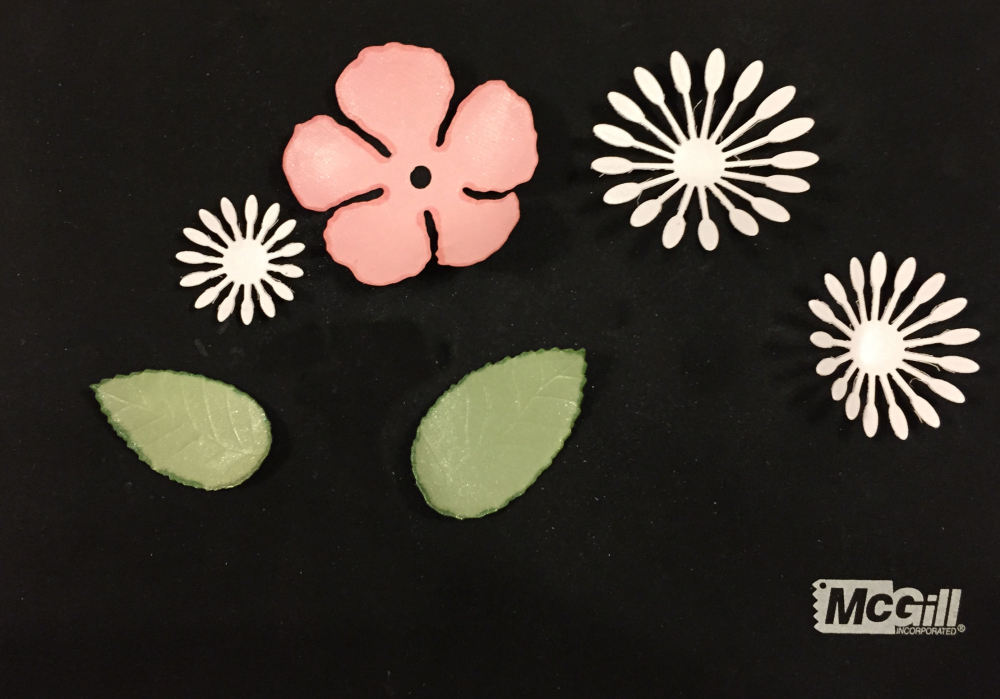
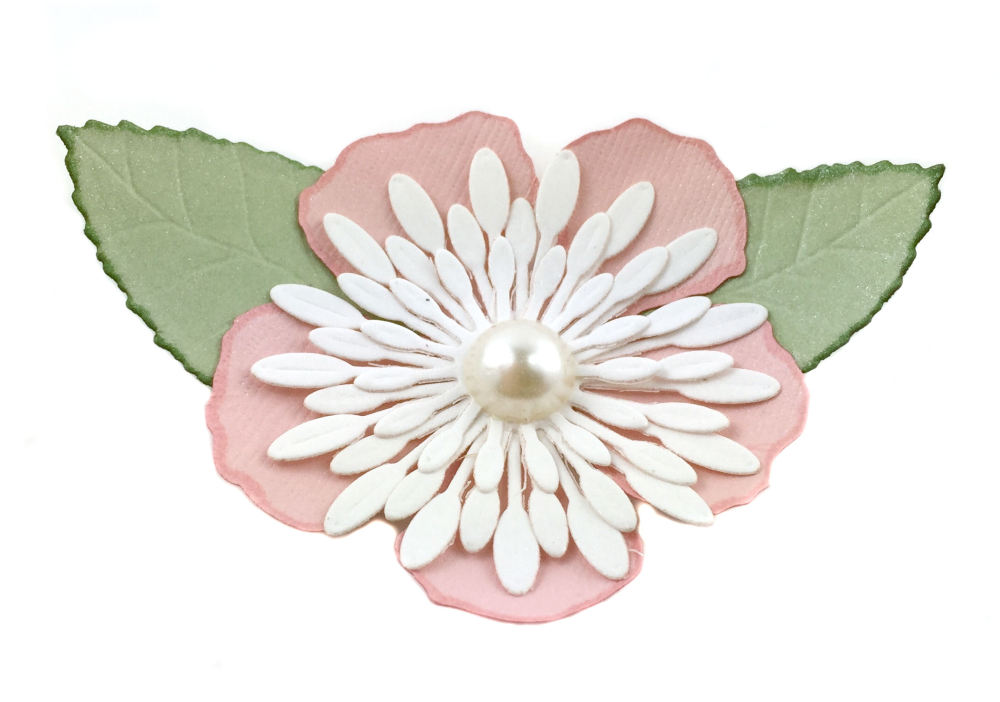
The last step for my flower was gluing the pieces together, and adding an adhesive pearl to the center. This went together so much faster than yesterday’s flower! I really like the addition of the Blooms One pieces to the Donna Salazar flower. I don’t think I would use the Blooms One florets alone, unless the flower was for a greeting card or scrapbook layout that would not see heavier use. If you have a lot of scrap paper (as I do), crafting paper flowers is a productive way to use up those little bits of paper. And it’s much more fun to create an imaginary flower instead of following the manufacturer’s instructions, too. I hope you give paper flower crafts a shot!
 © 2014 Judy Nolan. All rights reserved.
Judy, your paper flower turned out amazing! I love how you embossed the leaves to make them look natural!
I really love how your version turned out. From what I can see on the packaging up there, yours is cuter anyway! I don’t do a lot of work with paper flowers, mainly because some of the bits can be delicate like you said. Your solution was smart!
It looks nice! I agree that the extra embossing really gives the flower that something special. I don’t have the Big Shot, but I have the Vnitaj metal embossing machine that is basically the same thing with a different paint job. I’ve literally never tried to cut anything with it, but I keep thinking about giving it a go.
I just found your site need additional information on these dies others flowers. Send any info you may have for this information. Thanks, CB
Carolyn, I’m not sure what information you are actually looking for. But if you are looking for the dies themselves, you can find them on Amazon.com, as follows:
Spellbinders Shapeabilities Die D-Lites Blooms One S2-044, http://www.amazon.com/Spellbinders-S2-044-Shapeabilities-D-Lites-Templates/dp/B00FP8C6BI
Spellbinders Shapeabilities Rose Creations, http://www.amazon.com/Spellbinders-Shapeabilities-Dies-Rose-Creations/dp/B00TGE42DW/
I’m sure there are other online sites, but this will at least get you started. I bought my Blooms One at Jo Ann Fabrics, but when I checked the online site, they were out of stock. If you visit the Spellbinders site itself, you’ll find many flower dies in their shop, as well as instructions for making any flowers: https://www.spellbinderspaperarts.com/
Happy paper crafting!