Recently a customer asked me to design a photo album to commemorate her elderly mother’s birthday. She already had 2×3 mini photos, but was looking for a special album to display them. We settled on a spiral-bound album using digital papers she selected, and exchanged convos (short for “conversations,†or messages) for other aspects of the custom order, such as papers and accents.
As a small business owner who designs and crafts handmade books, I don’t have a large budget for design software. To save time and money—but mostly to ensure my customers and I are on the same page for custom orders—the use of digital proofs is critical. My solution? I use standard office software, Microsoft Office, to get the job done.
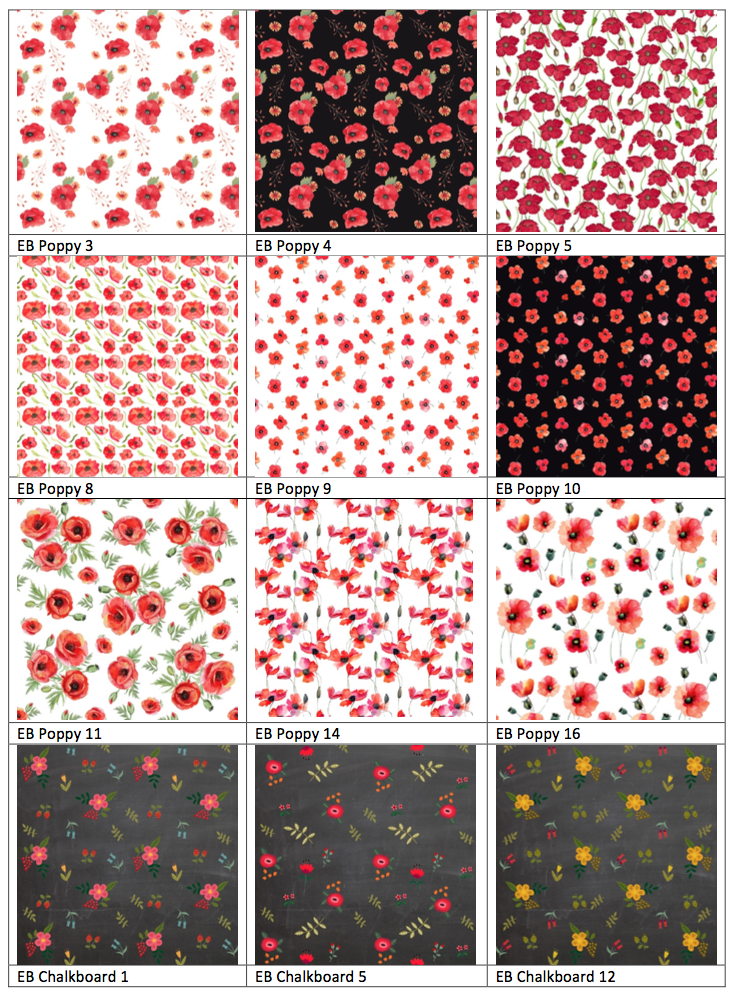
I developed a template in Microsoft Office Word that allows me to insert thumbnail images of digital papers. The template is nothing more than a table, with alternating rows for images and captions.
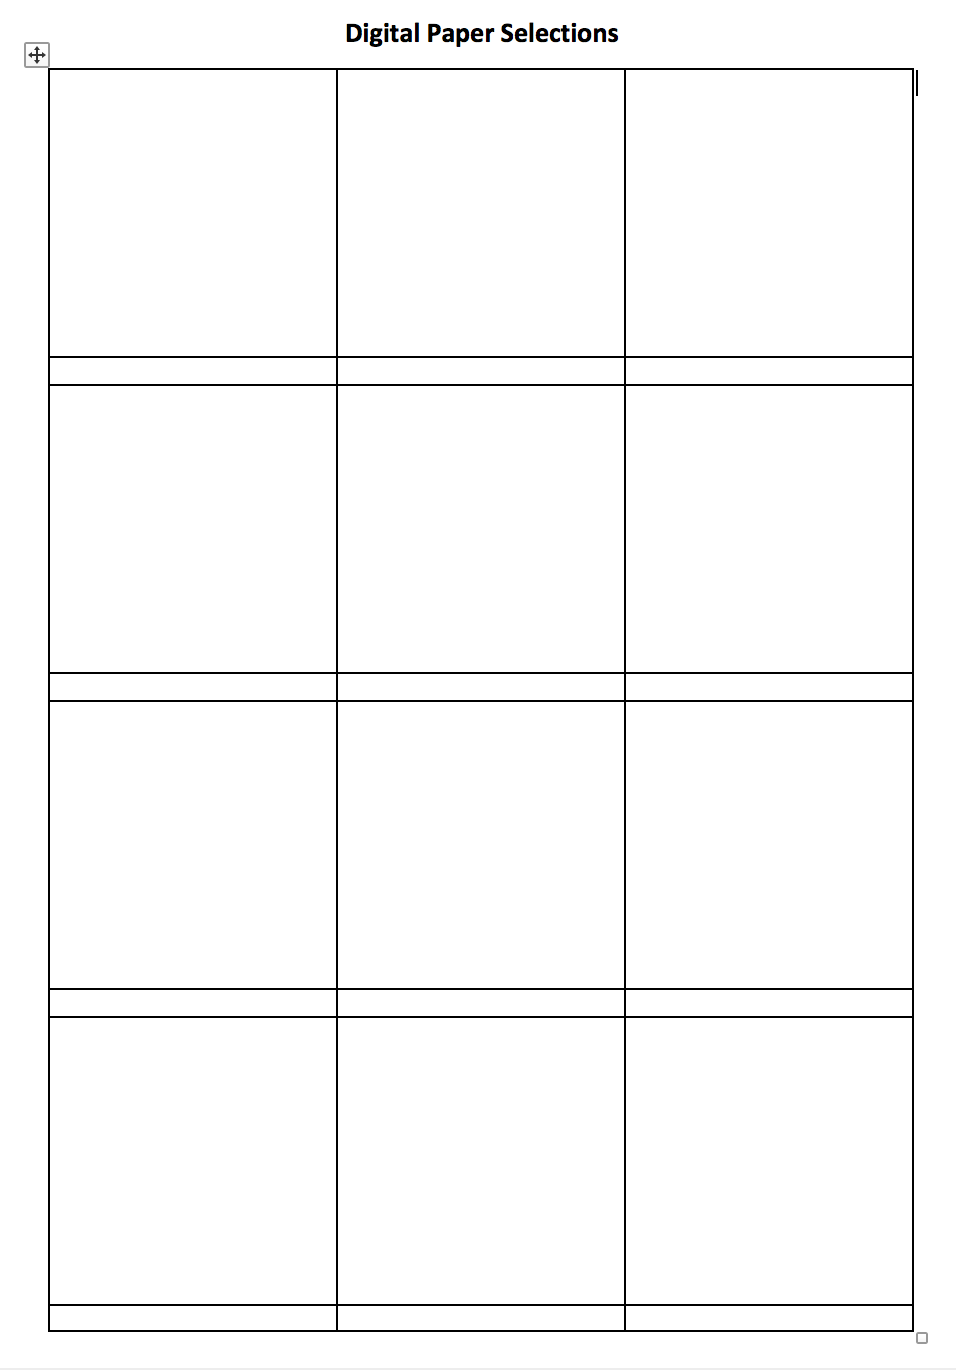
After I insert images into a copy of my template, I save it using a customer-specific file name. This allows me to edit the file later without affecting the original template. Then I save the file once more as a PDF file, which is a universal file format that anyone can use by downloading Adobe Acrobat Reader. Because the software flattens images so that they’re not as high resolution as the original images, this also helps to prevent distribution of them. This is important because I purchase digital papers from sellers who rightfully want to protect their intellectual rights.
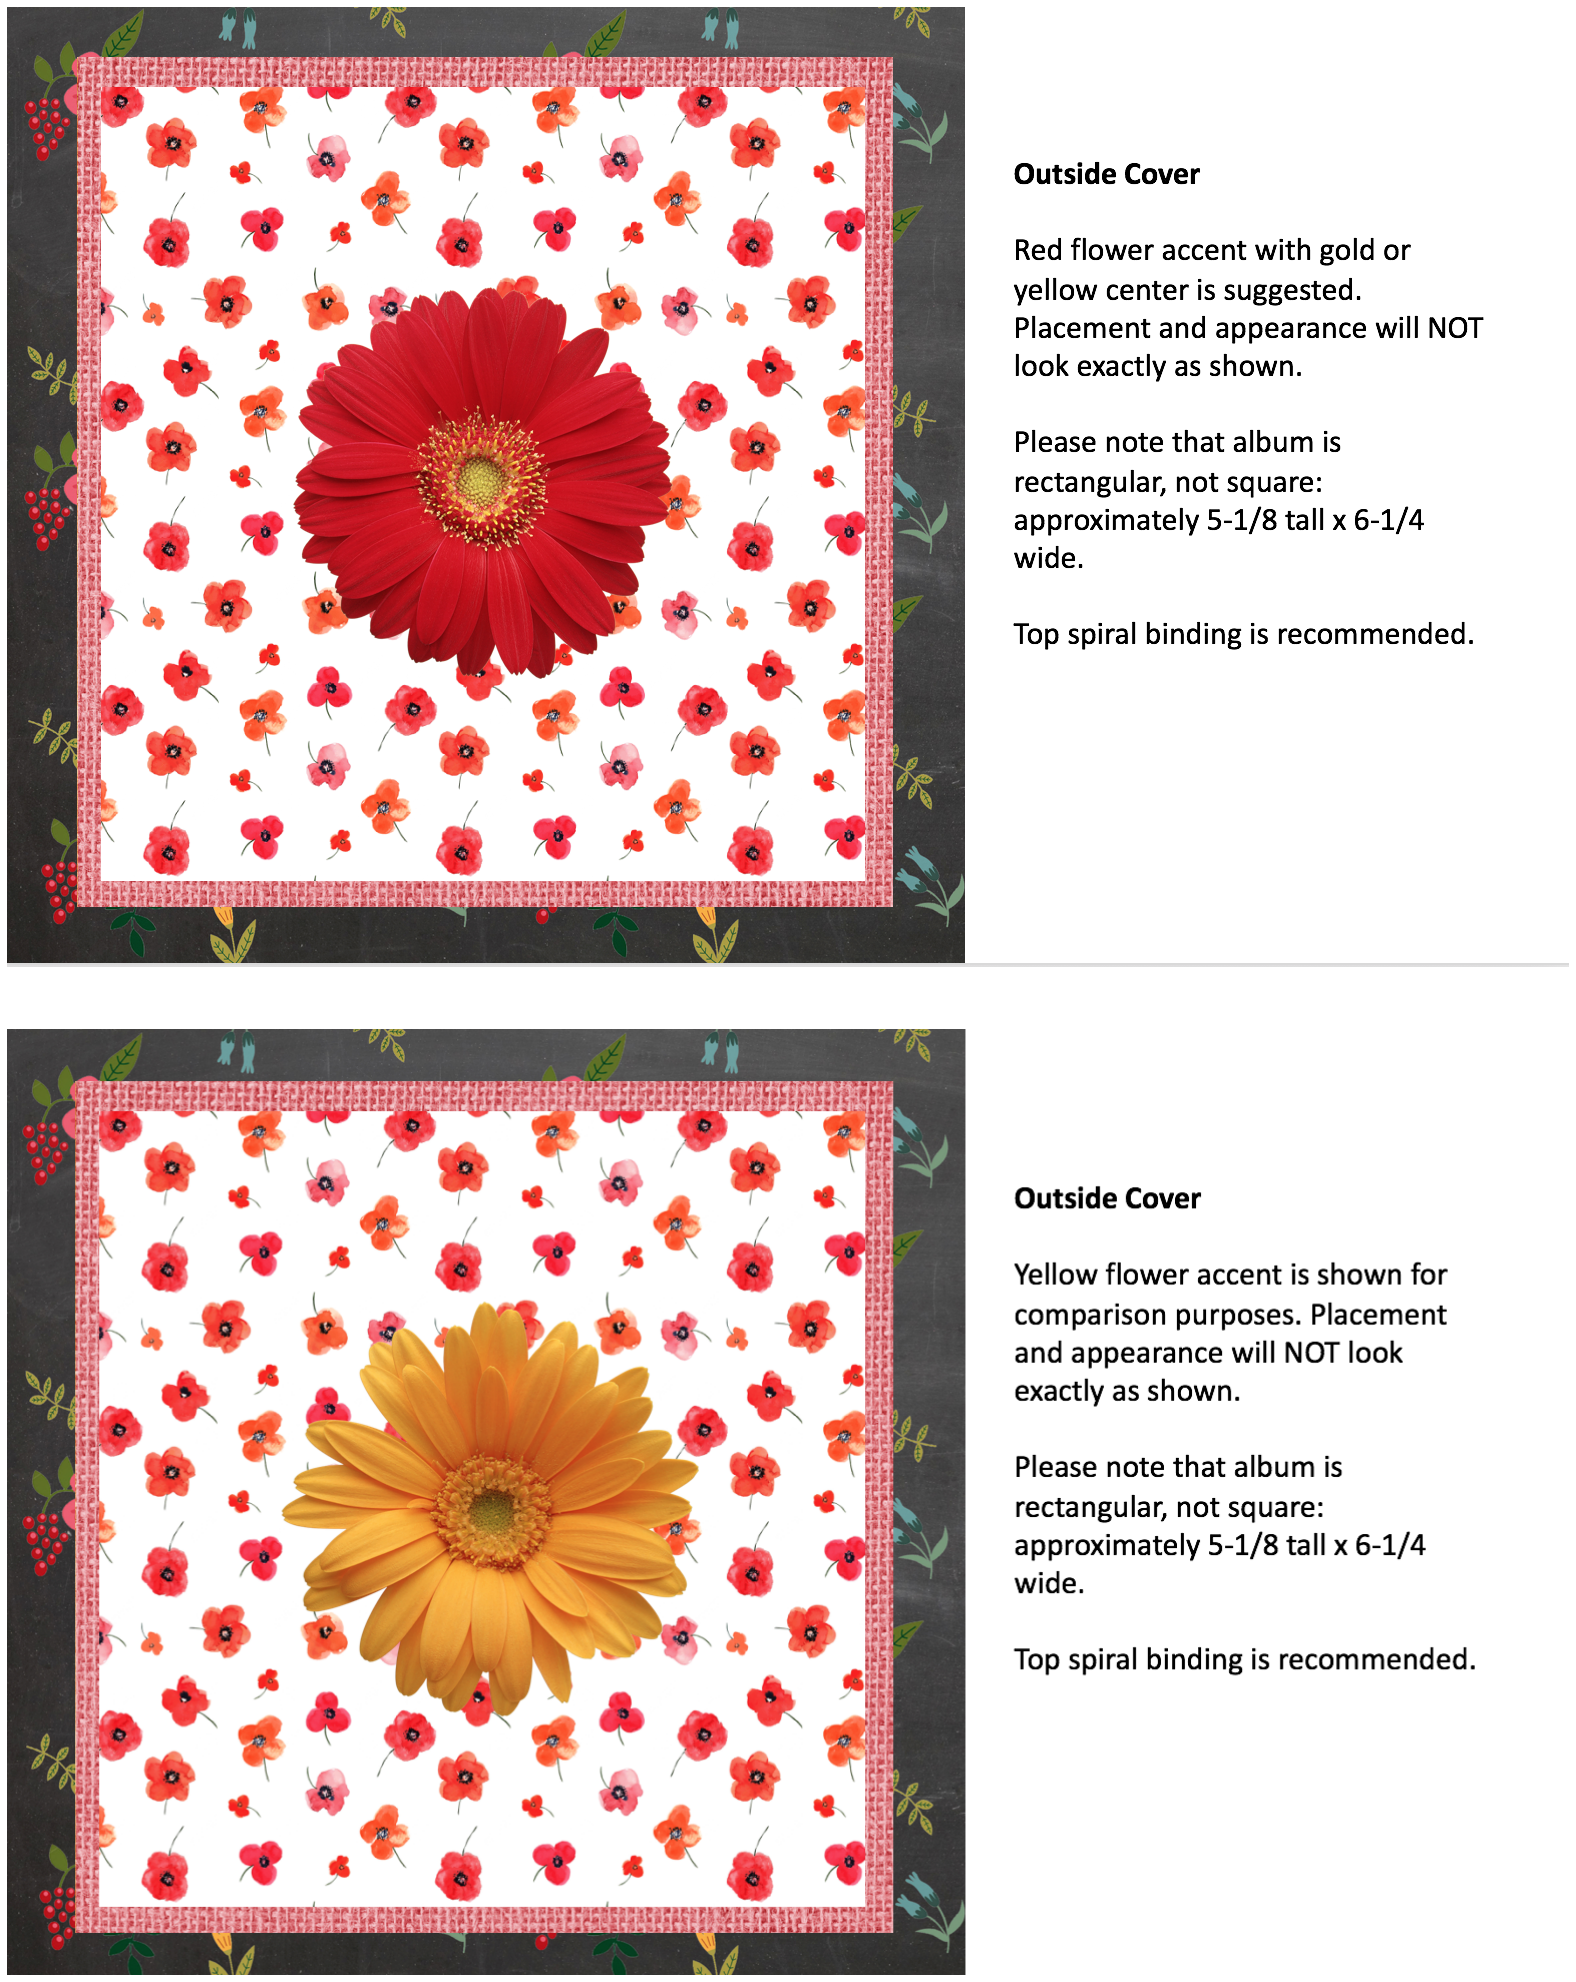
After the customer selects digital papers, I create a proof in PowerPoint, outlining further choices that may need to be decided. If nothing else, providing a digital proof enables me to know that my buyer has approved the design. Then I can write a custom listing that the buyer uses to purchase the item from my Etsy shop.
In the images below, the customer needs to decide whether I should add a red or yellow handmade flower accent to the front cover. The floral image is clip art, so it serves an illustrative purpose but does not reflect either the exact placement or final appearance of the handmade paper flower I will create.
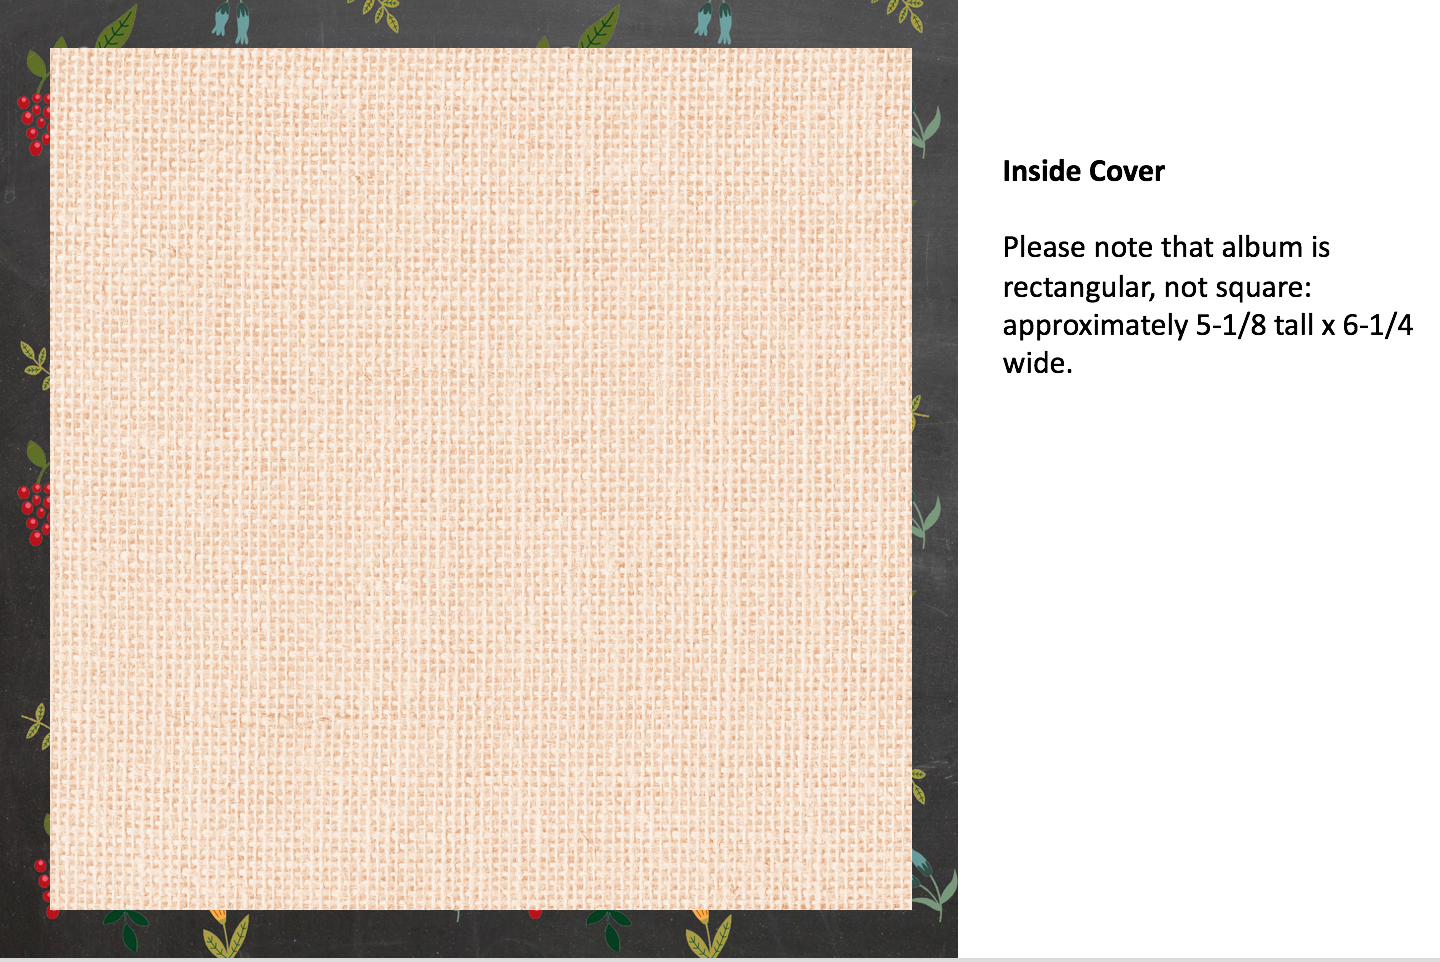
A proof image also gives the buyer a chance to review the inside cover page and approve it.
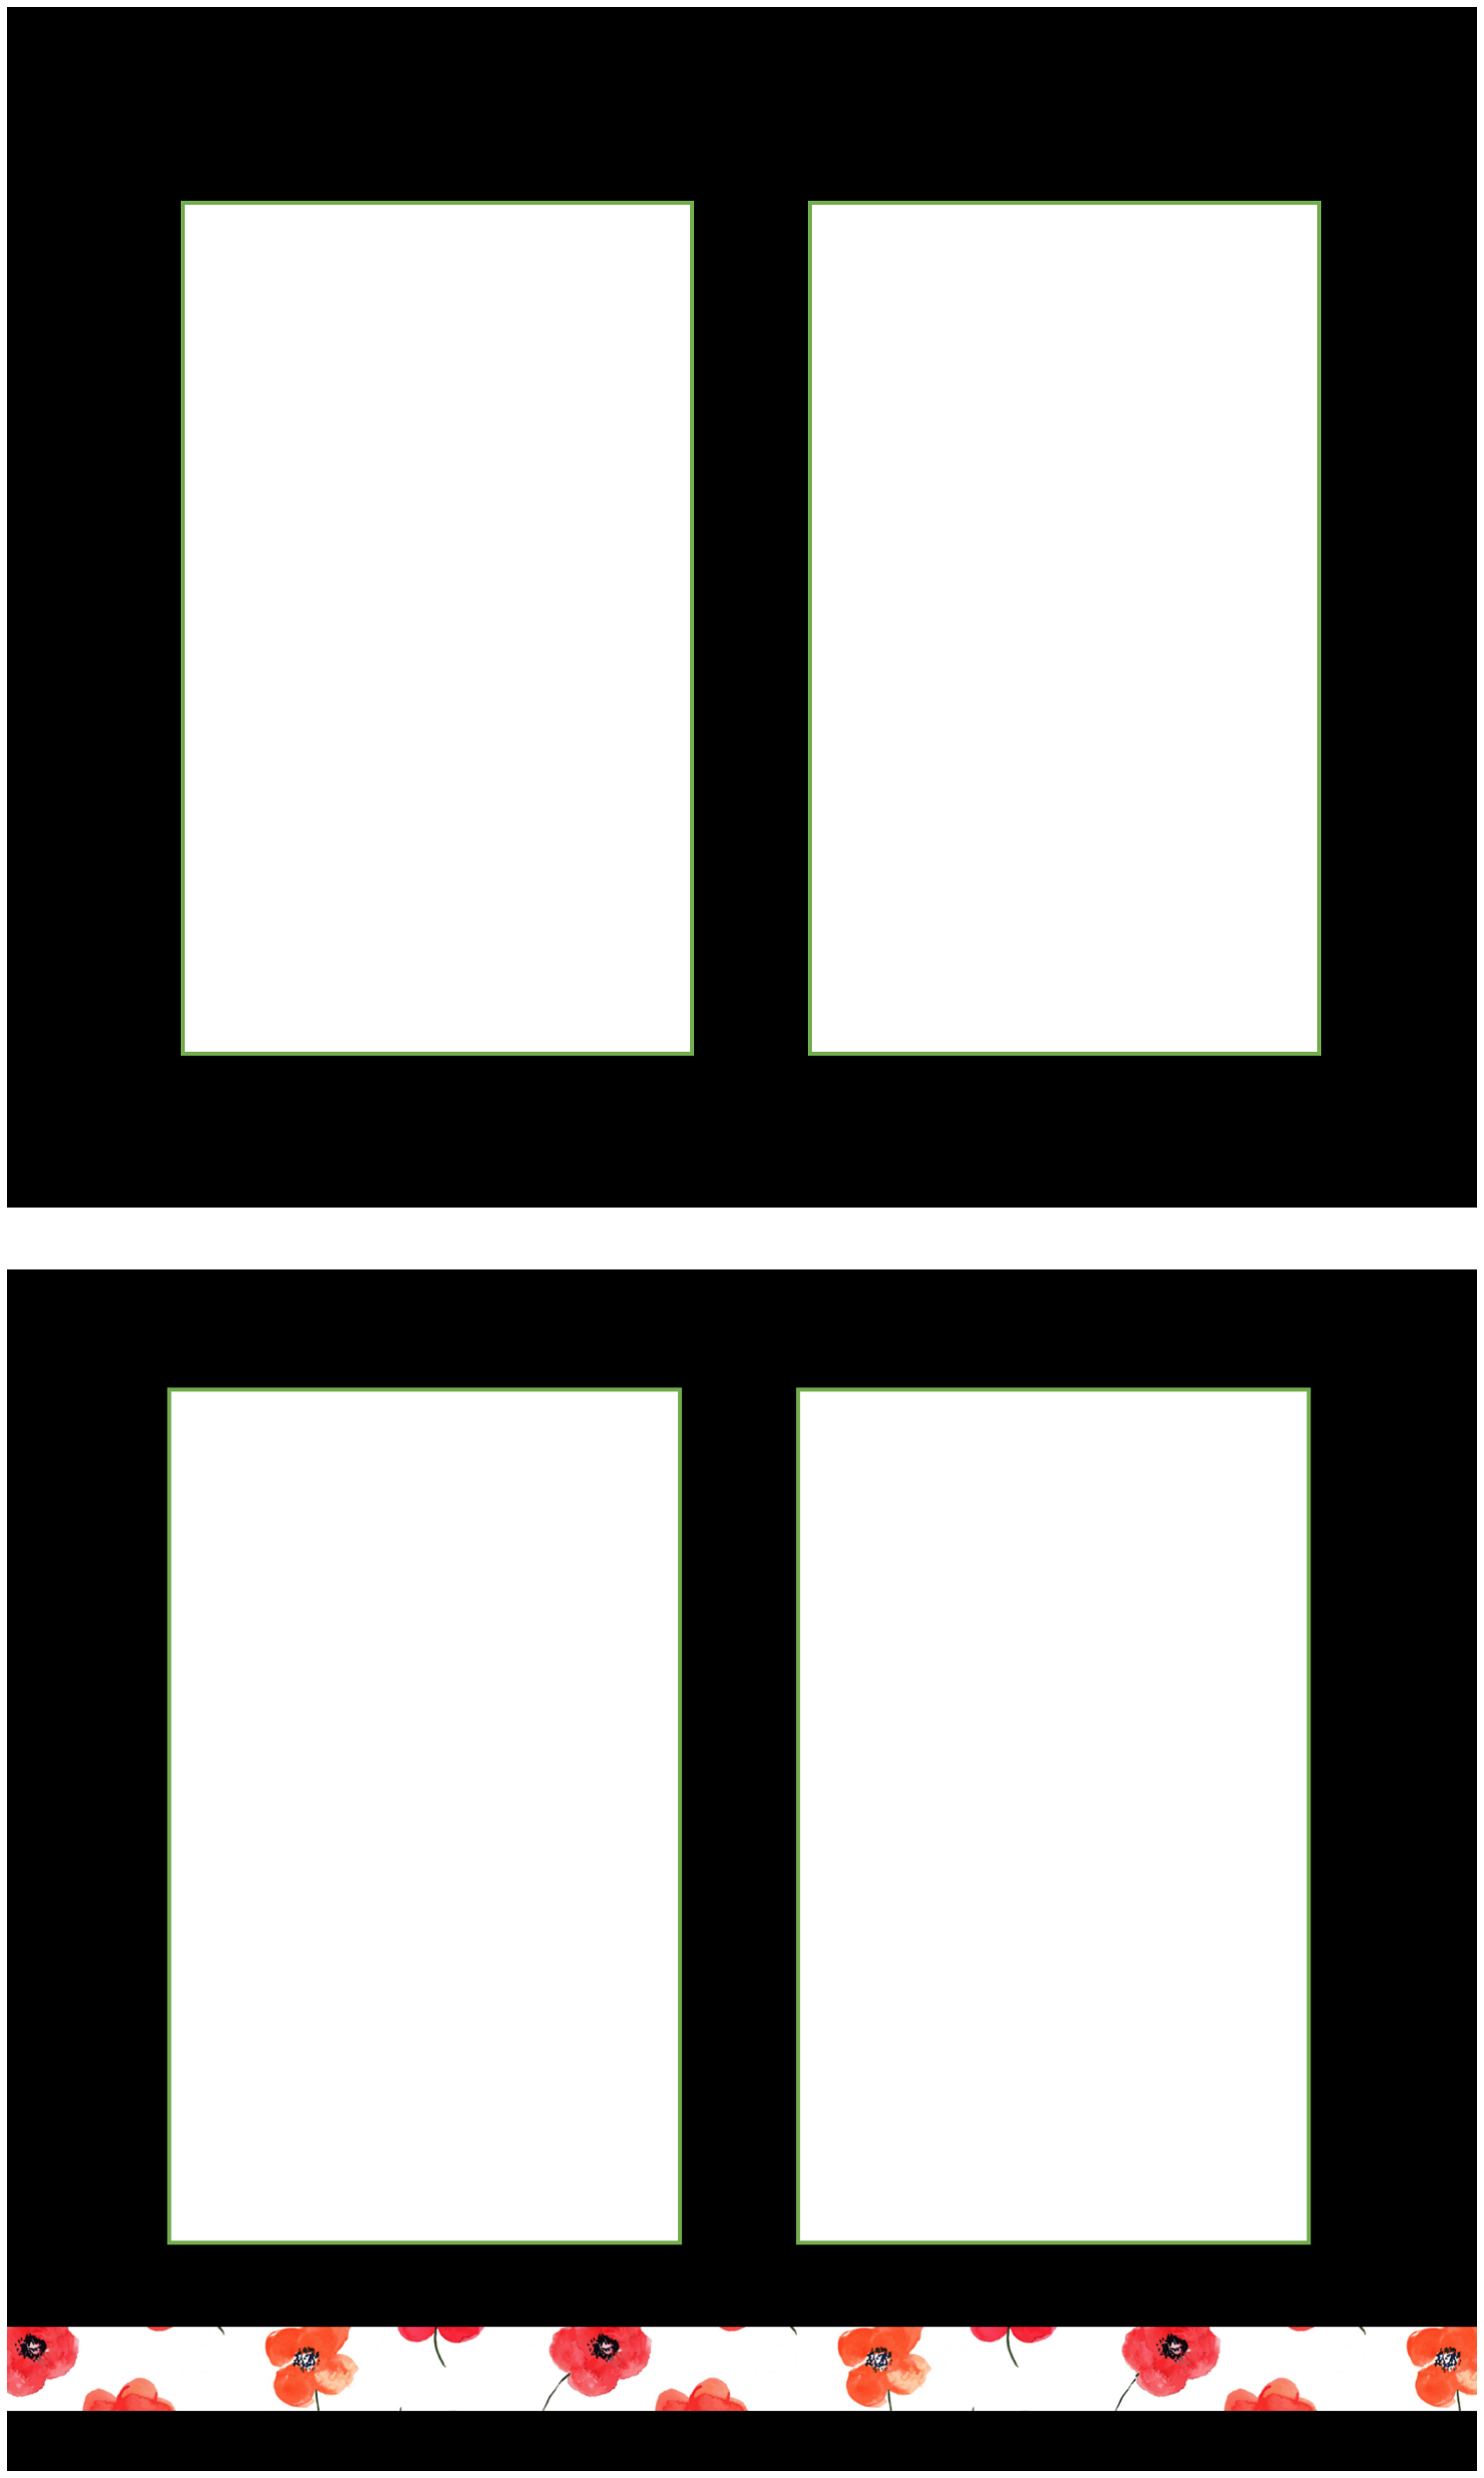
Even the inside pages require review. One image shows a pre-matted page for 2×3 photos, while the second page shows a decorative paper strip that might add a splash of color to a page. All these pages were designed using Microsoft PowerPoint.
Microsoft Office is useful for designing more than custom order options. You can use either Word or Excel to design your craft show booth space, and then add colored shapes for the different tables or fixtures inside it.
For the image below, I created an Excel workbook with a different worksheet for each booth layout. I changed the width of each row and column to .25 inch, then outlined the entire dimensions of a 12-foot wide by 9-foot deep space with a thick, dark line. Colored rectangles represent the different sizes of tables I own. It is easy to copy and paste the shapes from one location on a worksheet to another.

You can also create a scaled image of your booth space with Word by creating a table, but it takes more time to move the shapes around. Honestly, I thought it was easier with this method to print everything, cut it out with scissors, and go “old school†to design your booth space. You can then snap a picture with your smart phone, and take the phone with you to your show.

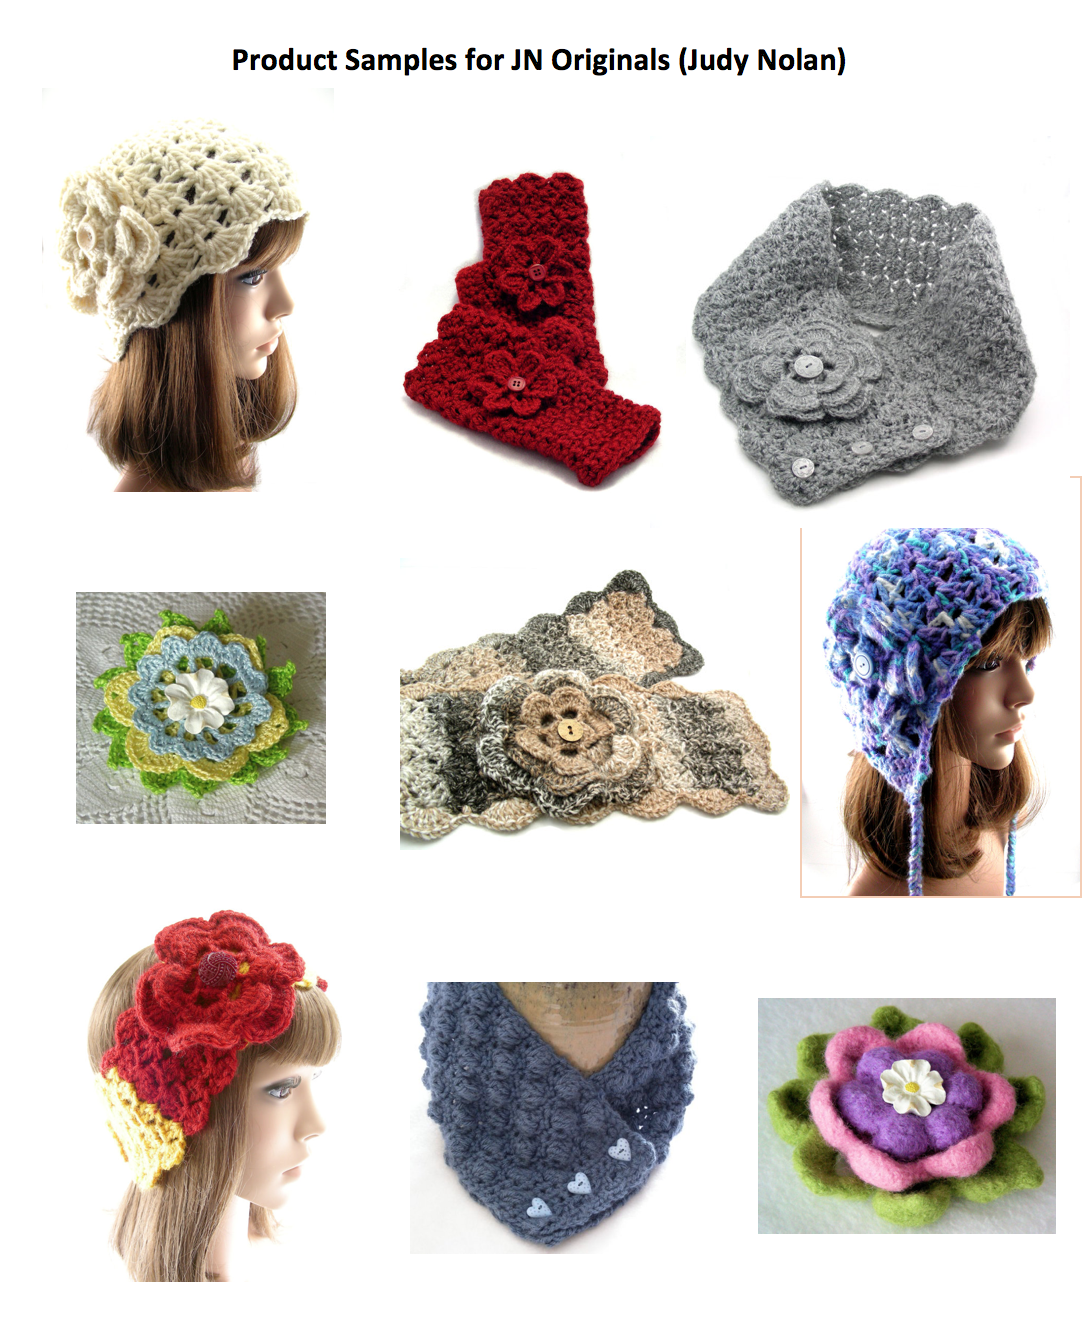
Have you ever applied to a craft show that requires sample images of your products? It’s easy to do using Microsoft Word. I simply insert images into a blank page, re-size them, and drag them to the desired location. Below is a product sample page I used for a recent application for a craft show, where I will sell my crocheted women’s accessories.
When I first began using office software for design purposes, I used Corel WordPerfect, as that is the first major software package I learned. In fact, ran a home-based desktop publishing company for 10 years using WordPerfect, serving local area businesses. I still have design templates from that program that I use, but am gradually migrating to Microsoft Office because it is more universal. I keep coming up with additional ways to use both packages for design applications for my craft business, and love to hear about the ways other people use them. How do you handle design issues for your craft business or hobby?
© 2017 Judy Nolan. All rights reserved.