Each time I craft a paper flower for the cover of one of my handmade books, it turns out differently, which is probably why I enjoy making flowers so much. The surprise factor keeps the process fresh. That being said, this weekend I made two paper flowers using the same set of Donna Salazar Carnation Creations dies by Spellbinders, with different results each time.
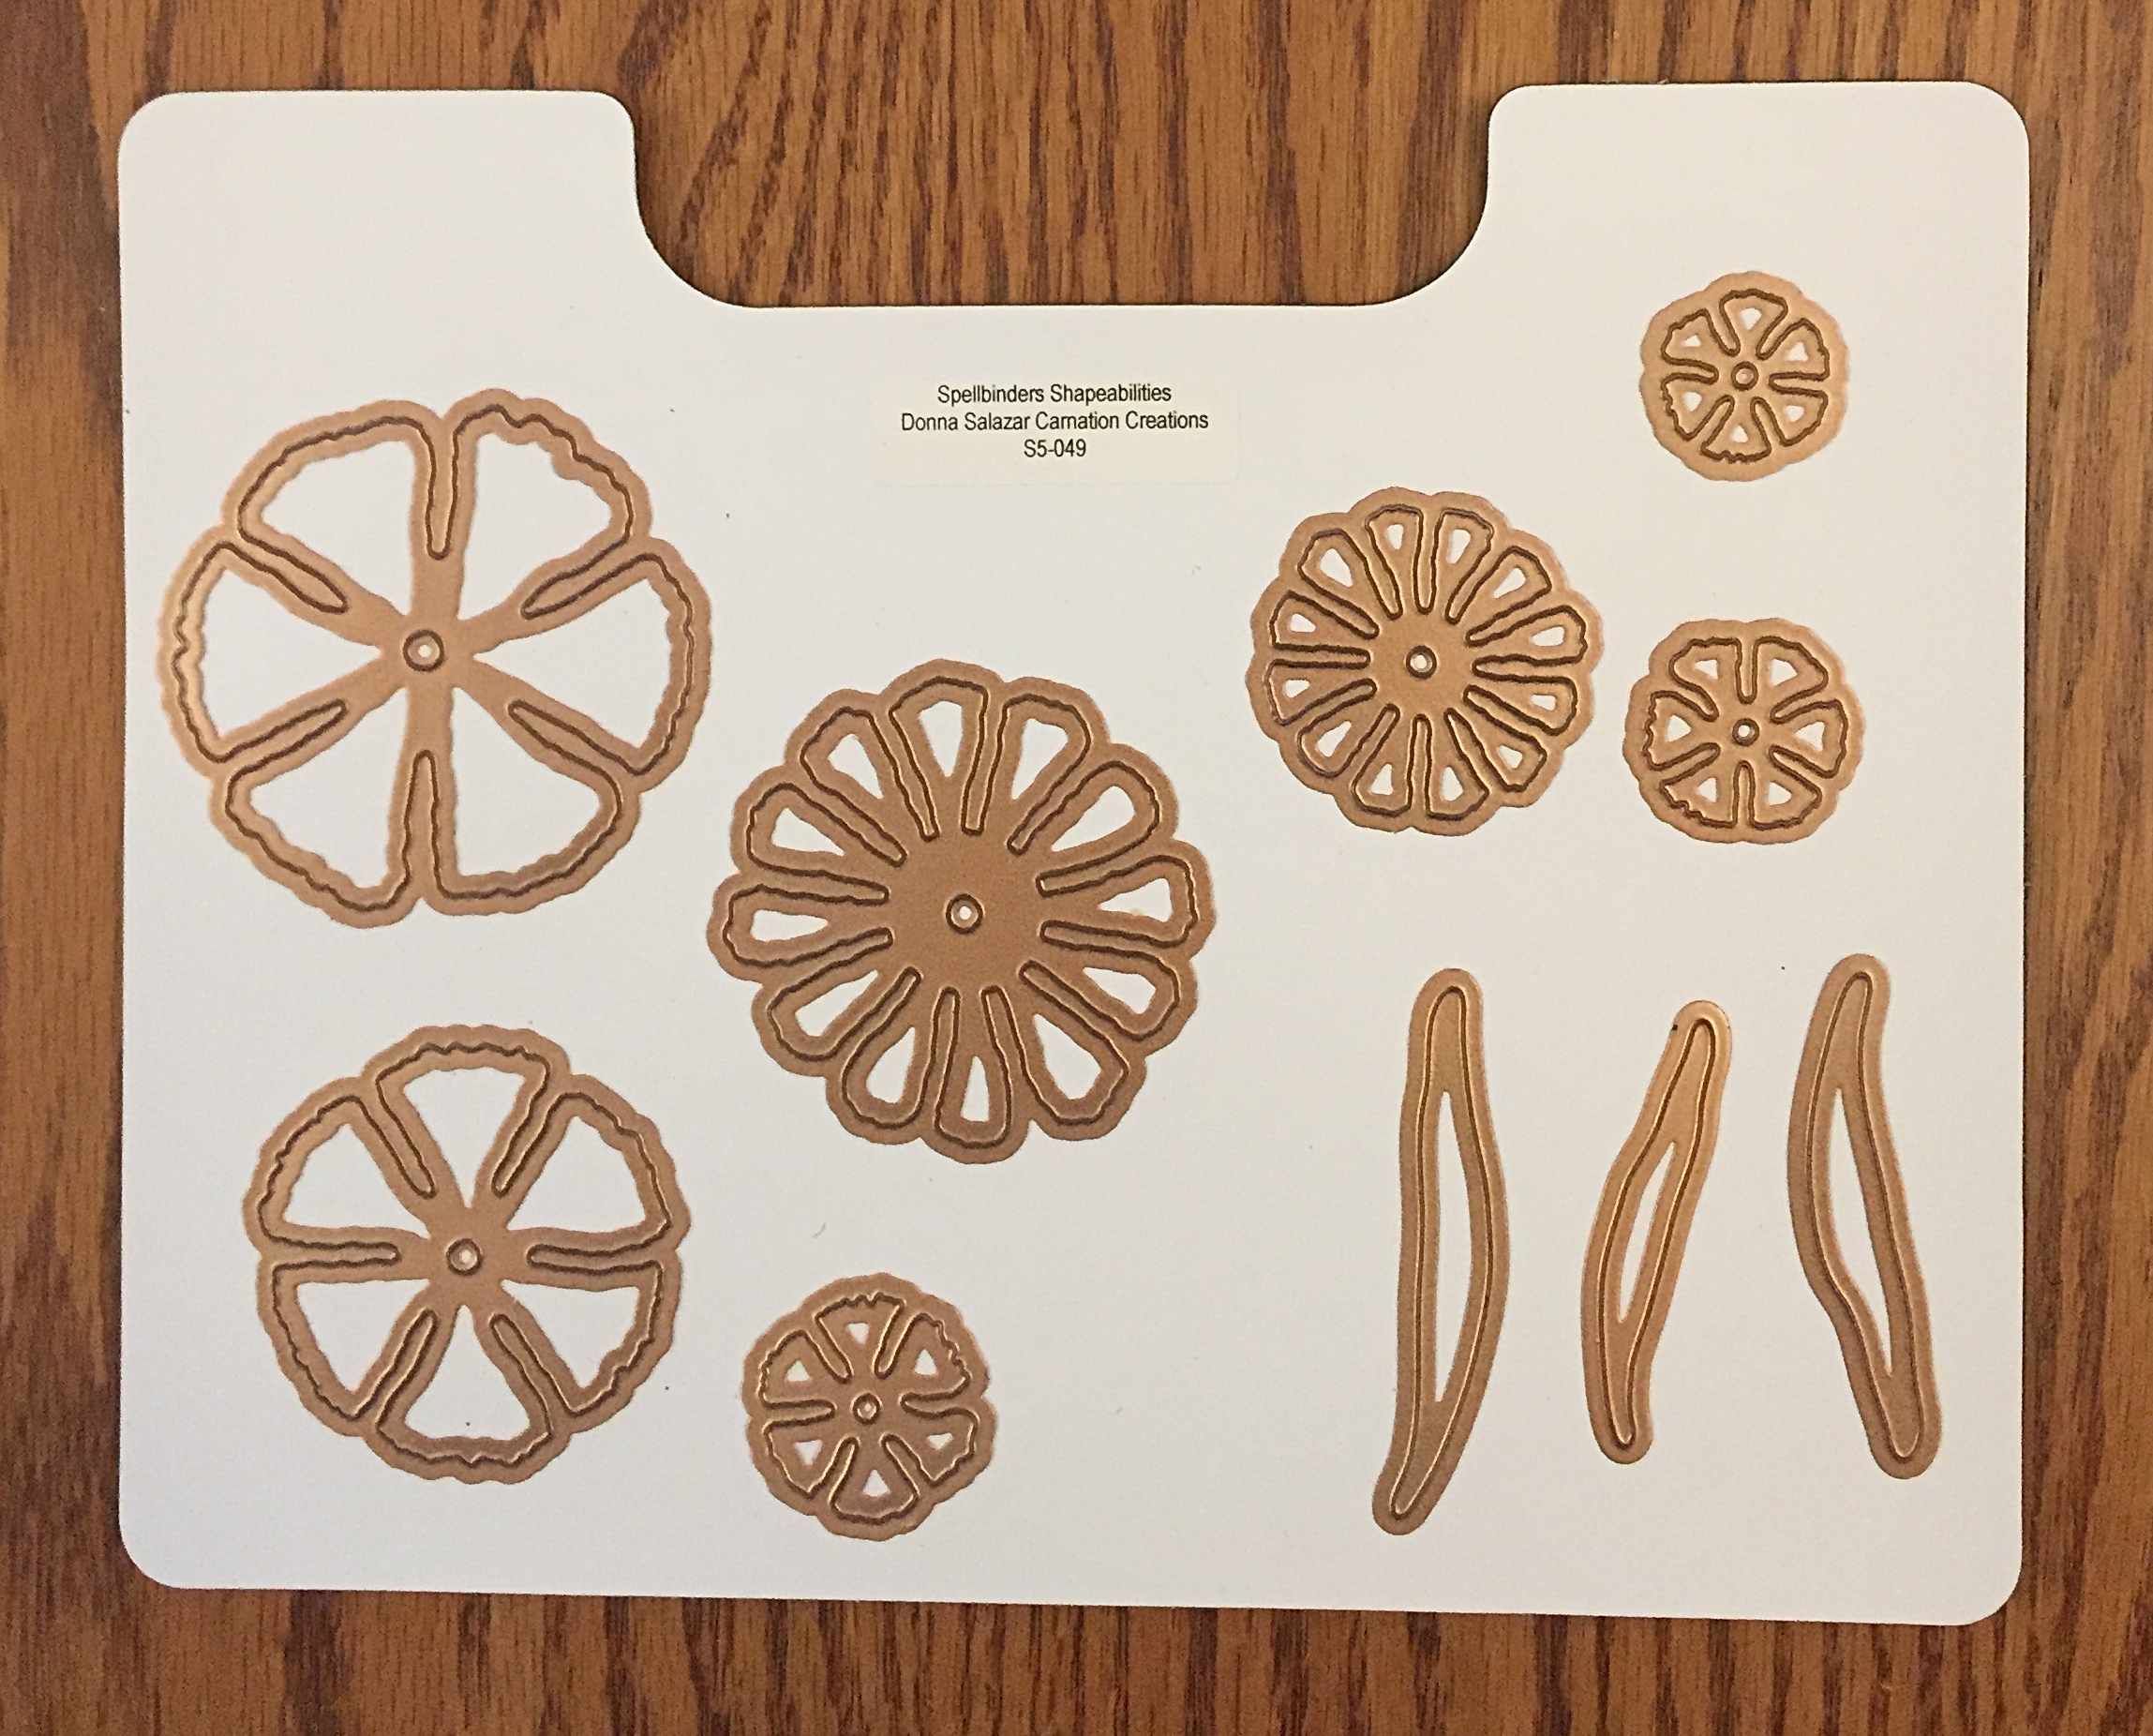
I described how I used these dies previously in How to make a paper flower using ink, water and scrunched paper. At that time, I stacked nine layers of floral shapes, inserting a brad through them. I spray-misted the layers with water, then scrunched them around the brad. When I spread apart the layers, they ended up looking like a rose. Of course, there were a few other steps I took along the way to add color to the bloom.
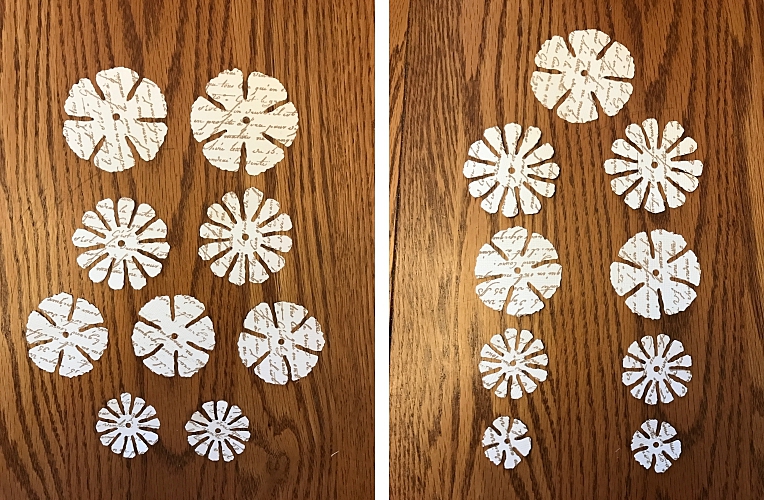
The trick to creating nice-looking 3-D paper flowers is having enough layers. The fuller you want your flower to look, the more layers you will need. For my purposes, I like to use five to nine layers. But the tools and techniques you use to manipulate the petals also make a difference. I made two completely different flowers this weekend using nine layers of flower shapes, all cut with Donna Salazar Carnation Creations dies. The only difference between the flower shapes was in the quantity of each type of shape. You’ll notice that I stamped the white Bazzill card stock with a Hero Arts rubber stamp called Old French Writing, inked up with Hero Hues Chalk Ink in Latte.
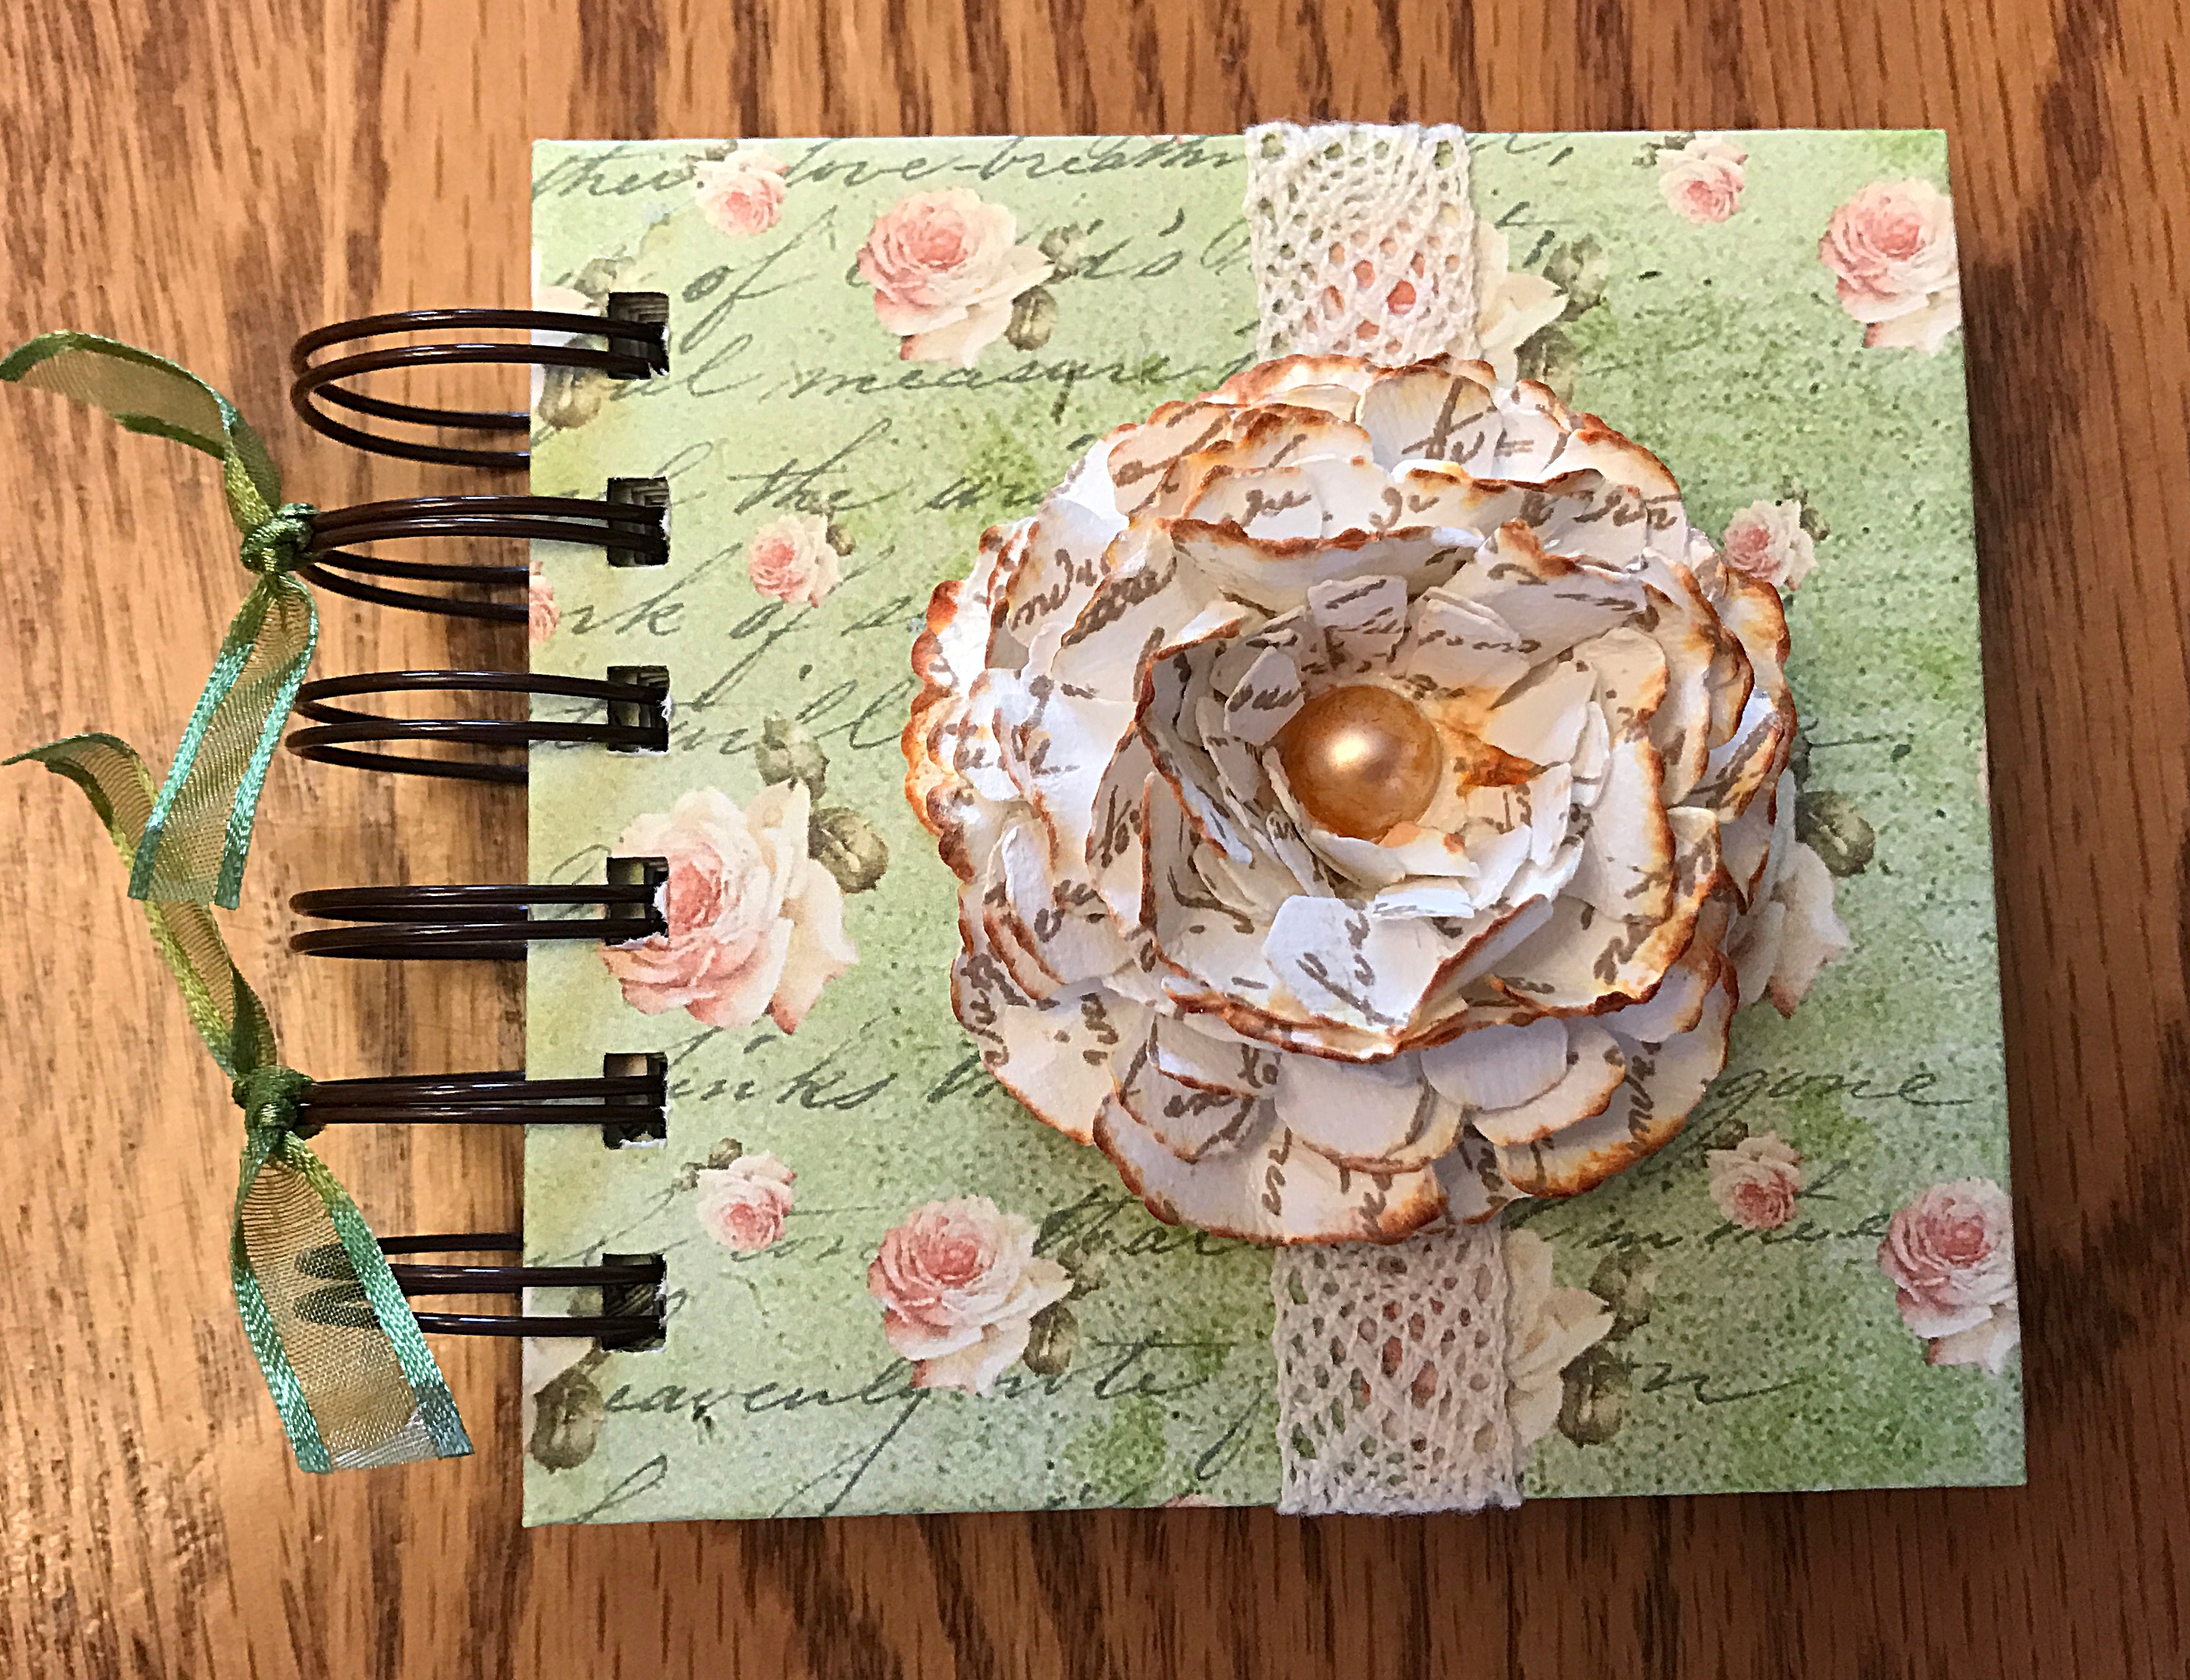
For the first flower, I literally ran each floral cut under the faucet, then shook off the excess water, scrunched it up, and gently pried apart the petals. Then I dried it with a heat gun.
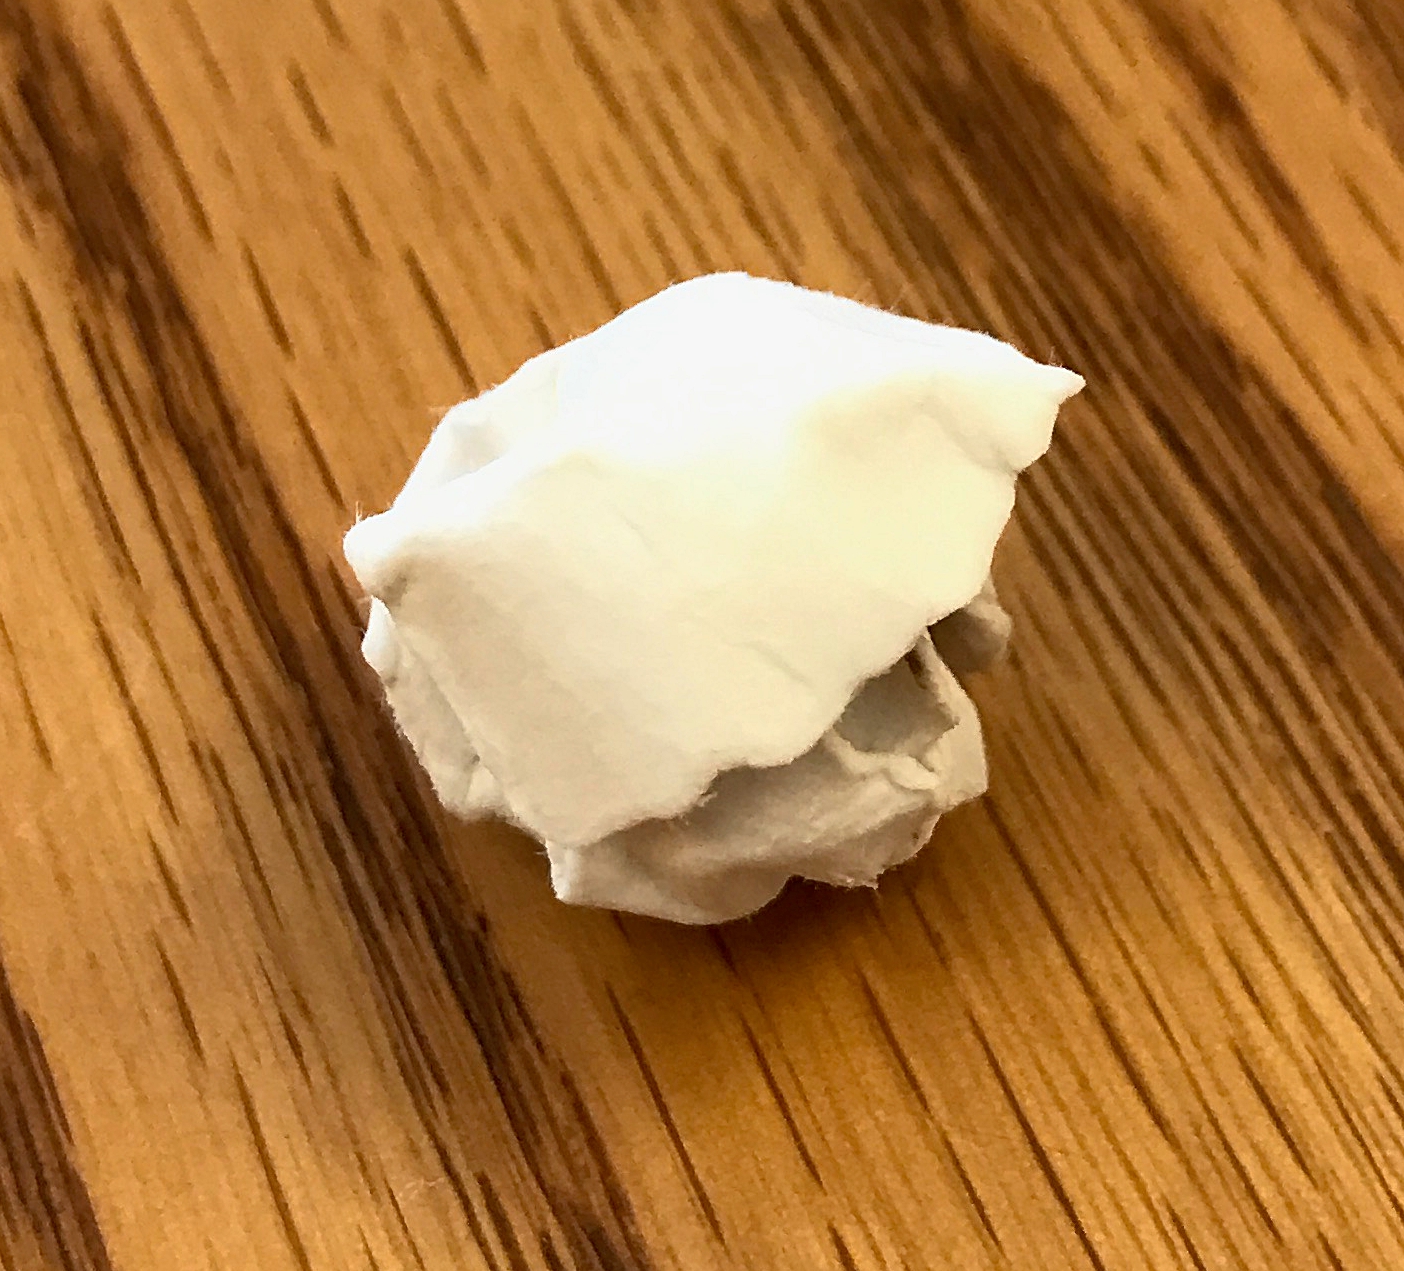
I glued the layers together using Scotch Tacky Glue, then ran a Tim Holtz Distress Ink pad in Rusty Hinge against the tips of the petals. After I spray-misted the layered flower with water to make the ink run, I dried it with a heat gun.
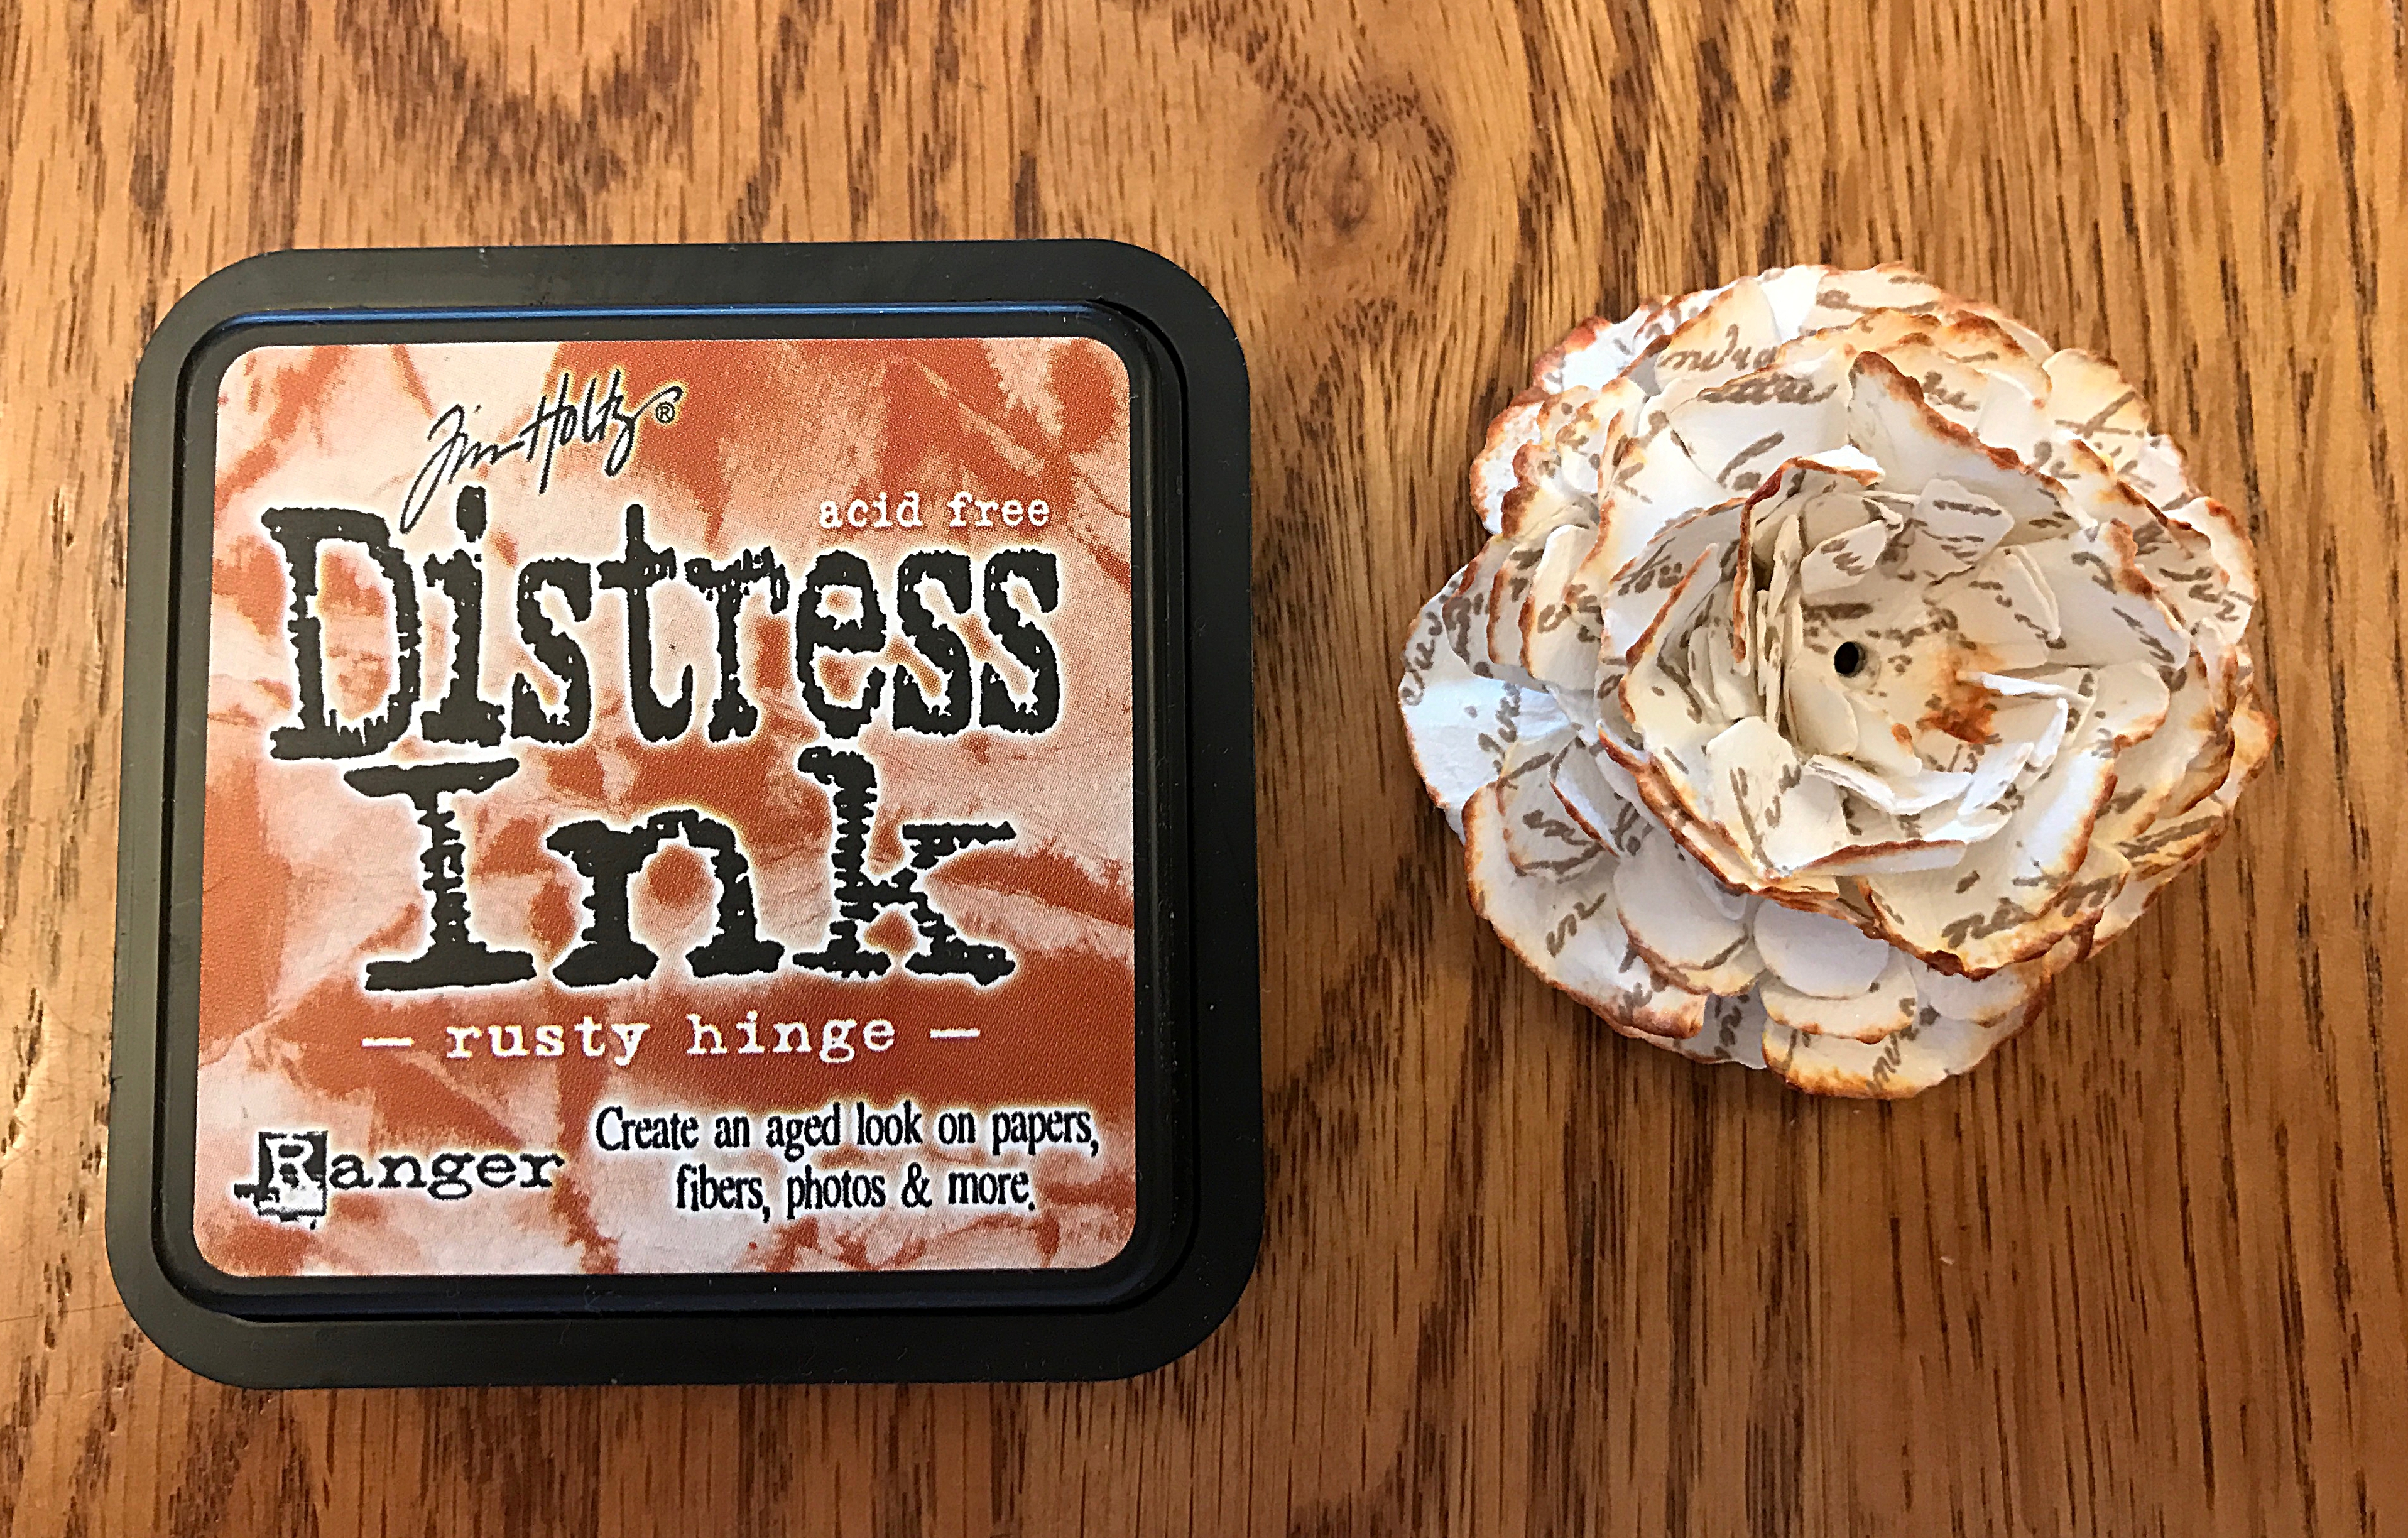
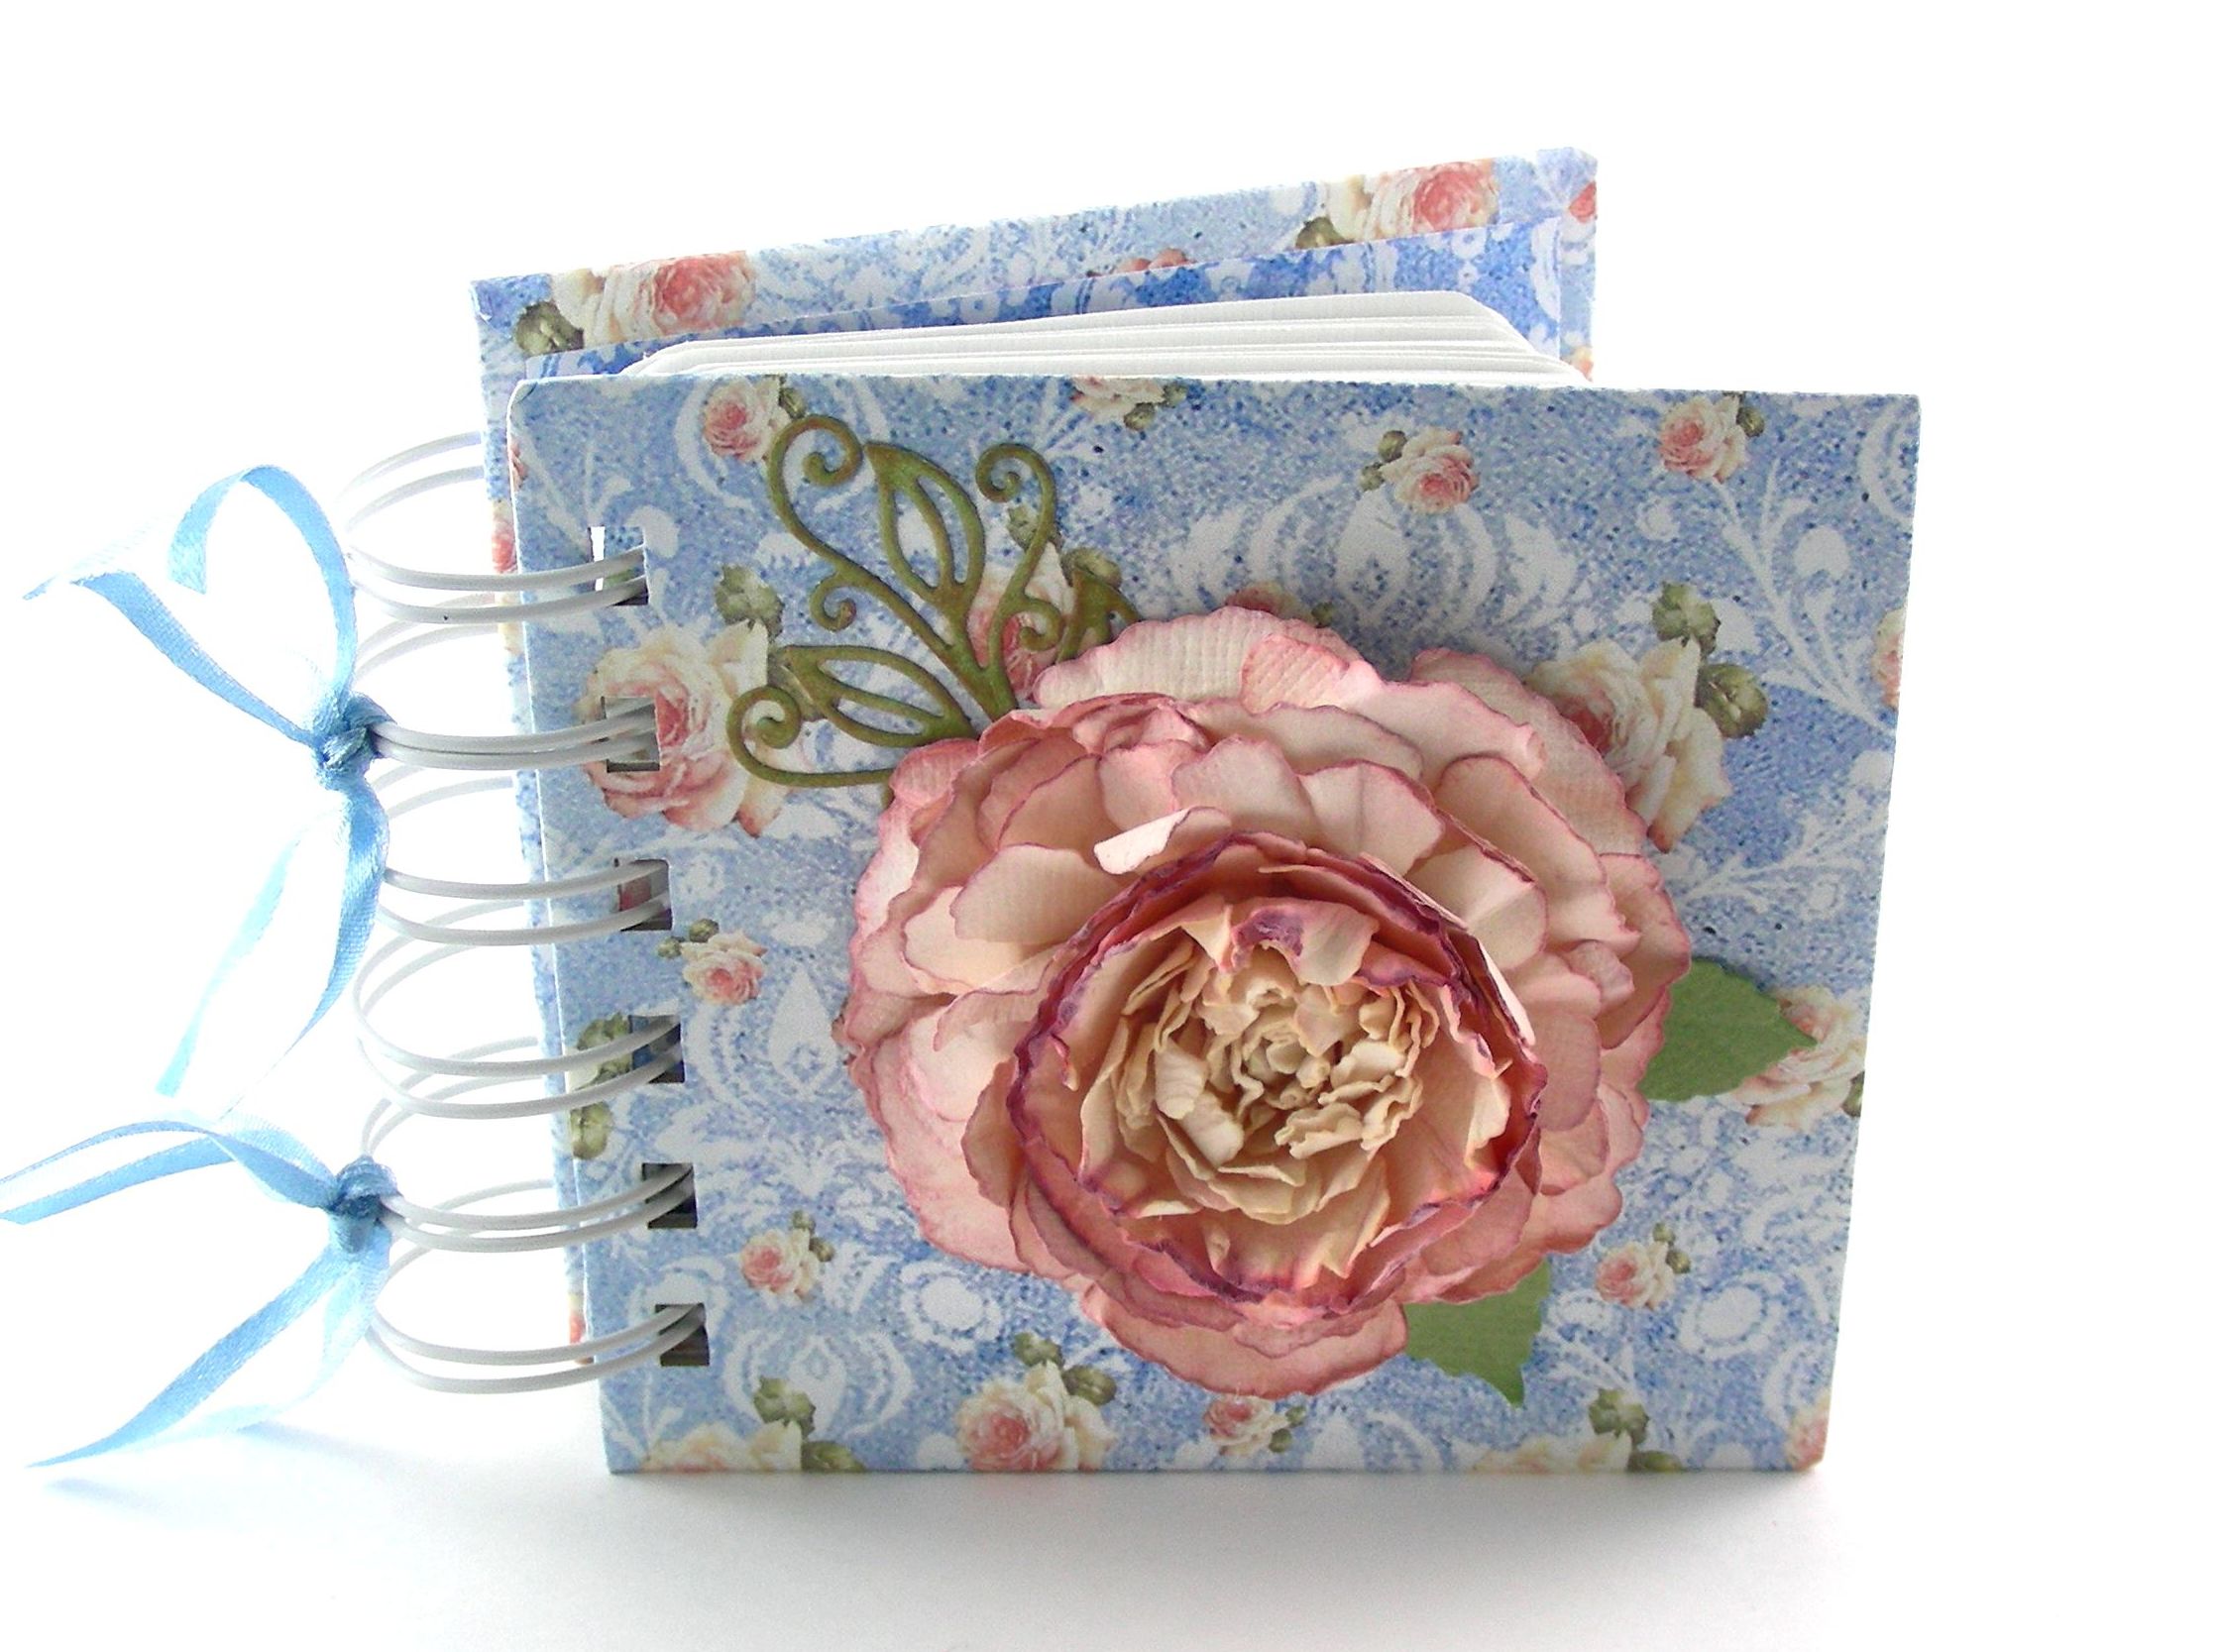
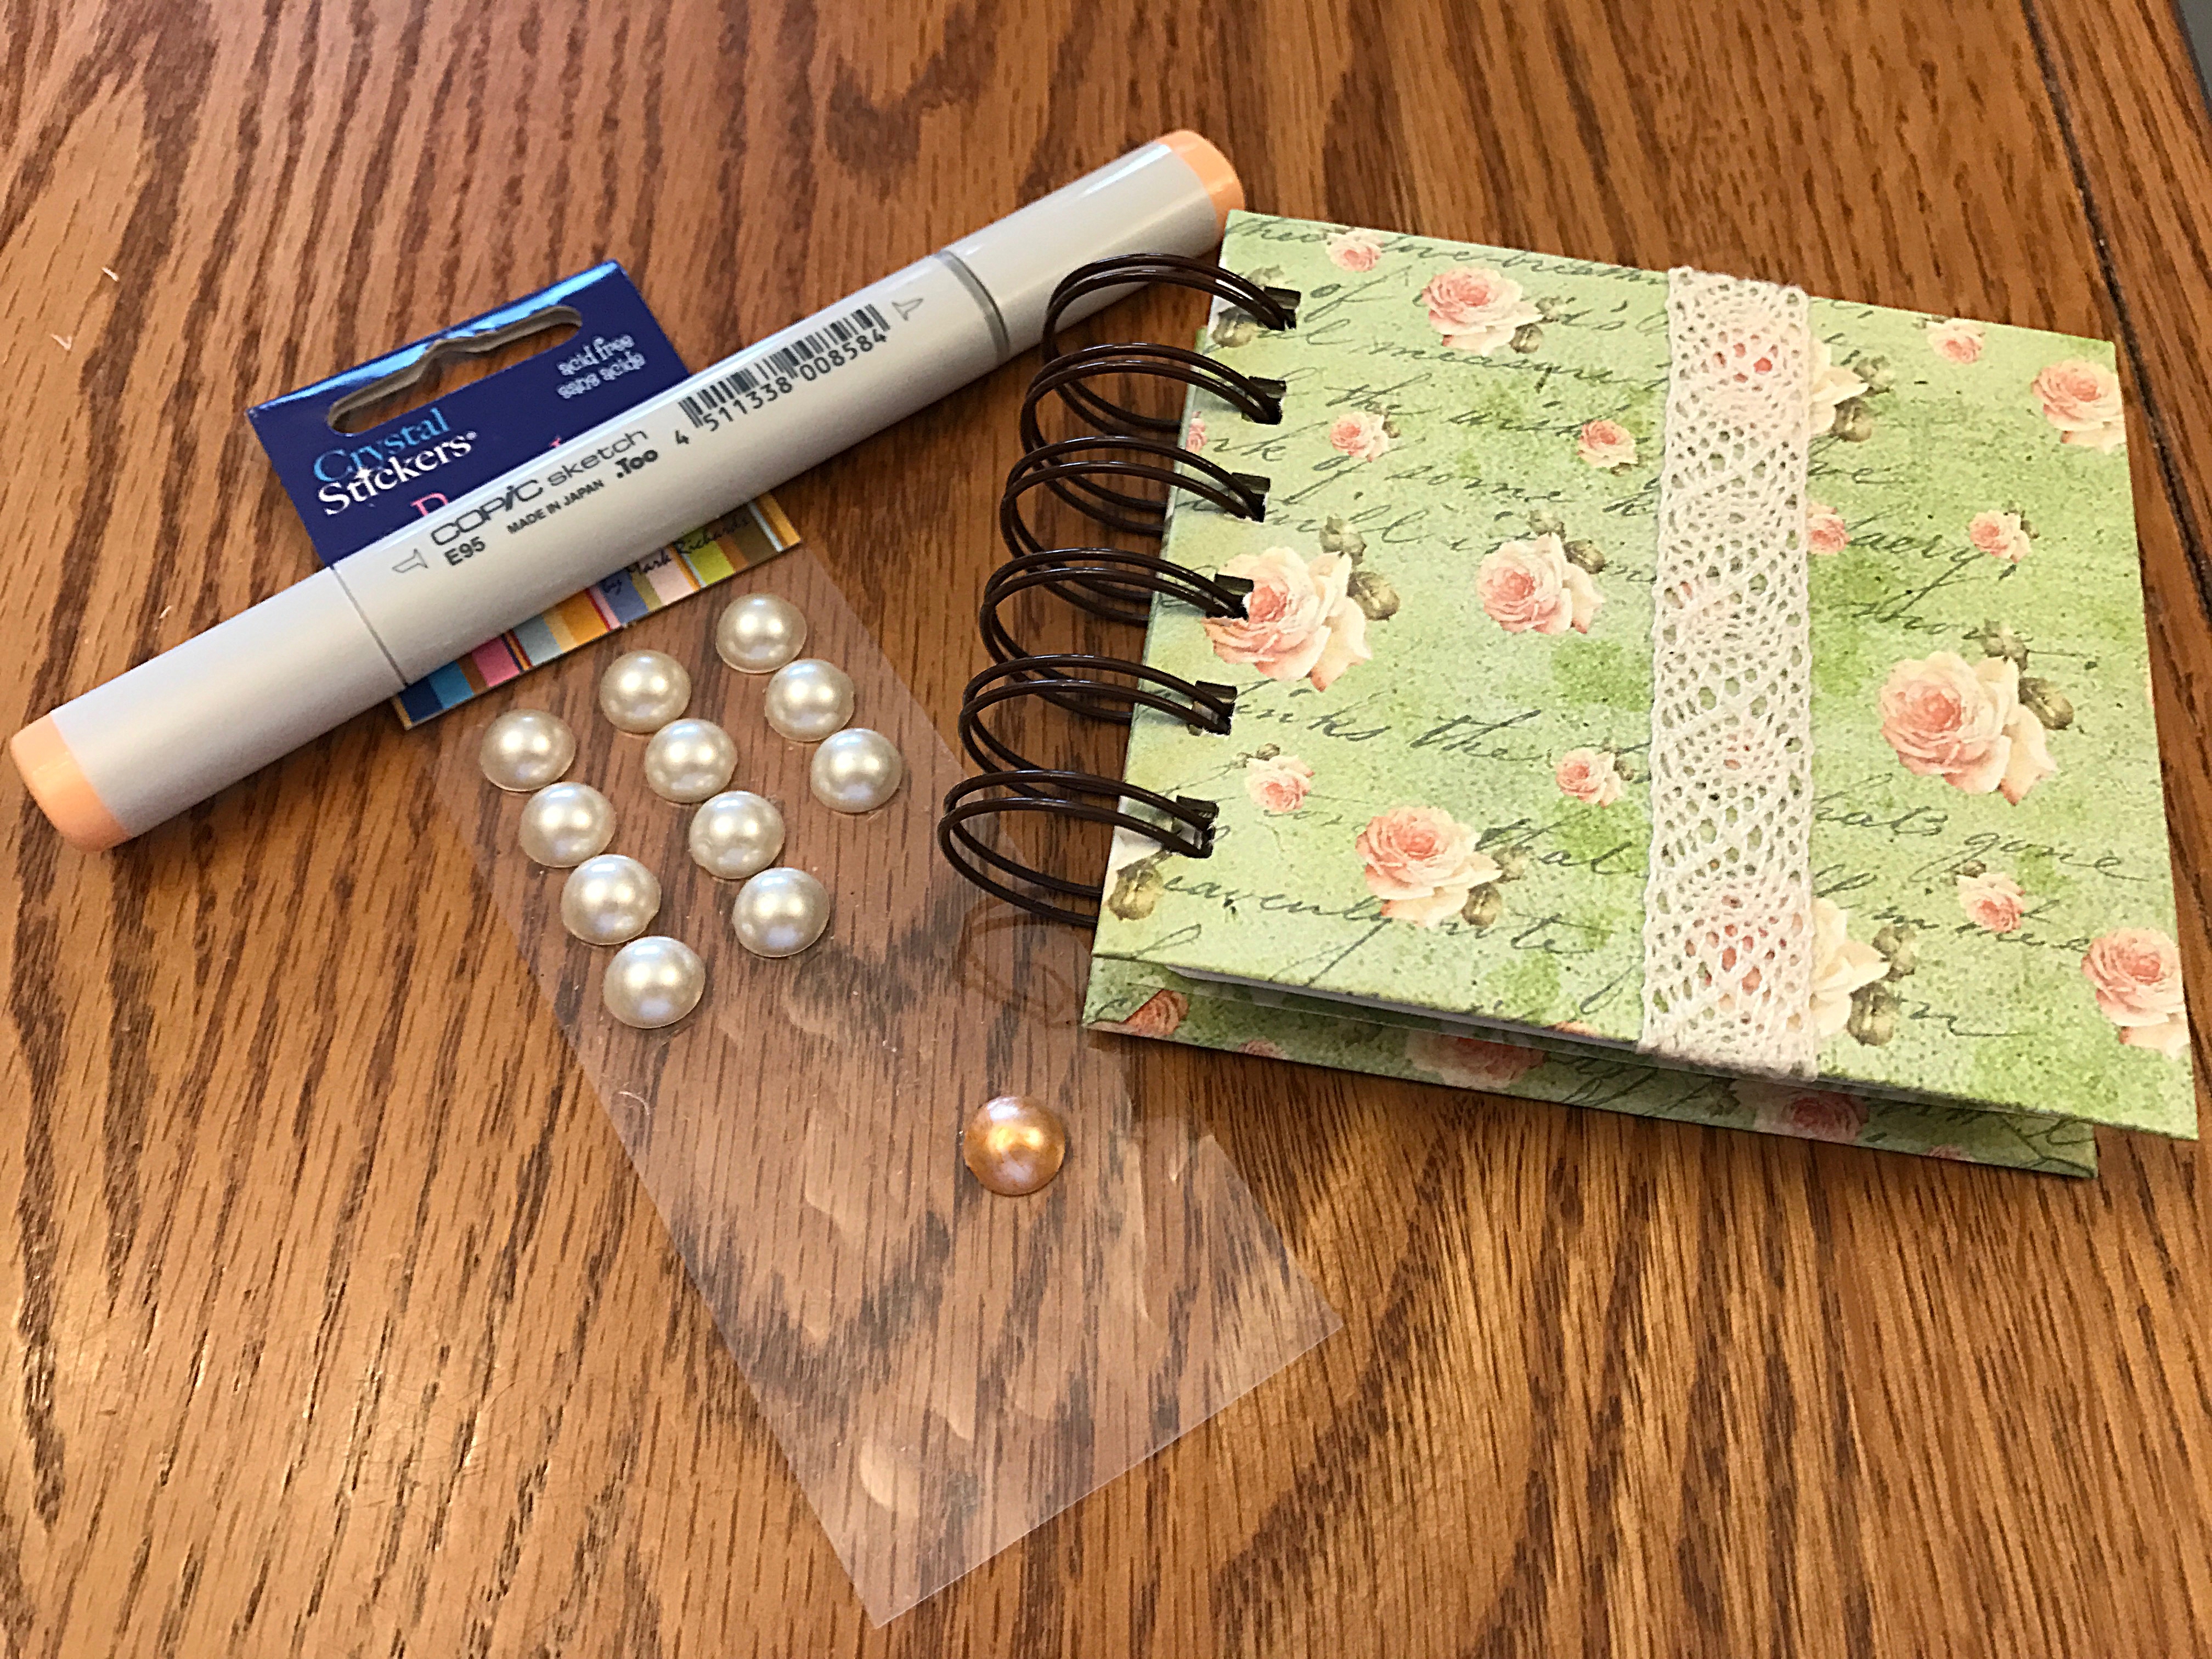
All that was missing was a center pearl. I had some white adhesive pearls and decided to color one of them with a Copic marker (E95) to match the flower and pick up some of the color in the book cover. You need an alcohol-based ink to make sure it adheres to the slick surface of the pearl.
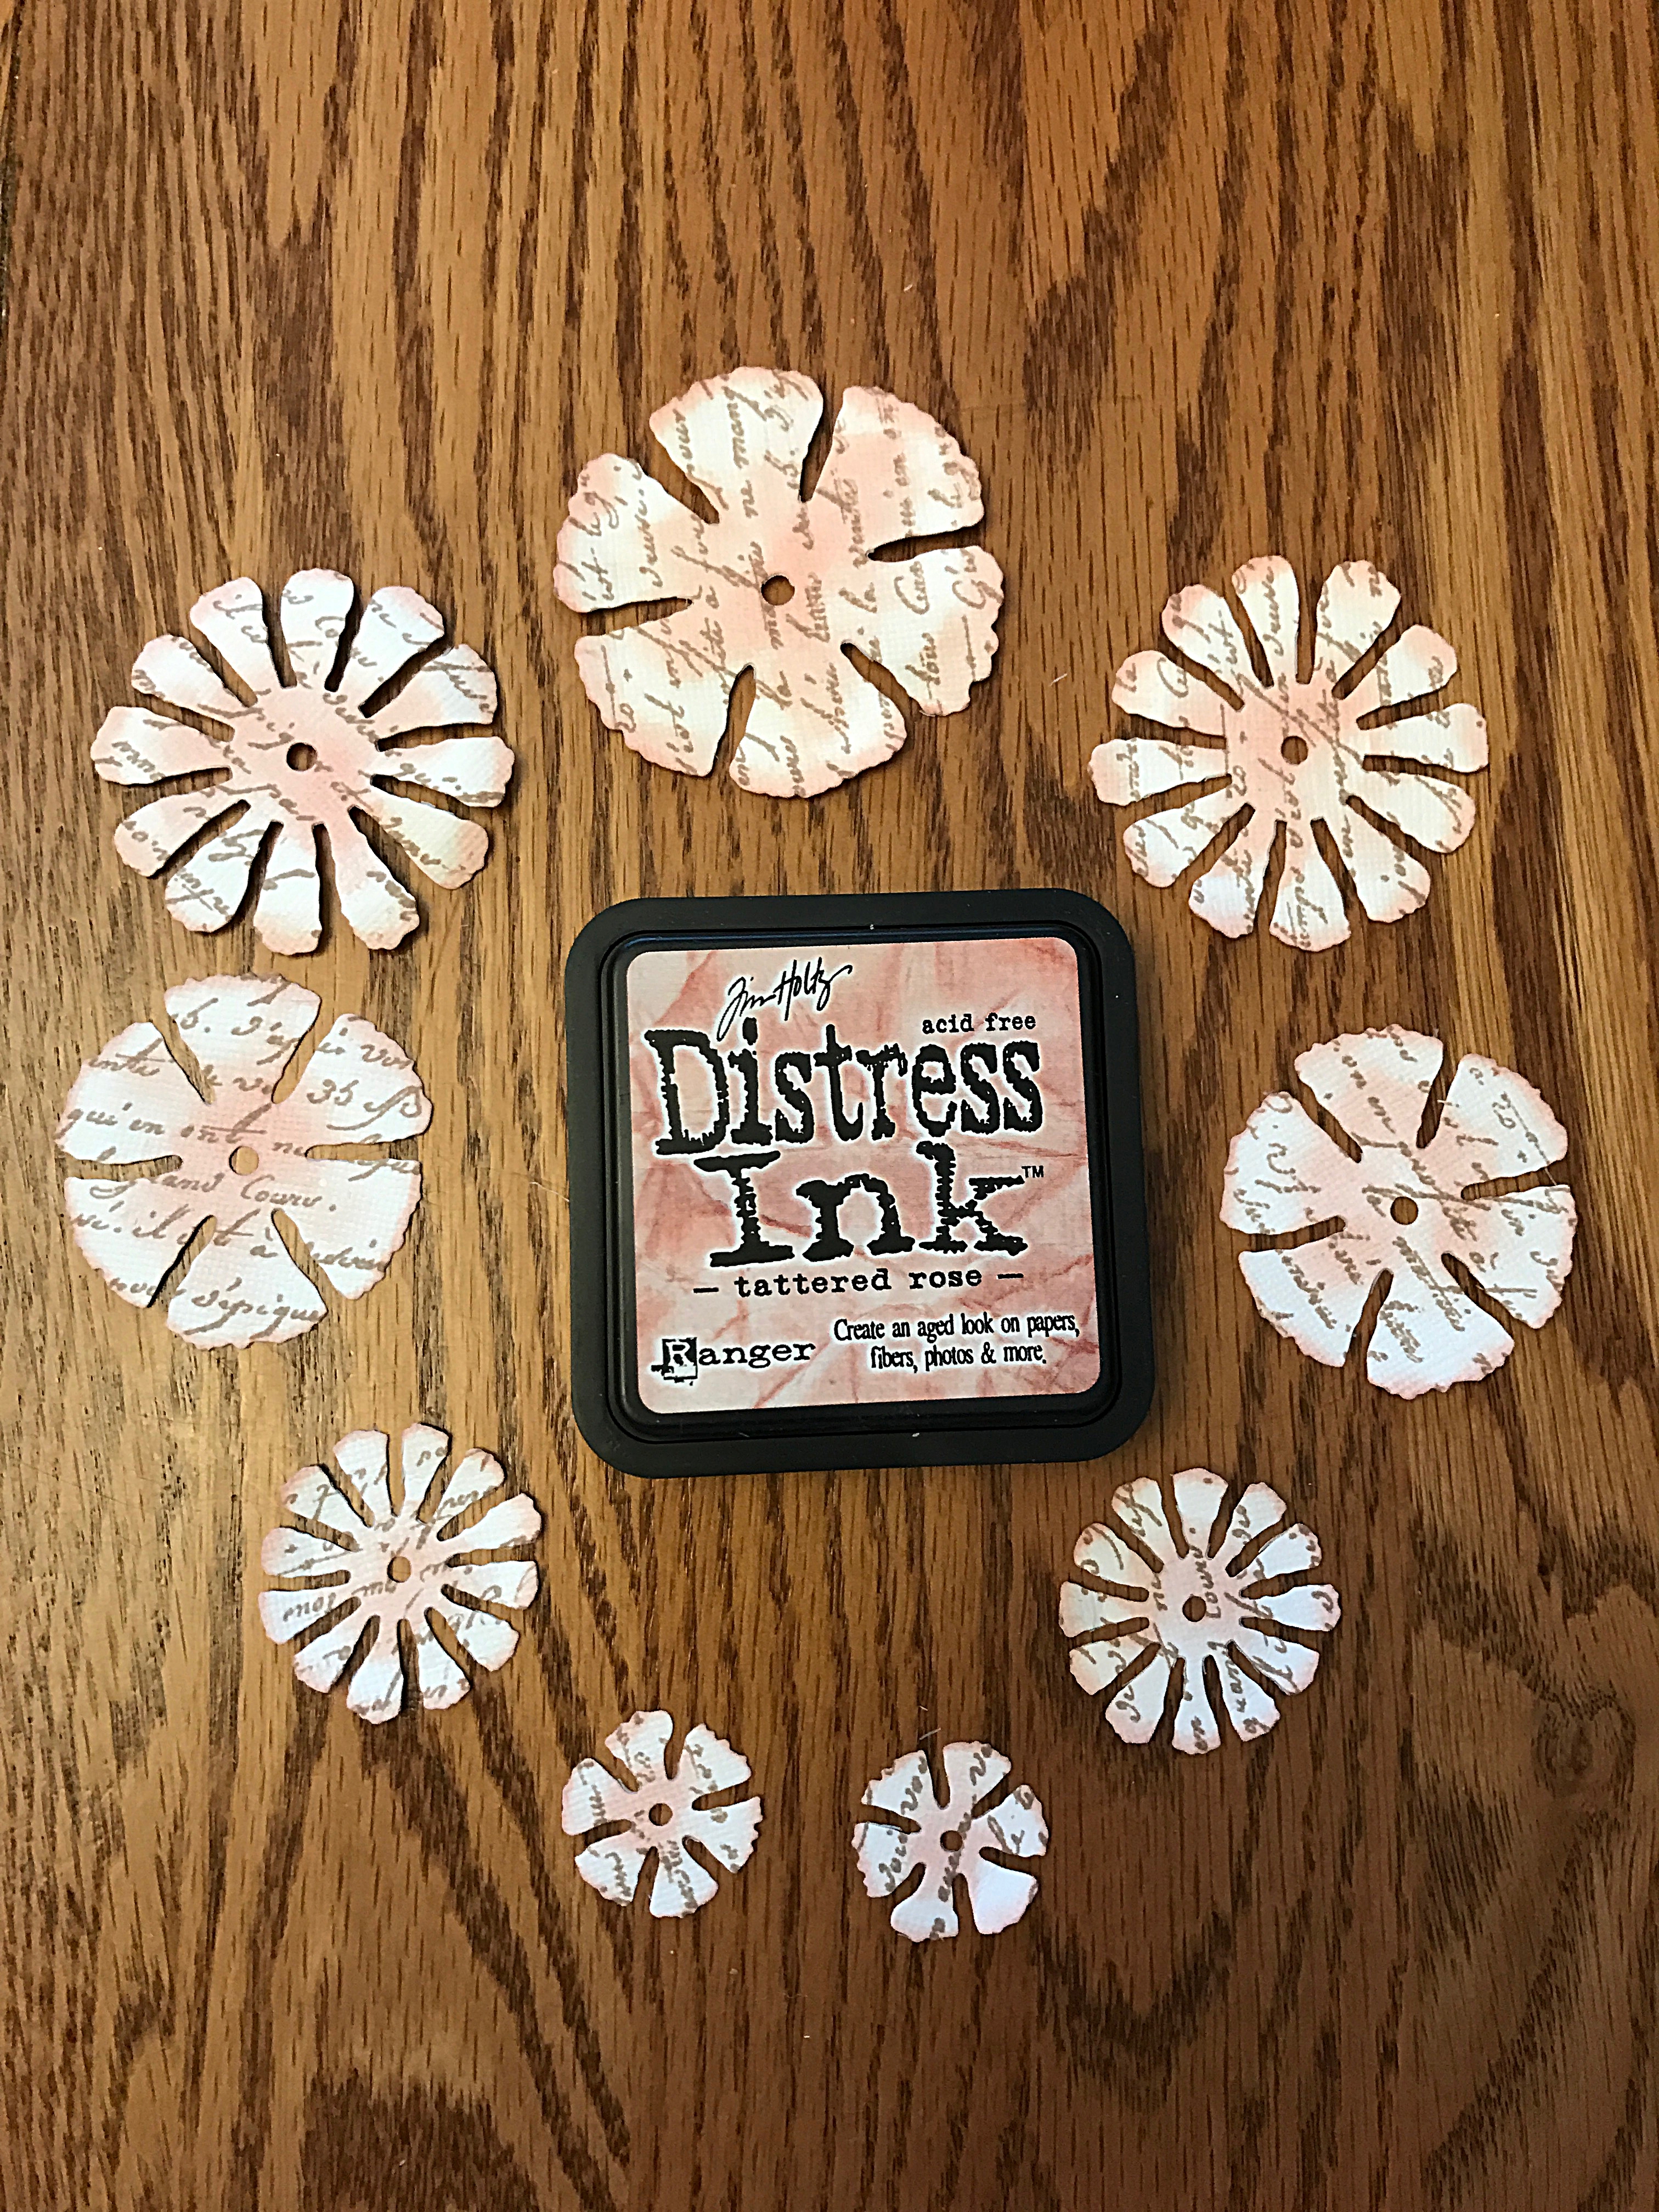
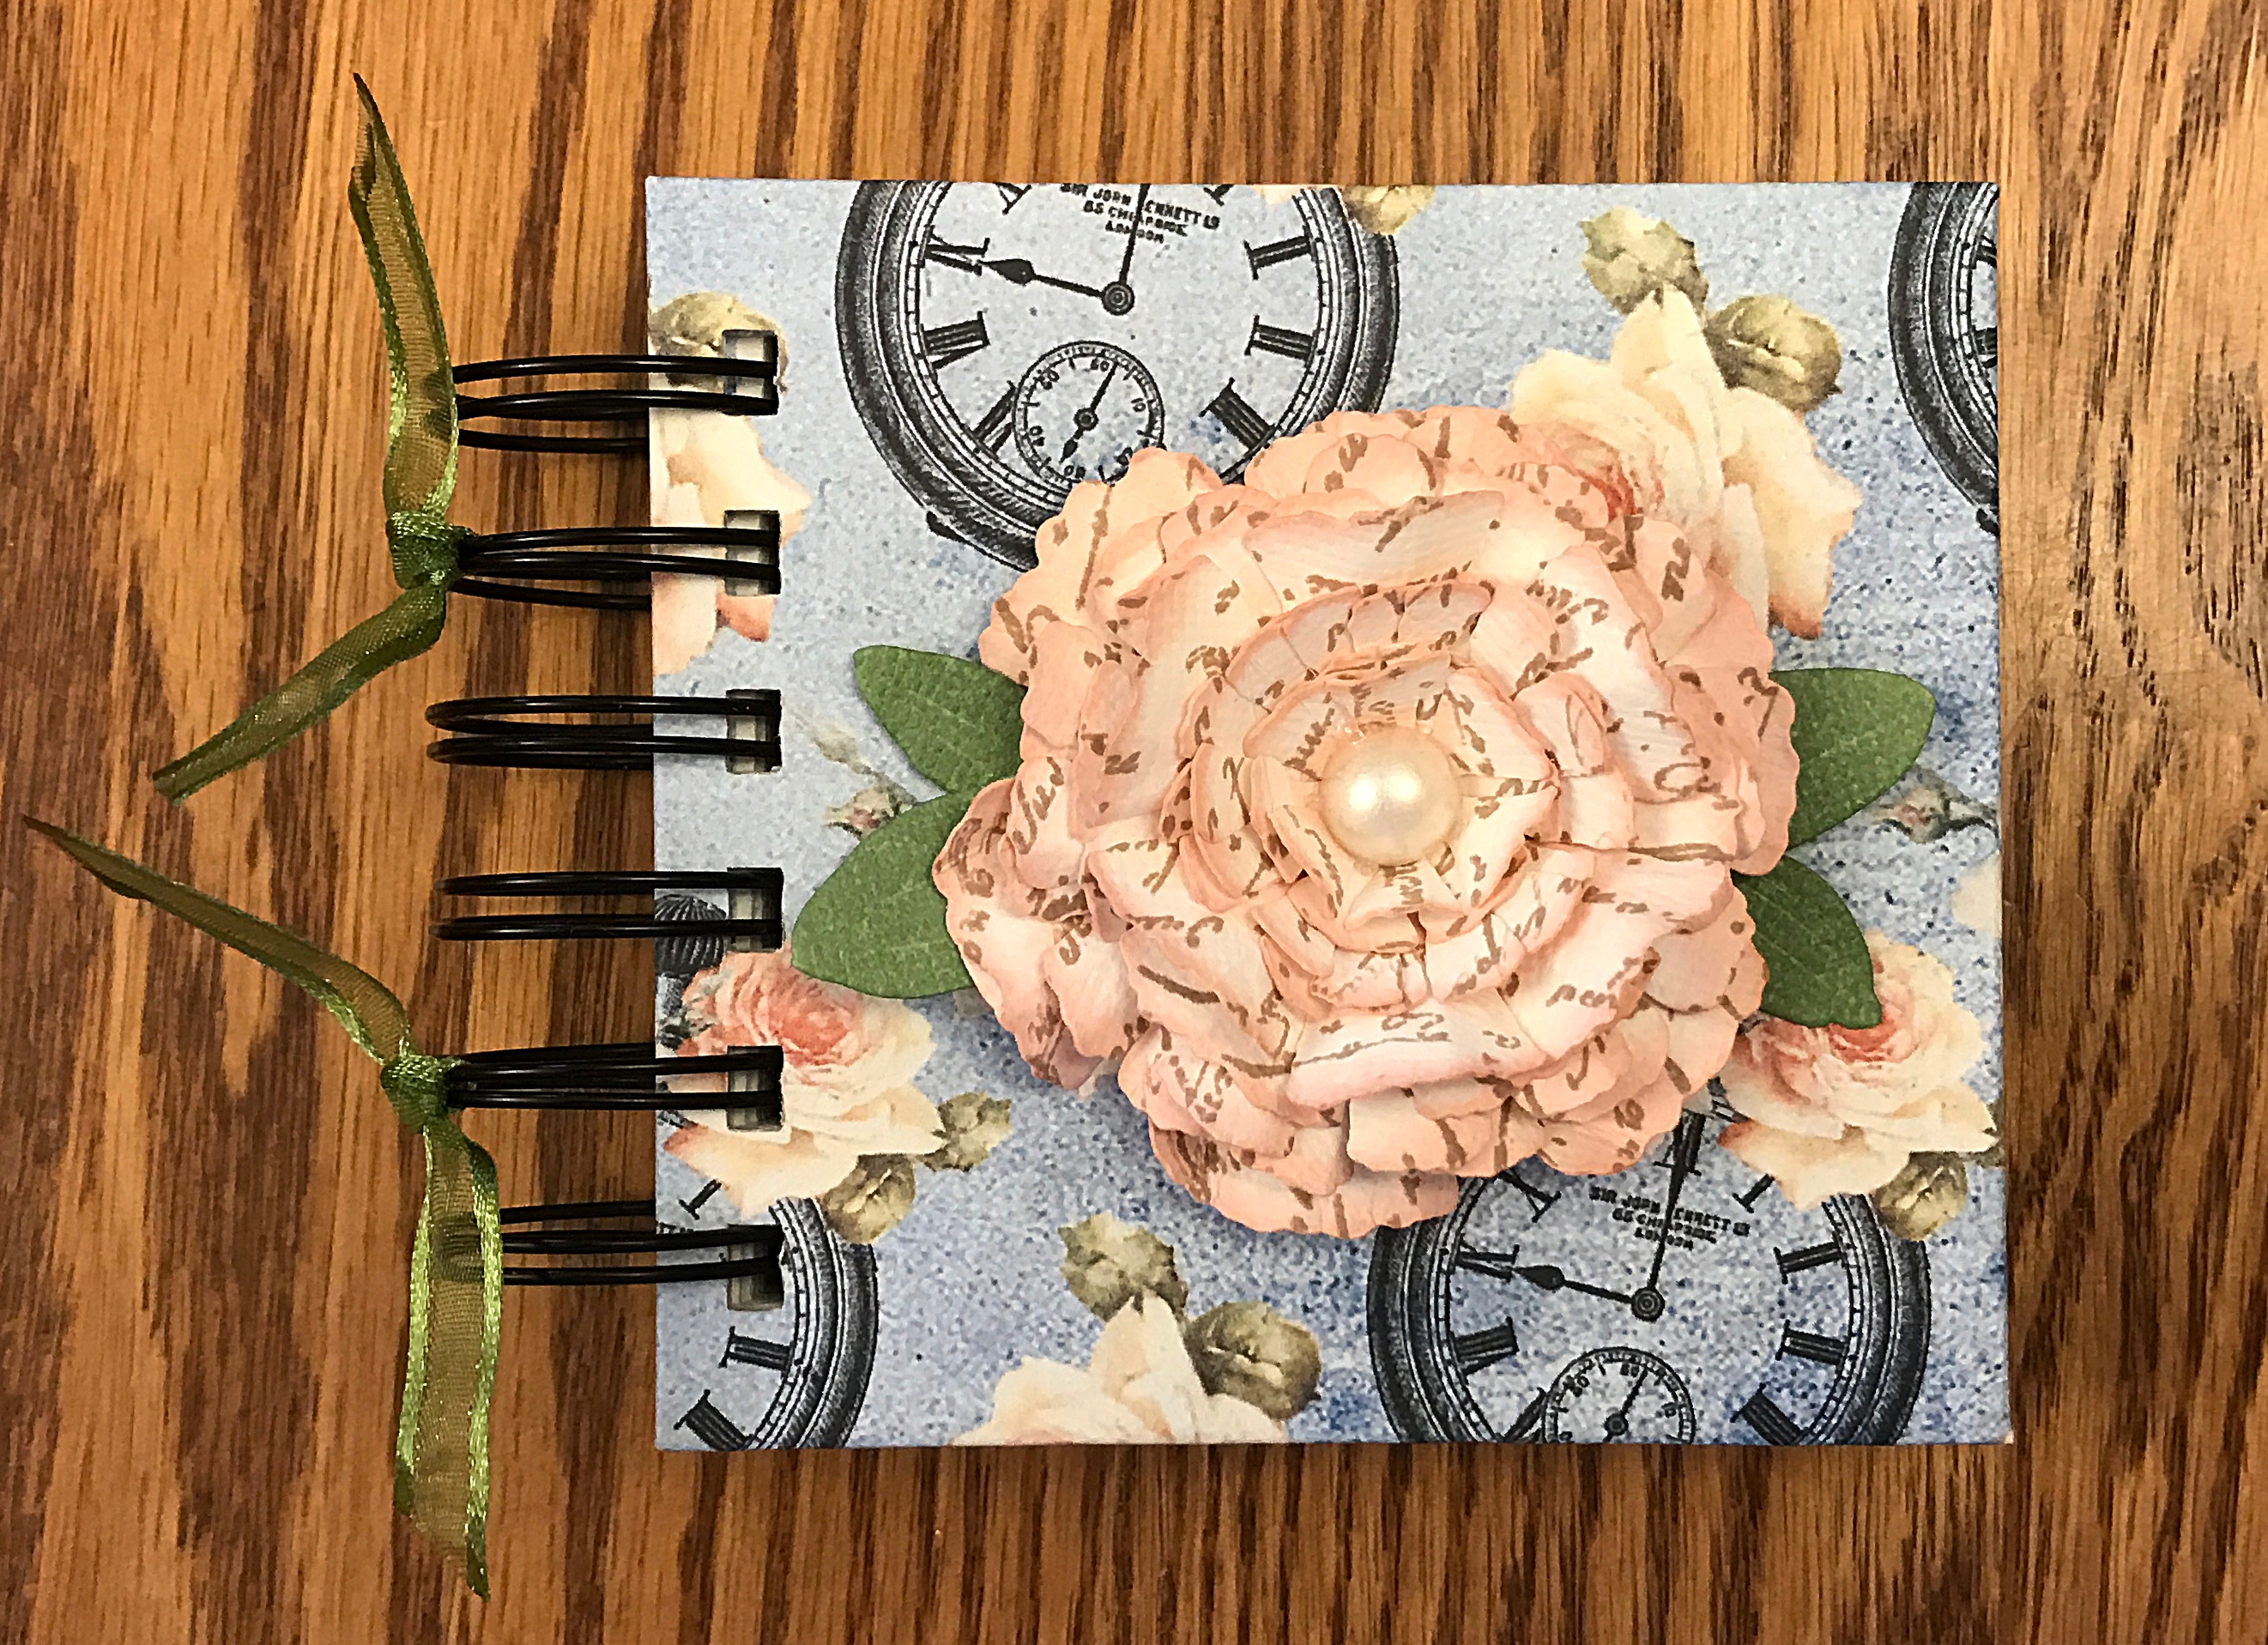
For the second flower, I pre-inked the floral shapes with Tim Holtz Distress Ink in Tattered Rose.
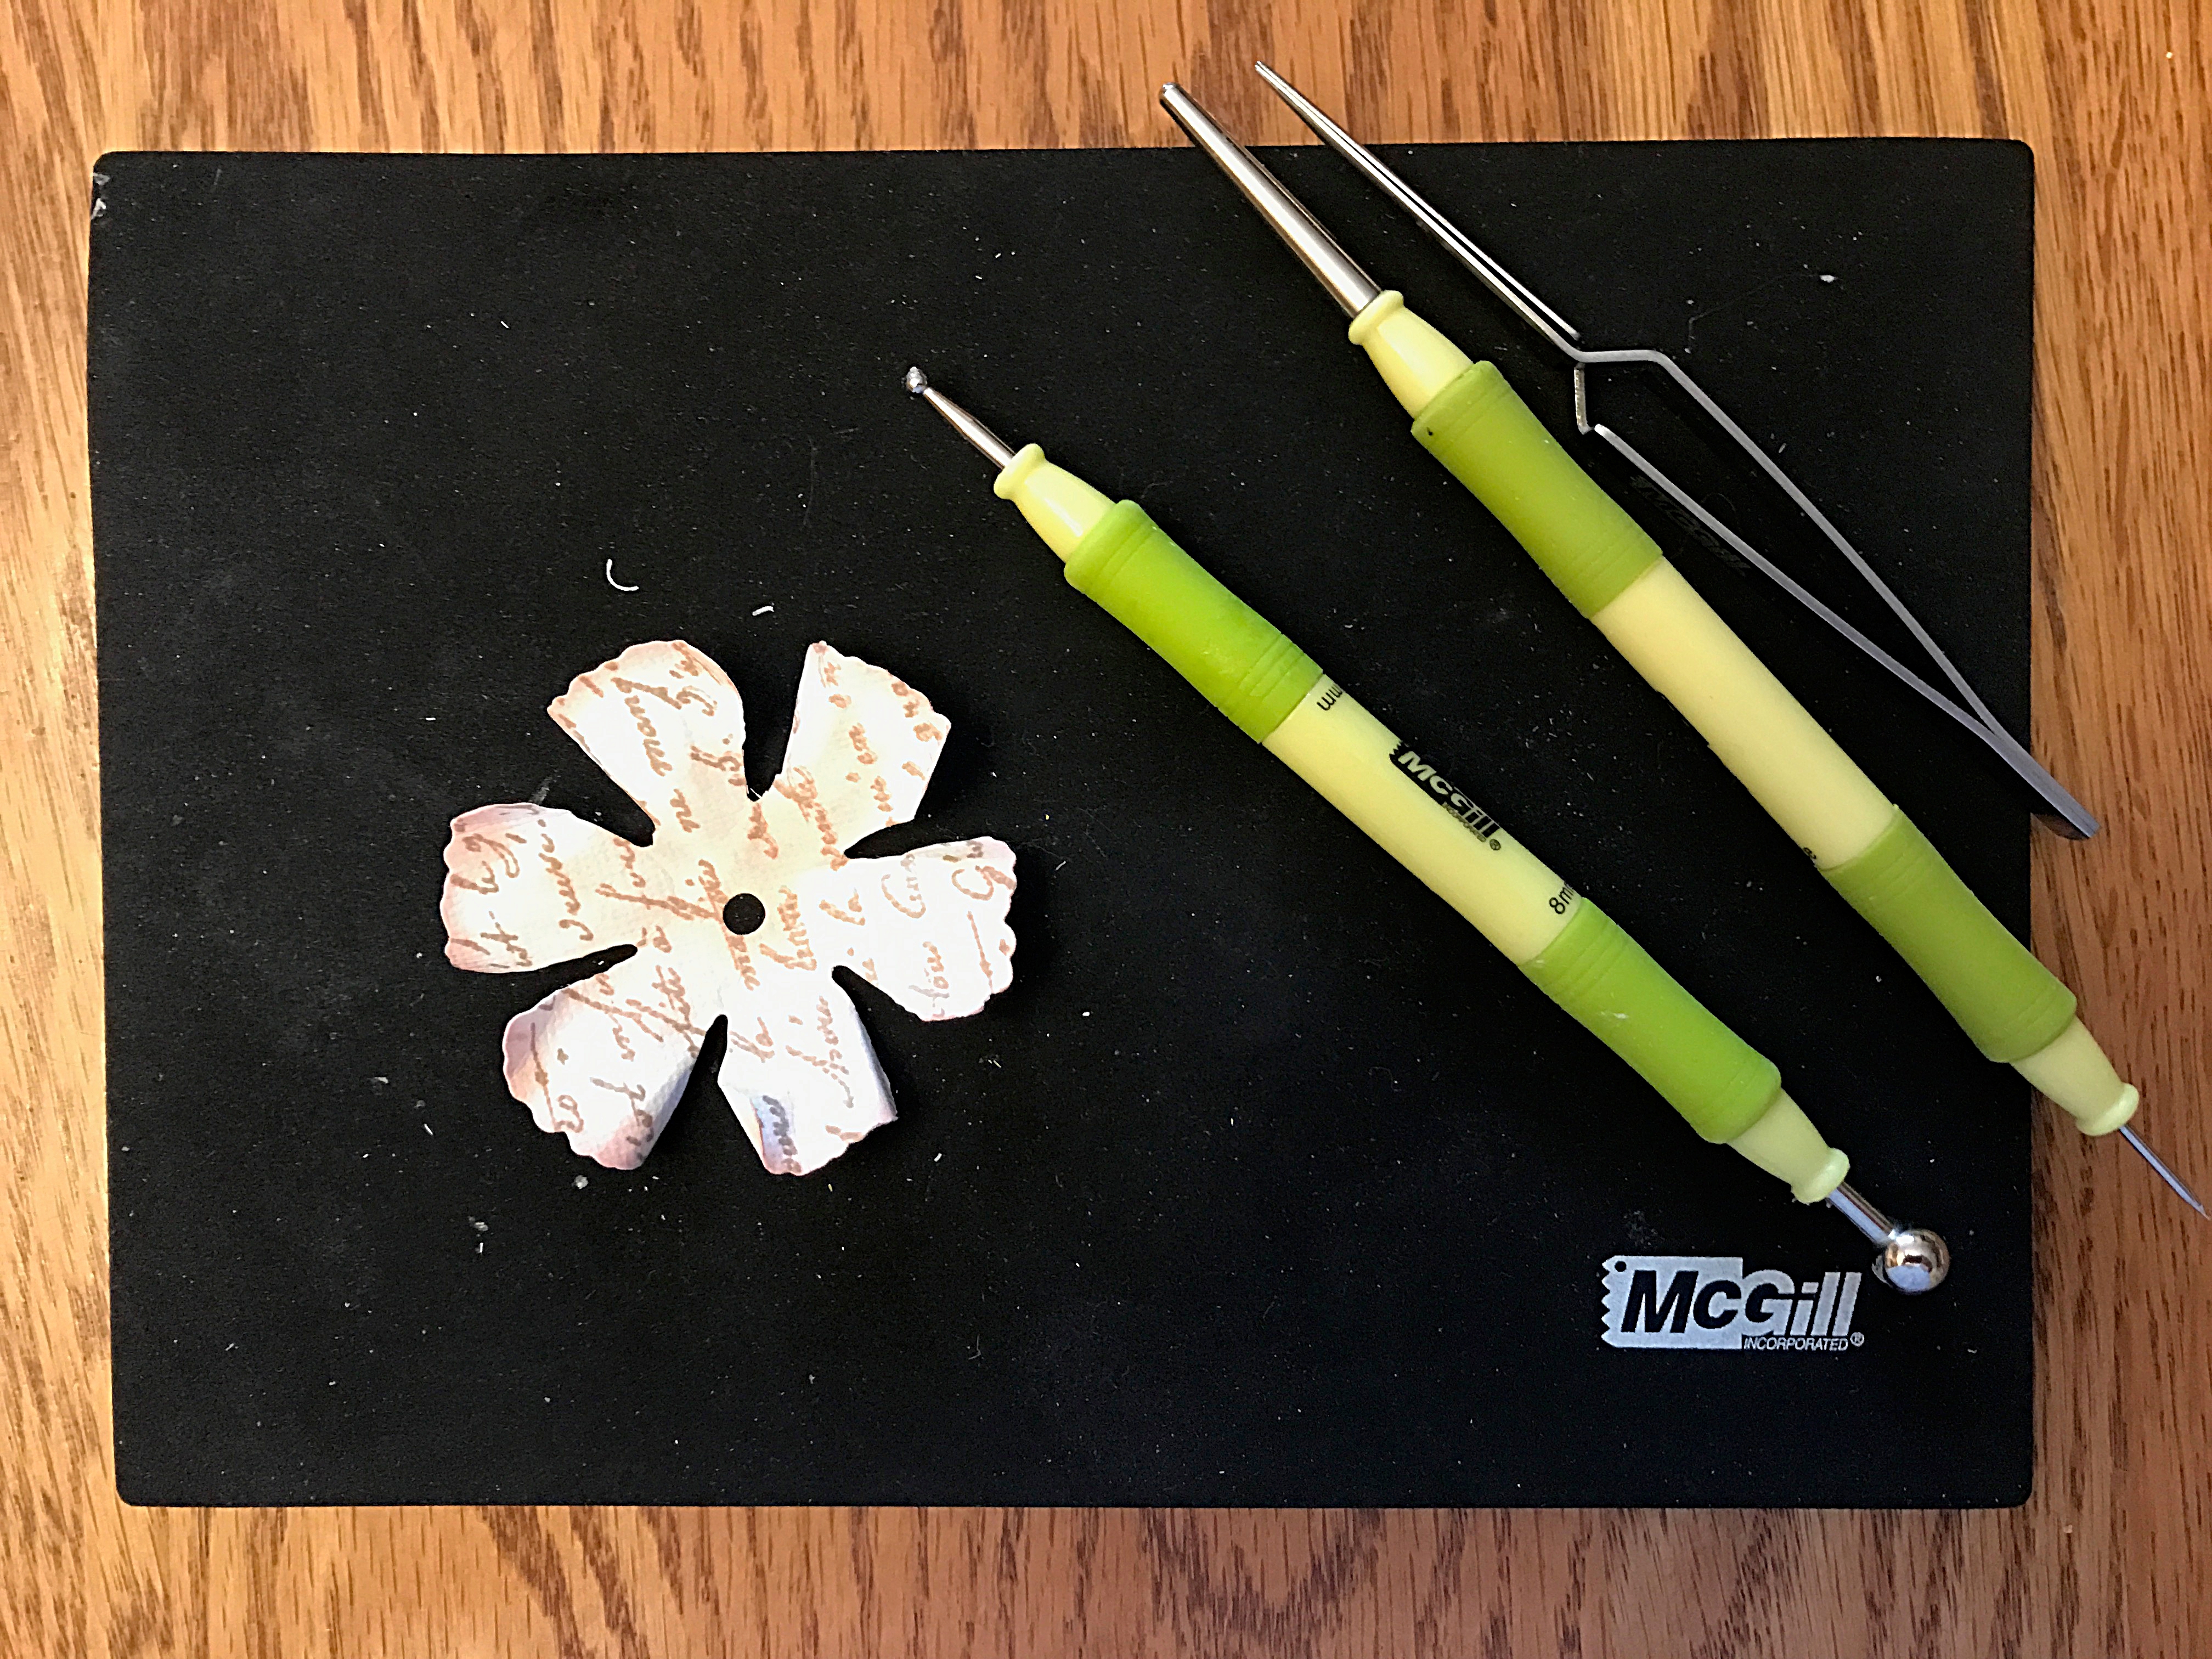
Then I manipulated the flower petals using a combination of flower shaping tools from my McGill® Paper Blossoms Tool Kit.
After I glued together the layers of the flower, I applied one of those white adhesive pearls to the center. Finally, I adhered both flowers to their respective book covers using Beacon Fabri-Tac Permanent Adhesive. This is my go-to substitute for a glue gun, as the glue is acid-free where glue gun adhesive is not. It’s also far less bulky. Although both flowers have nine layers, they are markedly different. The first flower—which was scrunched—is a fuller flower. The second flower’s layers were manipulated with flower shaping tools. While it is a full flower, it lies flatter.
It’s a lot of fun to experiment with flower cutting dies and assembly techniques. From the photos in this post, you can see that the same set of floral dies—Donna Salazar Carnation Creations—yielded different results each time I applied a new technique. Can you add a variation to these techniques with similar dies?
© 2017 Judy Nolan. All rights reserved.
I really want some of those Distress Inks, but they’re so expensive at our local store and I don’t really need them. Maybe one day I’ll catch a nice sale at a Mainland store. =)
All of your paper flowers are so pretty! I love the watercolor effect of those Distress Inks 🙂
The creation process of your lovely flower was so very interesting. I love the “distressed” look of the many layers to create the finished product! Thanks for sharing.