In my neighborhood you always know it’s graduation season when it’s a weekend in May and cars line the street everywhere it’s legal to park. Garland-festooned mailboxes and balloons tied to poles or trees beckon visitors who stride up the driveway. They enter homes without ringing the doorbell to take part in an open house or a family celebration. That’s also my signal to make a few graduation cards, if I haven’t done so already. This year we have two of them in our family—two nieces who have finished college and are moving on to the next phase in their lives. I had so much fun making and then describing shaker cards in my last post that I decided to try my hand at a couple of graduation cards for my nieces.
I gathered the basic tools and supplies listed below:
- Hats Off stamp set by Avery Elle
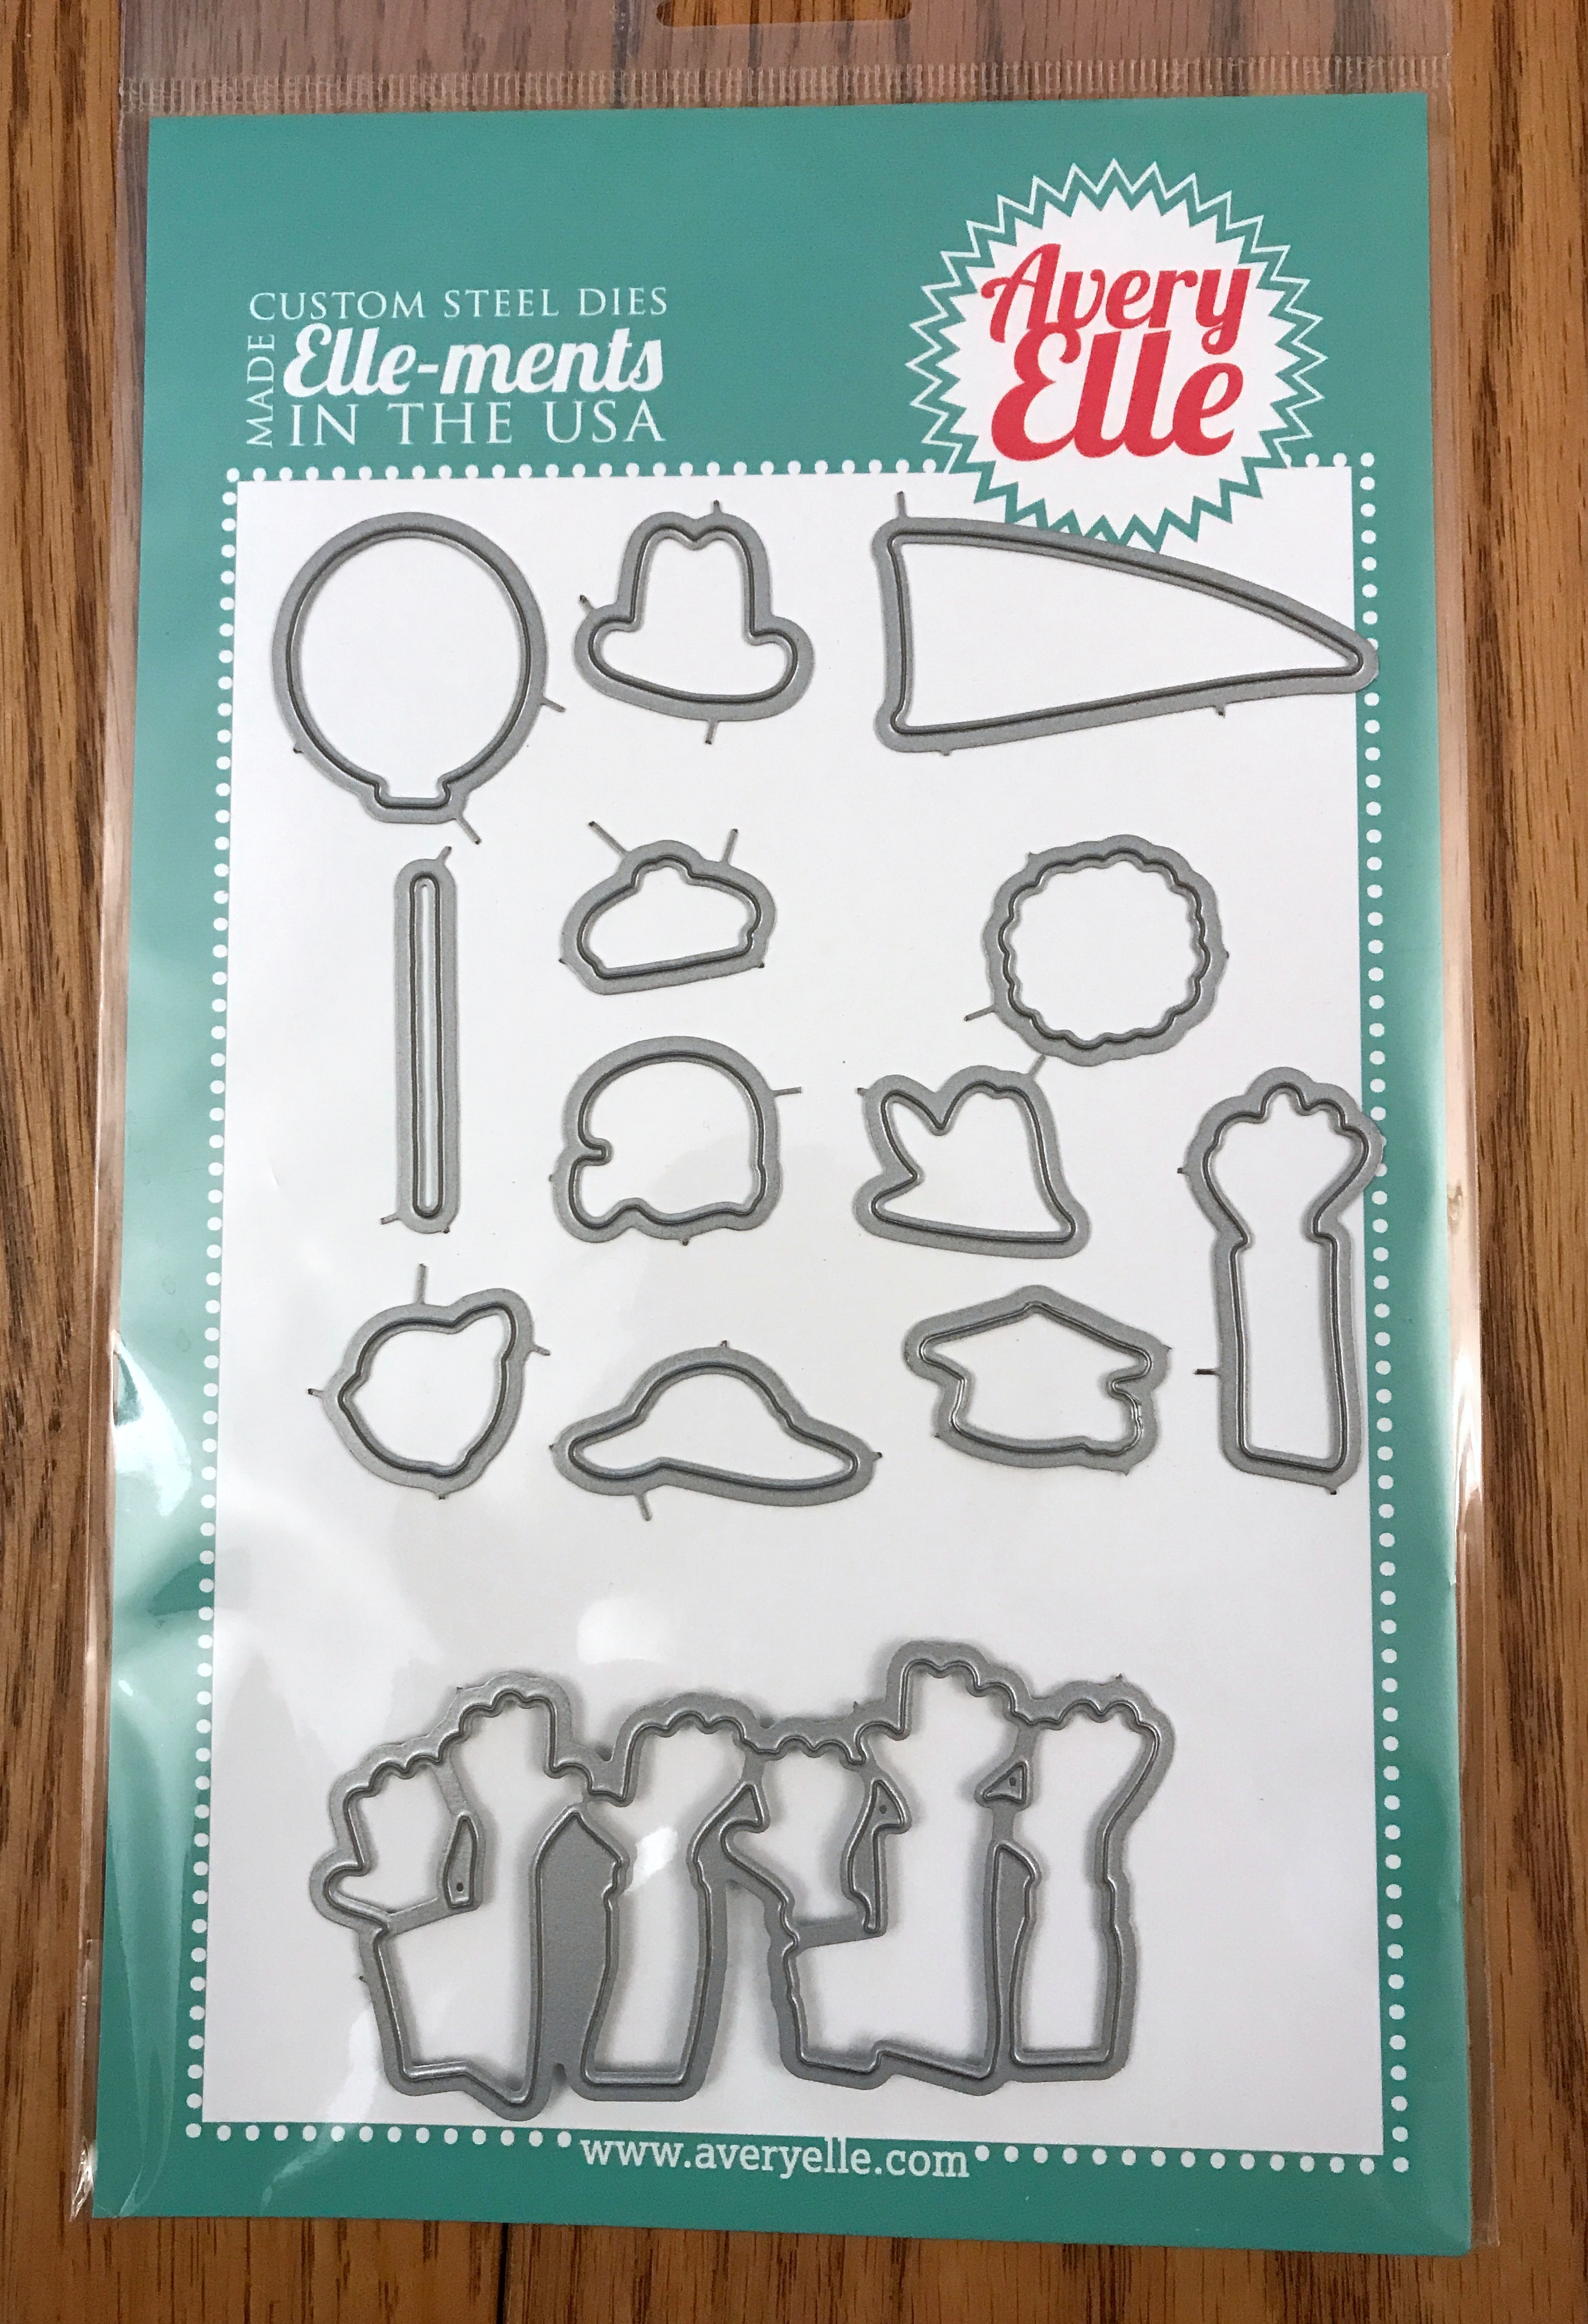
- Hats Off die set by Avery Elle
- Large Stitched Rectangle Stackables die set by Lawn Fawn
- Marshmallow heavy weight card stock by Bazzill
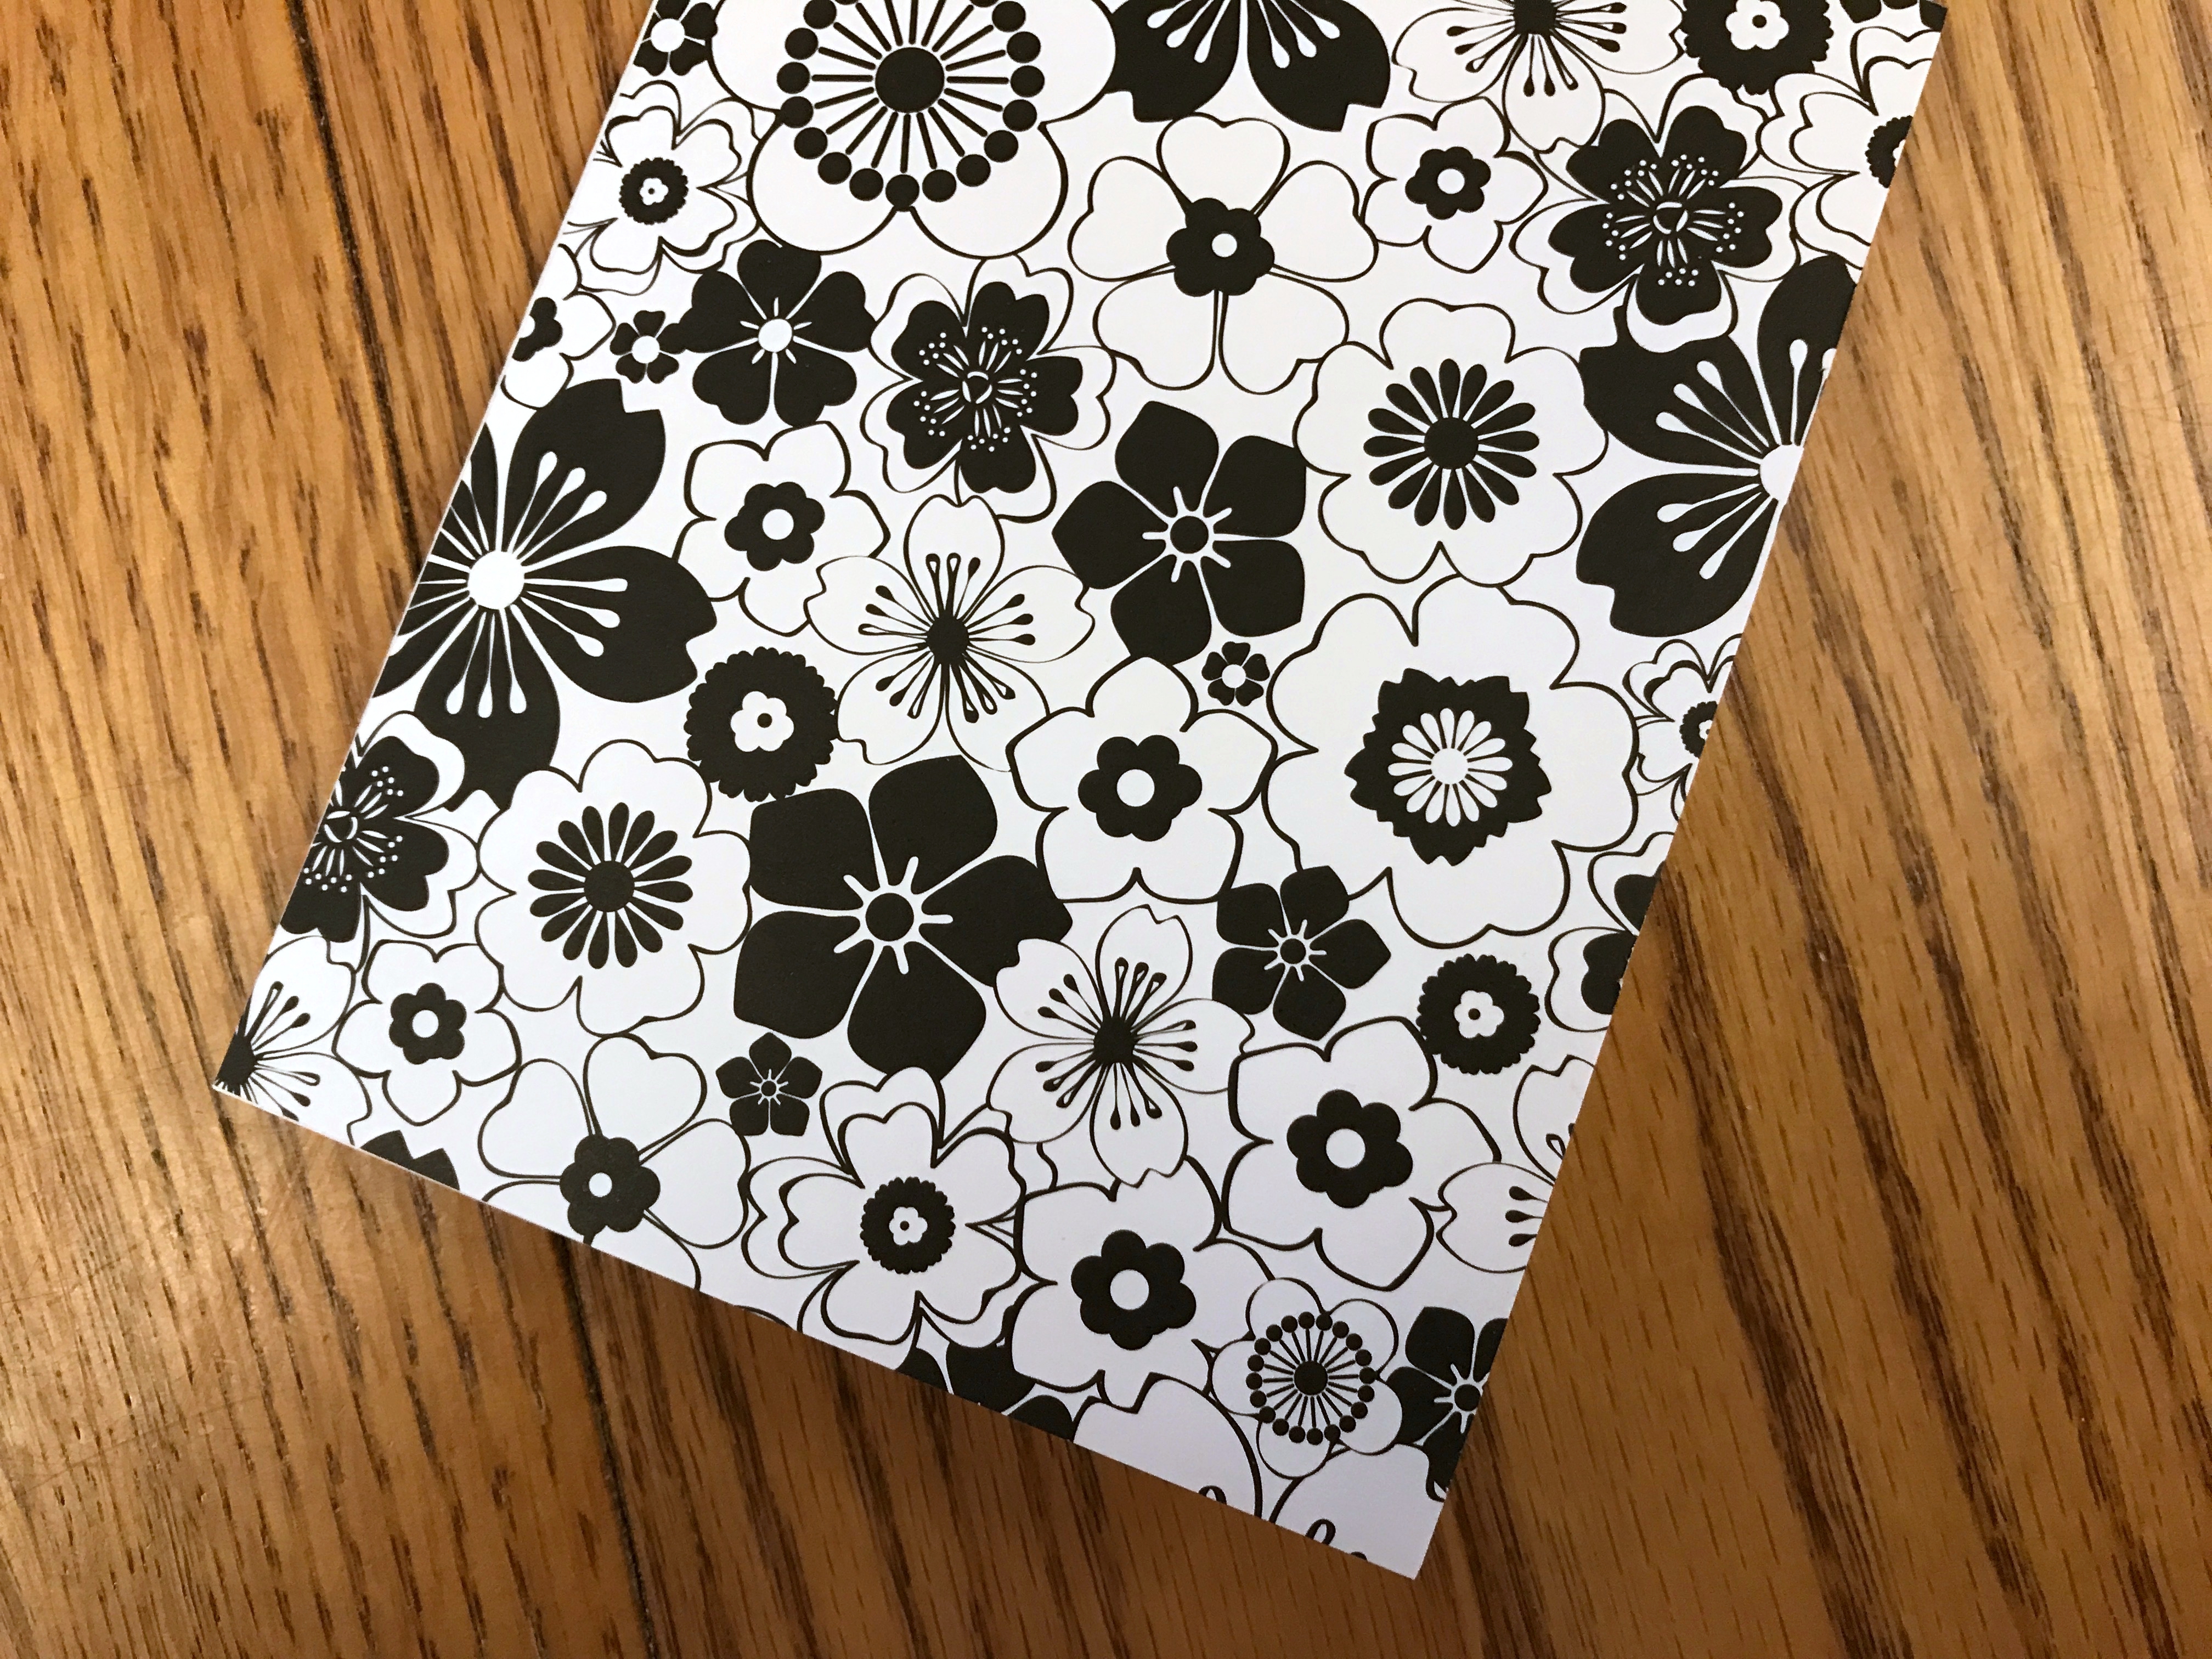
- Black and white floral print paper from The Midnight Chic Stack by DCWV
- Bridal tulle, available by the yard from a fabric store or by the roll at Michael’s
- An assortment of sequins from your favorite craft or hobby store
- Memento Dye Ink in Tuxedo Black by Tsukineko
- An assortment of Copic markers
- Scor-tape
- Creatology Foam Sheet in white
- Ranger Multi Medium Matte
- Scotch Permanent Tacky Glue
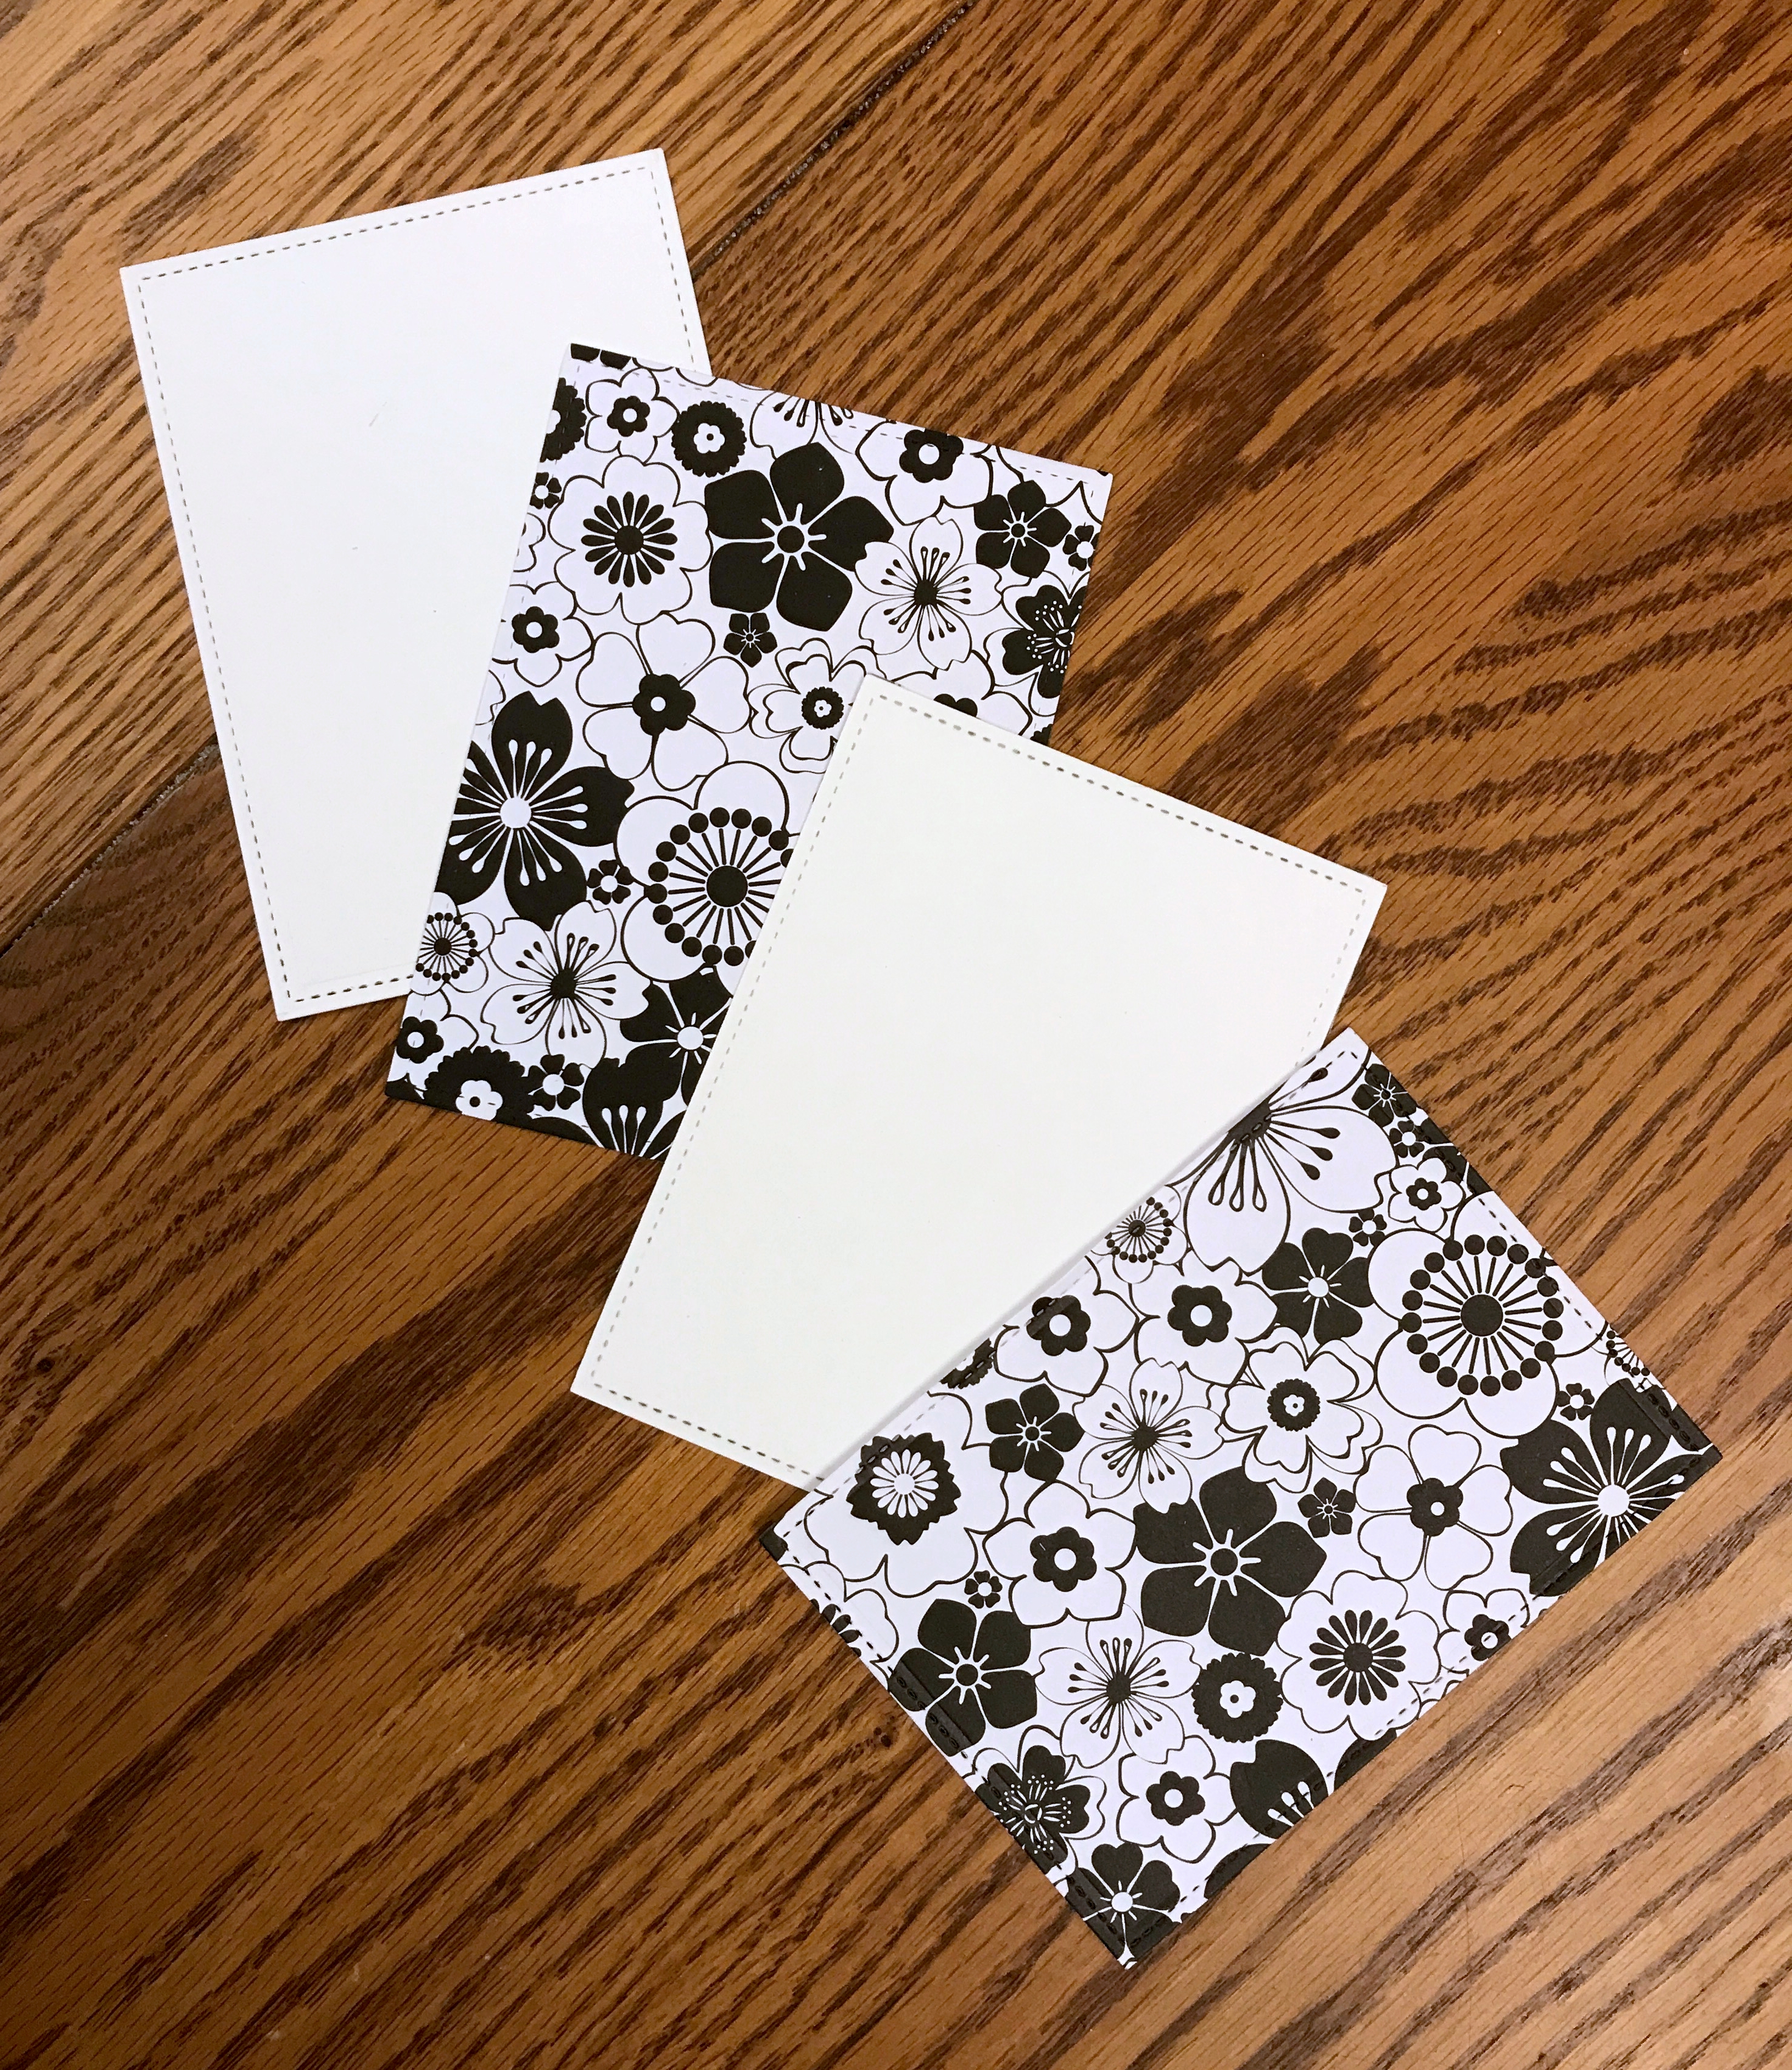
To begin the project, I cut 8-1/2 x 11-inch heavy weight white card stock into two rectangles for two cards. I scored them in half and folded them. Then I cut two 4-1/4 inch x 5-1/4 inch rectangles from a sheet I removed from a DCWV pad of black-and-white floral paper that I’ve had for a while.

I removed some rectangular cutting dies from their package for the first time to cut shaker window openings in my cards.
Before I could do so, however, I had to cut apart the dies because they were joined to each other with metal “wires.”Snipping them apart with pliers was easy; filing down the nubs with a metal file took a little longer. I got my file from Elizabeth Craft Designs (which no longer sells them), but you can pick up something similar for around $8 from your local home improvement store, such as a multi-purpose file set from Home Depot.
For the first card, I ran the white card stock and black-and-white floral paper through my Big Shot die cutting machine on two separate runs to cut rectangular windows. Then I wondered if I couldn’t do both sheets at the same time. I tried it, and it worked great.
This left me with some rectangular scraps to use for another project.
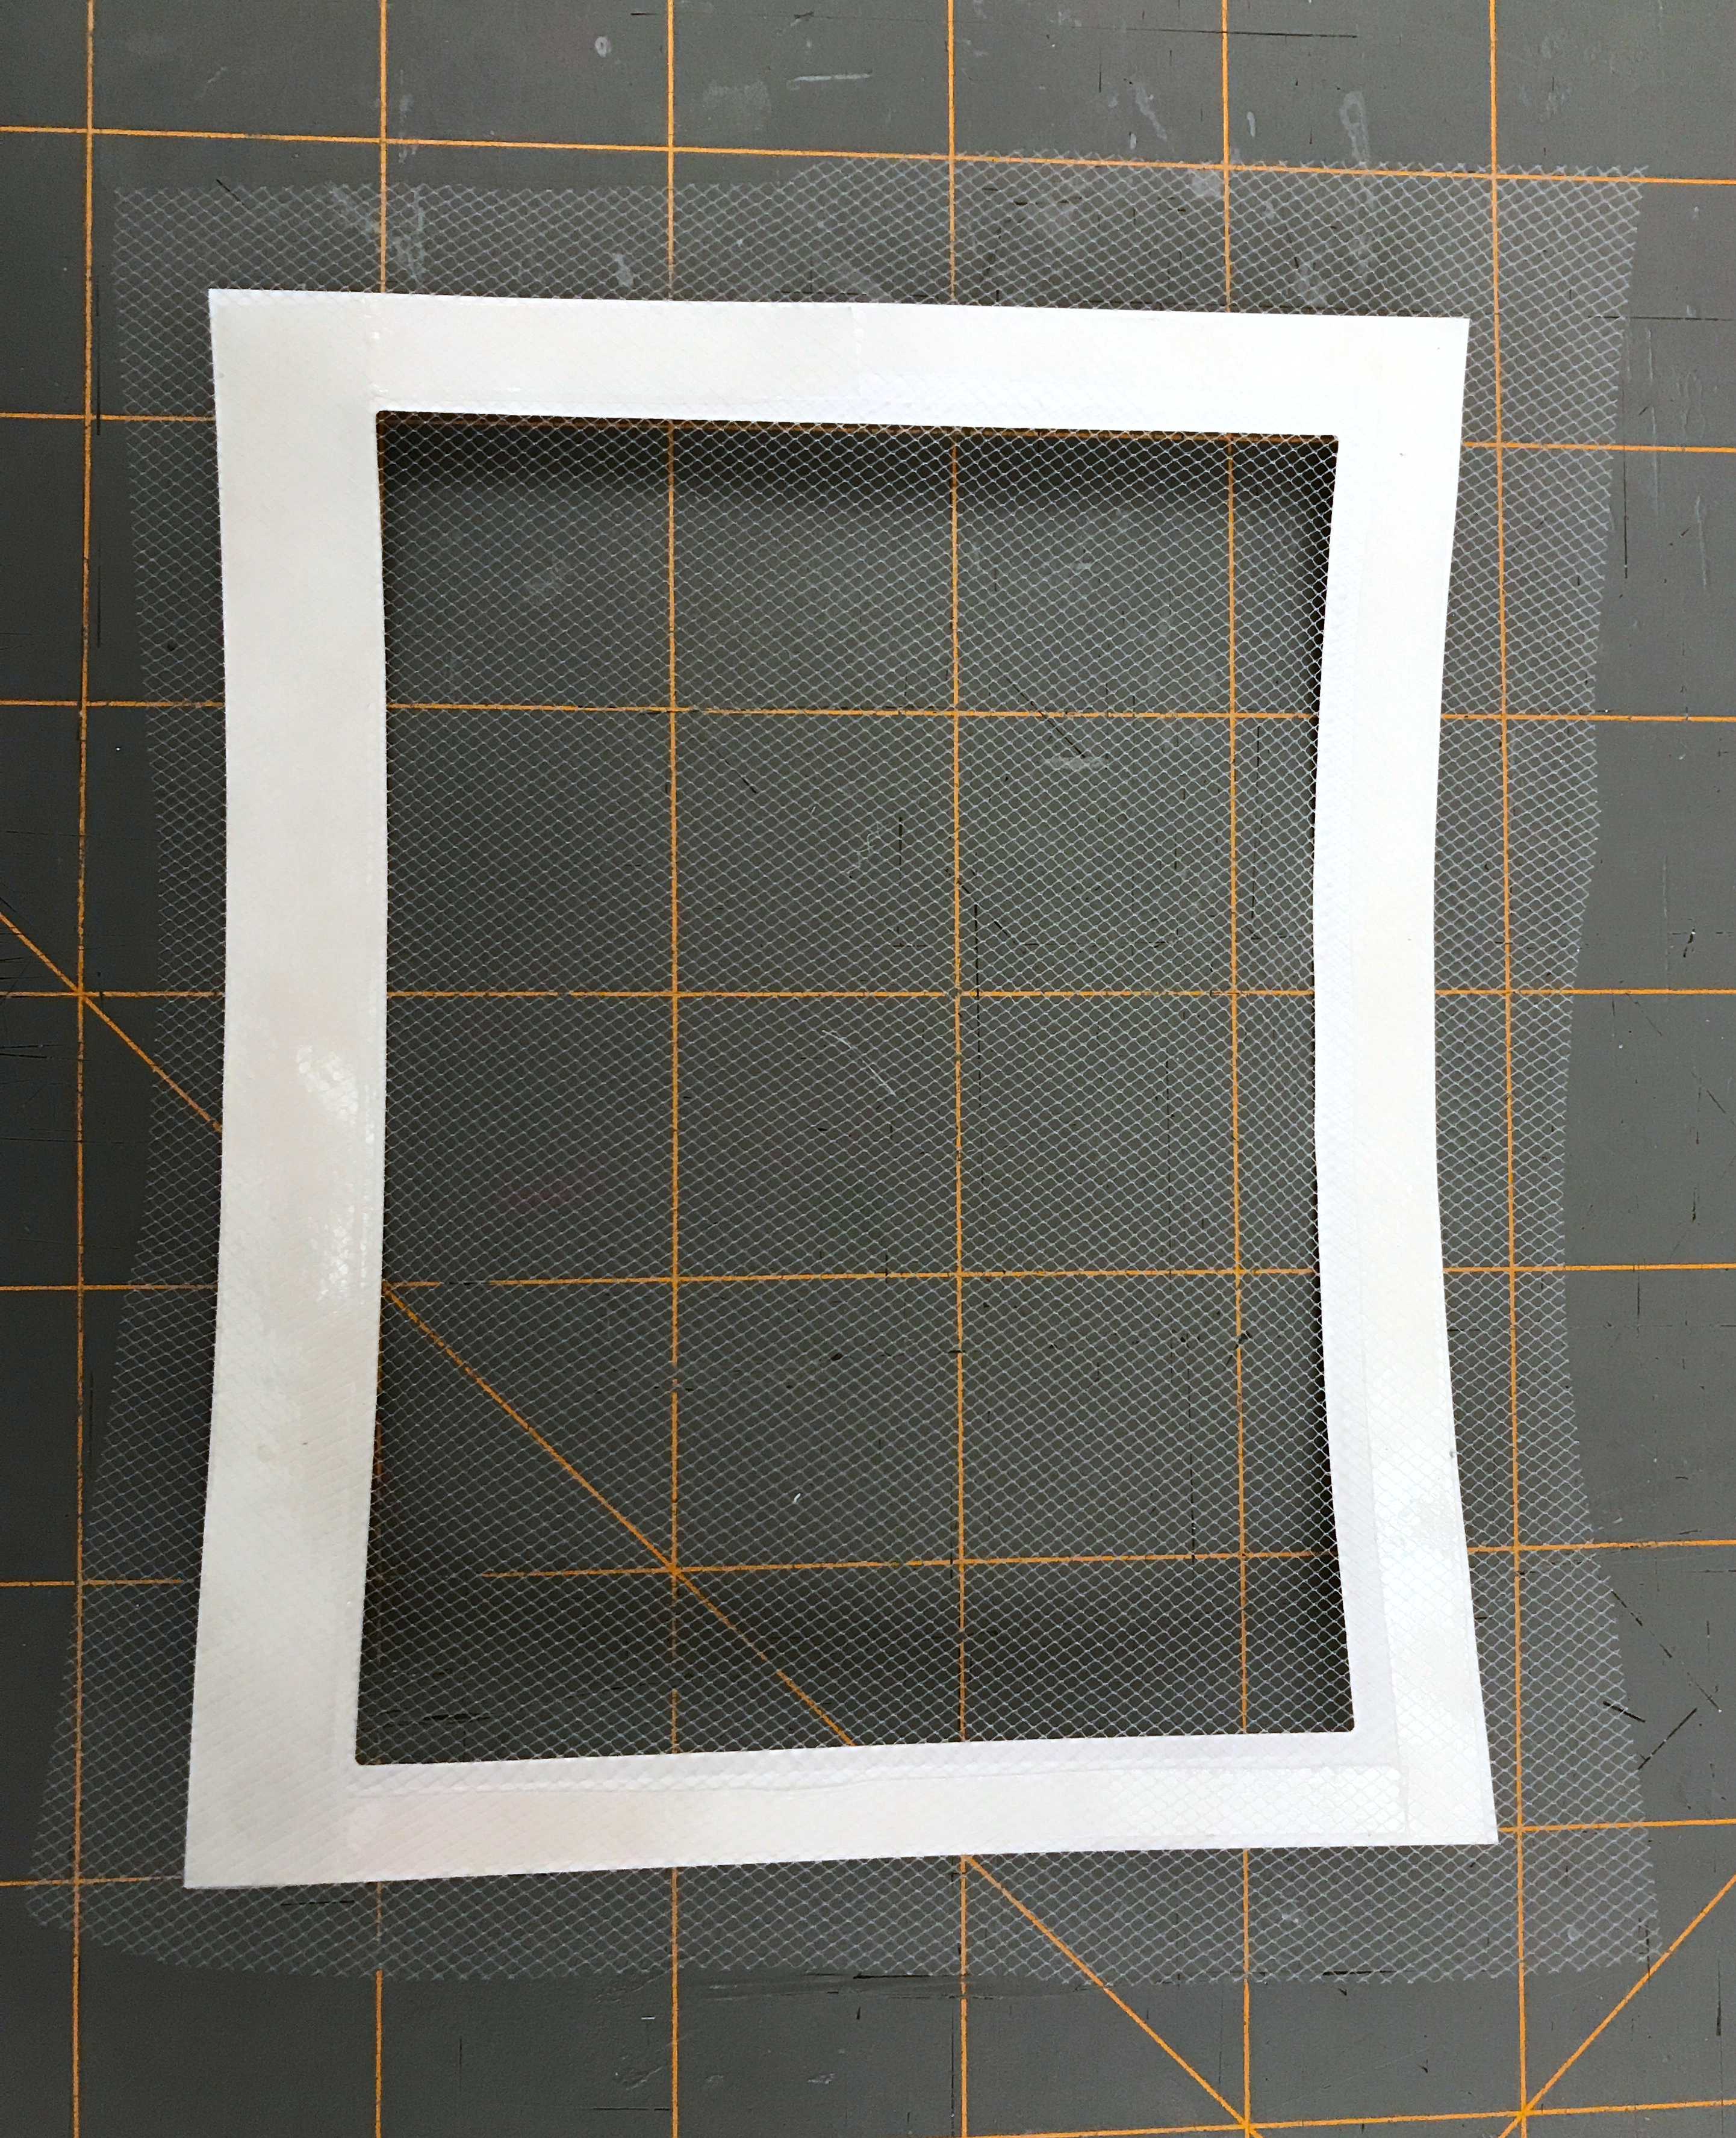
After I cut out shaker windows, I covered both of them with bridal tulle, adhering the tulle in place with Scor-tape. You’ll notice in the photo below that the paper bends; this is because it is fairly thin paper, definitely not as heavy as card stock. In retrospect, I wish I had adhered the decorative paper to card stock, and then cut a window into it. It would have been sturdier! I guess you can always learn something new from your projects.
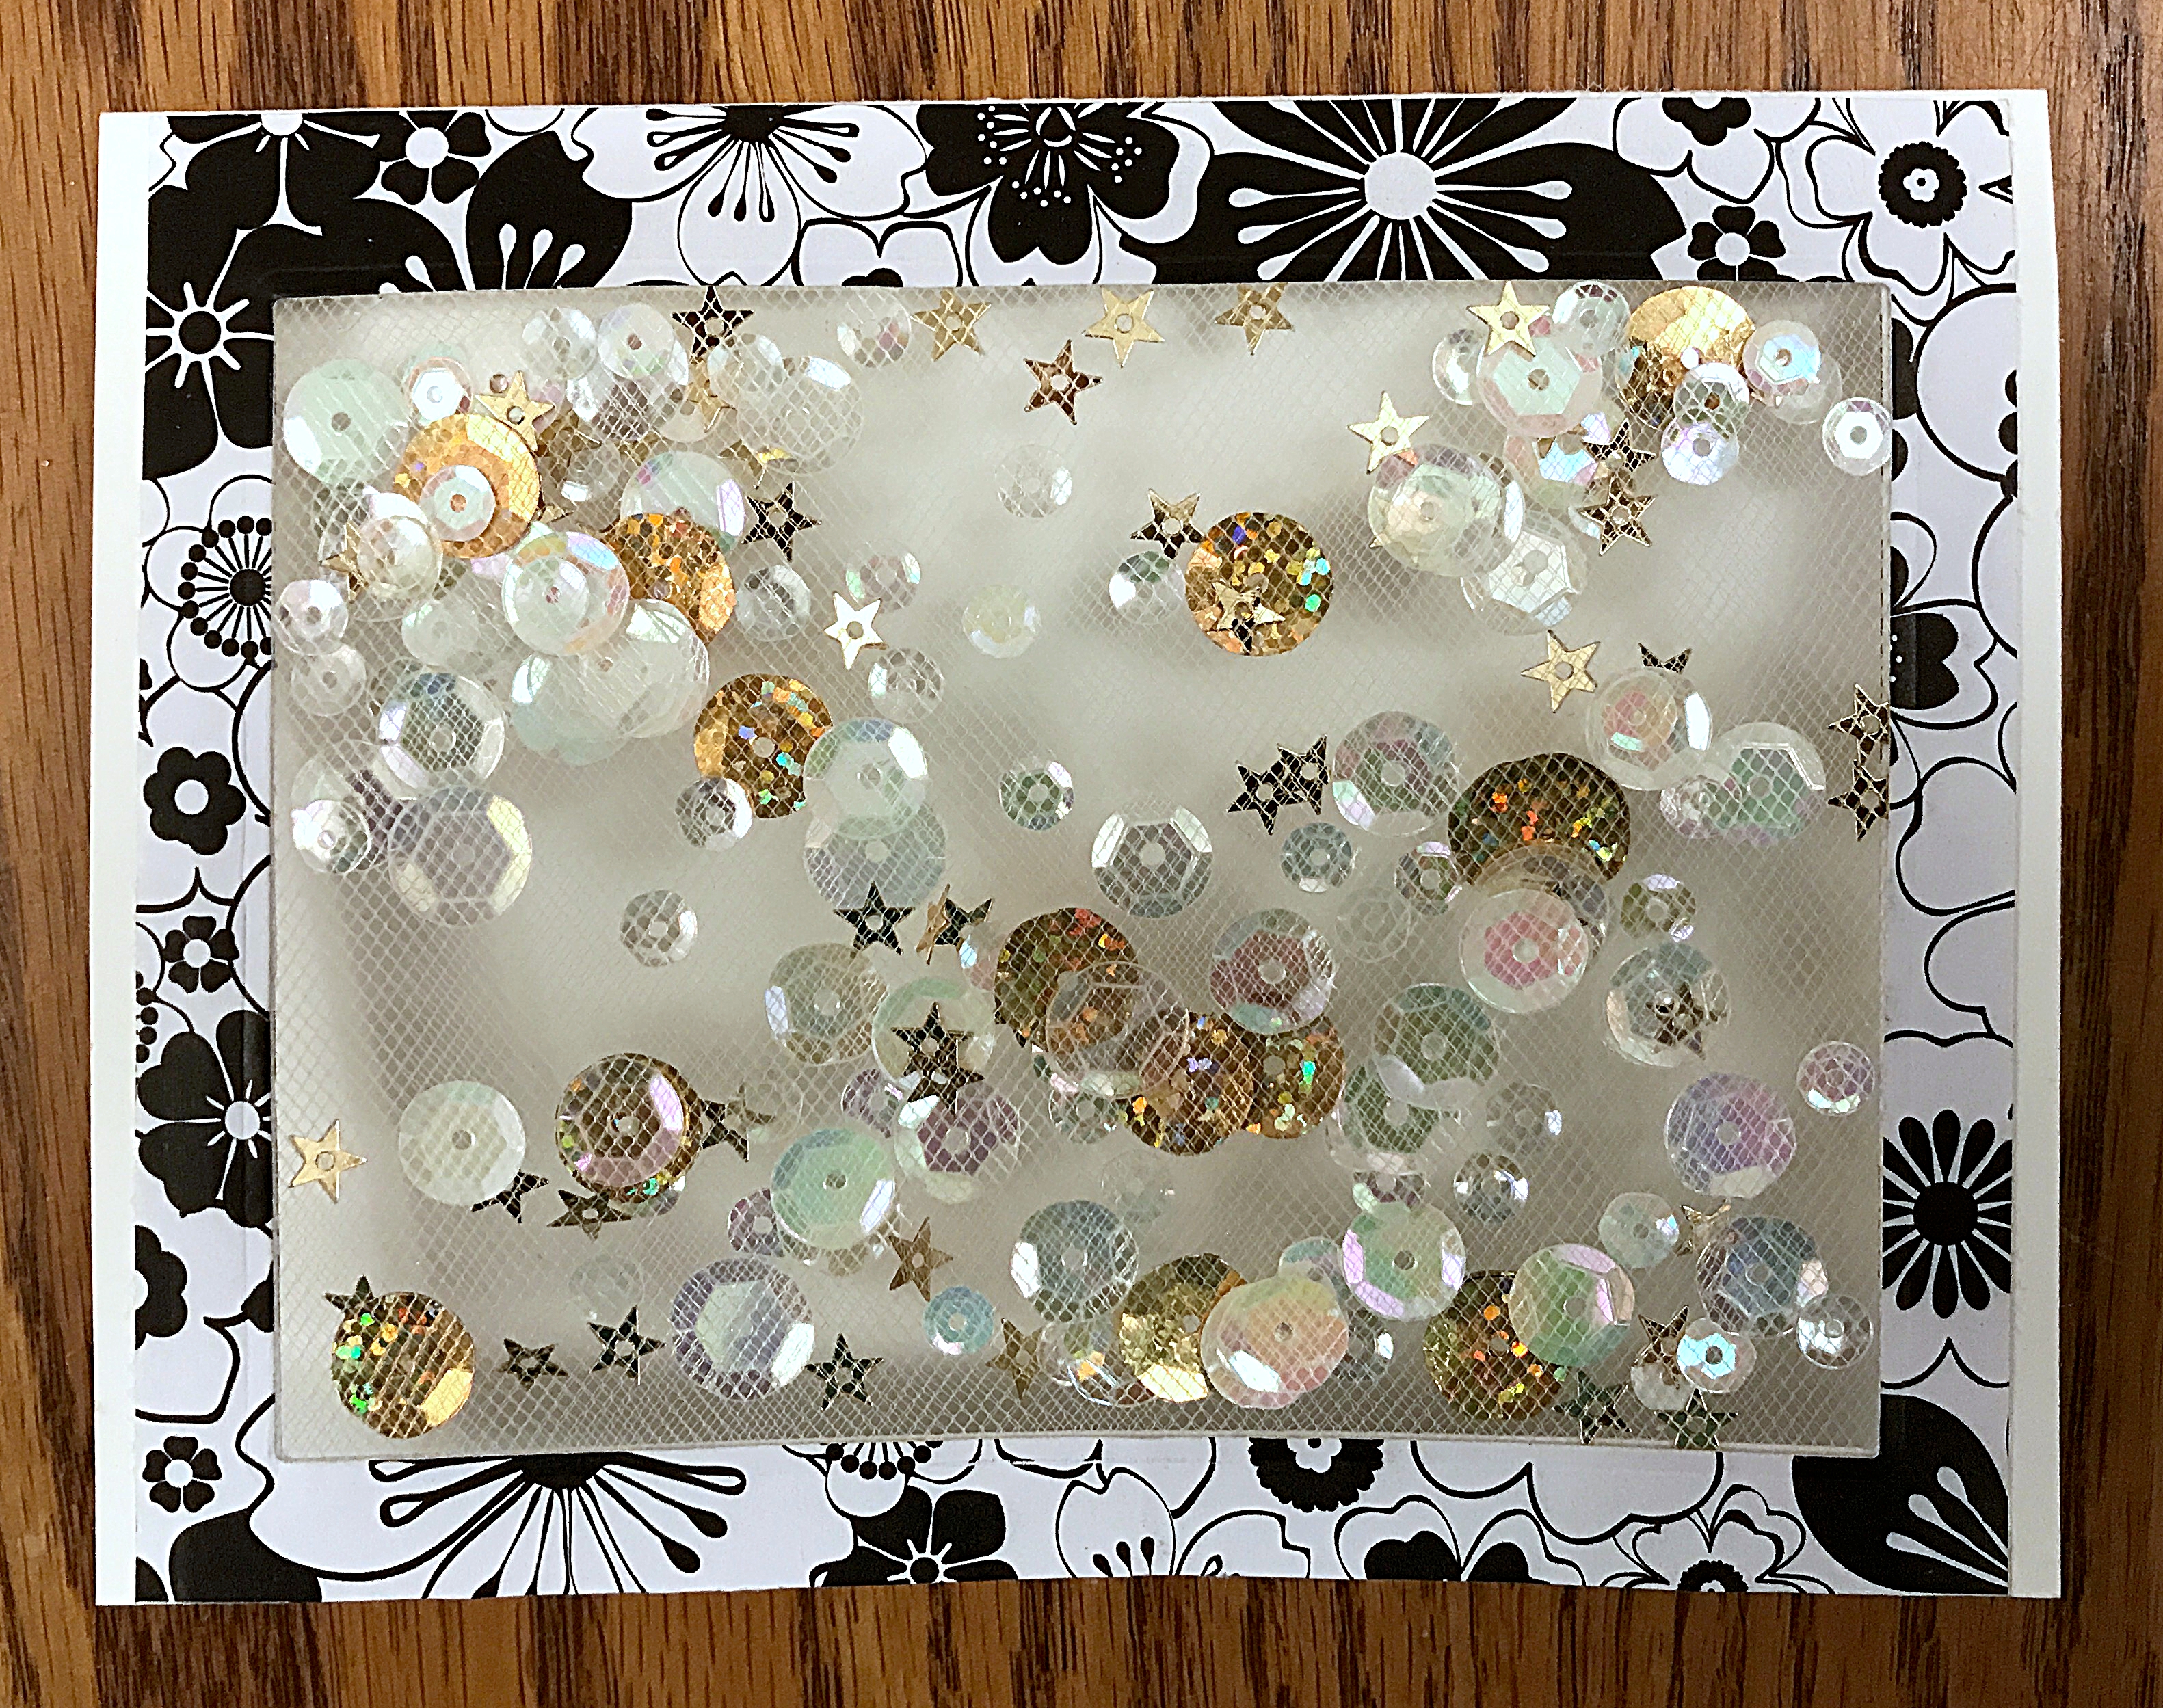
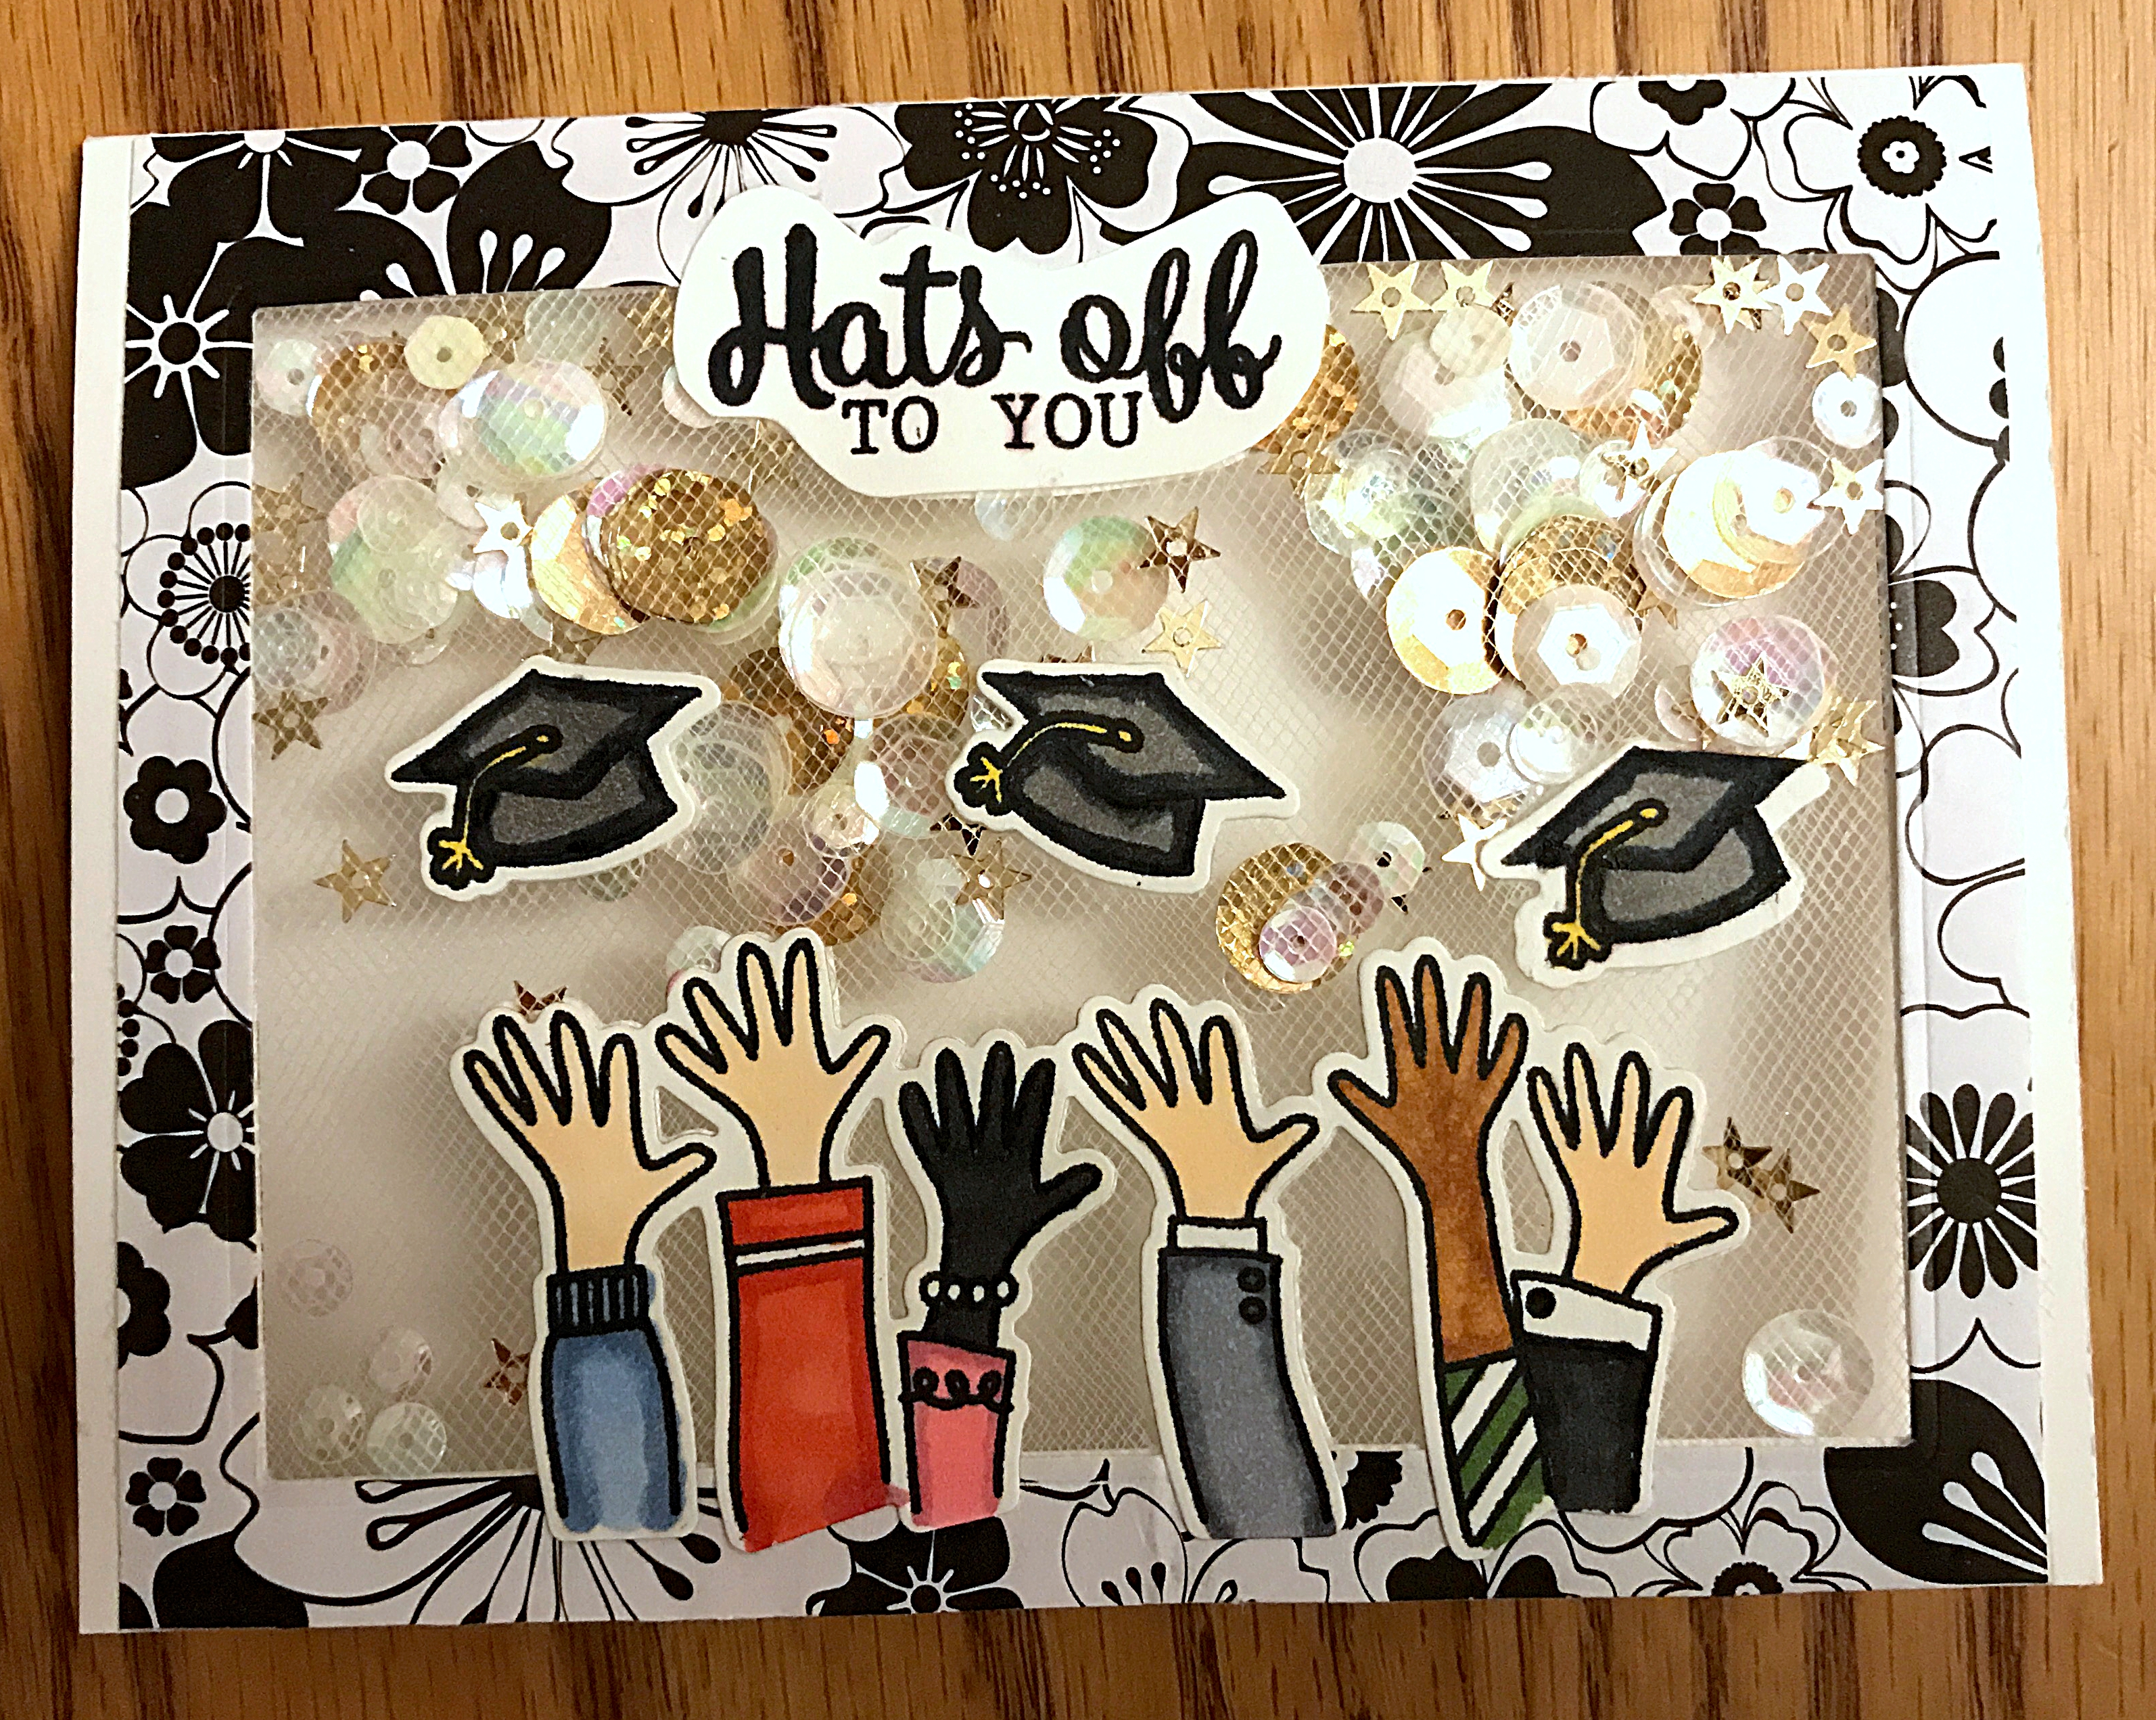
I sandwiched gold and iridescent white sequins between both shaker windows, adhering all layers together with Scor-tape, as you can see in the photo below.
Finally, I stamped images with Memento Dye Ink in Tuxedo Black, and then colored them in with an assortment of Copic markers. It’s important to use a Copic-friendly ink; if you don’t, you’ll end up with a smeared mess! I know this because I made that error with a previous project. Then, I cut out the images with a die set from Avery Elle that coordinates with the Hats Off stamp set. I could have cut them out with scissors, but this was so much easier!
I adhered the images to the front of the card using Ranger Multi Medium Matte, which is a strong adhesive that dries clear and matte. Keep in mind that the paper was adhered to bridal tulle, which of course has holes in it because it’s a mesh, so if you don’t use the same product I used, it needs to be something that adheres paper to fabric without adding bulk. I haven’t tried it, but I bet Beacon Fabri-Tac would also work. I like the fact that Ranger Multi Medium Matte dries real quickly; Beacon Fabri-Tac does not.
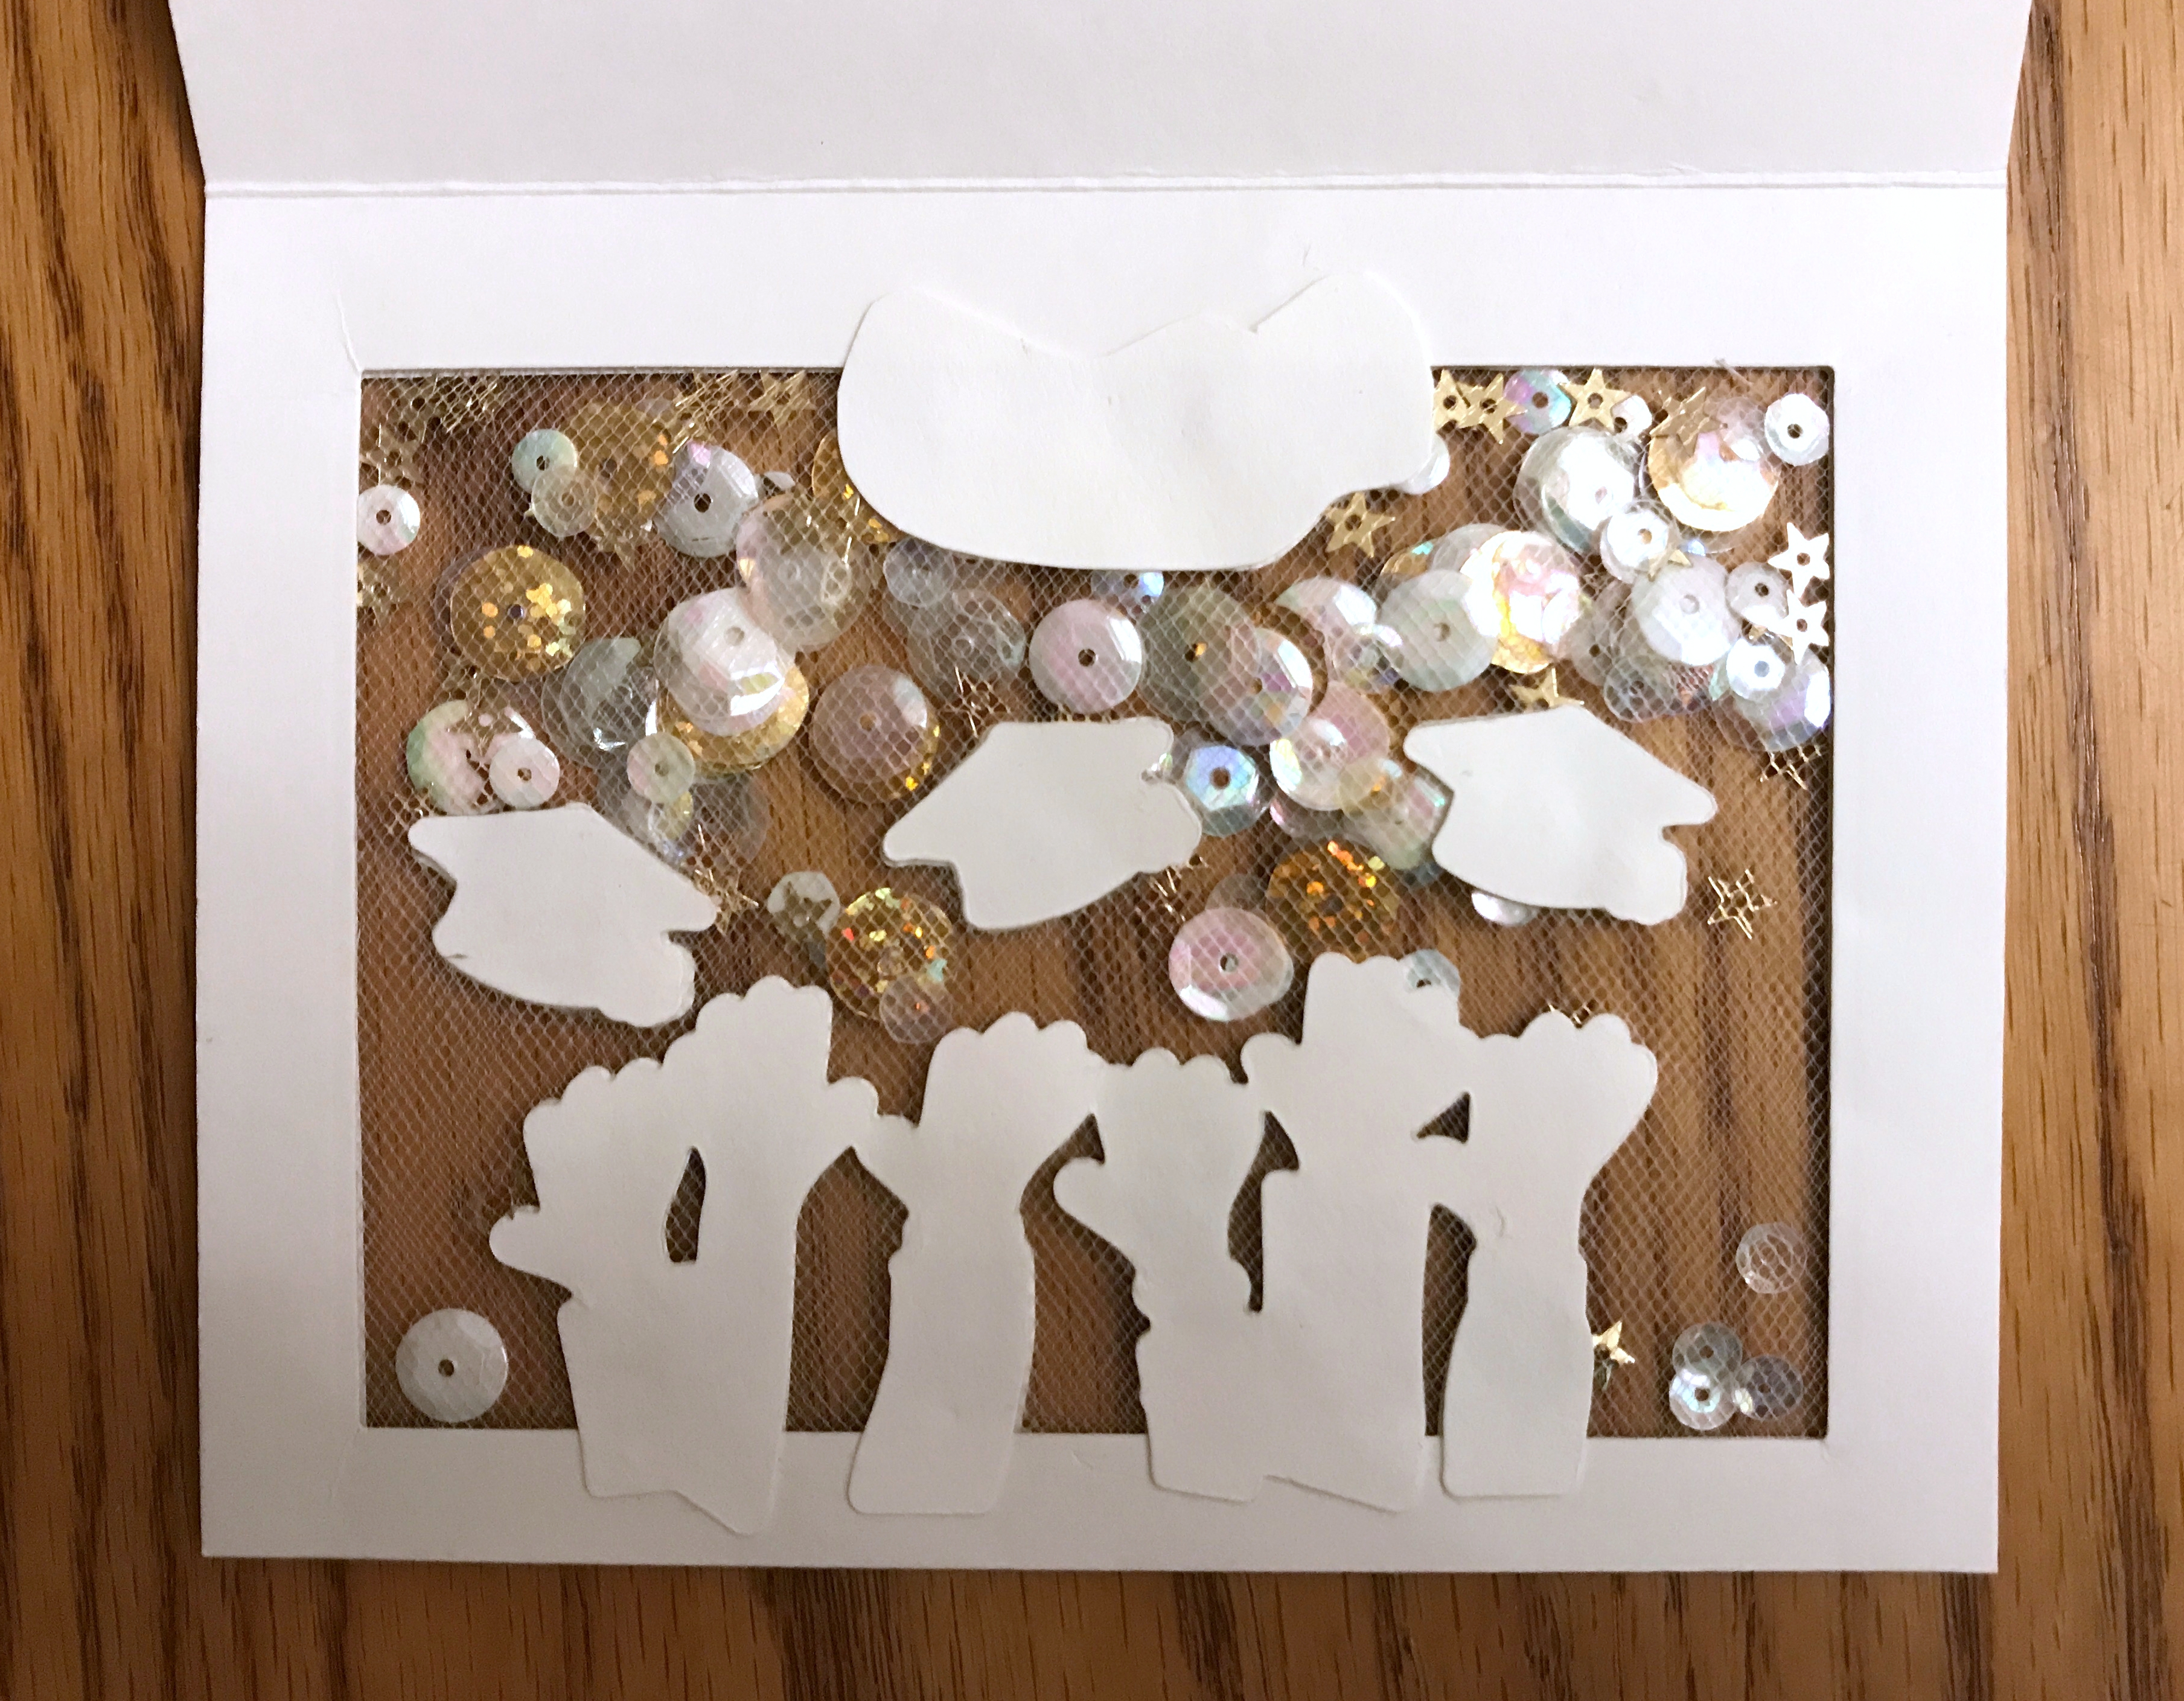
Because I didn’t want the Copic ink, which saturated my card stock, to show through on the inside of the card, I used the Avery Elle coordinating dies to cut out the images once more in plain white card stock. I adhered these shapes to the inside of the card directly opposite the colored shapes on the other side, giving the card a neat appearance.
With one card successfully completed, I decided to tackle the second one. But I guess I was over-confident. The next thing I knew, I had adhered my two layers of tulle together, but without the sequins. This was a problem. When I tried to peel apart the layers, the card didn’t survive the effort. But thank goodness for paper scraps! I folded another half-sheet of Bazzill card stock to create a card, and adhered some of that black-and-white floral paper to the front.
Then I grabbed one of the white rectangles that remained after I cut out a previous shaker window, and cut a rectangle of white craft foam to adhere to the back of it. Why? I wanted the rectangle to be the focus of the card. By adding foam (and thus dimension) to the rectangle, it made it stand out more.
 The rest of the card was easy to finish. Once more, I used the Avery Elle Hats Off stamp set to stamp images for the front of the card, and colored them in with Copic markers. I cut out the images with the coordinating die set, and adhered them in place with dots of Scotch Permanent Tacky Glue. Then, I dotted the white space with Ranger Multi Medium Matte, and used my Xacto knife to pick up and drop into place one sequin at a time. When I was done, I decided I liked this non-shaker version of the card better than the shaker version. Who knew?

I still have a few leftover paper scraps from the die cuts, but they can be used in another project. That’s the one result that you can’t seem to get away from when you make your own cards . . . and it also means you need a method for storing scraps. I use three-hole punched clear sheet protectors for my paper scraps, and organize them by color groups inside a binder. What do you do with your scraps? Have you been making graduation cards?
© 2017 Judy Nolan. All rights reserved.
Love the one with the tulle! Festive!