One of my favorite paper crafting tutorial sites is Chic ‘n Scratch, where you can find Stampin’ Up Independent Demonstrator Angie Kennedy Juda’s video gallery. You can also find her videos on YouTube, but Angie has subdivided her more than 300 videos very nicely in her gallery. You can find what you’re looking for in very little time.
To date I have never purchased Stampin’ Up supplies, although the day will probably come when I just cannot resist! Fortunately, however, I can usually find similar products in other brands locally, so for right now that has worked for me. If you don’t have local scrapbook or craft supply store where you live, then you may wish to purchase from Angie’s Web site. I find that Angie’s tutorials are a good jumping-off point for my own projects, which often turn into impromptu gifts.
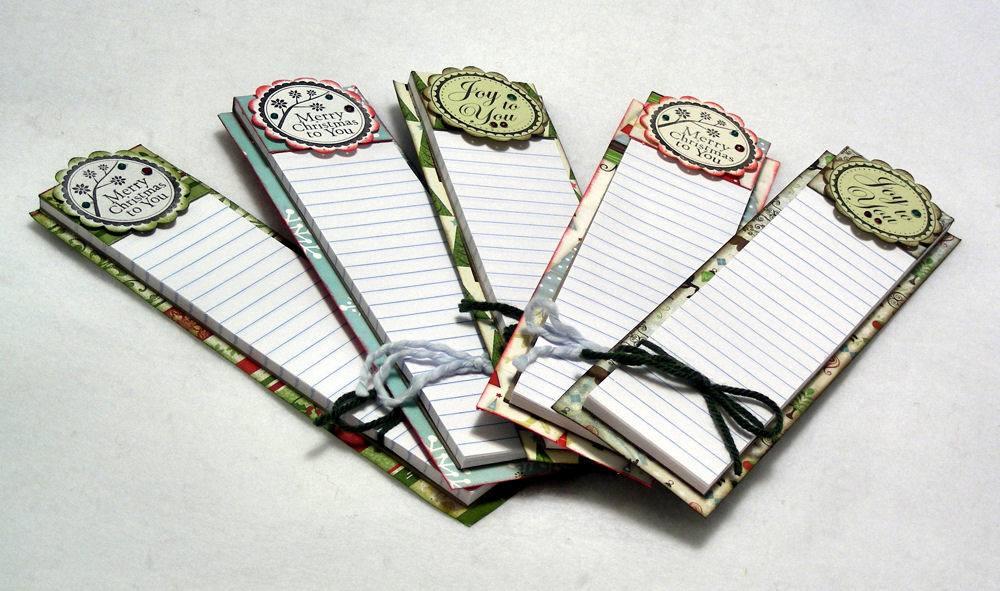
Speaking of gifts, I suspect that some of my holiday gifts this year will include memo pads that are based on Angie’s Grocery List Notepad video shown below.
Where did I find these narrow pads? Actually, they are standard 5 in. x 8 in. memo pads you can buy in any office supply store. I visited my local Kinko’s office supply store since it has more specialized equipment than I do, and asked them to slice the pads in half for me. They discarded the left side of the pad, the part that contains the vertical line. For the rest, here’s what I did:
- Cut holiday card stock in a long, narrow strip so that it measures 8.25 in. x 2.5 in.
- Cut a rectangle from matching or contrasting holiday stock so that it measures 2.5 in. x 2 in.
- Score the rectangle from Step #3 at 1-7/16 in. and 1-11/16 in. Fold on the score lines.
- Wrap the rectangle around the top part of the memo pad, and adhere it to the back, top edge and front flap (about 5/8 in. down), as shown in the photo below.
- Make or buy an embellishment that you’ll glue to the front flap described in Step #4. (I used adhesive foam dots.)
- Use your favorite adhesive (I used adhesive strips) to adhere the memo pad to the long piece of holiday card stock.
- Adhere a magnet strip to the back (I did top and bottom strips) so that the pad will stick to your fridge or other metal surface. If you prefer, you can attach a cord loop to the back instead, and then you can hang your memo pad on the wall from a nail or thumbtack.
My own results are shown below. Happy paper crafting!

© 2011 Judy Nolan. All rights reserved.


These are so cute! They would make wonderful gifts!! Thanks for sharing!