This month, Margaret of Splendid Little Stars challenged fellow Blogging Business Artisans members to “create a project that calls to mind how one or all the senses respond to this new beginning time of year.” What calls to both my visual and olfactory senses is flowers, but unfortunately I can’t grow them for dust! The next best thing, at least for me, is any flower that doesn’t require water to survive—in other words, a handmade representation. If you visit my JN Originals and Mister PenQuin shops on Etsy, you’ll notice that many of my products include floral embellishments. This is no accident. I am on a one-woman mission to replace all of the poor blossoms I have forgotten to water over a lifetime.
That’s enough about my botanical failings, however. The way I decided to meet Margaret’s April challenge was to create floral embellishments I can adhere to the covers of mini books I make. In a previous post, The tutorial that wasn’t, you may recall that my first attempt to meet this challenge didn’t go so well, since I broke my Big Shot® die cutting machine in the process. The fault was entirely my own, of course, since I didn’t follow the manufacturer’s recommended instructions. I ended up, in fact, ordering a replacement Big Shot®. It was an expensive lesson.
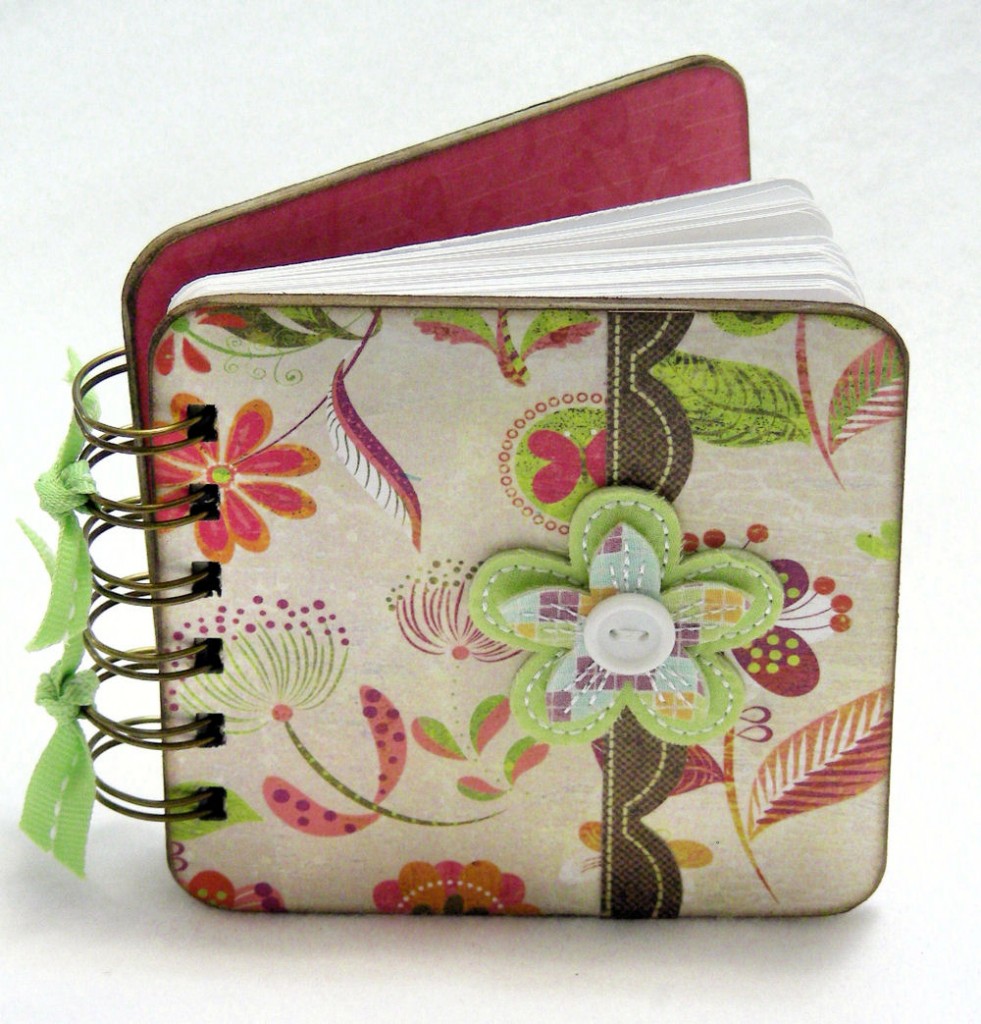
The flower I was attempting to emulate (before I broke my die cutting machine) was supposed to look somewhat like the one in the Mini Gratitude Journal shown below. This particular floral embellishment is made by Basic Grey and is called “Bloomers.” (You can click on the any of the photos, by the way, to see the same item in my shop.)
After my Big Shot® die cutting machine replacement arrived, I pulled out my cutting dies once more, this time following the manufacturer’s instructions. I cut out floral shapes from both paper and Creatologyâ„¢ Foam Sheets that you can buy at Michaels. I layered them, and inserted a Making Memories pebble brad.
I wasn’t finished with my floral experiment, though. What I really wanted to make was a 3-D flower about the same size as Prima Flowers. If you have never seen one of these sparkly little blooms, take a look at this Mini Gratitude Journal that includes one on its cover.
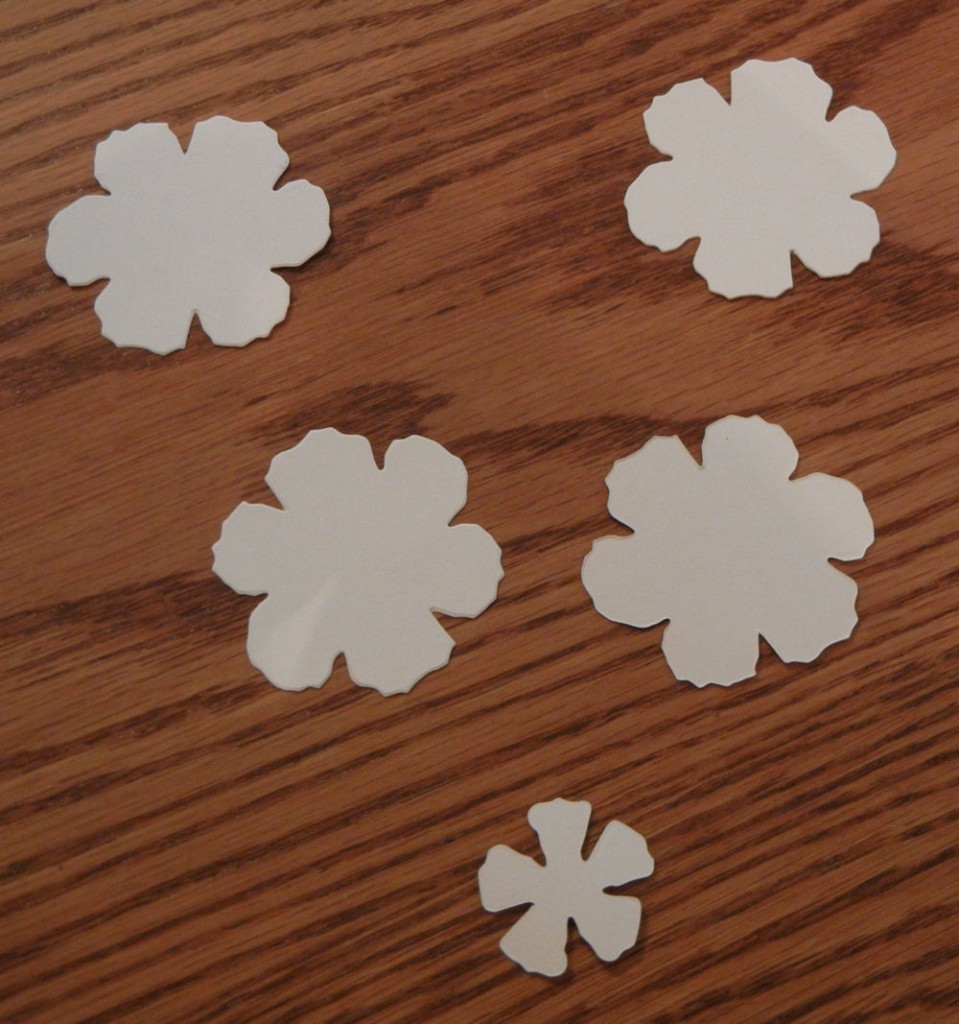
With the help of a video tutorial called Flower Tutorial using distress ink by Creations with Christina, along with a little experimentation and no distress ink at all, I created my own glittery layered flower. Christina’s instructions call for you to cut out two large, two medium and one small floral shape using the Tim Holtz Alterations Tattered Florals cutting die. On a larger project, this would probably work well, but I was aiming for a Prisma Flower-sized embellishment. Instead, I cut four medium flowers and one small flower.
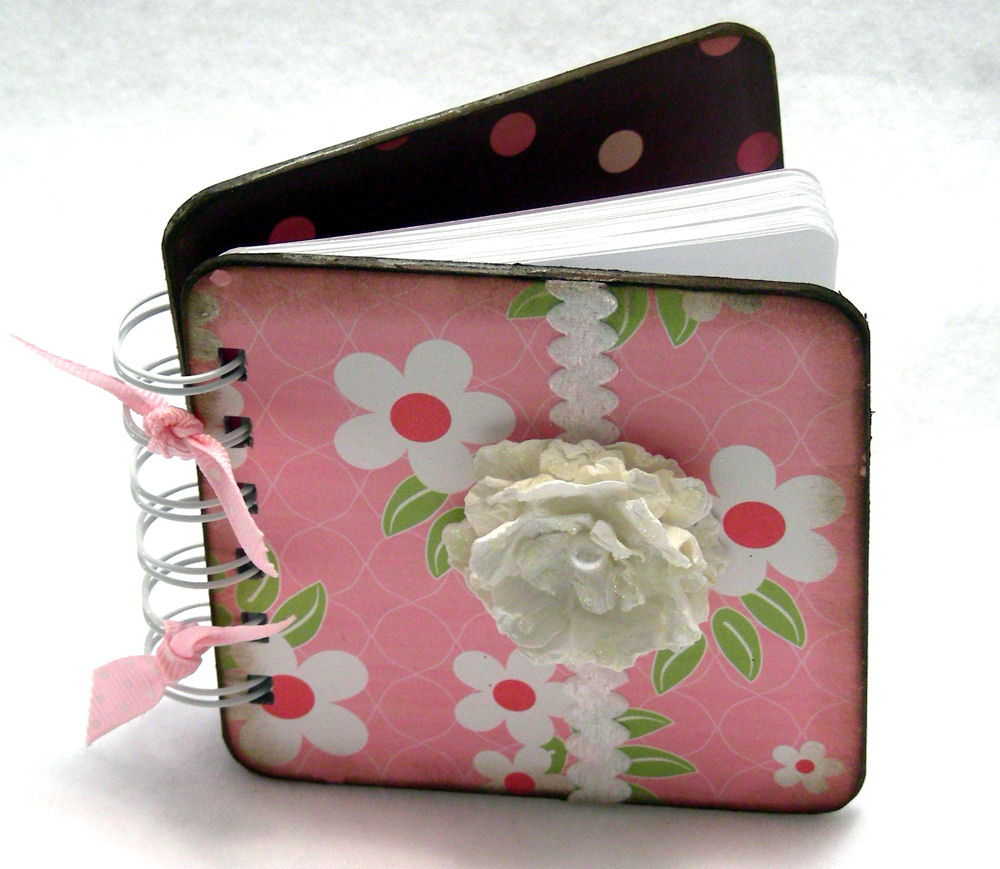
I misted the flowers with water until they were quite wet, then crumpled then into tiny balls. Carefully, I opened up each flower, and dried each one with a heat gun. I added a pearl to the center of the small flower first, cupping the petals around the pearl. Next, I layered the remaining flowers, curving them upward a little as I adhered each one. When I was finished, I spray misted the entire flower with Tattered Angels Glimmer Mist in Pearl to give it a sparkly effect, then dotted it with Inkssentialsâ„¢ Glossy Accents dimensional medium before pouring glitter over the entire flower. I tapped off the excess glitter, re-heated the flower with the heat gun to dry it, and affixed it to the Mini Blank Book shown below. What do you think?
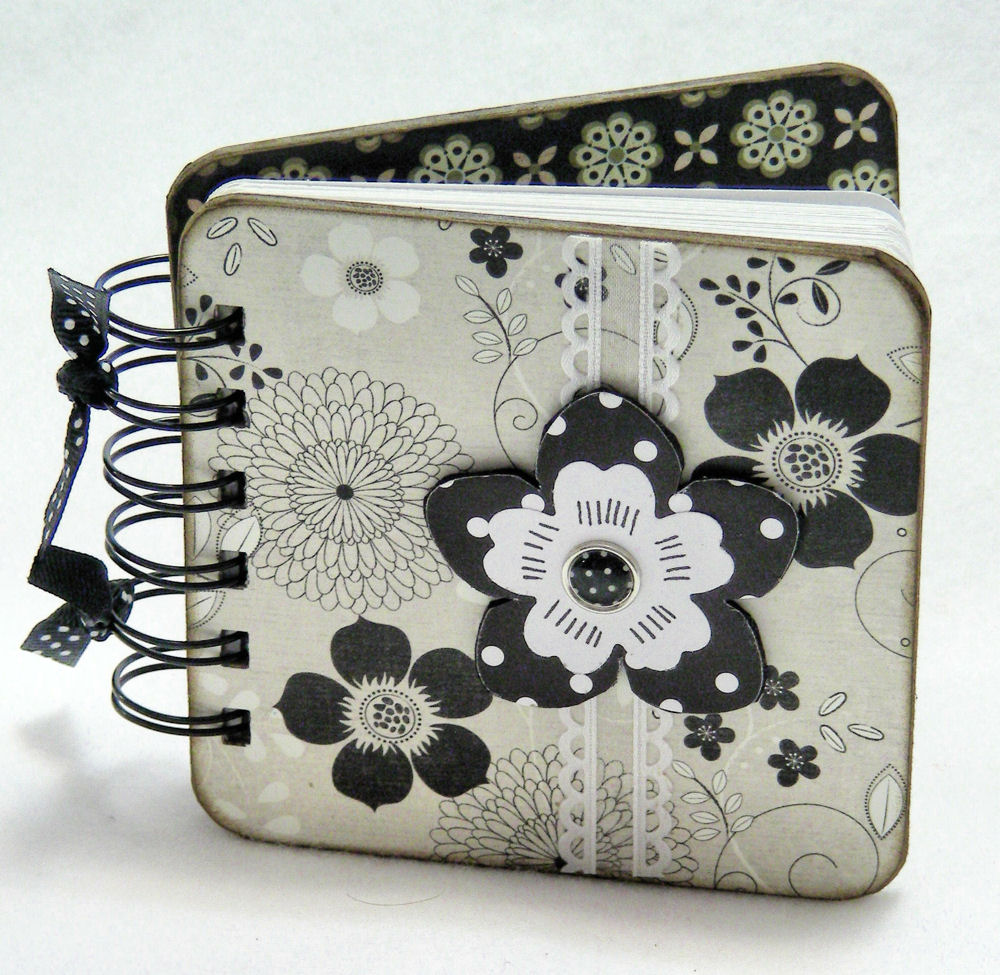
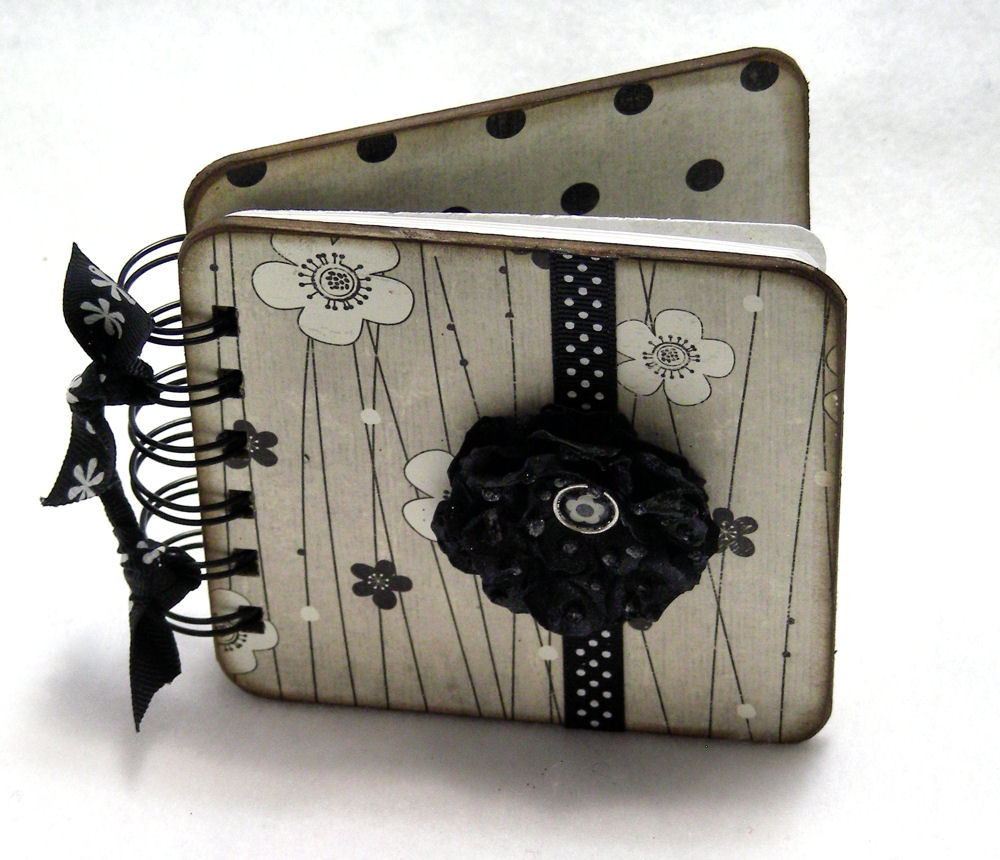
I really liked the first flower, but wondered what it might look like in black. It took very little time to create another flower.
Creating these tiny little flowers is quick, easy, and fun. I can see myself customizing each mini book with a different one. The added bonus is that these flowers cost a fraction of the packaged, purchased floral embellishments. What’s your favorite way to make paper flowers?
© 2012 Judy Nolan. All rights reserved.


These are fabulous! So pretty and I really like how they ruffle and really look like silk flowers.
I love all of your flowers! Thanks for the great details about how you made them, too. Beautiful spring projects all around. I recently printed some simple flower templates to trace for paper and felt flowers. I don’t have any type of cutting machine so I’m doing it old school, but I enjoy the process.
These look lovely and a great idea.
Your flowers came out gorgeous – wow! Really great work. Spring makes me think of flowers, too 🙂
This turned out really great Judy! I’m sorry you broke your die cutter, but at least you learned a valuable lesson!!
These came out great. I like how they are ruffly and that you added the glitter to make them pop.