The first time I stepped into a scrapbooking store to buy a rubber stamp and a stamping ink, I almost turned around and exited. There were just too many choices! I almost felt as if I needed to take an art class before I could shop, which would’ve been the second art class I’d ever taken. I took Art Class Number One more than a decade ago, a basic drawing class for adults with six thumbs. I still have more thumbs than I need when it comes to drawing, but I’ve learned a few other things along the way.
Thankfully, it is is easy to learn about paper crafting inks and techniques. Scrapbooking stores everywhere provide project classes for their customers on a regular basis; paper crafting manufacturers and bloggers alike offer how-to hints on the Internet; YouTube has a wealth of tutorials, and every bookstore has paper crafting books and magazines. One of my favorite resources about inking techniques, in fact, is Jennifer McGuire’s Thinking Inking classes. Between all of these resources, I’ve gradually learned the differences between pigment and dye inks, and when to use chalk ink, archival ink, distressed ink, embossing ink, watermark ink and other inks. I’m sure there are a few I’ve missed!
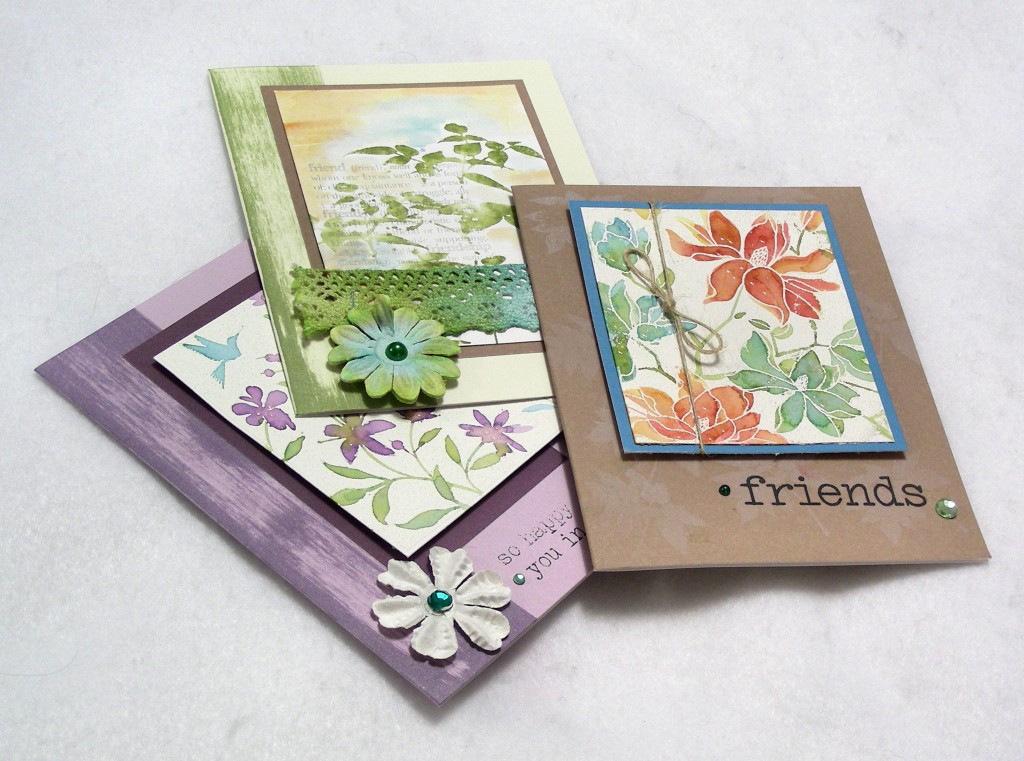
Although there are categories of inks I have not covered, below is a description of the most commonly used paper crafting inks. You’ll notice that some inks fit in more than one category.
Archival ink is water-resistant, acid-free and great for archival purposes. It can be water, pigment, or solvent-based. Archival ink is also great for stamping outlines of objects that you want to color in with other inks, since it will not smear or dilute when other types of ink come in contact with it.
Examples: Brilliance Archival Pigment Ink Pad by Tsukineko, Copic® Multi Liner Pen, Ranger Archival Ink
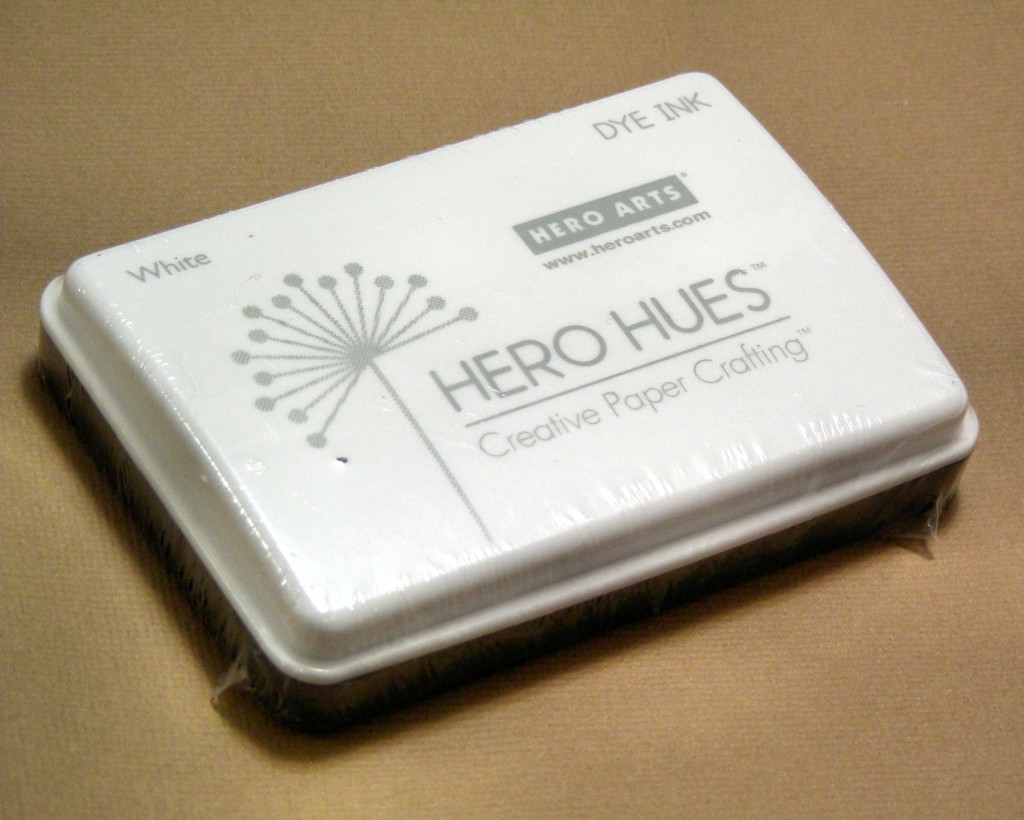
Dye inks are water-based and dry quickly on either matte or glossy paper. They are not appropriate for embossing because they dry too quickly. Because they have a transparent quality, you can create watercolor effects with them. If you are stamping on absorbent surfaces, the ink may bleed when you stamp with it; glossy paper yields crisper stamping results. Dye inks do have a tendency to fade over time, especially when exposed to light.
Examples: Adirondack® Dye Ink Pad by Ranger, Hero Hues™ Dye Ink, Impress Dye Ink by Tsukineko, Kaleidacolor Stamp Pads by Tsukineko, Memento by Tsukineko, Tim Holtz® Adirondack® Color Wash
Distress ink is a water-based, acid-free dye ink that is designed to spread to other areas when diluted with water. It is perfect for blending with other colors of distress ink. It comes in stamp pads, markers and bottles. For many of these inks, you can buy re-inkers to extend the life of your stamp pad. You can mix up your own spray bottle of distress ink by combining inkdrops with water.
Examples: Tim Holtz® Distress Ink by Ranger, Tim Holtz® Distress Marker by Ranger, Tim Holtz® Distress Stain™
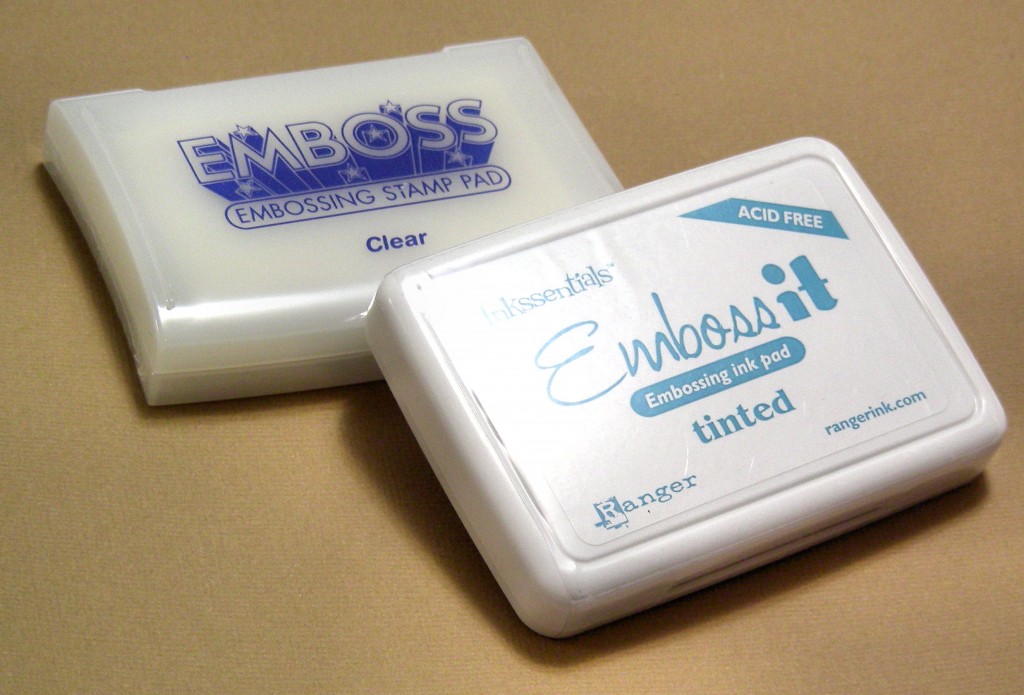
Embossing ink is glycerin-based and dries very slowly. It is intended to be used with embossing powder. When you heat the powder, it melts and adheres to the ink, creating a raised surface that is permanent. Embossing ink is available in both opaque and clear forms. The main advantage to opaque embossing ink is that you can see clearly where you have stamped. If you use clear embossing ink, it can also be used as a resist; ink your surface first, then brayer over it with colored ink or paint.
Examples: EMBOSS Embossing Stamp Pad by Tsukineko, Inkssentialsâ„¢ Emboss it by Ranger
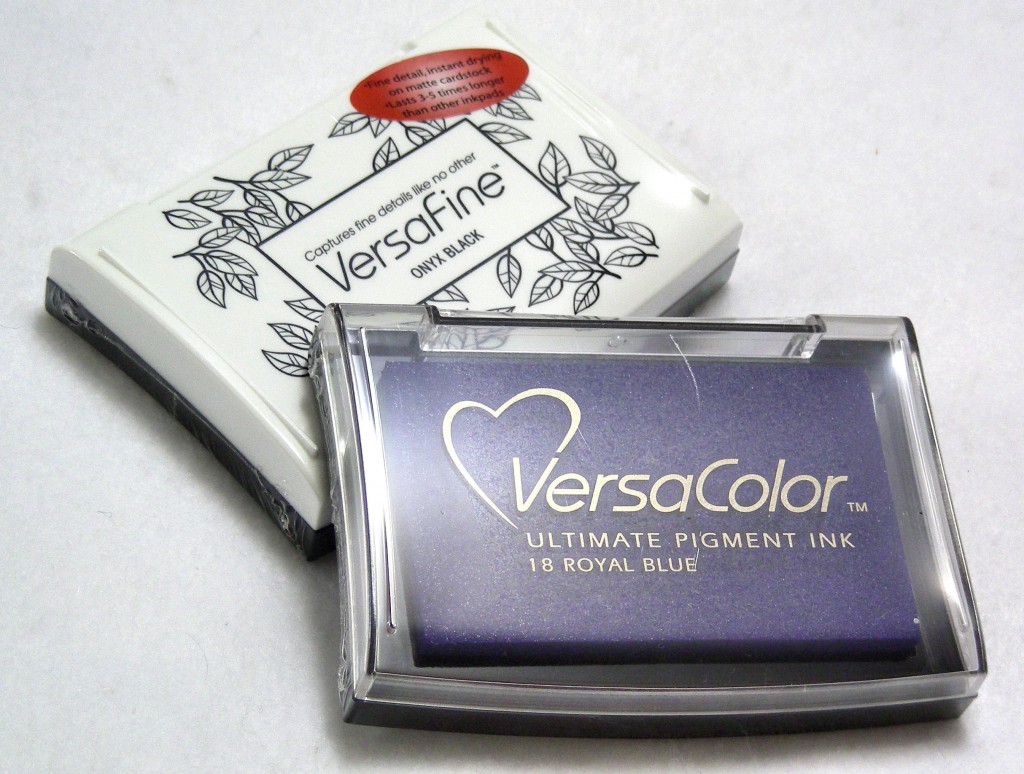
Pigment inks are thick, opaque, slow-drying and fade-resistant inks that are designed to be used with embossing powders. You can use virtually any color of pigment ink with an embossing powder since it is covered by the powder when heat set; it is not necessary to match your pigment ink to the embossing powder. You can also blend several different colors of this ink for special effects. If you stamp pigment ink onto glossy paper, you will need to heat set it or emboss it to make it permanent. Some pigment inks are designed to be heat set, which makes the color permanent and the colors more vibrant. With heat-set pigment inks, you can stamp paper, fabric and slick surfaces.
Examples: Adirondack® Pigment Ink by Ranger, Copic® Multi Liner Pen, VersaColor™ Ultimate Pigment Ink by Tsukineko, VersaFine™ by Tsukineko, VersaMagic™ by Tsukineko, VersaMark® by Tsukineko
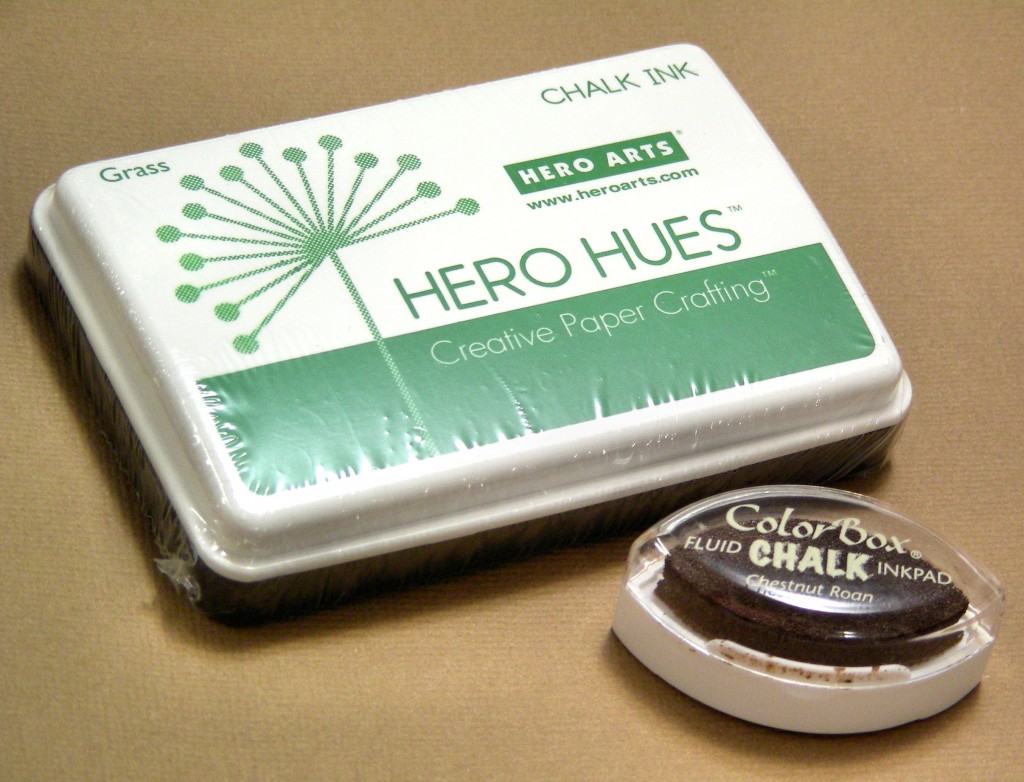
Chalk inks have a pigment base, and dry very quickly. When they are dry, they have a matte, powdery finish. They are not appropriate for embossing.
Examples: ColorBox® Chalk, Hero Hues™ Chalk Ink
Metallic and pearlescent inks are pigment inks that dry faster than most other pigment inks, but with a metallic or luminescent sheen. You’ll find them in stamp pads and spray bottles.
Examples: Brilliance and Encore Ultimate Metallics byTsukineko, ColorBox® Pigment Stamp Pad, ColorBox® Pigment Brush Pad, Perfect Pearls™ Mists by Ranger, Pssst! Sheer Shimmer Spritz by Tsukineko
Watermark inks are a type of pigment ink designed to create translucent designs or background designs. When you stamp them on colored paper, they darken the paper. Chalk can be applied to the ink, creating a shadow effect, or the ink can be used as a resist.
Example: VersaMark® Watermark Stamp Pad by Tsukineko
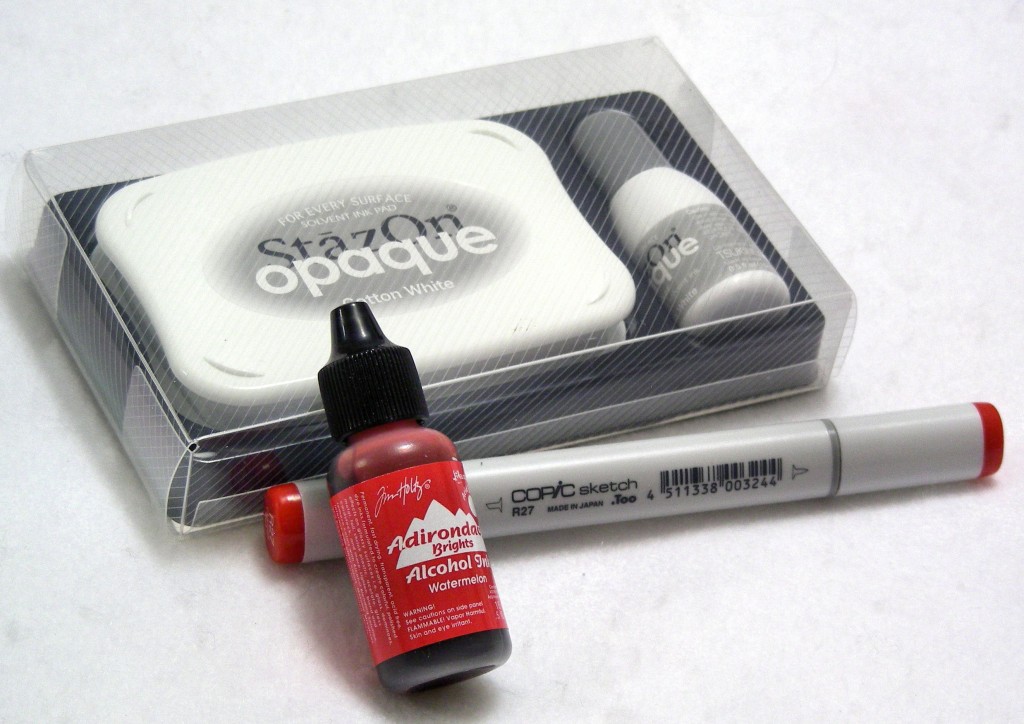
Solvent-based inks are designed for non-porous surfaces such as glass, metal or plastic–or glossy papers. You can find them in stamp pad form, paints and markers. They are permanent and waterproof when dry, and are considered archival.
Examples: Copic® Sketch Marker, Tim Holtz Adirondack® Alcohol Ink by Ranger, StÄzOn® Opaque by Tsukineko, Piñata Alcohol Ink by Jacquard
If you are unsure about the properties of an ink you want to use, I recommend visiting the manufacturer’s Web site for details and product suggestions:
- Copic, http://www.copicmarker.com
- Jacquard, http://www.jacquardproducts.com/
- Ranger Ink, http://www.rangerink.com
- Tsukineko, http://www.tsukineko.com
Let me know what inks you would add to this list of commonly-used paper crafting inks.
Resources:
- Andrus, Julia. Paper Transformed: A Handbook of Surface-Design Recipes and Creative Paper Projects. Quarry Books, 2007.
- Curry, Nancy. Texture Effects for Rubber Stamping. North Light Books, 2004.
- Holtz, Tim. A Compendium of Curiosities. Advantus Corporation, 2010.
- Taormina, Grace. The Complete Guide to Rubber Stamping. Watson-Guptill Crafts, 1996.
© 2012 Judy Nolan. All rights reserved.





Another great informative post. Thank you!
I remember when I first started stamping…there was just one kind of ink for the most part. It’s so cool to see all the different kinds of ink now and all the fun techniques you can do with them. But I agree…it can be overwhelming to find the right ink when you first get started. You put together an awesome list here!
Thanks for another great resource! I am a complete newbie when it comes to ink and have so much to learn.
This is something I’ve always been confused about too! I hate picking out things when you have no clue what the product will do.
Great post! I had no idea there were so many inks available now. I’ve used only a couple, but will have to bookmark this post for future reference. Thanks!
great information!
I realize that this is an old post but I just happened upon it recently. Can I ask how you made the watercolored card in the first inset on this page? Di you stamp it first and then paint it – it seems to be so ‘in the lines’ of the stamped image…..thanks
Michel, it has been quite a while since I made that card, but from what I recall I used a rubber stamp with negative areas. I applied clear Versamark ink to the stamp, stamped the card, and applied white embossing powder. I heat set the embossing powder, which then created a color resist. Then I applied Distress Ink to my craft mat, and used a watercolor brush to apply the ink to the negative areas of the image. Hope that helps!