My father, who was a tool and die maker when he emigrated from Germany to the U.S., was fascinated with all of the cutting dies in my paper crafting tools collection. “That’s what we used to make at the plant, but on a larger scale,†he said.
That collection has grown over the years from a few dies that originally fit inside a cardboard shoe box to a thick three-ring binder that holds vinyl pocket pages, many of which I customized to fit the dies. You can read about this system in a previous post I wrote, Modifying a vinyl pocket to store long, narrow & thin cutting dies.
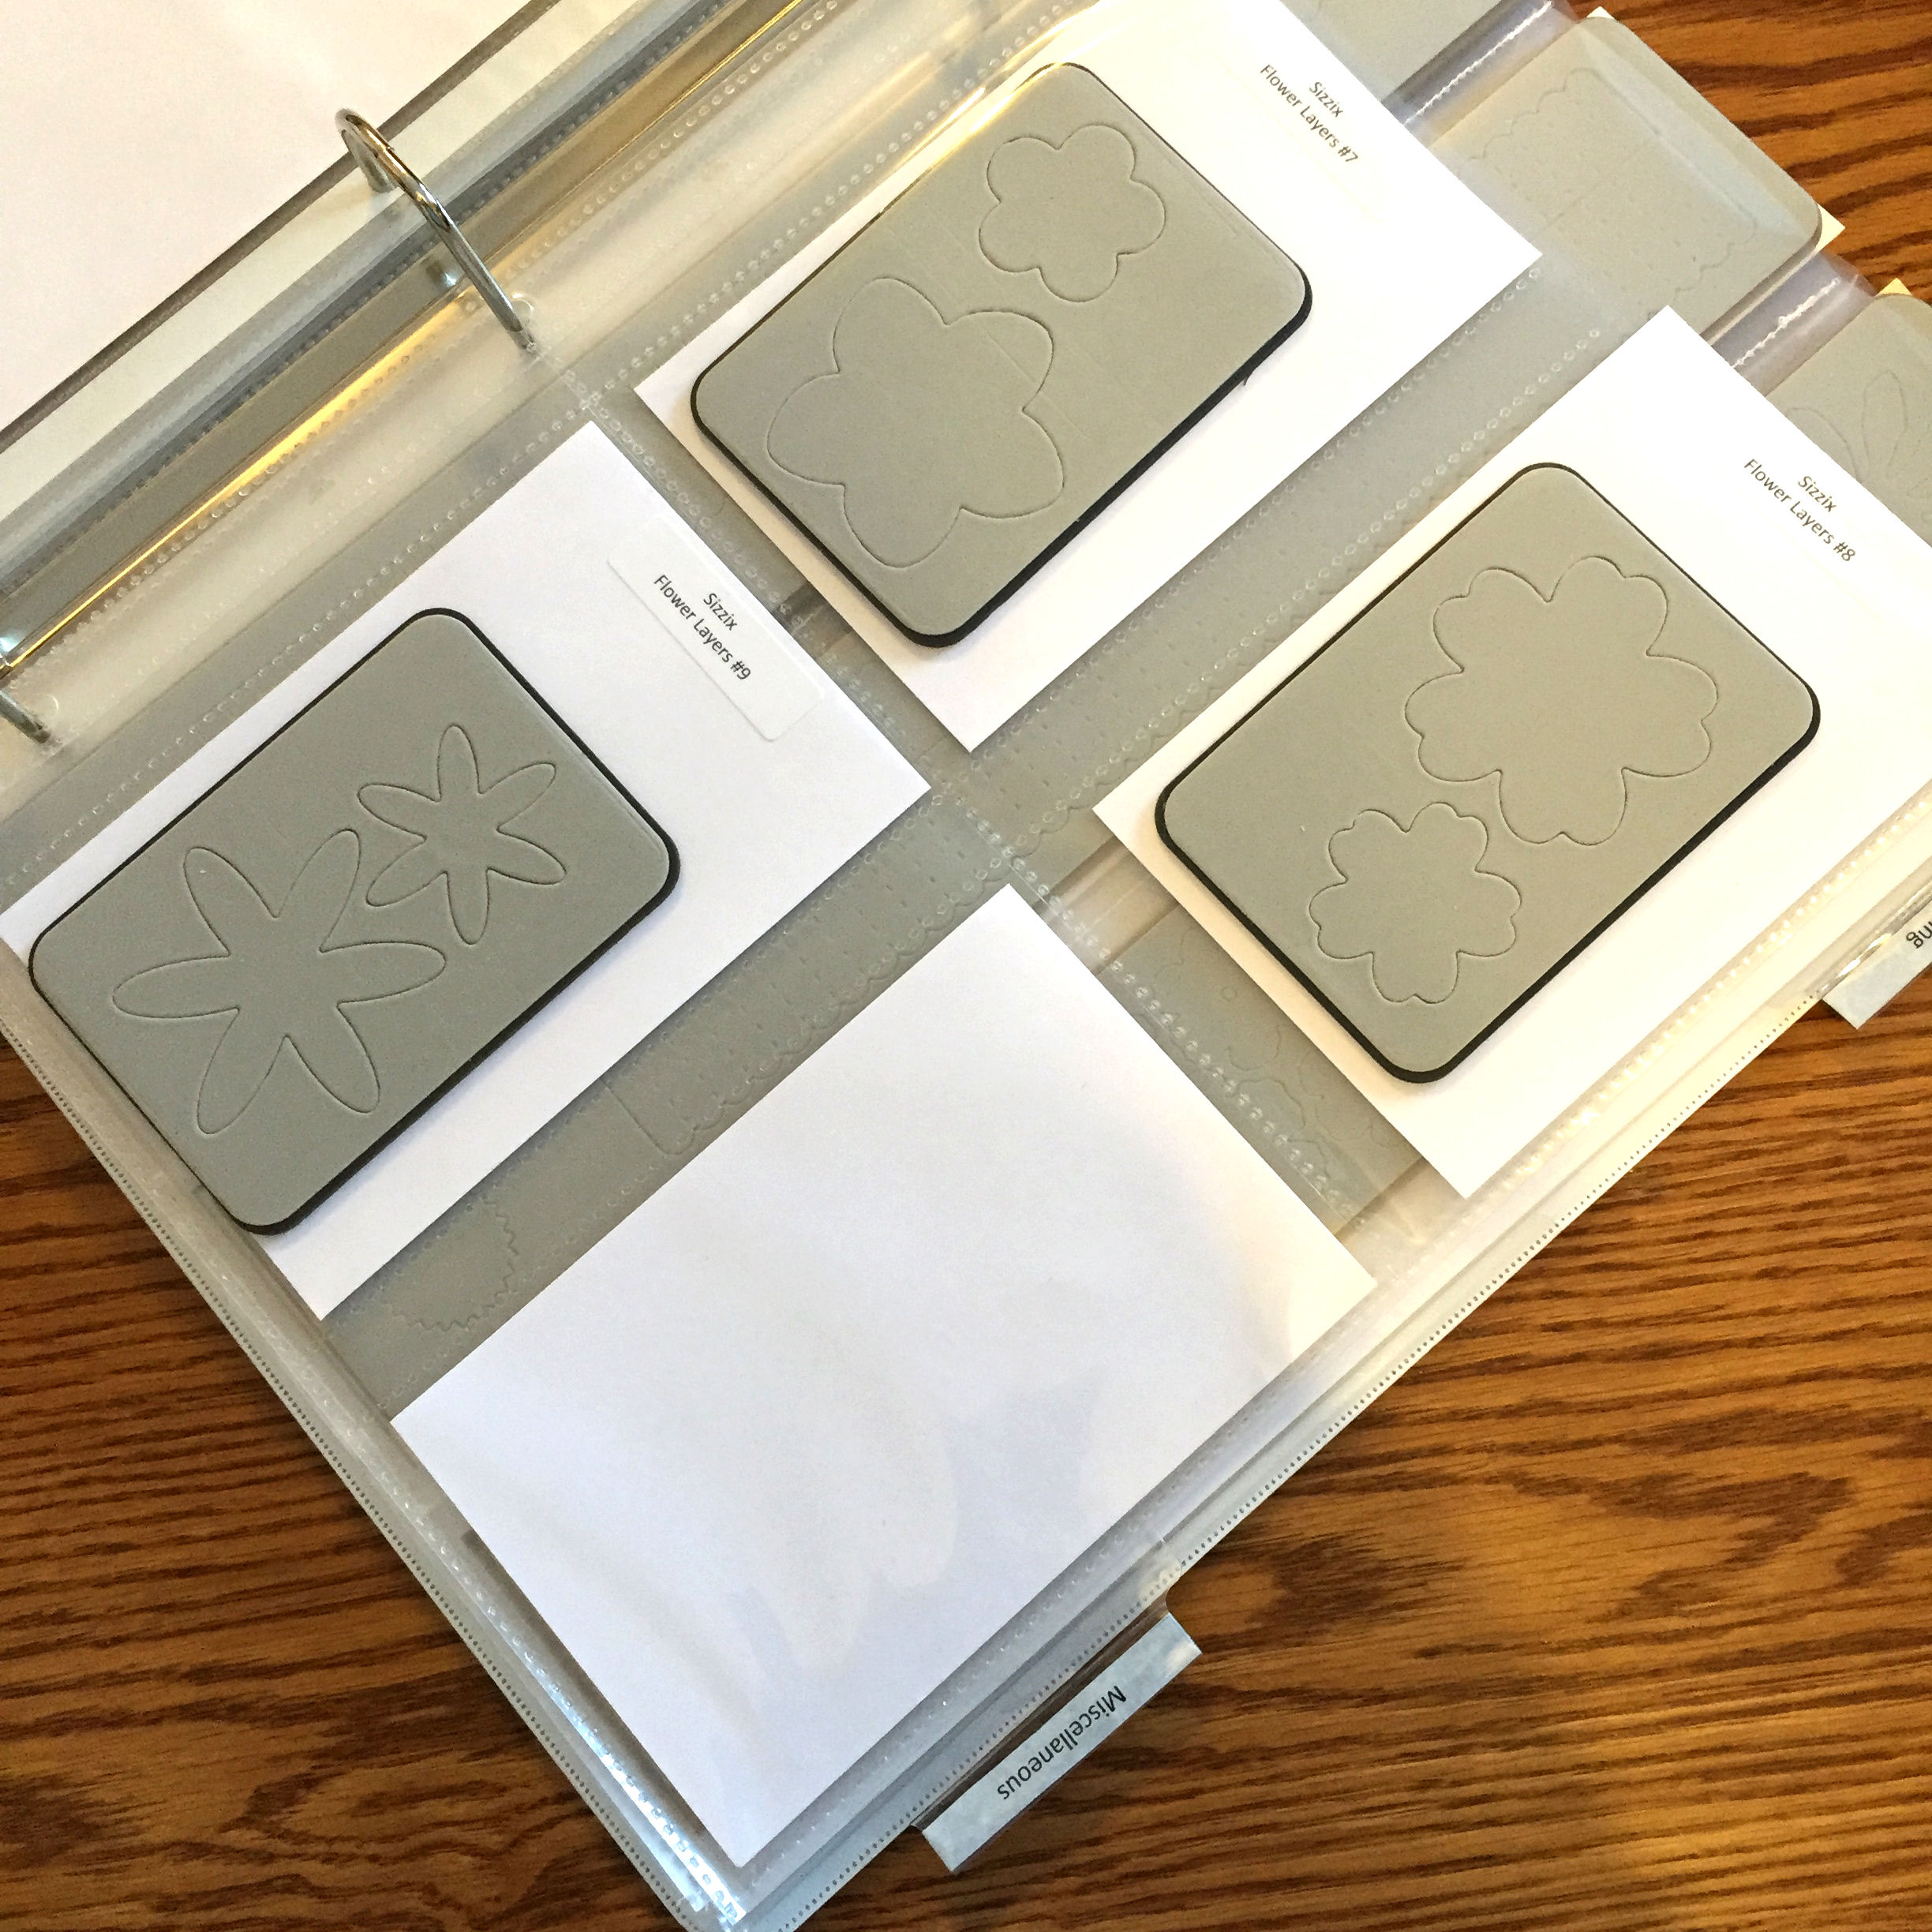
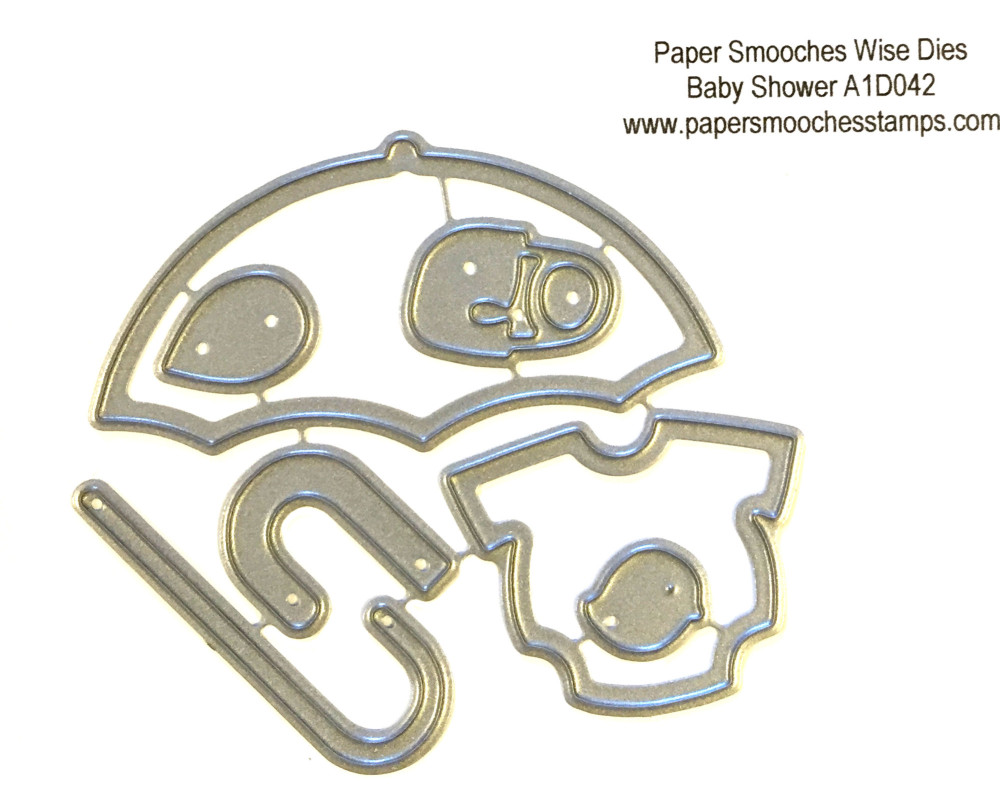
My three-ring binder was not intended, however, to fit the dies you see in the Spellbinders Die D-Lites, Shapeabilities and Nestabilities product lines; Sizzix Framelits® dies; Taylored Expressions dies, and many other brands of wafer-thin steel dies. Very thin, lightweight and subject to bending, these dies need a little more protection. And sometimes they sell in sets with assorted small pieces, making them easy to lose. How can you store them most effectively?
If you like my three-ring binder idea with the pocket pages, you can visit your local office supply store and pick up some magnetic sheets, usually found in the same section as adhesive mailing labels. Cut the sheets to size, attach your wafer-thin dies, and slip into a pocket. Take that idea a step further, and cut magnetic vent covers (found at your local home improvement center, usually three sheets per package, each measuring 8 by 15 inches) to fit inside three-hole punched vinyl pages with dual 4.25 by 8 inch pockets. You could also cut these to fit into a CD or DVD case, and stack the cases on a shelf or in a box. There are lots of options!
In her post, Penny Black, Cheery Lynn, Tim Holtz & Some Organization, Shelly of Popsicle Toes shows how well vent covers work to store her wafer-thin dies.

The main drawbacks to any vinyl pocket system are that magnetic sheets, if you use them, can be a bit time-consuming to cut to size, and the binder can become so heavy that there is a risk of the hole-punched pages tearing. Consider wrapping an elastic headband around the binder, top to bottom, to keep the pages from sagging.
An alternative storage system I use is a couple of ArtBin Magnetic Die Storage Cases. The handled case, which measures 10.25 by 3.25 by 9.625 inches, comes with three single-sided magnetic sheets. You can purchase refills, and the sturdy case holds 21 sheets. Although you can stand up the case so that it occupies a smaller footprint, I tend not to do that because the sheets begin to curl if your case is not full. Instead, I stack my two cases.
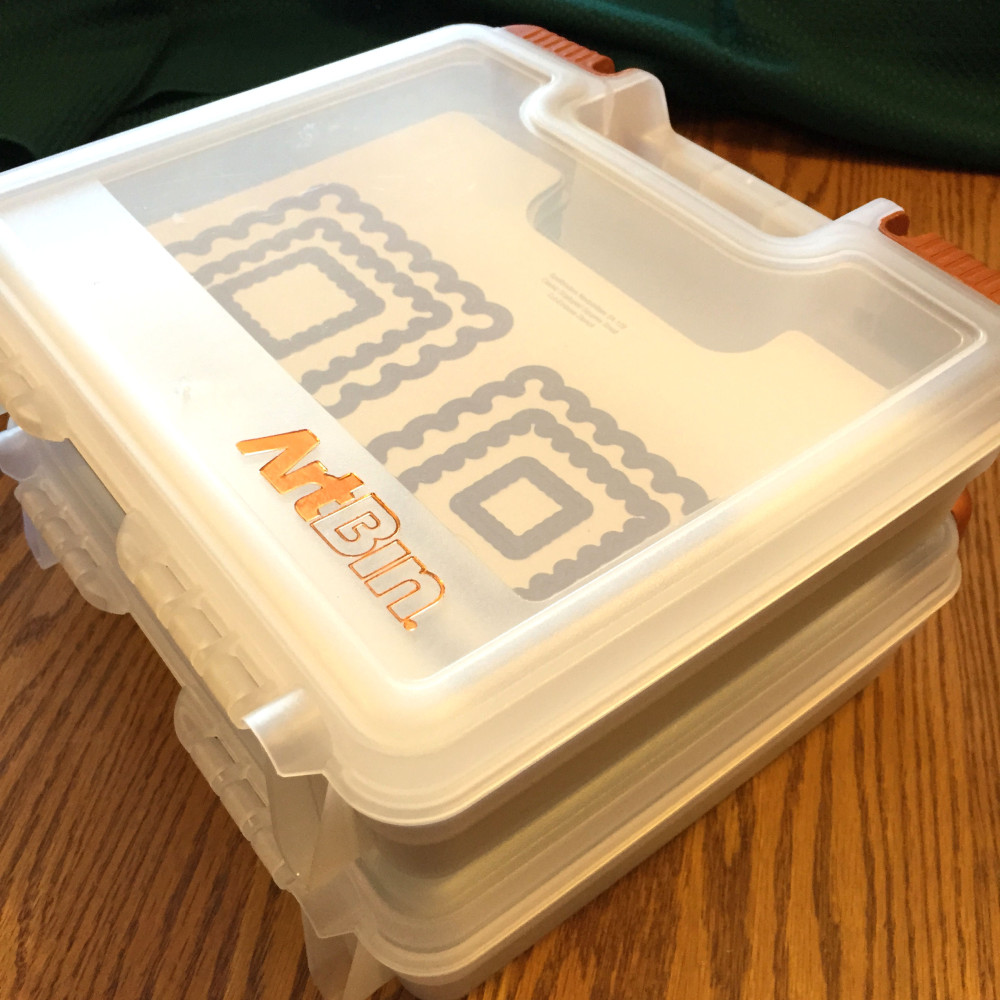
What I especially like about the ArtBin case is that I can move a sheet containing dies to my work surface, and return it afterward to the case without any fuss. Some folks use just the magnetic sheets in a storage bin of their own choosing, and flip them back and forth, recipe card-style, to locate the sheet they need. The ArtBin Magnetic Die Storage Case retails at $15.99, but you can often reduce that cost with a discount coupon at your local Jo-Ann Fabrics store. The refill sheets can be purchased in three-packs for $7.99. You’ll notice that I adhere .5 by 1.75-inch Avery labels to my magnetic die sheets to identify the individual dies or die sets.

If you have 12-inch dies, you may prefer to use the Zutter Magnetic & Cling Stamp Storage System, as it is a little larger than the ArtBin case. It, too, comes with three magnetic sheets, plus it features three divider sheets to protect your stamps from the ridges of the metal dies. The Zutter case, which holds a combination of eight to ten die or stamp sheets measuring 12.25 by 8.5 inches, sells for $27.99 at www.binditall.com. The sheets are double-sided, with one side for wafer-thin dies, and the other side for cling and clear acrylic stamps. A refill set consisting of three magnetic sheets and three dividers costs $14.99. Bonnie Garby of Reasonable Ribbon does a nice review of the Zutter system, and sells both the box and refill sheets in her online store. Her prices include shipping.
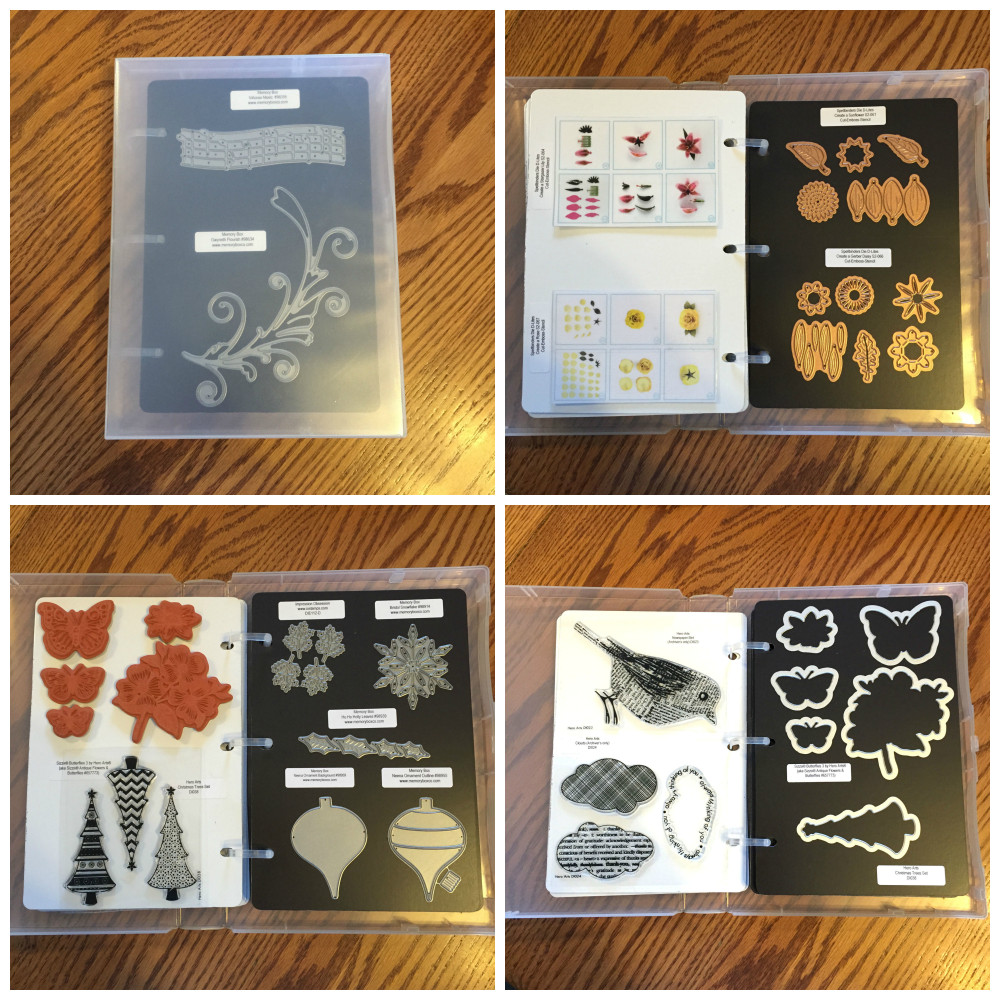
Recently I purchased a second type of die storage box from Taylored Expressions because its three-hole punched magnetic sheets are double-sided (similar to the Zutter system, but smaller), and I thought it would be handy for my matched stamp-and-die sets. The Taylored Expressions Storage Binder Box, which sells for $10, measures 9.5 inches tall by 7 inches wide by 1.25 inches thick. Refill sets consist of three pages and cost $7 a set. The best deal, however, is the Magnetic Die Storage Starter Set for $30, which consists of the storage box and nine magnetic pages. The Web site says the box holds four sheets of Taylored Expressions stamp-and-die sets, but because some of my pages have dies only, I managed to fit nine sheets inside the box. I found this system to be especially handy not only for matched stamp-and-die sets, but also for my Spellbinders Die D-Lite floral die sets, some of which are accompanied by assembly instructions that I wanted to save. I stuck the dies to the magnetic side, and used Scotch Adhesive Putty (also known as “sticky tackâ€) to adhere the instructions to the cling side. The sturdy magnetic sheets compare very well to the ones in the ArtBin storage box. Because the small Taylored Expressions storage box gets to be quite heavy when completely filled, I feel there is a risk of the plastic binding rings or the punched holes tearing if the box is stored binder-style. I lay it flat, just like the ArtBin storage case.
With any of the magnetic sheet box systems, the focus is generally on storing the most number of dies in the least amount of space. This leads to a potential drawback: the dies may not be organized according to theme, brand or type—depending on your preferred grouping system. I have accumulated enough dies to consider it would probably be prudent to number the sheets in my boxes and create a digital index that can be easily updated.
Rubber stamping artist Jennifer McGuire of Jennifer McGuire Ink uses multiple wafer-thin die storage systems, one of which involves storing the dies in CD-sized plastic sleeves that store upright in open acrylic boxes. This system looks neat and attractive, and the sleeve flap keeps die pieces from falling out. If you have only one box, then it takes up little space, but if you have multiple boxes, as Jennifer does, you need to have a place for them. Jennifer has an awesome pullout drawer system that I’d like to relocate to my house, but in lieu of that, I’ll settle for admiring it. In the video below, Jennifer describes multiple wafer-thin die storage systems.
If you have wall space or an empty inside cupboard door, you can hang magnetic knife racks to store your wafer-thin dies. Sherrie Siemens of Card Creme shows us how, in her post titled Creative Chat, she uses IKEA magnetic knife racks to store her large collection of wafer-thin steel dies.

Jill Norwood of Greenwood Girl Cards uses various types of knife racks, some of which are stronger than others. Like Sherrie Siemens of Card Creme, she especially likes the ones from IKEA, and extends the use of them by inserting a round magnet between layers of dies.
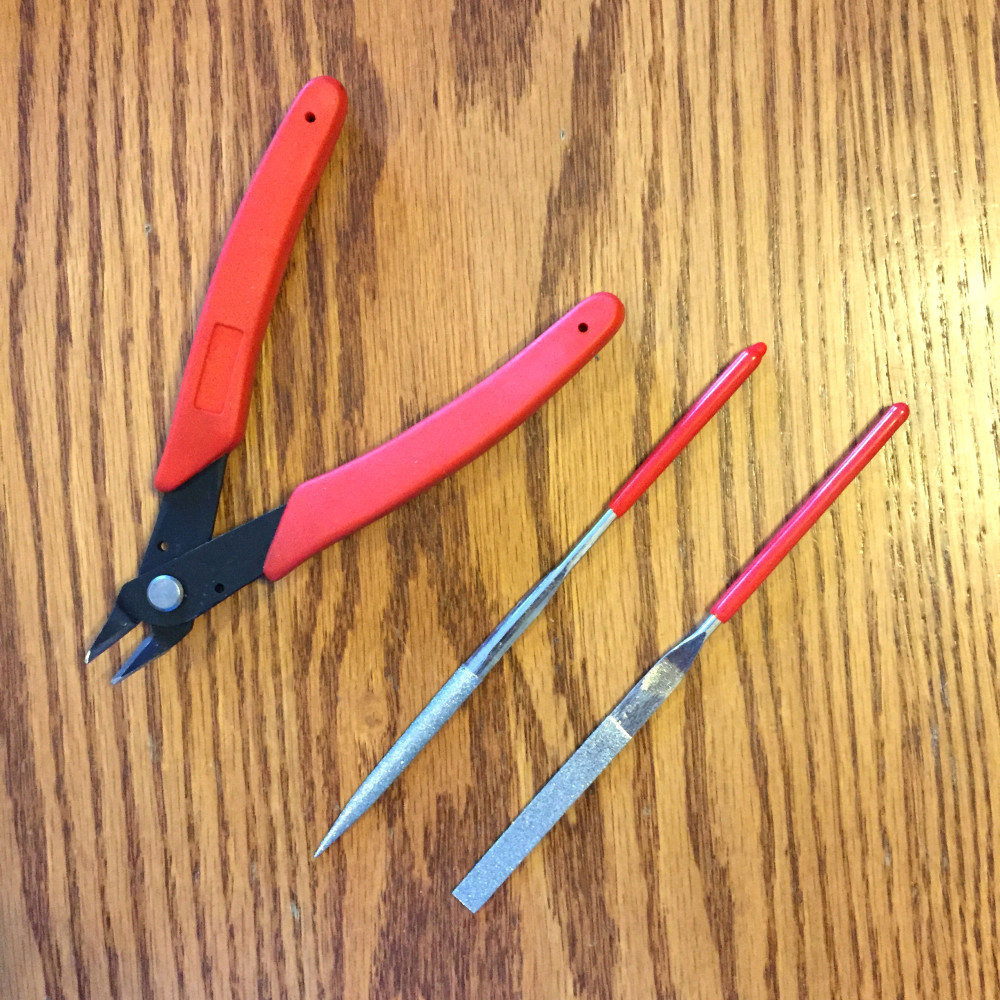
There are a couple of tools that I consider to be essential for die storage. One is a set of die snips to cut apart connected die pieces in a set, and the second tool is a die file to remove the “nib†left behind when you cut apart die pieces.
Both tools are available from Elizabeth Craft Designs. The die snips, which can double as a button shank remover, cost $8.95, while a pair of die files costs $4.95.
If you have additional suggestions about wafer-thin die storage, I’d love to hear about them in the comments below.
© 2015 Judy Nolan. All rights reserved.
You have an impressive collection of dies — and some innovative storage solutions.
Wow – you have a lot of dies! I only have metal embossing dies, and only about half a dozen of them. I just chuck them in a bin with everything else! I had absolutely no idea that paper dies come on sprues like that.
Wow! I love your organization well done! Loe to see those pieces, pictures are great! I need to to shopping 🙂
Judy this post is full of great info! I have multiple systems in place as my collection has grown. This will be a great post especially for people who do not know about the various products available! Thanks for including my you tube video! 🙂 Jill
What a fabulous post explaining some great storage options for dies. Don’t we all love dies now?! My collection is HUGE and I love the Zutter storage system. 🙂 Thanks for sharing my video on your post.
Love your ideas, especially the magnetic knife racks, but I don’t have wall space for them. What I ended up doing with my thin metal dies was to store them on magnetic sheets in file folders in my upright filing cabinet. I ordered a big package of 8.5″x11″ magnetic sheets from Wal-Mart that have adhesive on one side. Using the adhesive side to attach the sheets to a piece of cardstock gives them a little more stability. Since we’re in this for the fun & creativity, I also glued some of my fabric scraps to the cardstock to make the magnetic sheets pretty too. I put one magnetic sheet per file folder (use colored folders for even more fun) and label with the type dies I have in that file, such as flowers/3-D flowers/frames/alphabets/etc. The files are easy to thumb through to find what I want and when I take out a file there’s most, if not all, of my flowers/hearts/borders/etc. dies all there on the one magnetic sheet. An 8.5″x11″ sheet will hold quite a few dies. It’s easy to choose the one(s) I want and super easy to put them right back on the sheet when done, so I don’t lose any (a real issue with some of those teensy dies!). I also use labeled hanging files so I know right where to put the file folder back when I’m done. This easy system has really helped me out timewise because it’s so easy to find what I want, so easy to put it back when done, so easy to expand (I have two folders in my “alphabets” hanging file) and so easy to store. If a crafter didn’t have a regular file cabinet, there are oodles of different, portable file containers, some with handles even. Sorry to be so long-winded, but I’m tickled with my system and happy to share it just in case it might help someone else .
I was wondering if you sort and separate dies example all birds, flower background and shapes ,words and alpgabrys are in separate files, but the the dies that came in the set would be apart??
Do you think that would be confusing?