I’ve mentioned previously that the handcrafted books I make involve a time-and-labor intensive process. While this fact hasn’t changed, one of my goals this year is to find ways in the creative process to become more efficient. Obviously, that increases my overall profit, as a pricing formula is supposed to include not only a value for the cost of materials used, but also a value for your time. Some of the obvious steps anyone who creates and sells can take include:
- Spend fewer dollars on materials by buying items on sale or at wholesale prices.
- Use fewer materials.
- Use materials you have on hand (which assumes you have organized your work space so you can locate these materials easily).
- Streamline the making process to include fewer steps.
- Recruit an assistant for mundane tasks. This could be a willing family member, but it might also be someone you hire for a few hours every week.
Well . . . likely I am still not being paid for all of my time (ahem), but I have discovered a few ways to be more efficient in the use of that time. These methods apply to everyone who sells handmade products:
- Group similar tasks together, and work assembly line style.
- Find an alternative method to accomplish a time-intensive task (such as a new tool that speeds up your process).
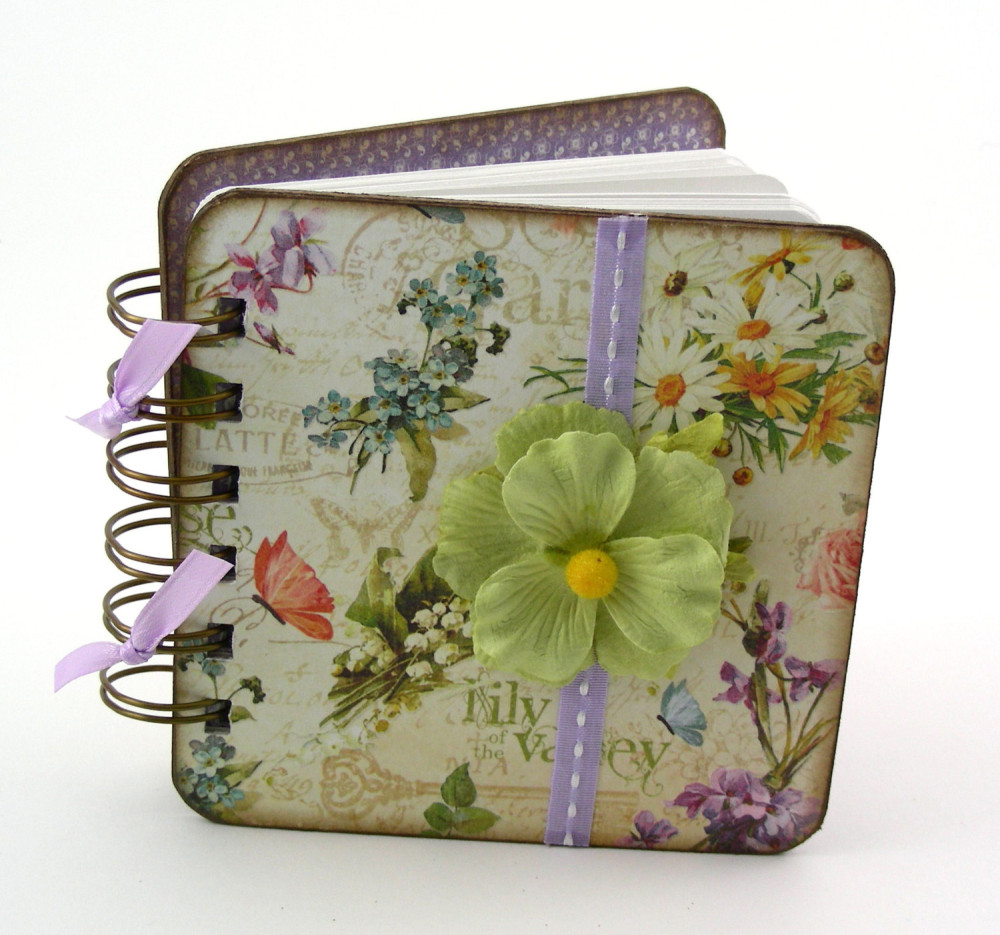
In my quest to be more efficient, I looked at the part of my bookcrafting process that I enjoy least, takes the most physical effort, and uses up the most time: sanding the edges of book covers. My book covers use heavyweight chipboard as a foundation, with rounded corners to help prevent the chipboard layers from separating over time. (Did you know that chipboard is made up of compressed layers of cardboard?) Then I use a Dremel drill sanding tool to smooth out the rough edges, and follow up with hand sanding to “seal” the paper to the chipboard so that the paper is less likely, over time, to lift up from the chipboard. Finally, I brush the edges with a walnut stain distress ink just for appearance’s sake. There are lots of steps involved to achieve this look.
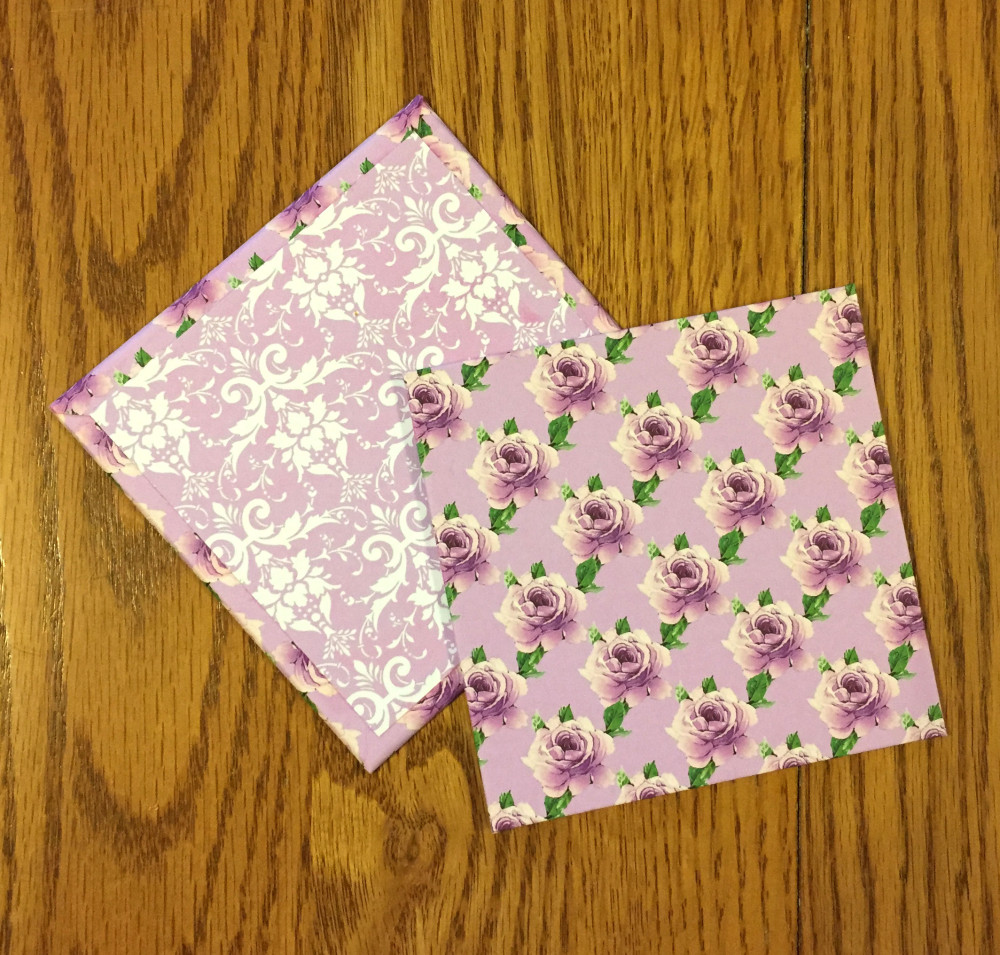
This year I asked myself why I couldn’t simply wrap the paper around the edges of the same heavyweight chipboard, instead of sanding the edges, and eliminate the distress ink on the edges. I’ve done that for a few books previously, namely envelope mini albums and accordion fold photo books.
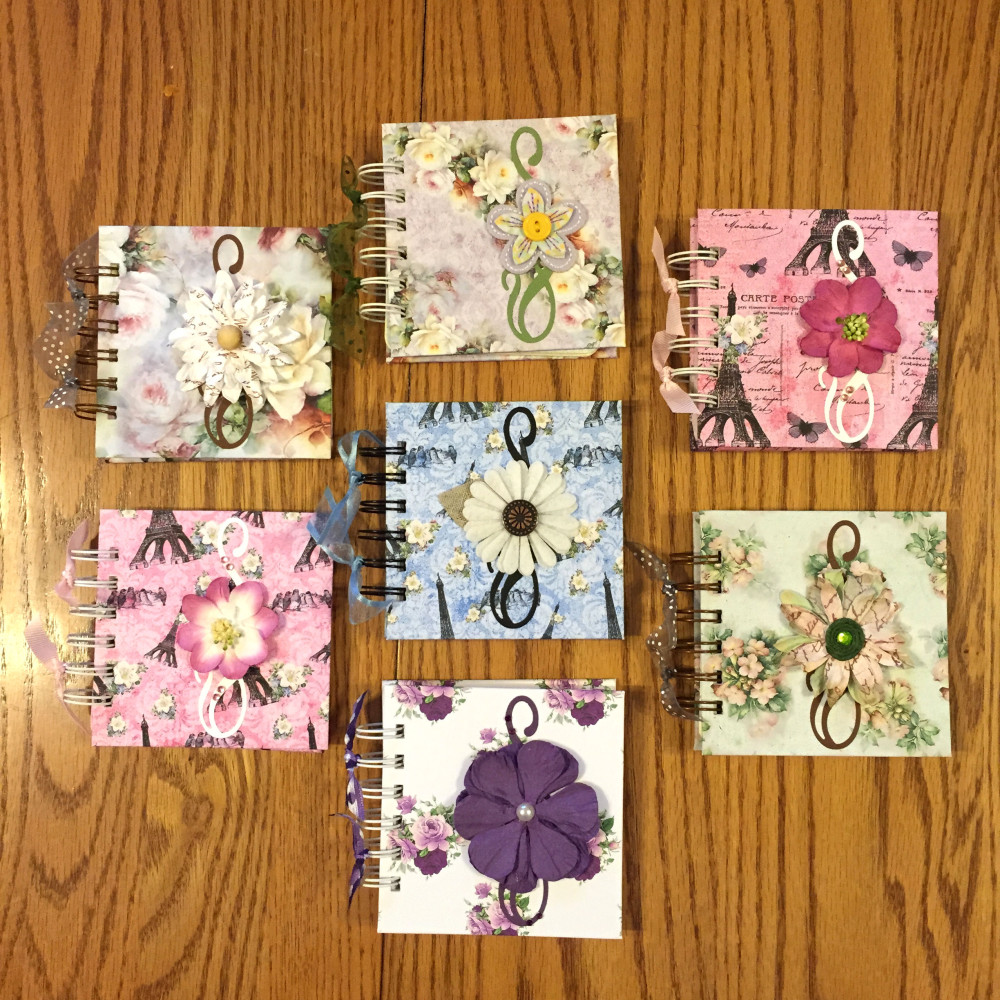
I’m not sure why I didn’t use this process for the rest of my books, since it’s much faster, but this past weekend I assembled seven books using this method in the time that would normally take me a week.
Habits are difficult to break, however. I was accustomed to gluing a vertical ribbon accent down the front of my books as one of the last steps in completing a book. So, I did the same with the book covers I crafted this weekend, completing one set of covers after another . . . but without a ribbon embellishment. I simply forgot about it. And then I realized I should have glued paper to the front cover, adhered ribbon next so it could wrap around the top and bottom edges of the book to the inside, and then cover with a square of paper on the inside front cover for a neat, finished look. Oops.
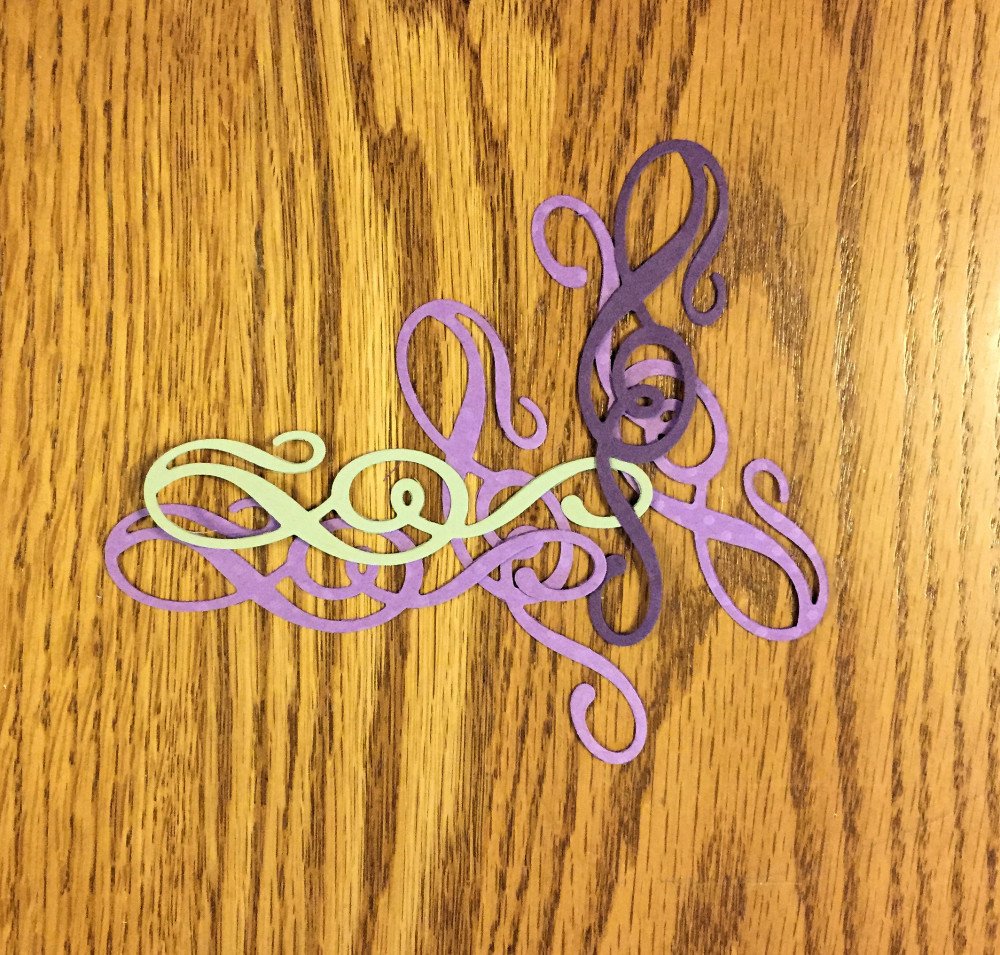
I wondered if there might be an alternative to ribbon that would still look nice. Out of the corner of my eye, I spotted a Sizzix Sizzlits® Die sitting on the floor in my craft room, waiting to be put away properly. Hmm, I thought. That could be useful.

Next thing I knew, I was slicing up paper swirls on my Big Shot die cutting machine, and then lining up book covers for embellishment.
I love it when efficiency meets serendipity. What do you think?
© 2015 Judy Nolan. All rights reserved.
Habits sure are hard to break! I really like the loopy embellishments, though!
Trying to streamline sewing is why I’ve been working on some things for a couple days but still don’t have any finished products to show for it! It’s way faster to do one step on all the items before moving on, but it is a little boring sometimes.
I like your cute little swirls!! And what a great timesaver your new process is!!
I love it when you think of a shortcut! I recently changed how I assemble my cloth napkins and it’s sooooo much faster.