I watched an interesting flower-making video this weekend using a Provo Craft flower quilling kit that was introduced at the Craft & Hobby Association (CHA) spring conference about five years ago. I have no idea if I’m the last person on the face of the earth to learn about this type of a paper flower, but in any event I ordered an economically priced kit through eBay to play around with it.
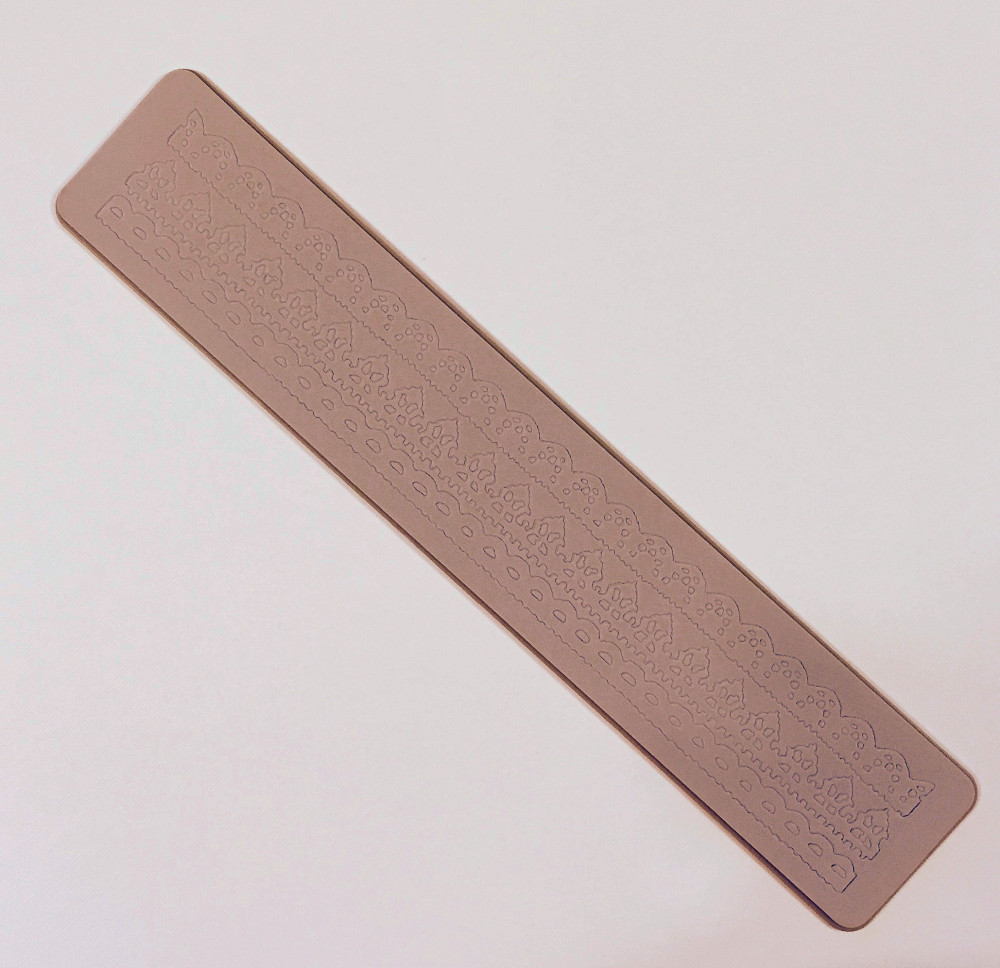
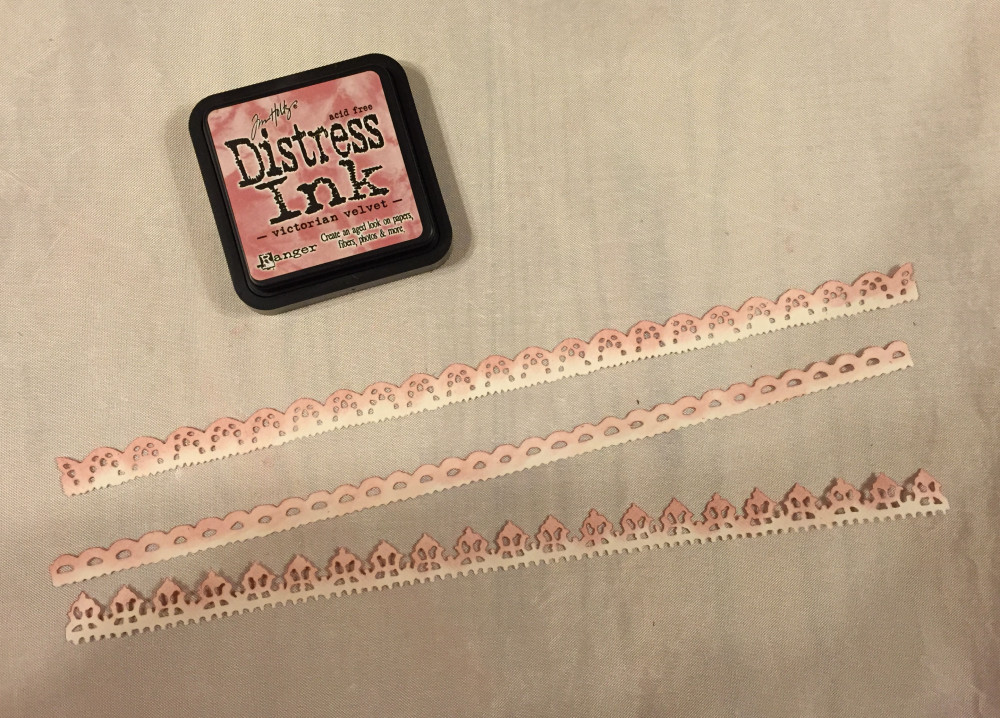
My Provo Craft kit should arrive later this week, but honestly, I was itching to try the technique today. I looked through my cutting dies to see if any of them could be used to craft a lookalike flower. The basic method involves rolling strips of decorative-edge paper into a spiral, then folding back anything that resembles a petal to form a flower. When I ran across my Vintage Lace Decorative Edge Die from Tim Holtz, I thought it might just work to make a quilled flower.
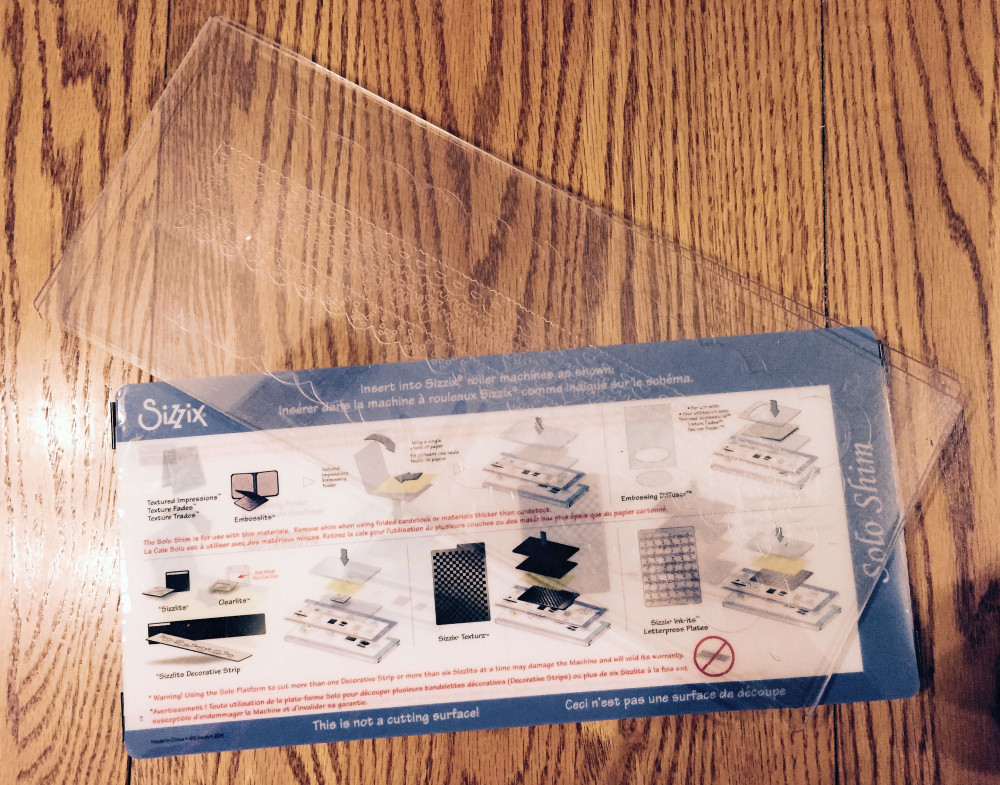
You need an extended length cutting platform and extended length acrylic cutting plates to make this work with your Big Shot die cutting machine. Fortunately, I already had these accessories on hand.
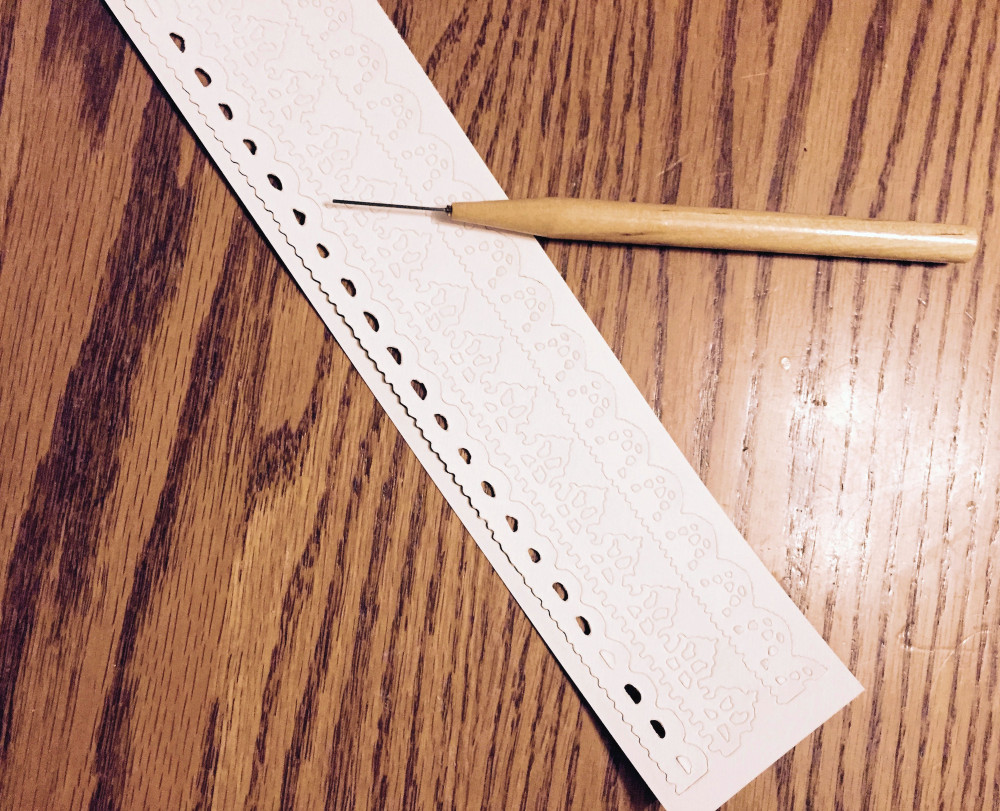
The decorative strips are rather detailed, so you have to poke out lots of little bits of paper to get the lace effect.
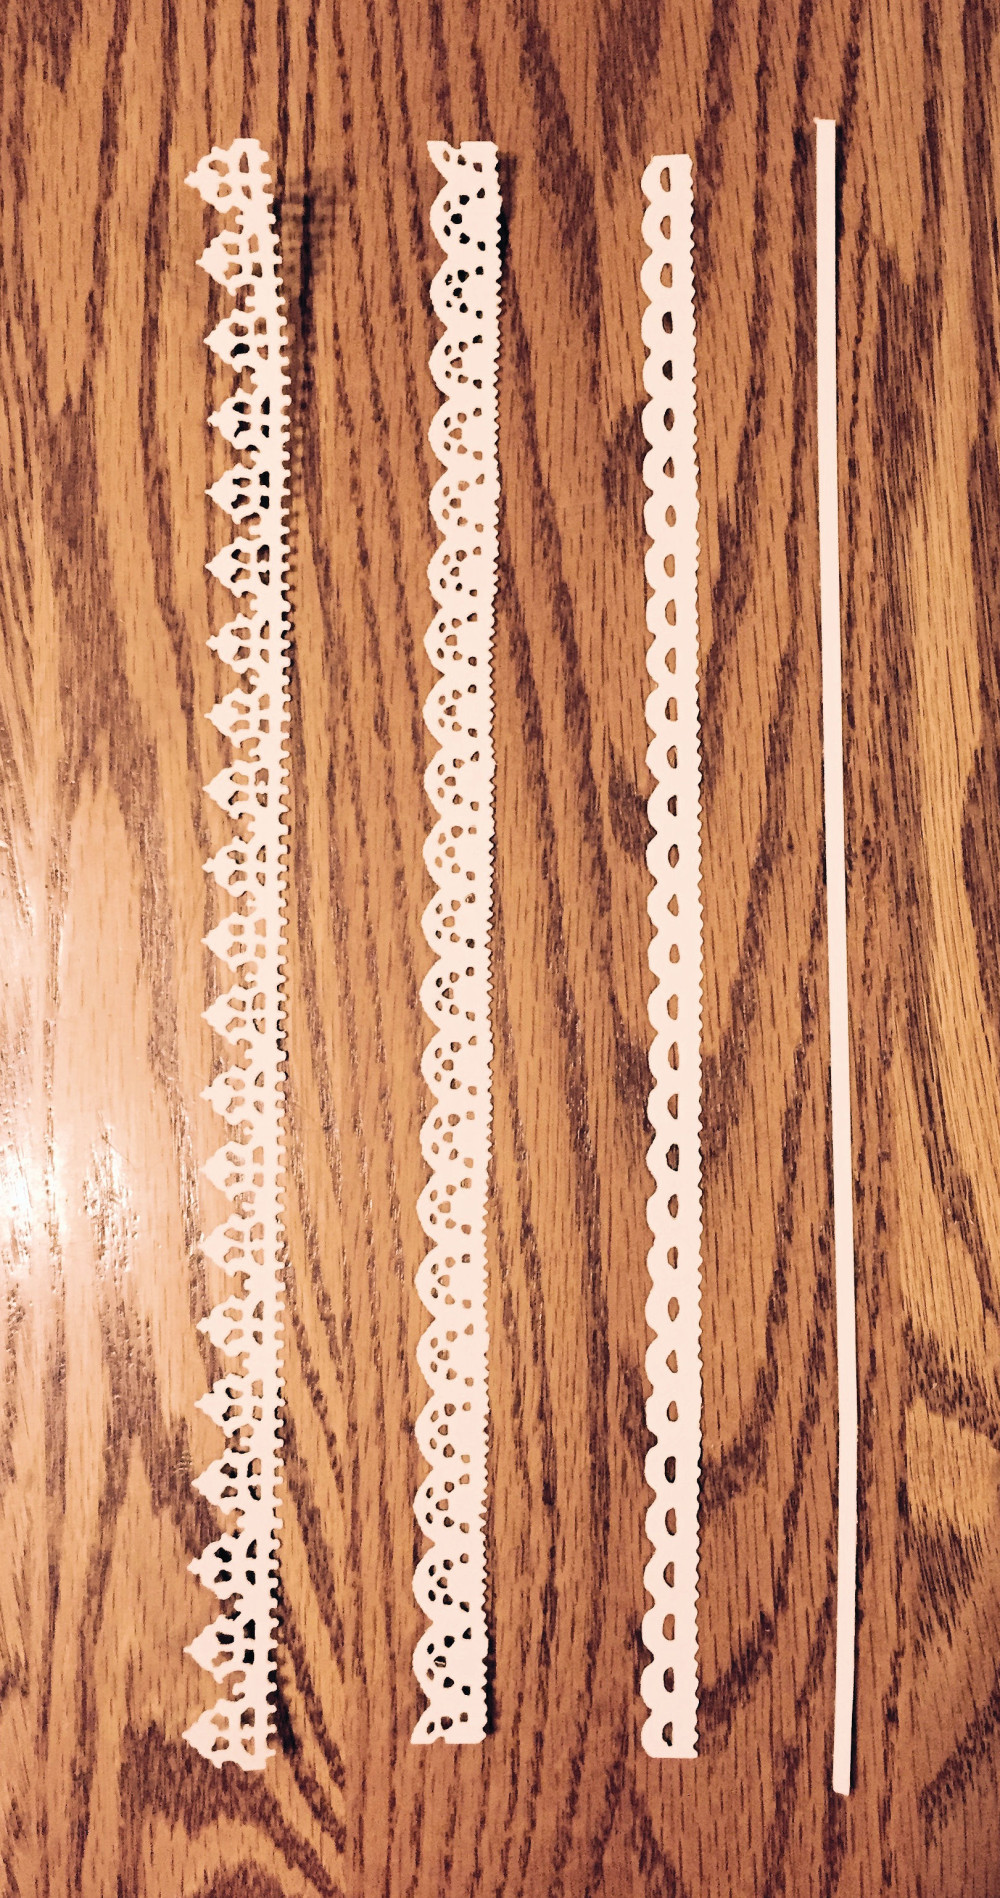
I inked the three lace strips of paper with Victorian Velvet Distress Ink by Tim Holtz, but I suspect the cream-colored paper would have looked just fine without the inking. Note that I cut a 1/8 strip of paper to begin the quilled flower. A quarter-inch strip would work equally well.
Next, I slipped the tip of the 1/8 inch strip of paper into my Imaginisce® dual-tipped quilling/embossing tool, and began wrapping successively wider strips of paper around the narrower strips. In the end, I finished by hand because I found that to be easier. It doesn’t look like much of anything at this point.

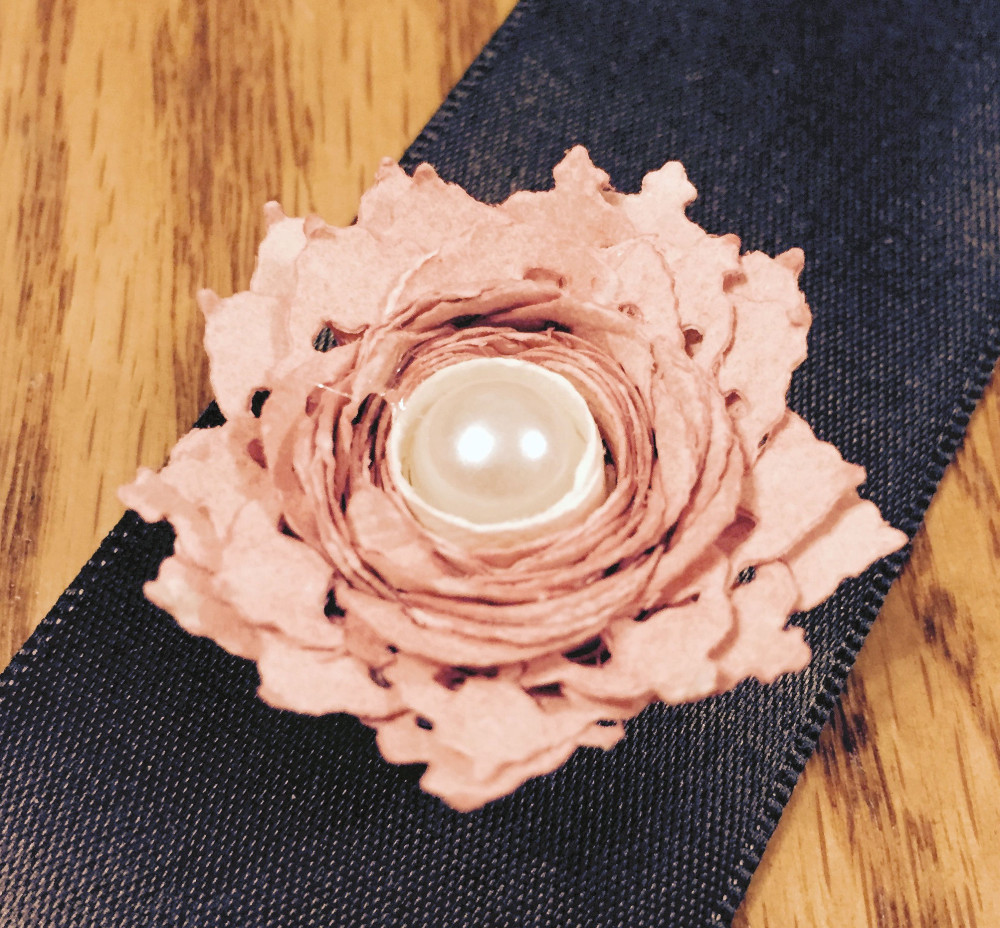
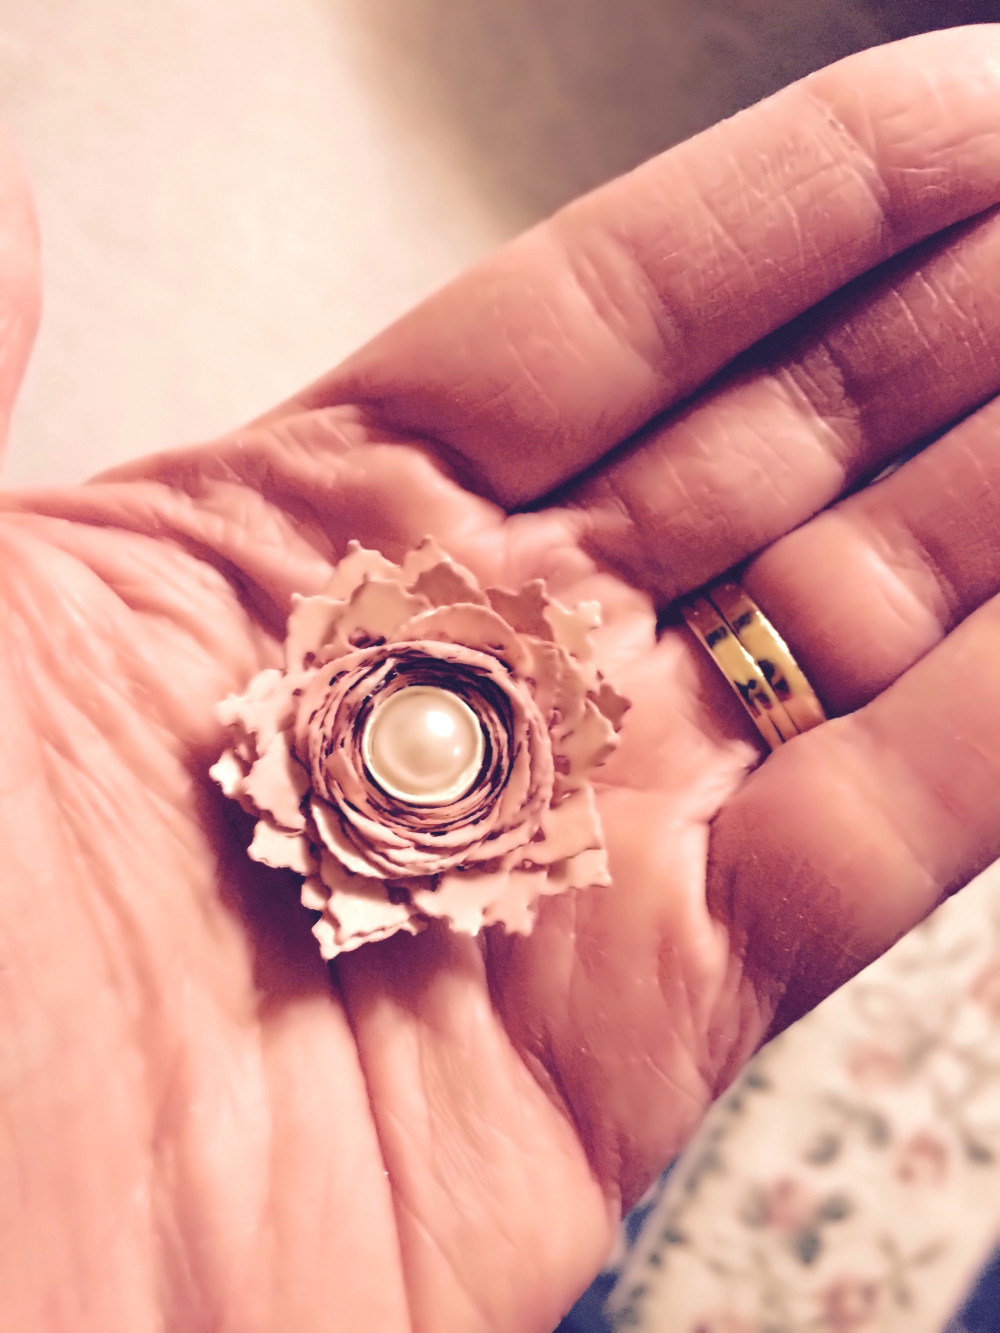
The real magic begins when you fold back the petal-like points of the decorative strips. You really do end up with a tiny little flower! I adhered a pearl to the center of the florette, but this step is optional.
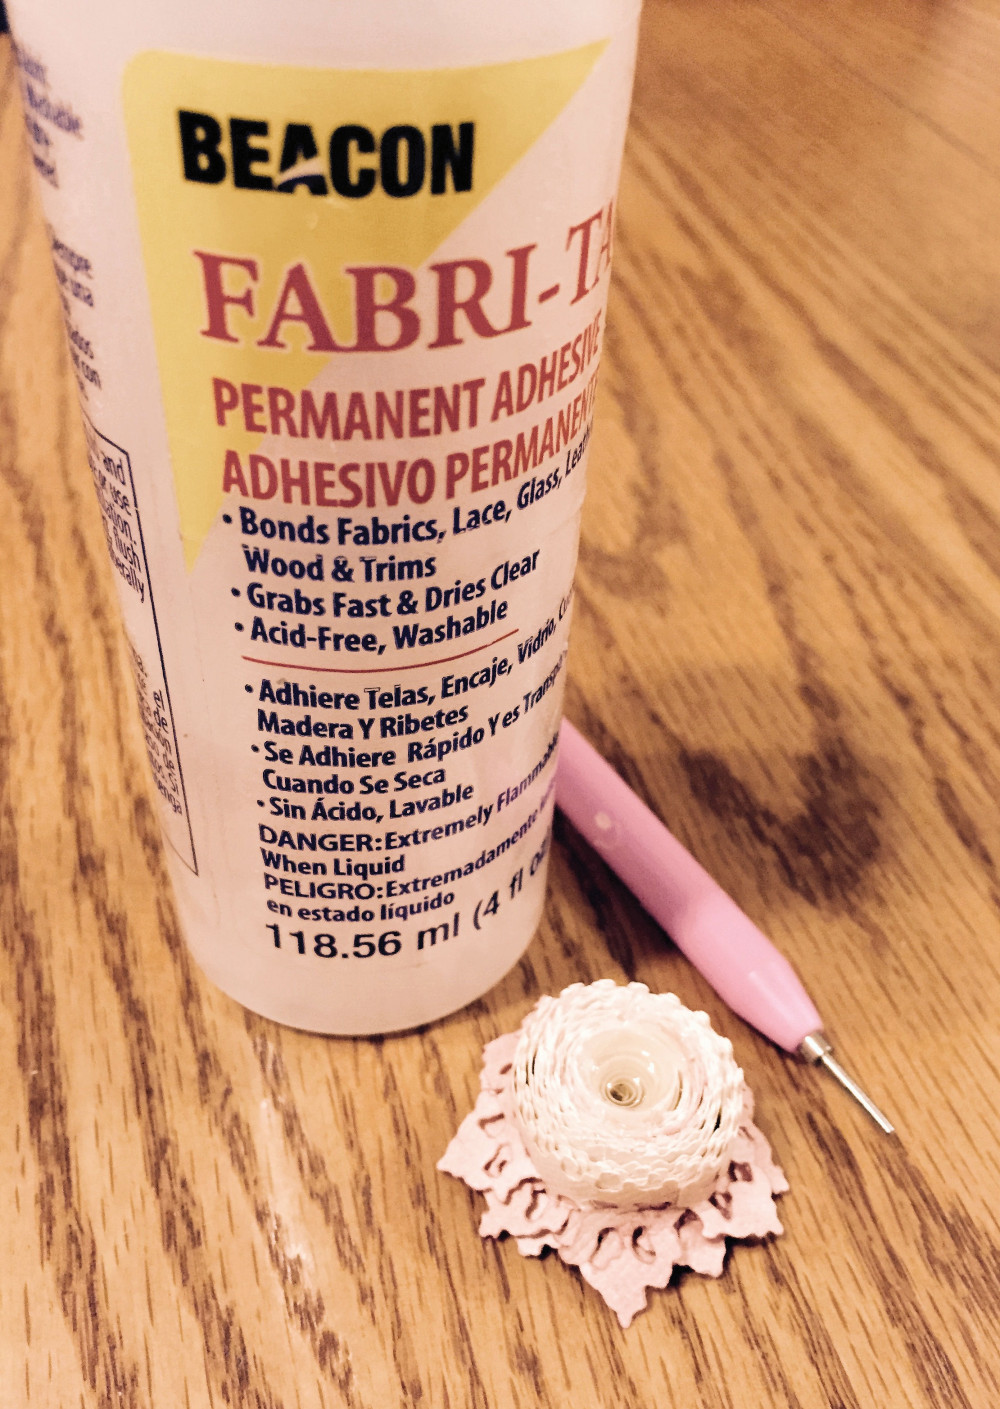
On the underside of the florette, I squeezed out a generous amount of Beacon Fabri-Tac glue to secure the layers of paper. I don’t like to use a hot glue gun because it adds bulk to a project, so this is my go-to substitute. Fabri-Tac sticks to nearly everything.
The finished flower is tiny, measuring just under 1-3/8 inch in diameter—a little too small for the covers of my mini books, but perhaps you feel differently. The blossom sits about a quarter inch above anything to which you adhere it, so if you’re looking for a raised 3-D flower, this is it.
I’ve started a short list of ways to use the above type of flower:
- Adhere a cluster of florettes to the corner of a picture frame.
- Decorate a lid for a jewelry box, altered tin or glass jar.
- Adhere magnets to the underside of the florette to make fridgies.
- Decorate a greeting card with a florette, but keep in mind that you’ll need to mail it in a padded envelope.
- Insert floral wire, add leaves, and make flowers you can arrange in a vase, or wire into a wreath.
- Adhere a florette to a satin or velvet ribbon to make a choker.
How else do you think this dainty little paper flower could be used? Let me know in the comments below.
© 2015 Judy Nolan. All rights reserved.
How cute! I love the magnet and flowers in a vase ideas!
Very cool! I think they’d look great on a fridge or on a jar.