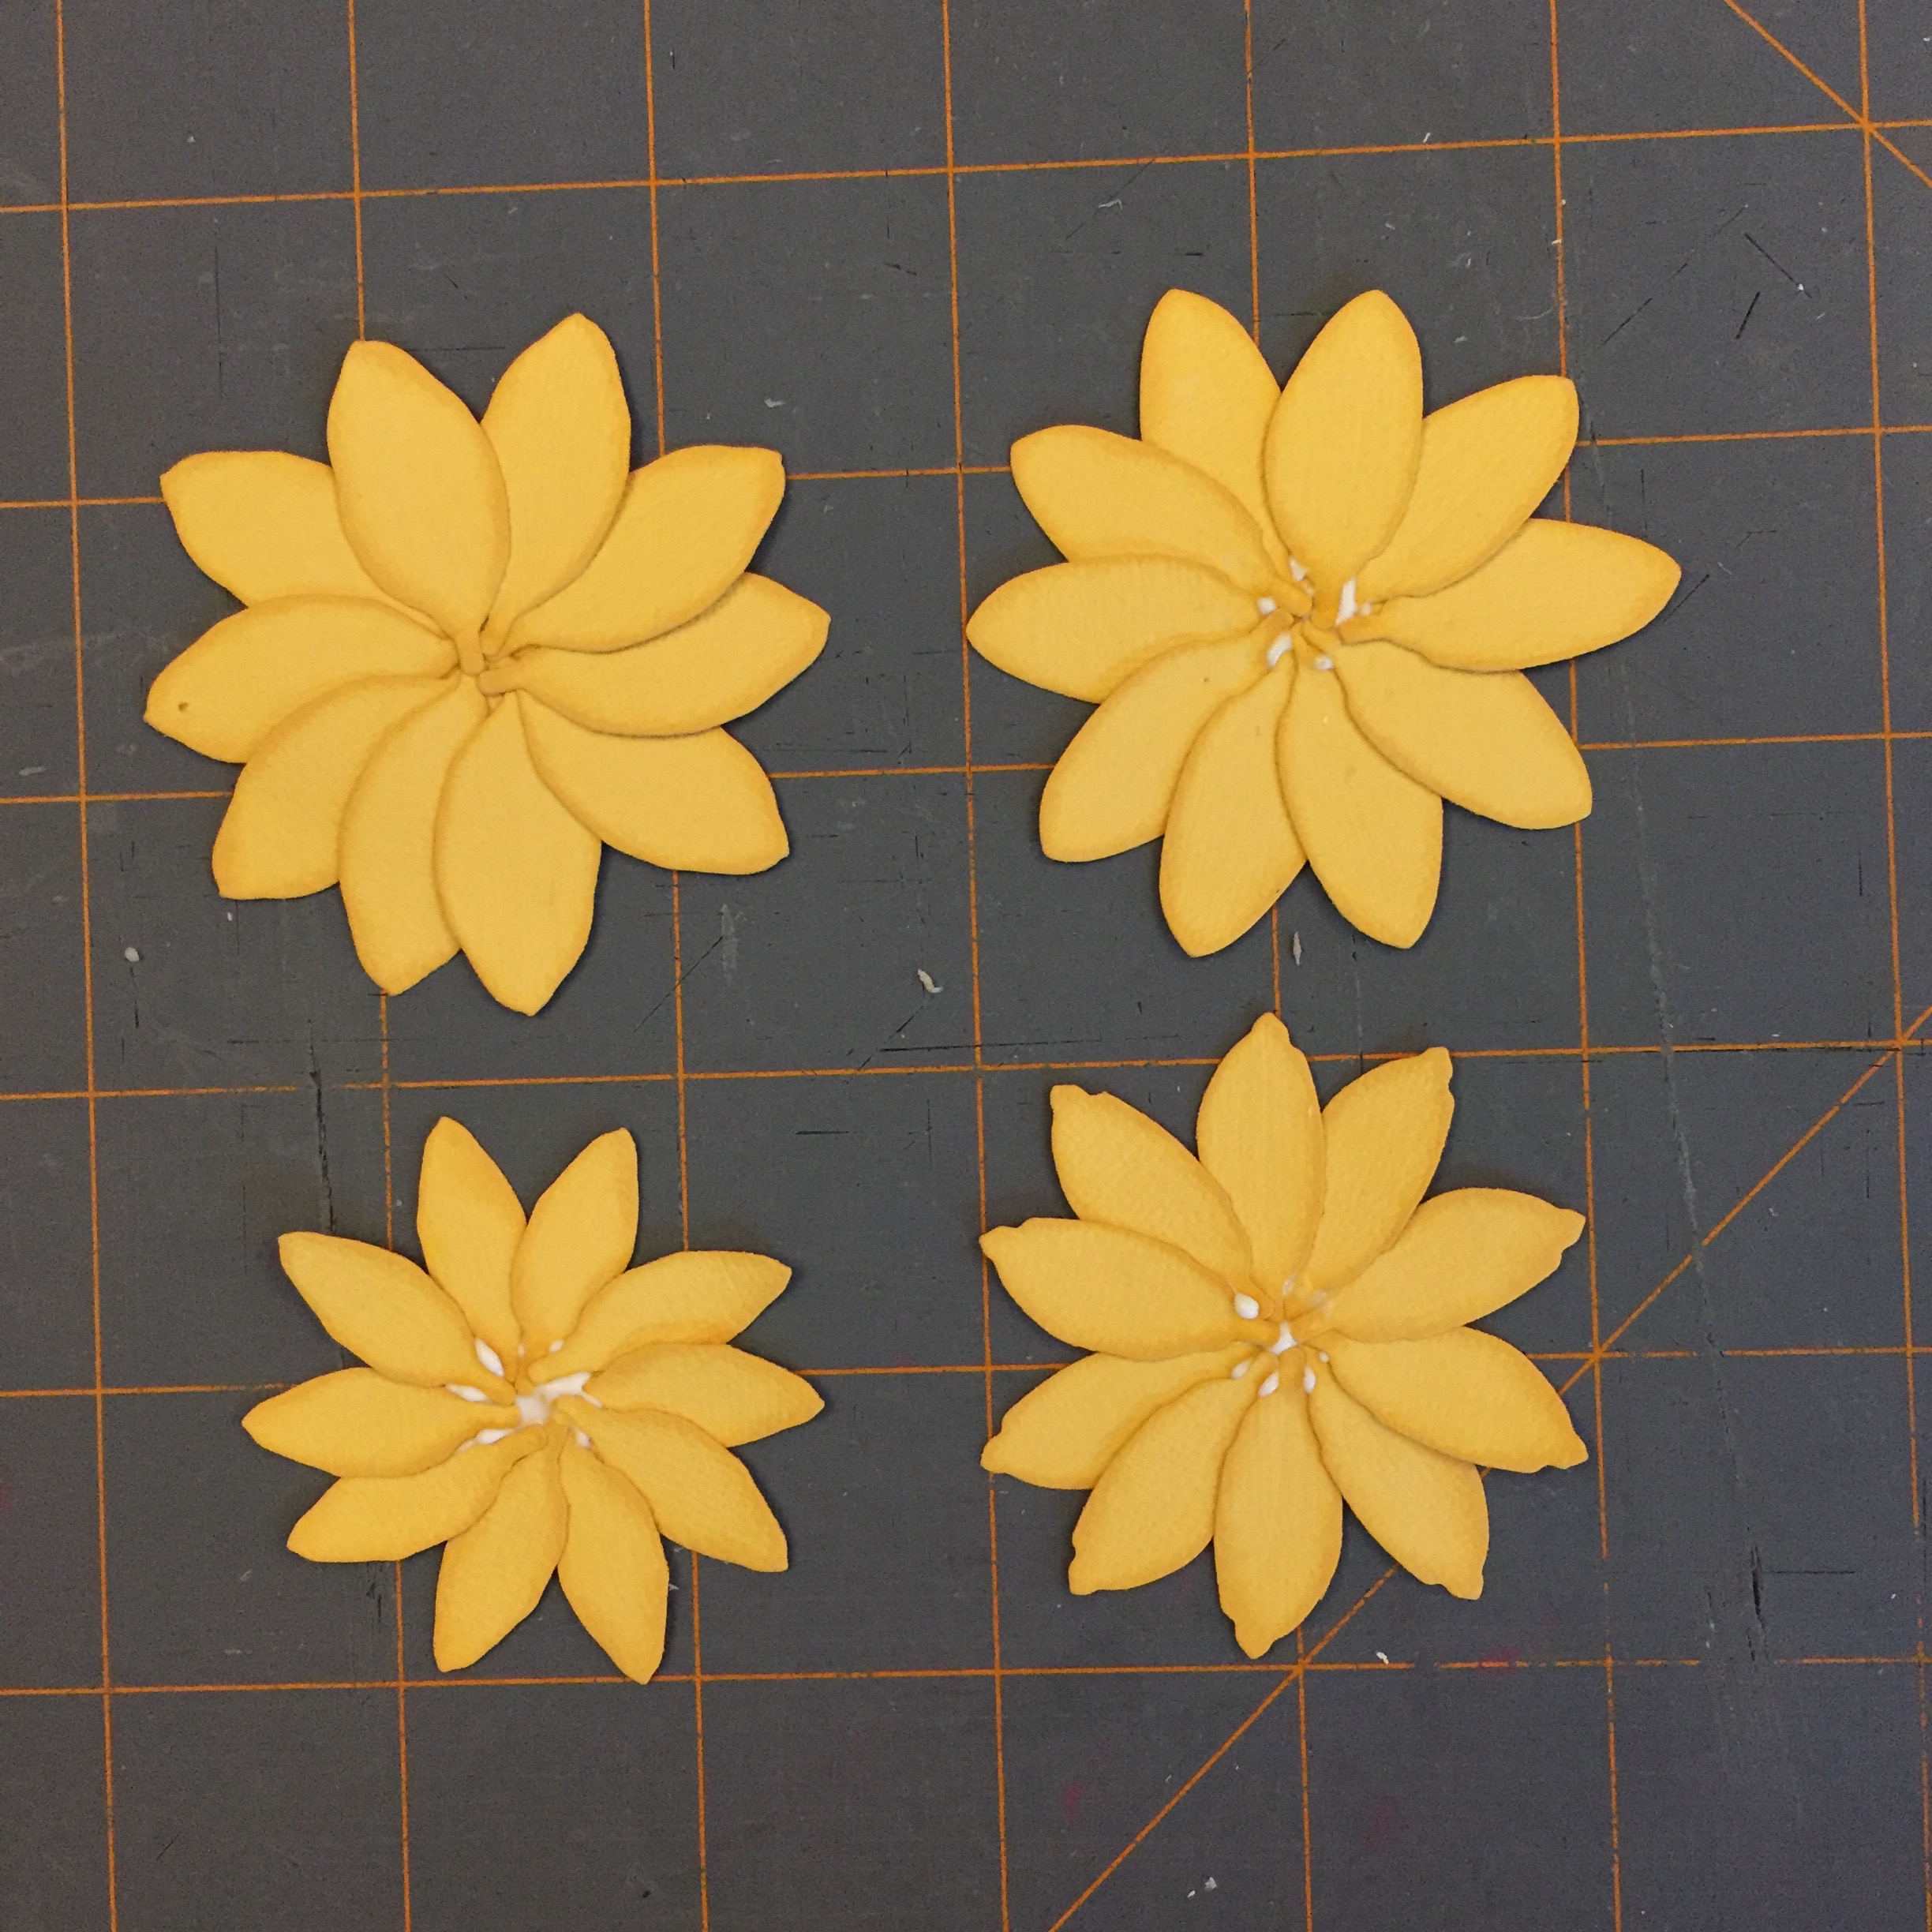
The perfect opportunity to use my Spellbinders Create a Sunflower die set occurred last month when a customer requested a password book with a sunflower embellishment. The five-piece die set includes petals, a starburst-shaped petal base, a floral center, and two leaves.
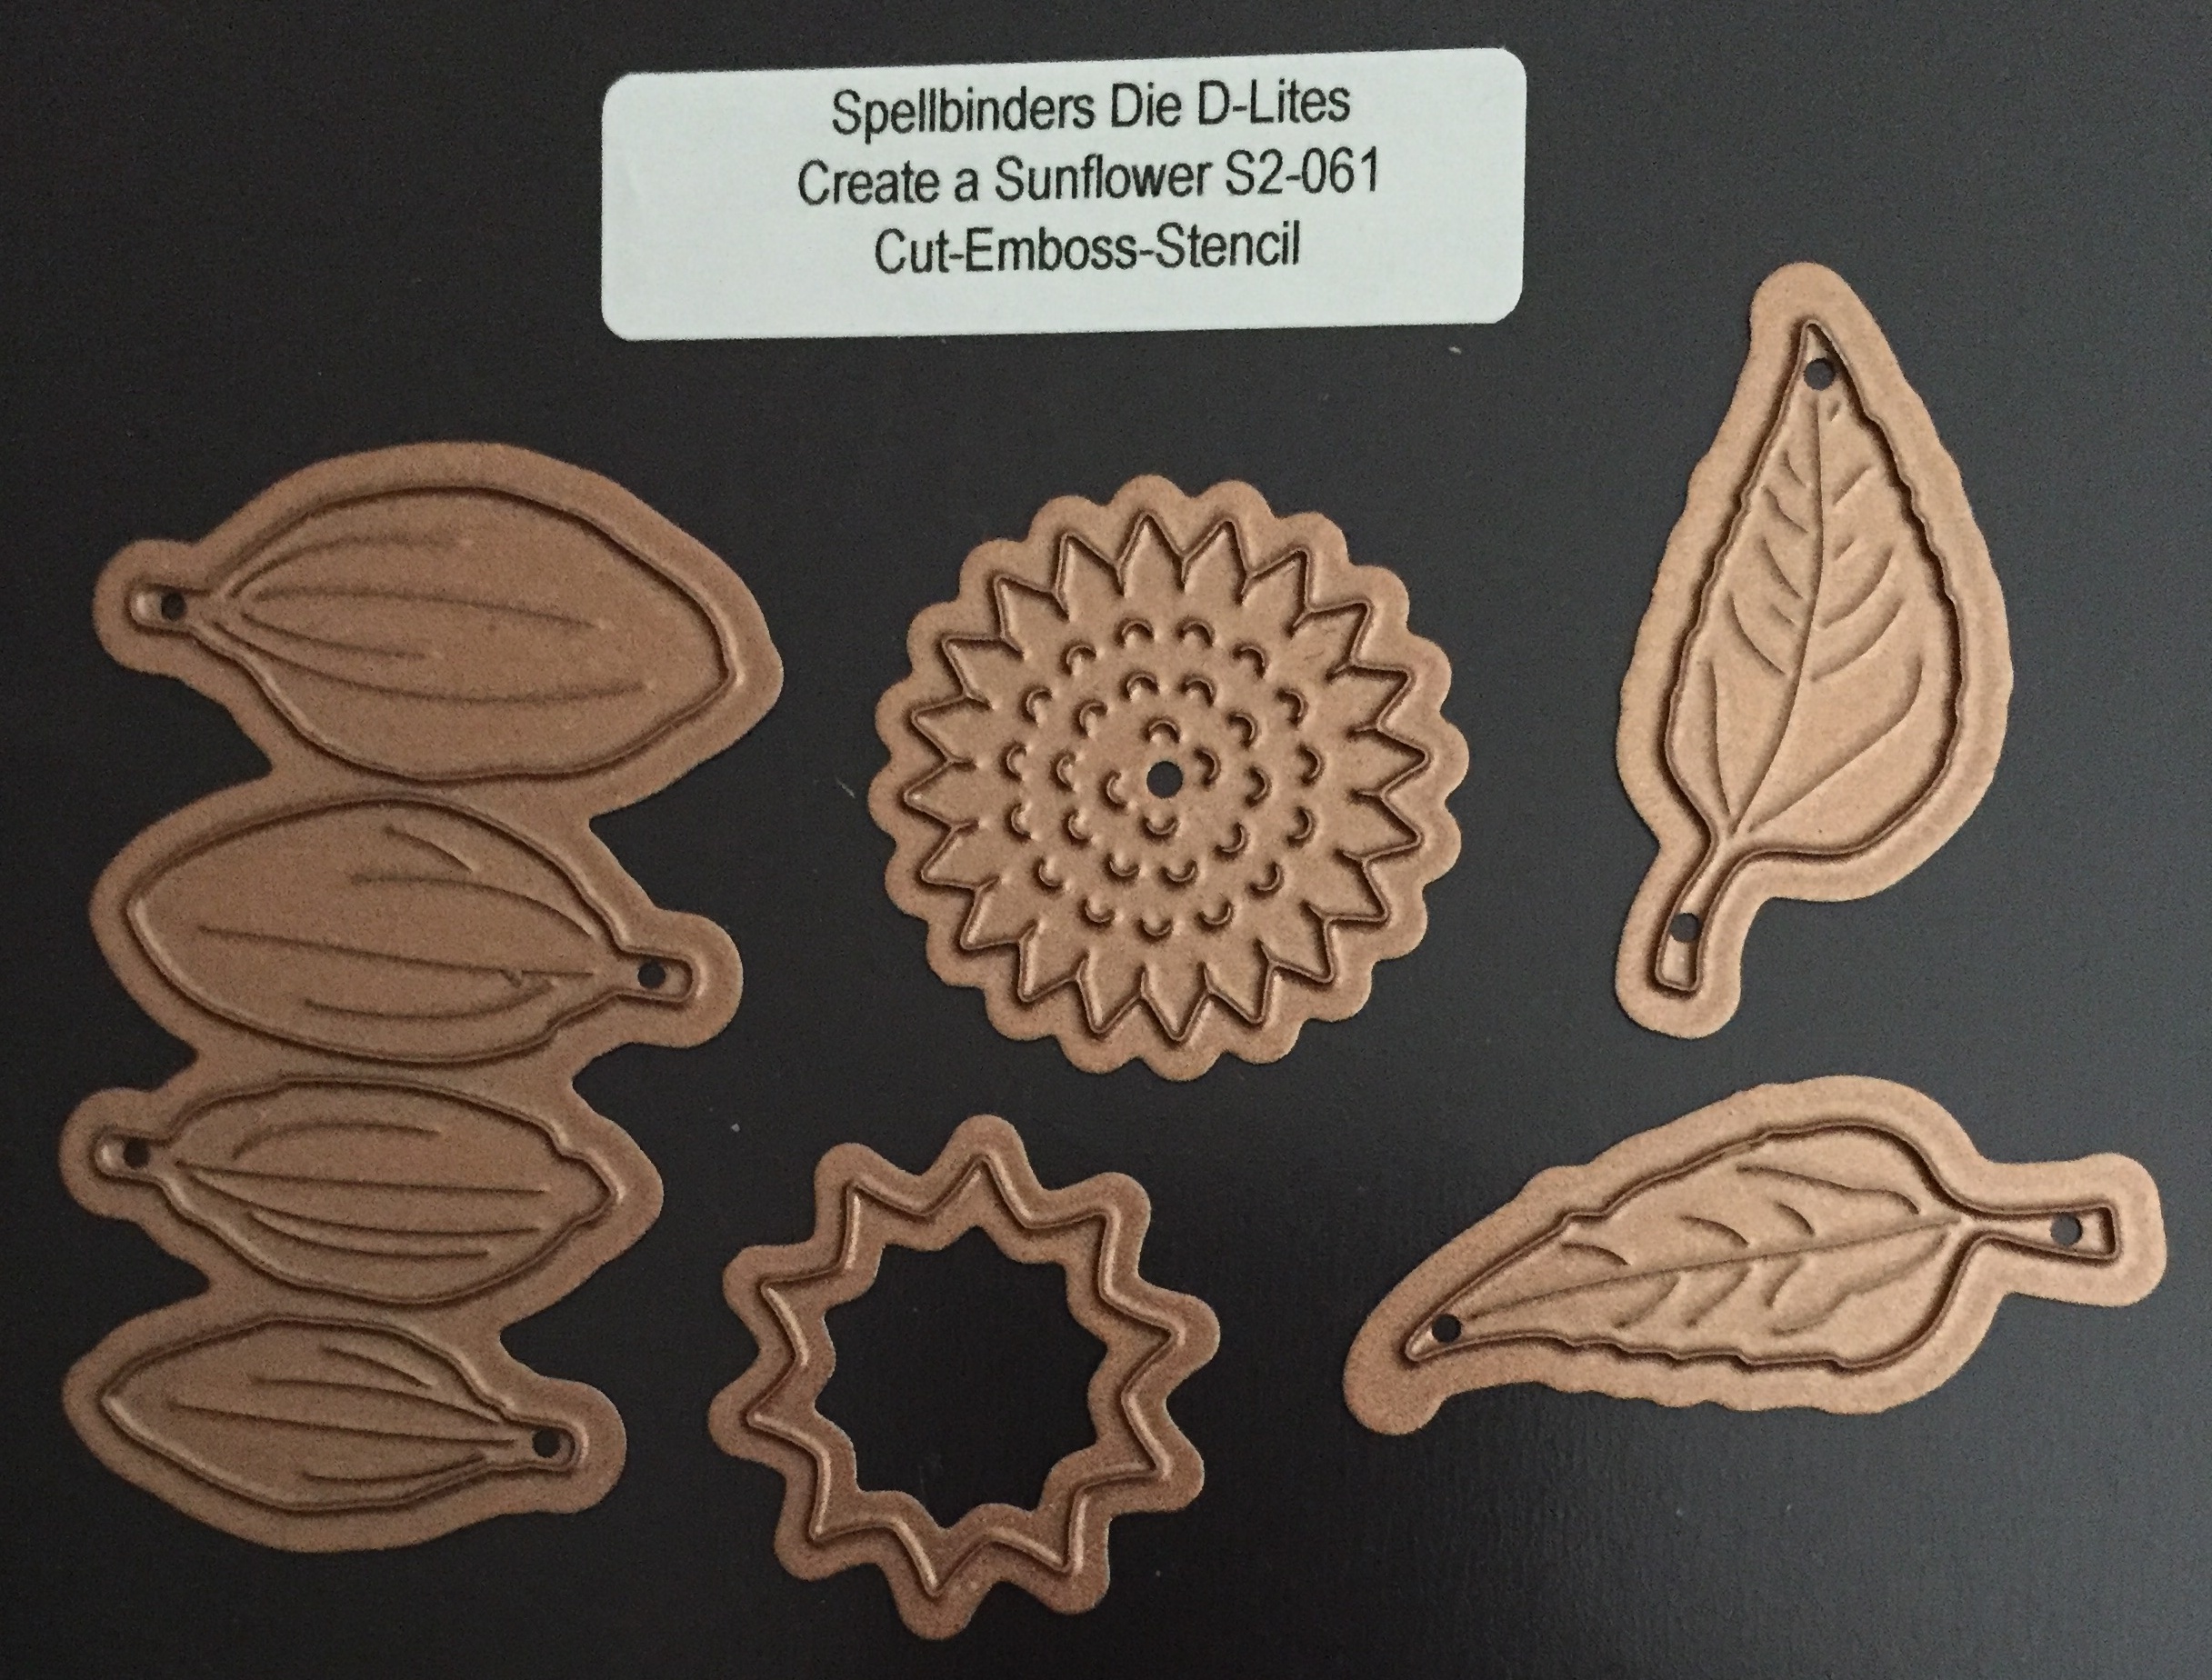
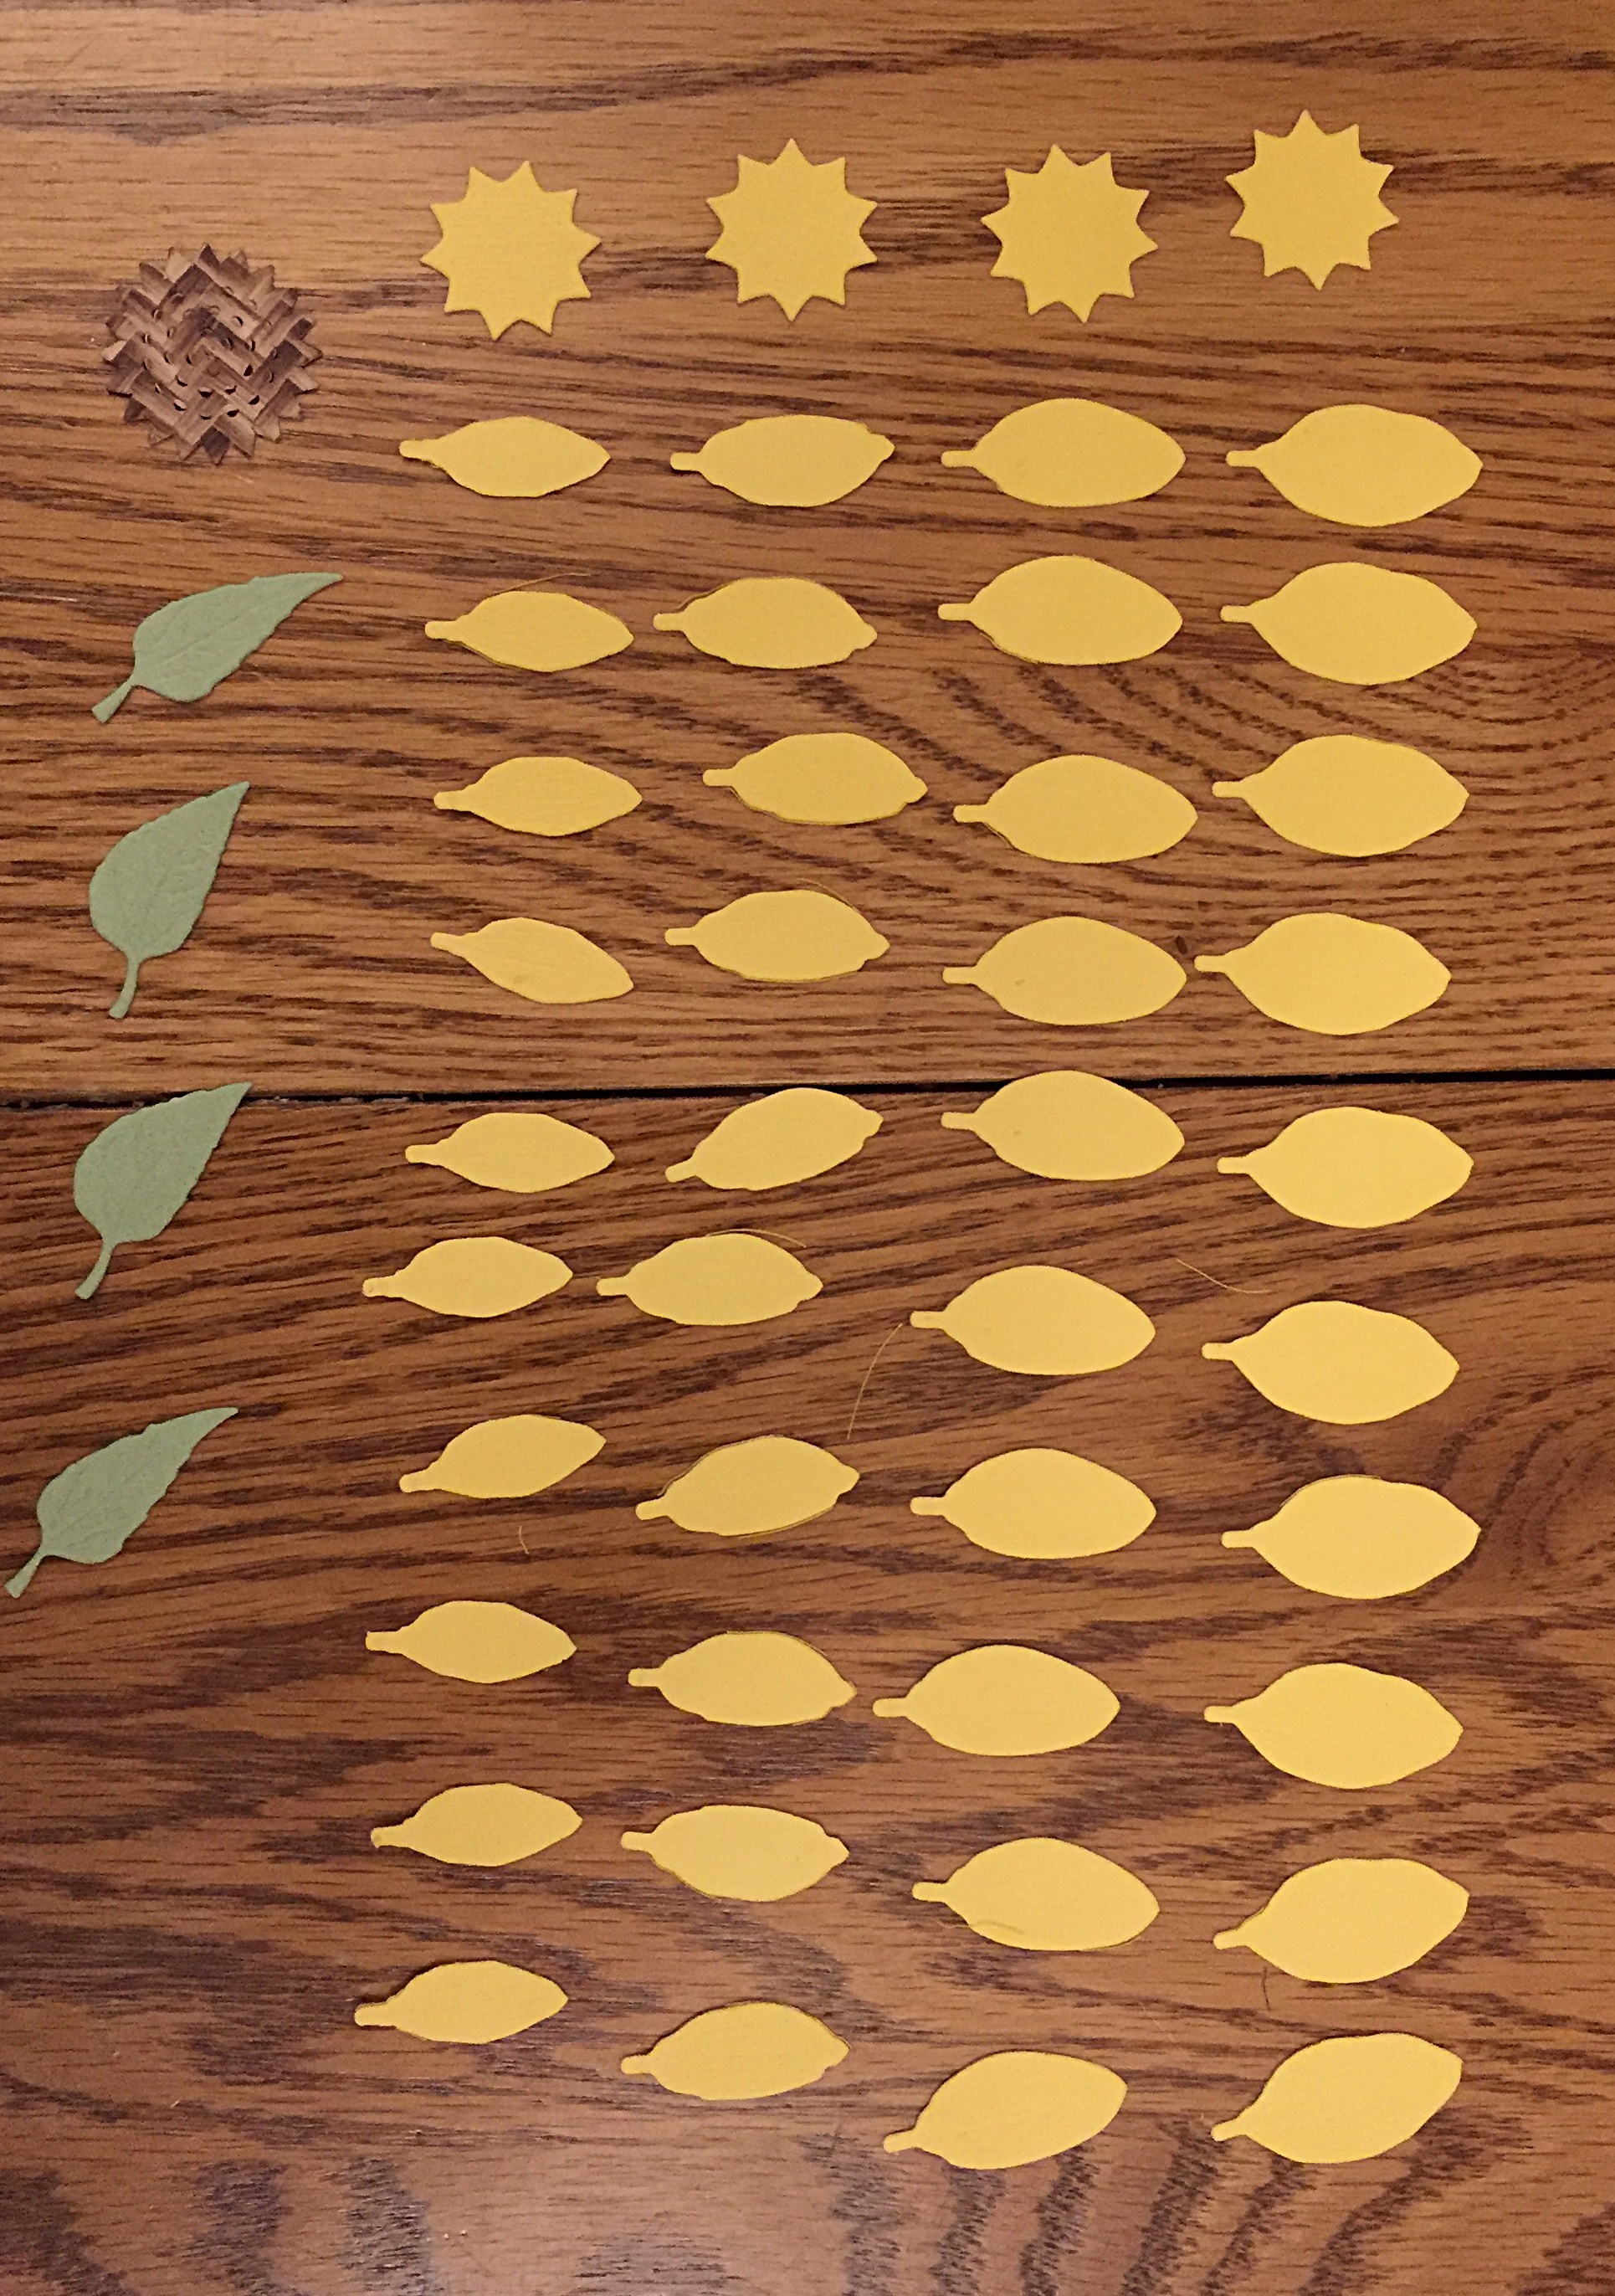
You start off by die cutting 10 sets of yellow petals and four yellow petal bases, one brown floral center, and as many leaves as you’d like. I punched out four leaves and used all of them.
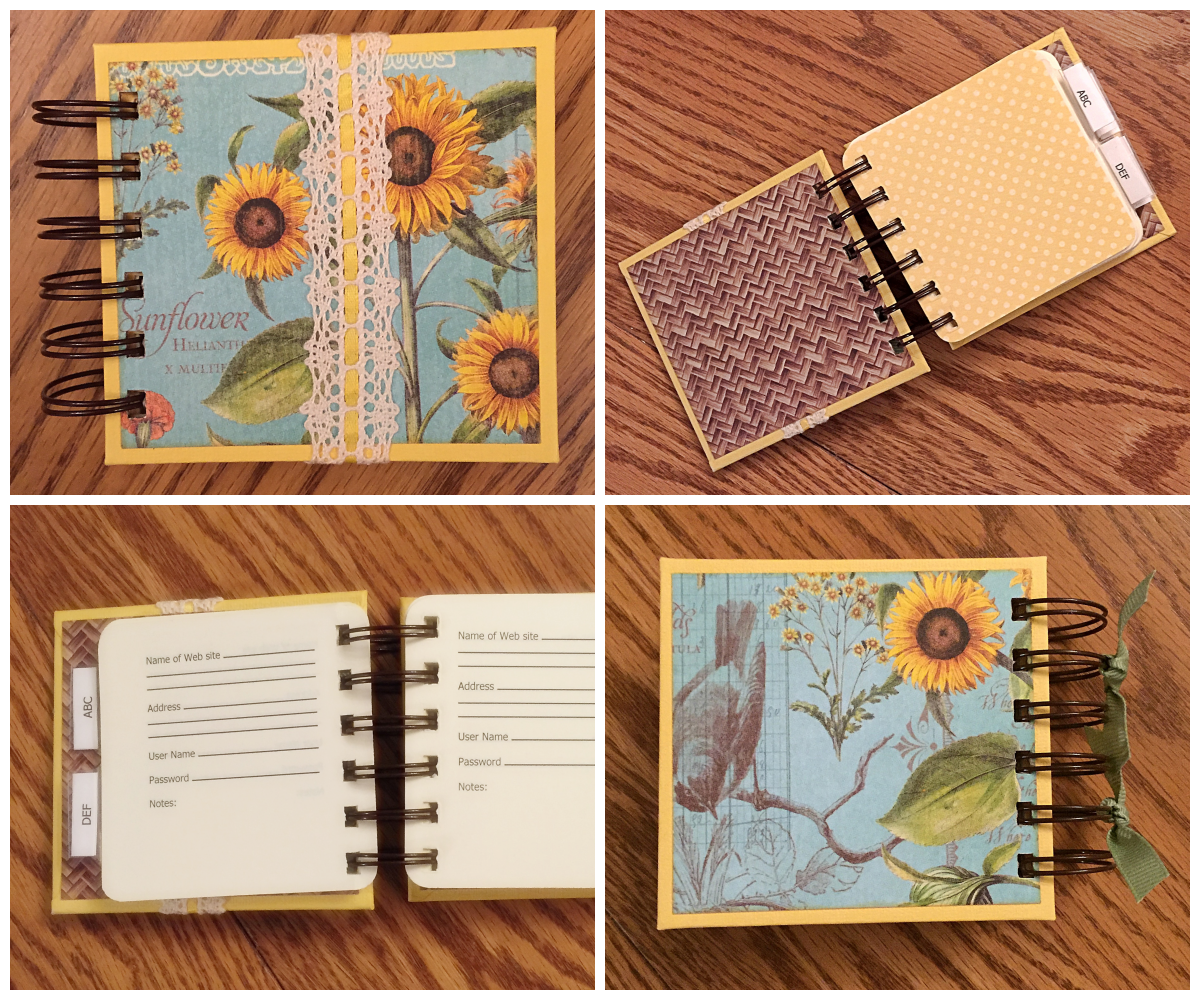
I completed the rest of the password book ahead of time using the following papers:
- Cover – Sunshine card stock from Doodlebug Design and August Flourish paper from Graphic 45’s Time to Flourish Collection
- Inside cover – Mushrooms from Jillibean Soup’s Fresh Vegetable Soup papers
- End papers (1st and last pages) – Mellow Yellow Double Dot from BoBunny’s DoubleDot Designs line
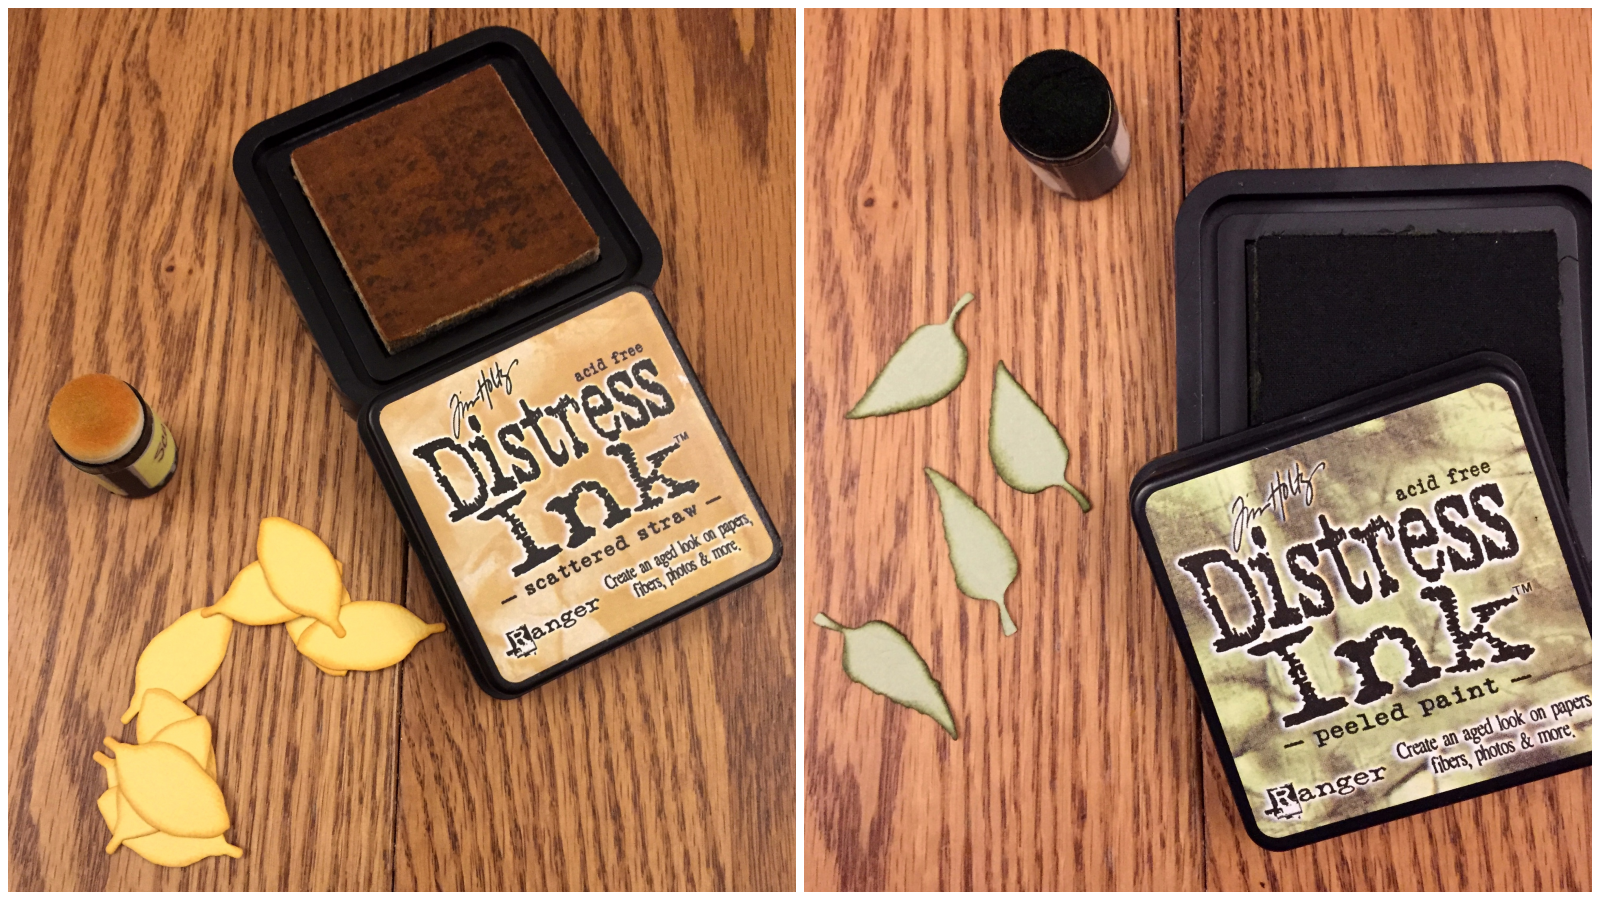
I began the process of assembling the sunflower by inking the edges of the petals and leaves with Tim Holtz Distress Ink. I used Scattered Straw for the petals, and Peeled Paint for the leaves. It’s not absolutely necessary to ink the edges of your paper, but I think it defines the small pieces better if you do so.
The pieces are so small, in fact, that I used a paint palette to organize them.
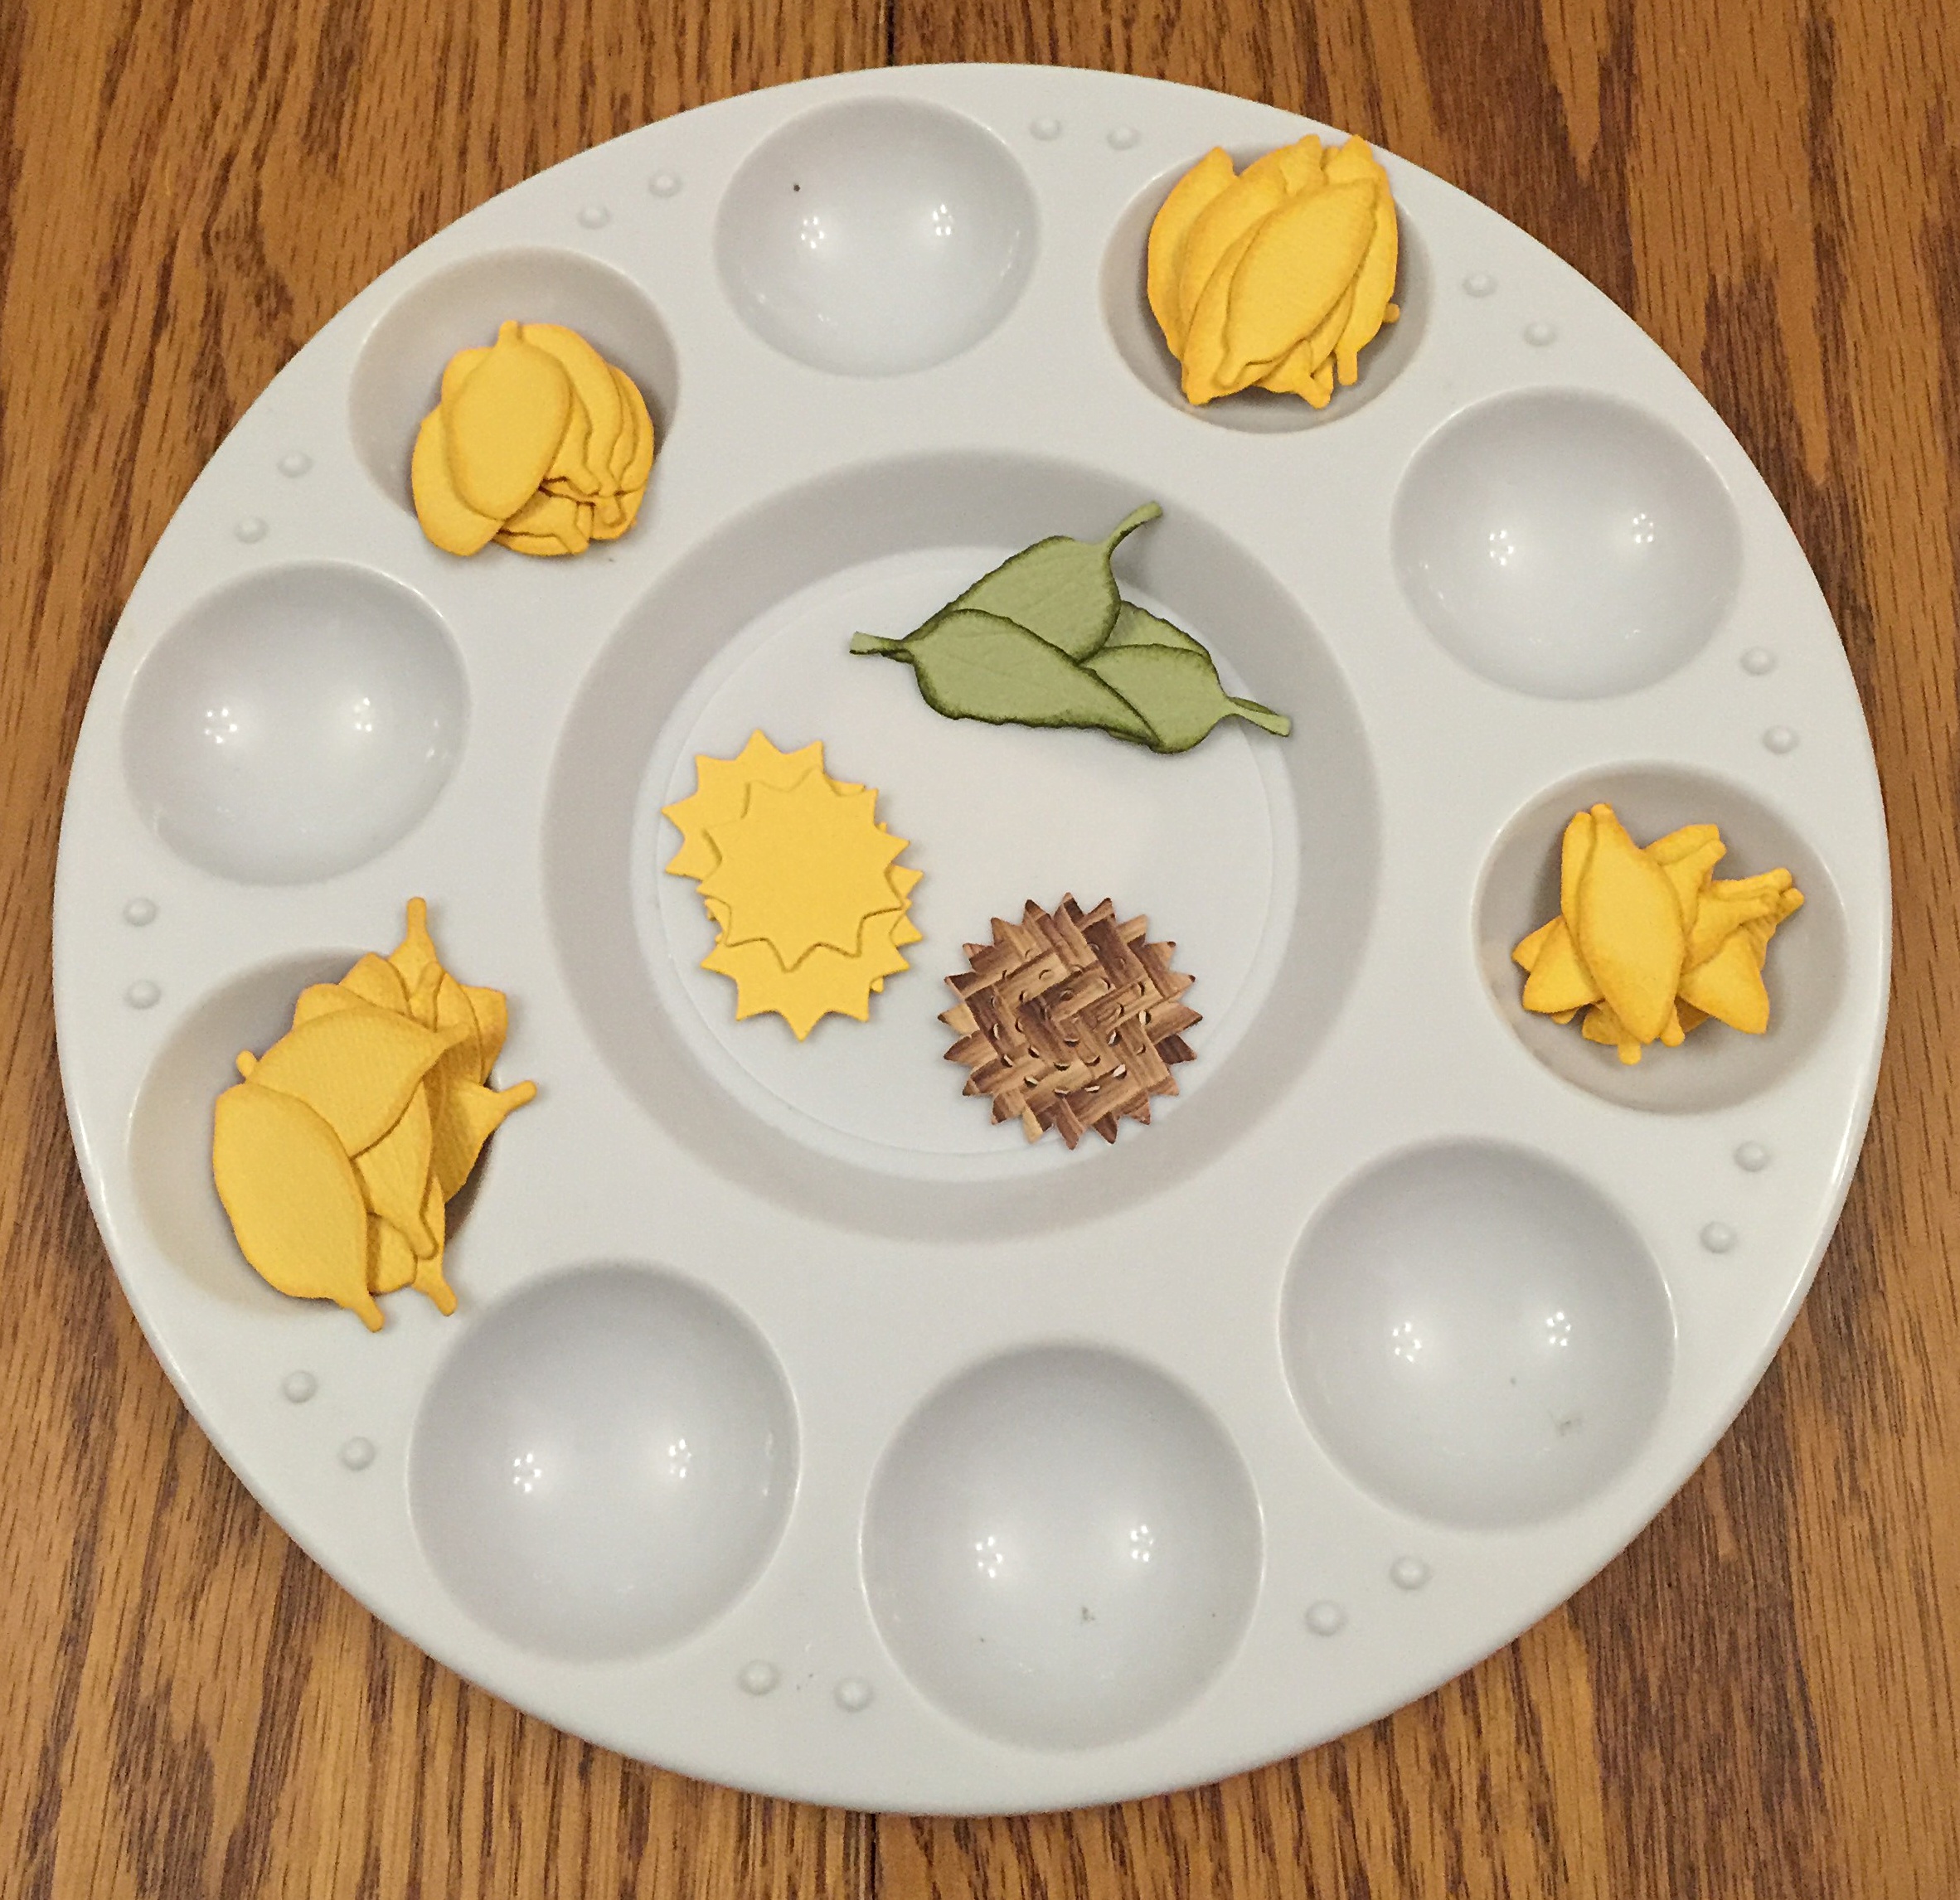
I glued each set of petal leaves to a sunburst-shaped petal base, using the points to help space the petals apart evenly. If you don’t have a die cutting machine or a sunflower die, you can still create a paper sunflower by cutting leaves by hand, or with leaf-motif punches in three or four different sizes. The sunburst-shaped petal base can be replaced by a circle on which you draw lines to divide the circle into pie-shaped wedges. The lines of the wedges mark the spots where you should glue the leaves. As you can see, I ended up with four sizes of petals, intended to be layered.
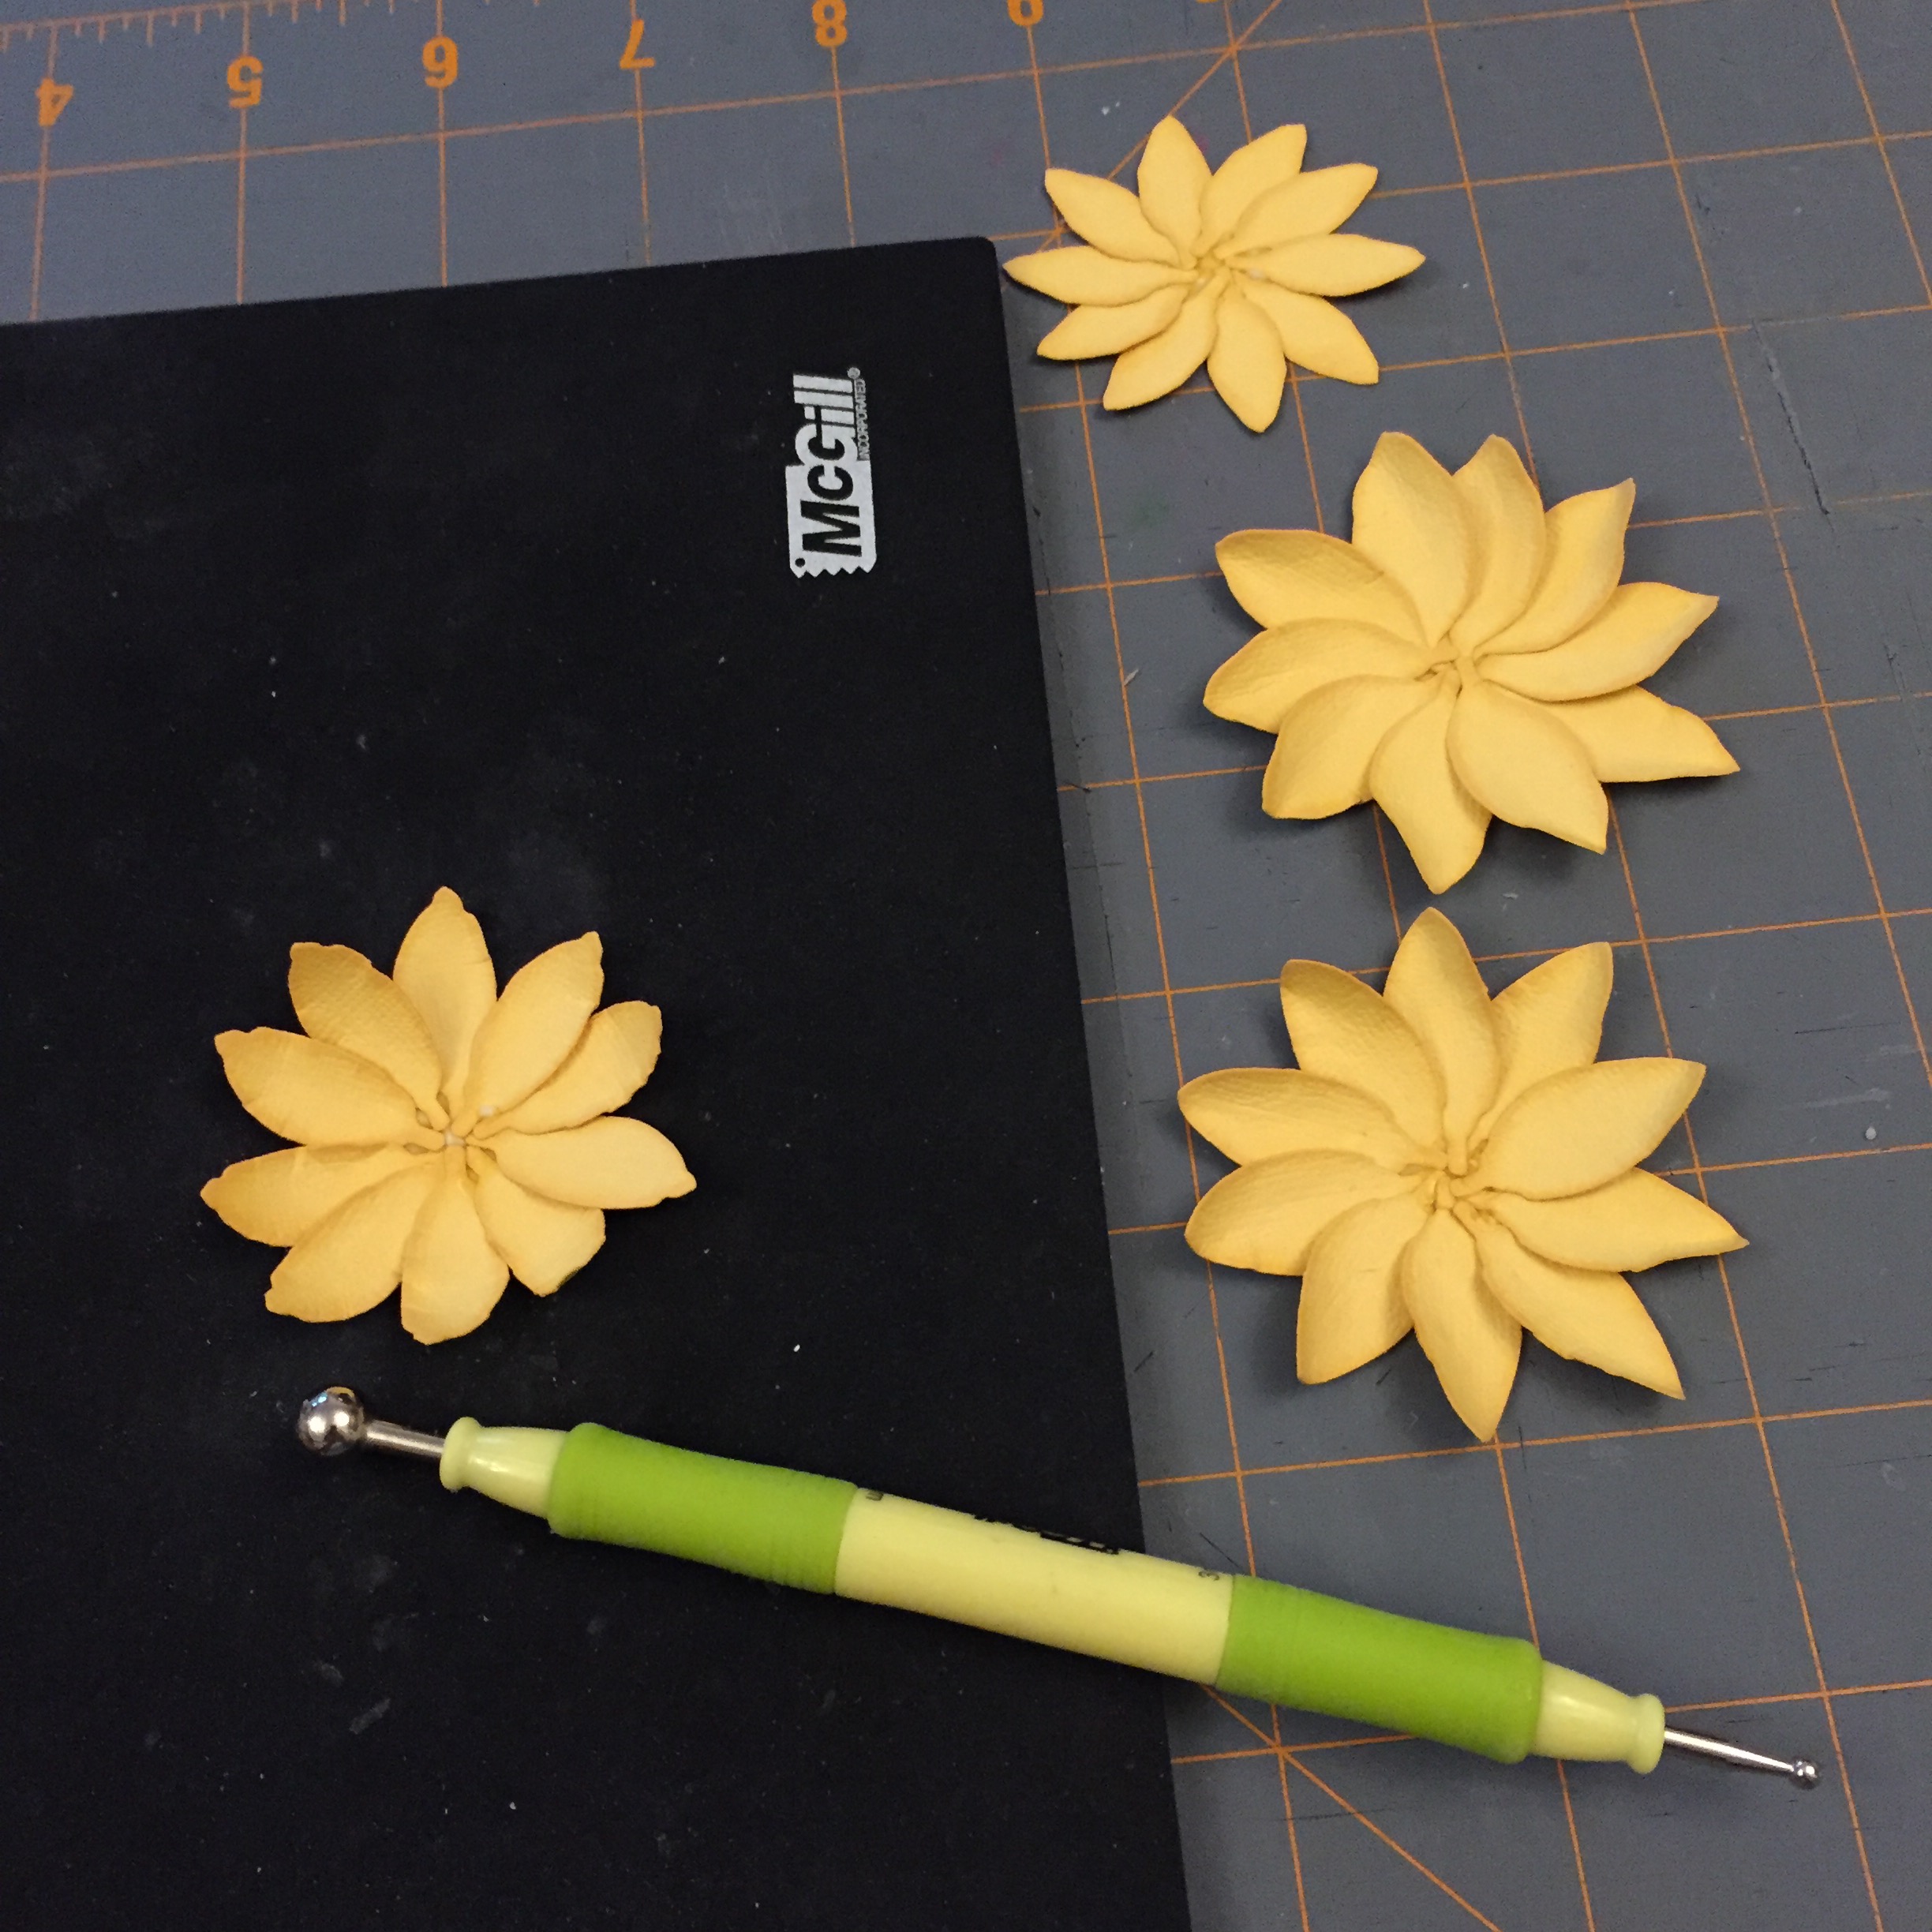
I used a McGill stylus and molding mat to add dimension to the petals, using the ball of the stylus in a circular motion to break up the fibers of the paper and curl the leaves a little bit. Don’t have a stylus? Use the capped end of a felt-tipped marker and a mouse pad.
You’ll see that the completed sunflower below does not use the originally-cut brown paper floral center, but instead a button from my button stash. Some people like to use a glue gun for work like this, but I prefer Beacon Fabric-Tac Permanent Adhesive because it is acid-free and very strong.

It does take a bit of time and patience to craft a paper sunflower, but the process is relaxing. I suspect you’ll see more sunflowers on the covers of future books in my Etsy shop.
© 2016 Judy Nolan. All rights reserved.
Very pretty! I like the button in the center. 🙂
I love the inked edge details! I’m also not a big fan of hot glue when something else does a better job. Hot glue is easy, but I’m usually not impressed with its staying power.
All the little details like inking and curling the petals really make the flowers pop! Definitely with the extra steps.