Yesterday I shared with everyone the acrylic stamp storage solution I implemented—a three-ring binder system with vinyl sleeves for every stamp. At the same time, I promised to share my storage solution for rubber cling stamps, anticipating that a similar system would work. Rubber clings are unmounted rubber stamps, or stamps that are not attached to a wooden block.
I discovered that the binder system I used for my acrylic stamps worked pretty well for the rubber clings, but there were a few additional challenges:
- Rubber clings are thicker than clear acrylic stamps, so you cannot fit as many pages in a binder.
- The thickness of the rubber clings means they do not slide in and out of CD/DVD pocket pages, trading card pages or photo sleeves as easily as thinner, clear acrylic stamps do.
- Because rubber clings are not see-through and because the image that faces you in a binder is a reverse image, sometimes it is difficult to interpret what you are seeing.
- The heavier weight of rubber clings means that each page needs to be backed with something stiff to keep pages from sagging or buckling in a binder.
Here’s how I solved each one of the above challenges:
- I limited myself to 10 pages of rubber cling stamps per binder.
- Instead of using CD/DVD pocket pages, trading card pages or photo pages, I simply used full-sized (8-1/2 x 11-inch) vinyl page protectors, which have more slack, allowing rubber cling stamps to slide in and out more easily.
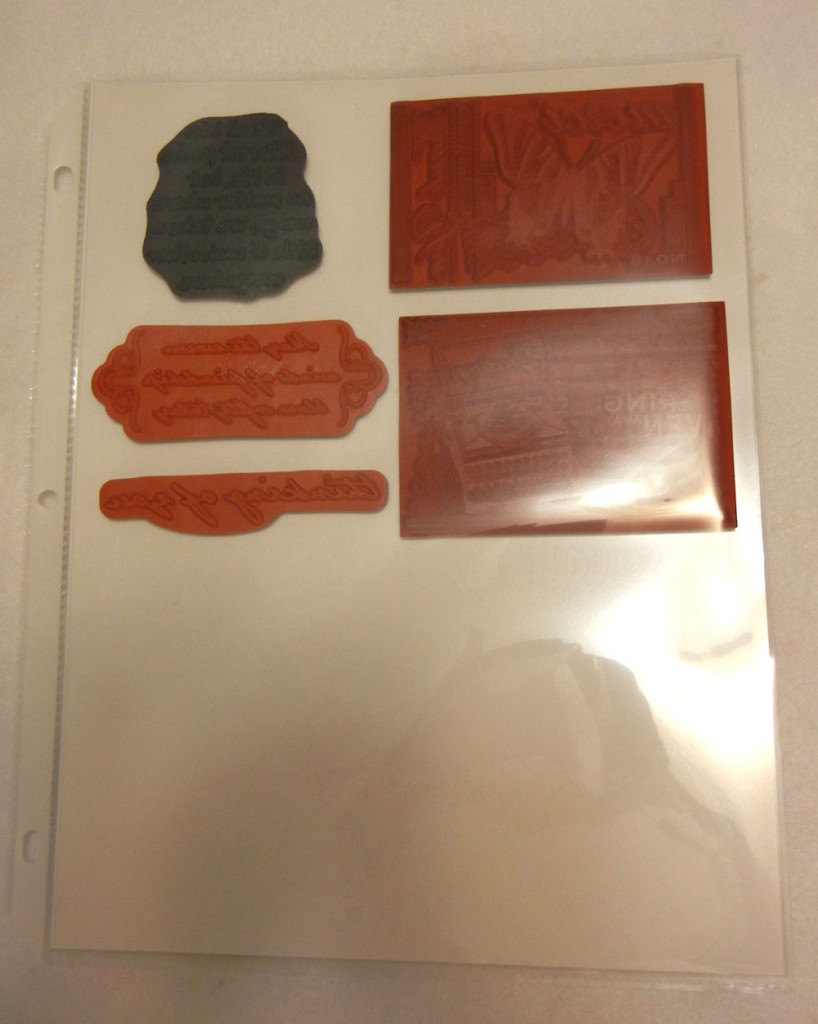
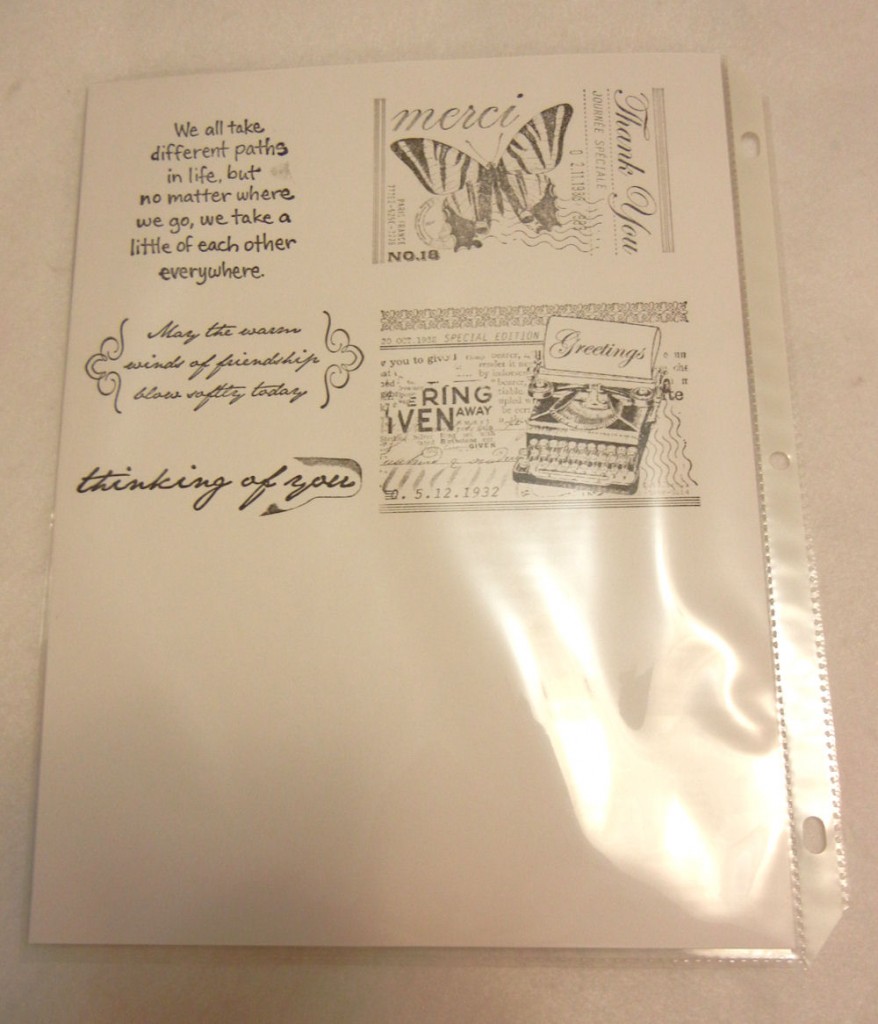
- On the front side of each page, you’ll see the rubber clings. On the back side, you’ll see a sheet of white card stock. I stamped the images so that I’d know what the rubber cling impressions look like, and also so that I can return the stamp to the appropriate location when I’m finished with it.
- Each vinyl protector page of rubber cling stamps contains a sandwich of three sheets, giving the page stiffness: an overhead transparency to which I adhered the clings, and two sheets of white card stock, one of which is stamped with the rubber cling’s images.


As I did for yesterday’s three-ring binders, I used two-inch-wide adhesive tabs to divide the stamps into categories. Obviously your system of organization might be different from mine, but my binder sections include Animal Kingdom, Borders & Embellishments, Backgrounds, Botanical, Christmas, Journaling, Miscellaneous and Sentiments. I did use D-ring binders instead of O-ring ones because this type of notebook is a little sturdier and I thought it might handle better the weight of the rubber cling stamps. You can see below that once more I recycled some old calendar pages for the covers of the binders.
There are other effective ways to store unmounted rubber stamps. In her post, Organization {Friday} Unmounted Stamp Storage, Patter Cross describes the clear plastic boxes she uses, UniKeepâ„¢ 1.25″ View Case Binderâ„¢, which will store 3 to 4 pages of unmounted stamps. Patter inserts three-hole-punched GKD binder sheets in these boxes.
Another way to store unmounted rubber clings is to create your own pages. Megan Bush, a paper crafter who blogs at Life in Paper, uses a three-ring binder for her rubber clings, but her pages are very different from mine. In her YouTube video, DIY Rubber Stamp Storage Sheet, she shares how she laminates card stock and adheres her stamps to it. She points out that if you are concerned about the stamps falling off, you can insert them in sheet protectors, just as I do with my transparency sheets. Megan stamps the reverse side of her card stock with images before she laminates it. My guess is that either method works and costs about the same, so my recommendation is that you choose whichever method seems to be the least amount of work for you! If you add sheet protectors to Megan’s method, however, the costs increase.
© 2013 Judy Nolan. All rights reserved.


Genius!
I can’t wait to get all my stamps organized. I love to use them, but am afraid that some will be shoved out of view. You’re an inspiration! {:-D