It’s Super Bowl Sunday, and my secret’s out. I’m not watching the game, but instead am completing the labeling of my cutting dies. This last week was very productive in terms of paper crafts organization.
I stopped at my local scrapbooking store this afternoon, and asked the manager there if she had heard of any clever solutions for storing thin cutting dies, the kind that measure about 12 inches long and are about 1-3/4 inch to 2-3/8 inches wide. I actually had a plan in mind before I asked this question, but was hoping there might already be a convenient product out there that would make my job easier. The store manager told me that a friend of hers stored her long, thin cutting dies in a three-ring binder inside 12-inch-long negative sleeves. Sadly, these negative sleeves had been discontinued in her store.
Well, that was pretty close to the solution I had in mind. I had already put my smaller thin cutting dies in trading card, photo and CD/DVD pocket sleeves—the same solution I’ve been using all week for acrylic stamps, rubber cling stamps, stencils and templates—but I suspected there wasn’t a readymade sleeve for long, thin cutting dies. Since the negative sleeves weren’t available, I had an alternate plan that involved the use of my sewing machine and legal size clear vinyl pockets. The ones I found were punched for 3-ring or 4-ring binders, and were 5 millimeters thick—durable, in other words.

Because the pocket was just a little too long and would have extended both above and below the top and bottom of my binder, I had to slice off 1-3/8 inches. I took this off the bottom of the pocket, since I needed the extra length at the top, and it really didn’t matter if the pocket extended past the top of my binder.
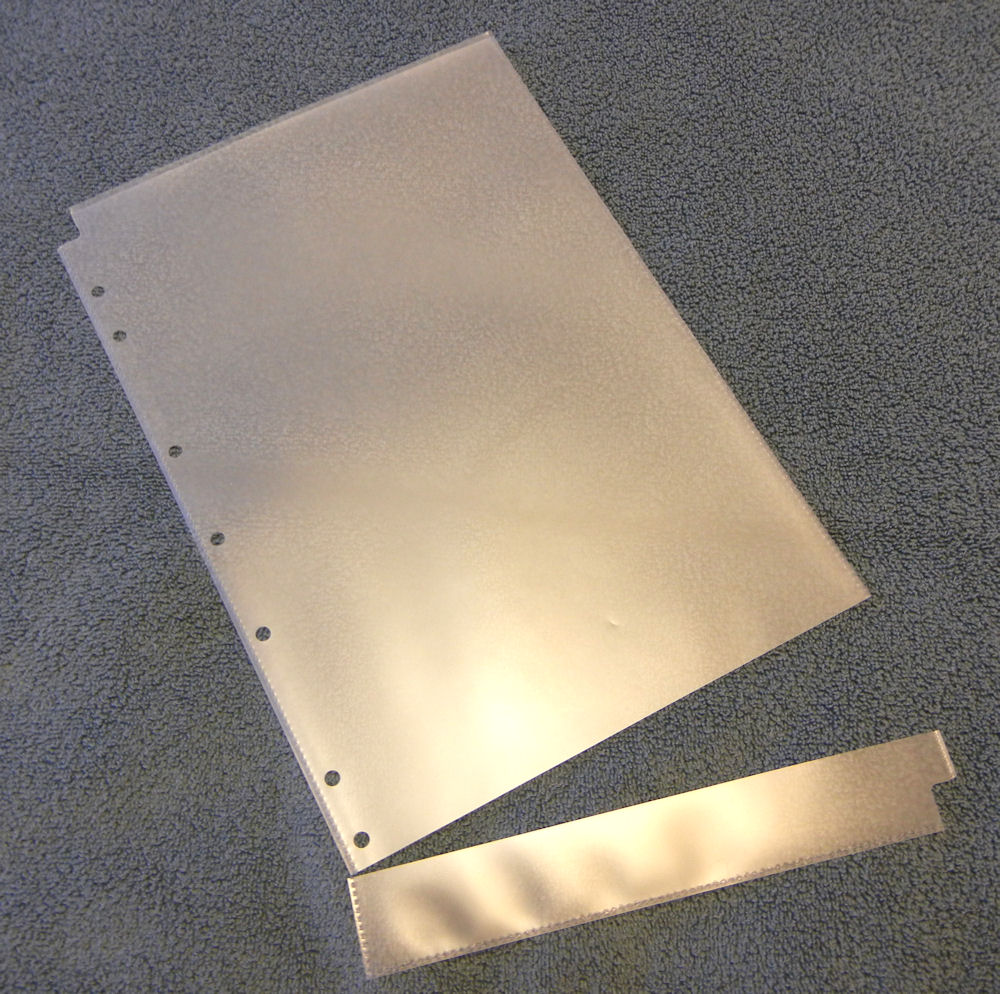
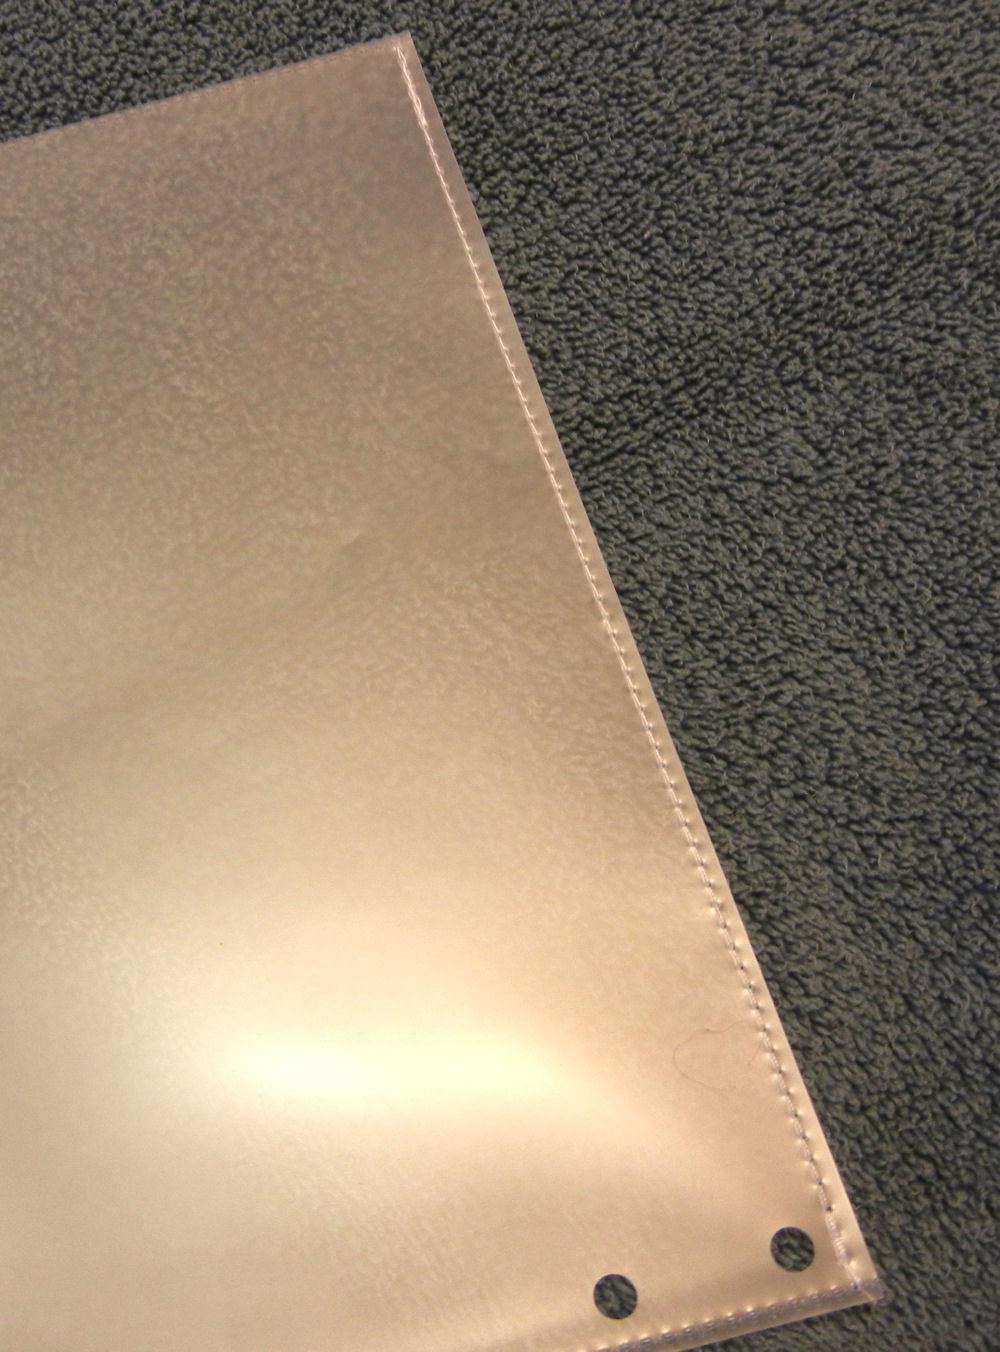
Then I stitched the bottom of the pocket closed, using a machine stitch length of 3.5 on my Pfaff sewing machine (8 stitches per inch). No special Teflon presser foot was necessary; I just used my standard multi-purpose foot and stitched across the bottom of the pocket.
Next step was to cut myself a sewing guide from scrap card stock, 2-3/4 inches wide, that I would be able to insert in the pocket and stitch beside it to form a narrow pocket for each cutting die. It didn’t really matter that the guide was “scrappy” itself; you can eyeball a straight stitching line pretty easily.
I stitched down the length of the pocket twice more, each time inserting my card stock sewing guide into the pocket for the next compartment.
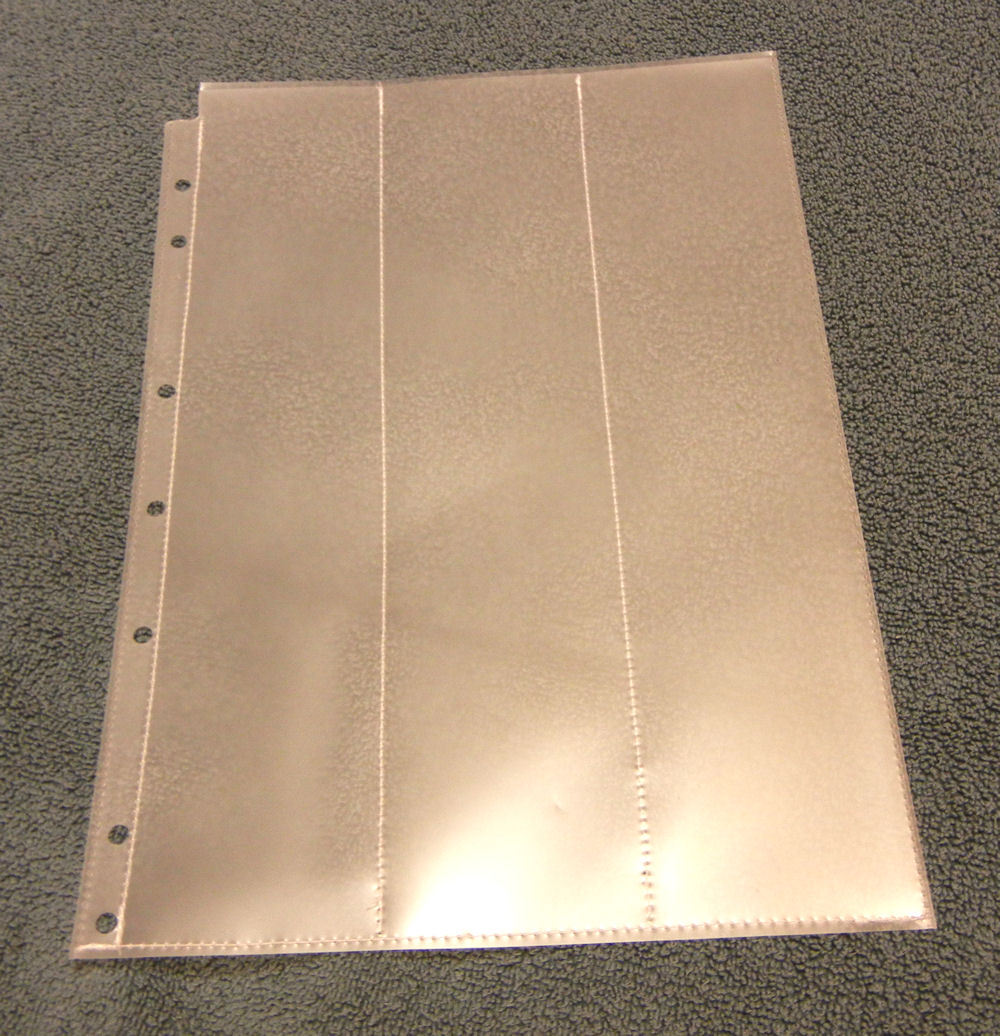
As you can see, the pocket holds my cutting dies perfectly. I have both QuicKutz® dies from Lifestyle Crafts, as well as Tim Holtz ones, and the 2-3/4 inch width seems to accommodate both types of dies.
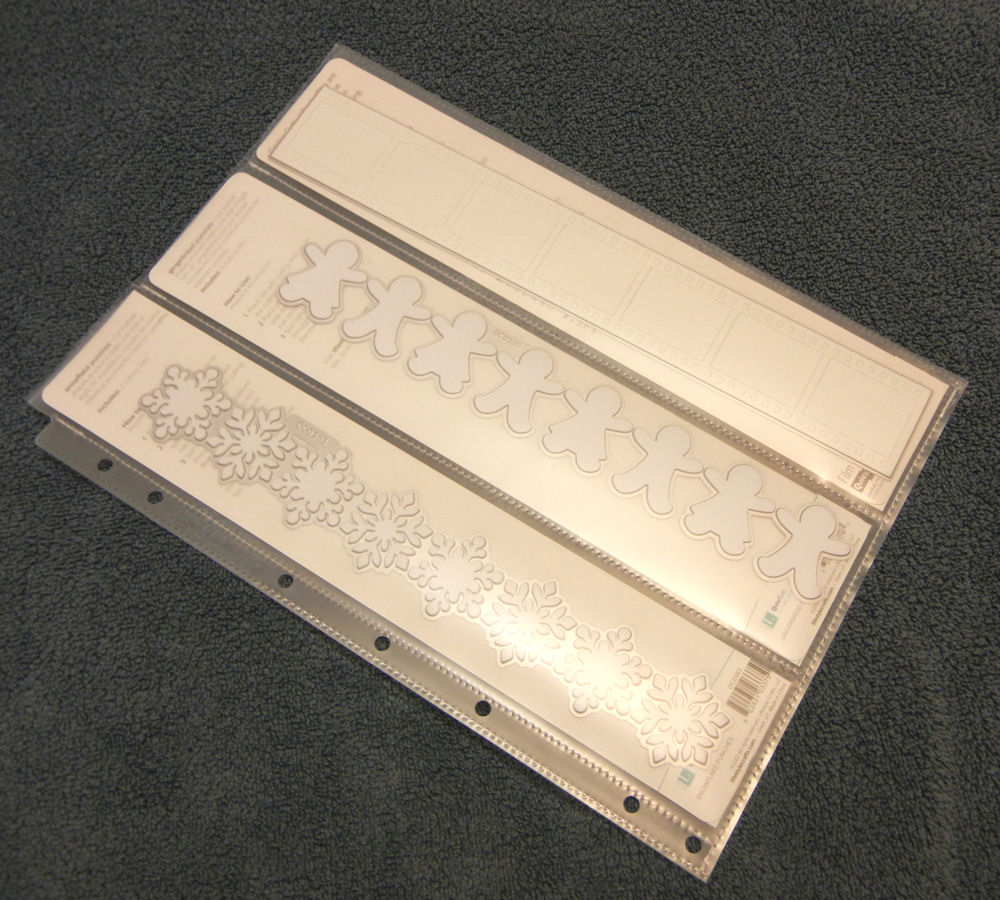
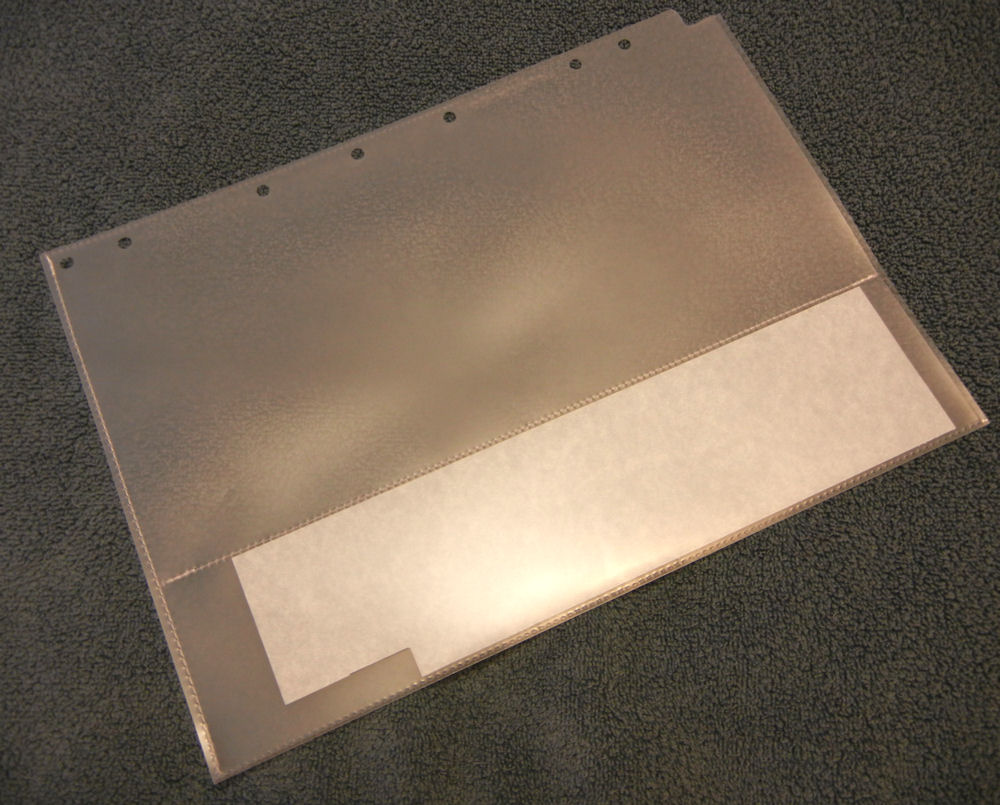
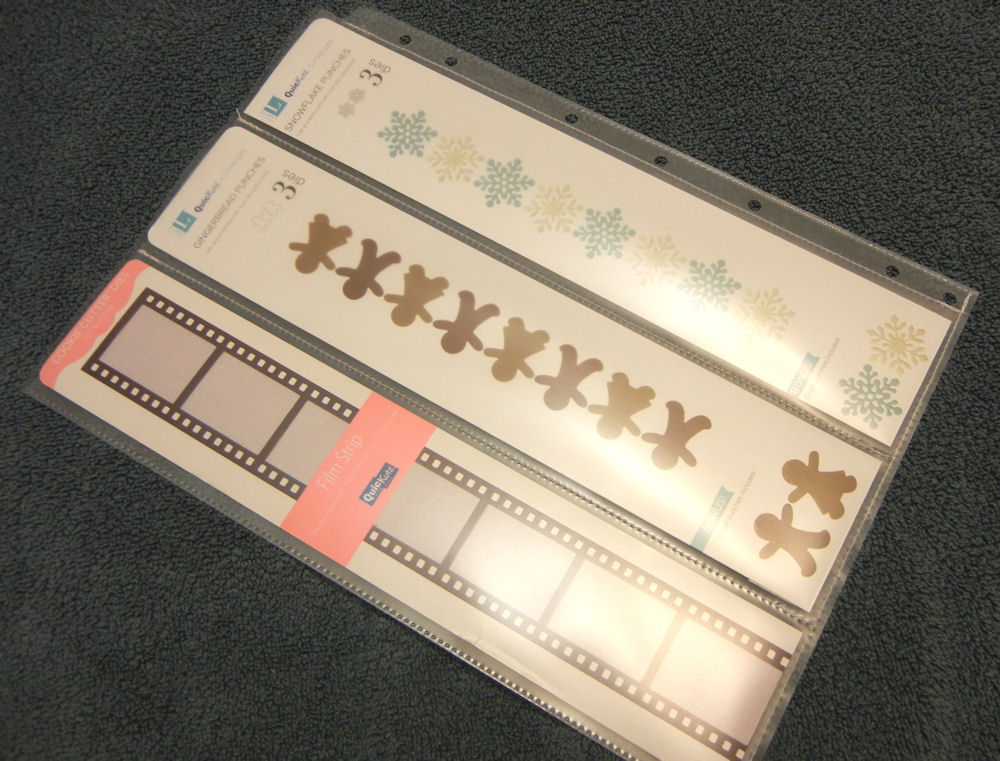
On the reverse side of the pocket, you can see the paper inserts that accompany the cutting dies. This makes it easy to remember what results to expect from your dies.
As I did last week, once more I recycled some old calendar pages for the front and back cover of my three-ring binder that holds my cutting dies. You can see how the long, thin dies extend past the top of the binder. This doesn’t affect the way the binder sits on the shelf, so I don’t mind.

Have you discovered an alternate method for storing long, thin cutting dies? If so, I’d love to hear about it.
® 2013 Judy Nolan. All rights reserved.
Another great idea! I love how you transformed the sleeves to make them even more useful!
What a great idea!!
Nice! That’s a perfect solution, actually! I was thinking, what’s she going to do, hot glue it in parts? Sewing works perfectly and is a “no duh” solution! LOL.