Everyone who walks into my paper crafting studio realizes right away that I’m a tool junkie, but also that I love Fiskars® products. If you enter “fiskars” in the search box for my Web site, you’ll see multiple posts in which I discuss Fiskars® toys. Well, I’m sitting in front of my computer this evening to tell you about another one, the new Fiskars® AdvantEdgeâ„¢ Punch System. This system, when you pull everything out of the box, includes a frame that holds your paper and punching tool in place, an adapter for Fiskars® Interchangeable Border Punches, and one AdvantEdgeâ„¢ punch called Flower Garden.
 You can, of course, purchase additional punches that will work with the system, but they need to be AdvantEdgeâ„¢ Interchangeable Border punches or standard Interchangeable Border punches.
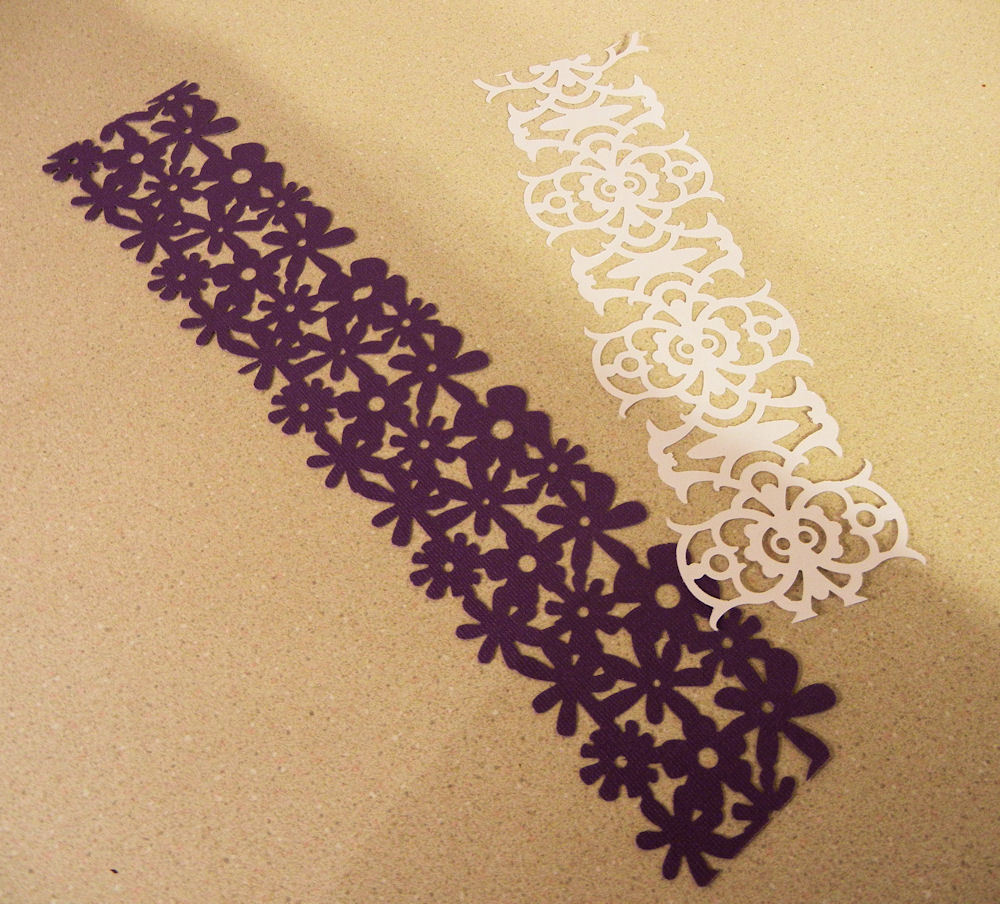
The Fiskars® AdvantEdgeâ„¢ Punch System features what the company calls “lock-and-slide technology,” which basically means that you lock both your punch and paper into the frame, punch the paper, then slide the punch over to the next spot and punch again while your paper is perfectly aligned. Using the Flower Garden punch that comes with the system, you can see that your first step is to insert the punch into its carriage. You lift up a magnetic paper rail, slide your paper beneath it and into the punch slot at the same time, then drop the rail that locks your paper into place. Then you push down on the handle (which does take a bit of effort), and your first punch is done. The carriage slides to the right to a notch in the frame and locks into place, at which point you push the handle down again, extending your punch design. Repeat this process for the full width of your paper, and your design is finished.
If you have a smaller standard sized Interchangeable Border punch, you can insert it in the orange adapter. On the bottom are some “wings” that you need to open up. Drop this into the adapter, and insert the adapter into the carriage of the punch frame. You’ll notice a notch on the left side of the frame, which is where the left wing of your punch needs to fit inside. If you forget to do this and start punching, your punch will not be properly aligned, and you will likely break off a wing. I know this because my husband, who also loves gadgets, tried to use the punch this way, and did indeed break off the wing. (He felt badly and replaced it right away!) From this point forward, the procedure for punching your design is exactly the same as the procedure for the larger, heavier AdvantEdgeâ„¢ punch.
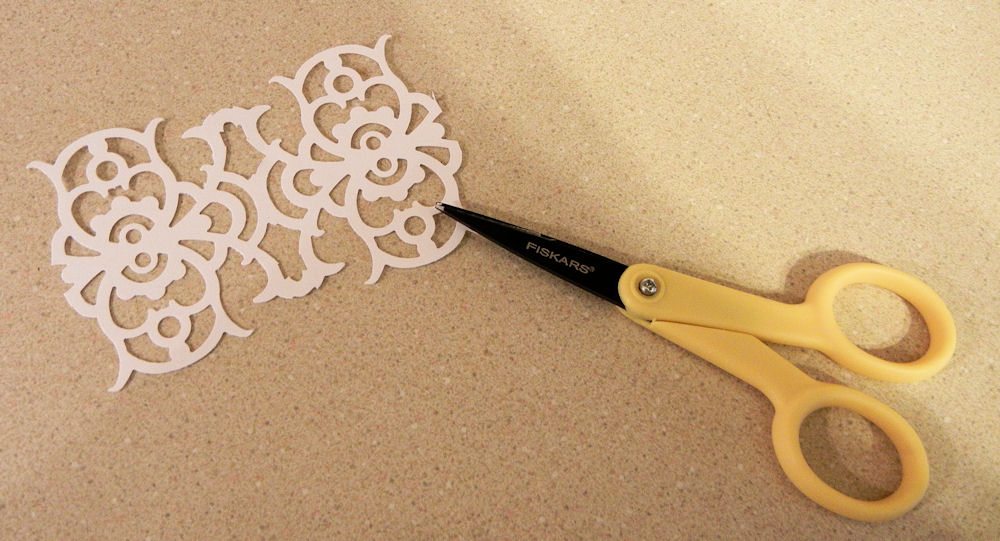
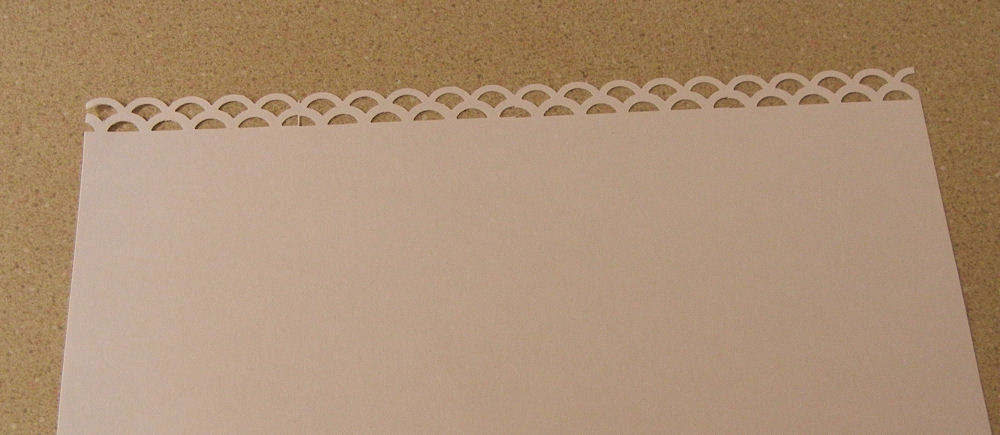
The smaller standard-sized Interchangeable Border punches produce an edge design. The one below is called Lacy Doubles.
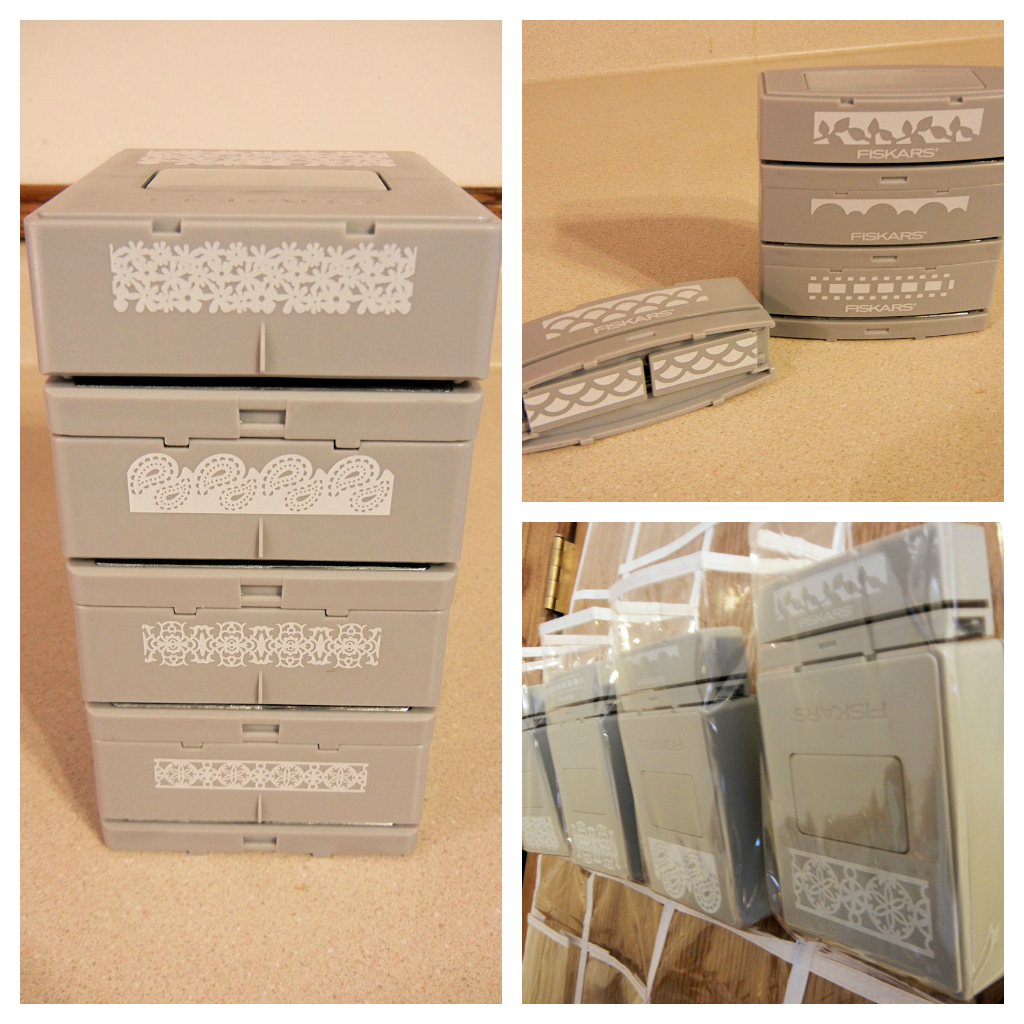
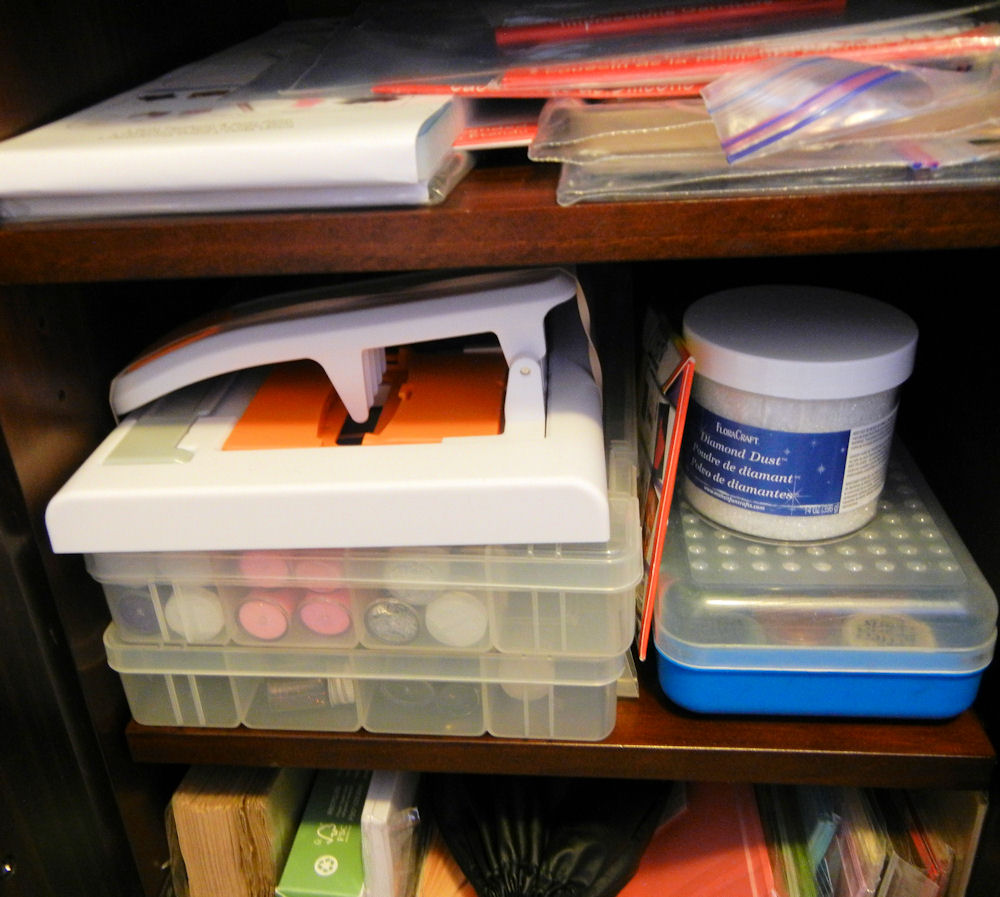
In a previous post, I discussed using a clear vinyl over-the-door shoe organizer for paper crafting tools. This is where I put my punches. You’ll notice, however, that the punches are stackable; there are handy notches that keep them in place. Because the AdvantEdgeâ„¢ punches are heavy (1 pound, 10 ounces each), you’ll want to make sure the surface on which they are stored is sturdy. Be careful that you don’t drop these on your feet, either—I’ll bet you could break a toe pretty easily if that happened!
You’ll also notice that the handle for the frame stands up when not in use, making it inconvenient for storage. For now, I wrapped a wide rubber band around the frame to fold the handle flat for storage, but I will likely replace it with a cloth-covered elastic headband.
So, what can you do with these punches that you can’t do with others? Well, I’ll admit I was a little skeptical about purchasing the Fiskars® AdvantEdgeâ„¢ Punch System at first. Yes, even I, a confirmed Fiskars-lover, was unsure. The price, at $49.99, was not cheap, and the price of the AdvantEdgeâ„¢ punches was a little scary at $29.99 a punch. What clinched the sale for me, however, was a 35% off discount at Archiver’s on both the system and the punches, the ease of use, and the results. No one else that I know designs a punch with a design this wide (2-3/4 inches). You can use the punched borders to decorate a package, scrapbook page or card, and wrap candles, a bar of soap, a glass jar, small bags or tiny gift boxes. The narrower standard-sized Interchangeable Border punches produce what is essentially a ribbon, which has a wide range of applications.
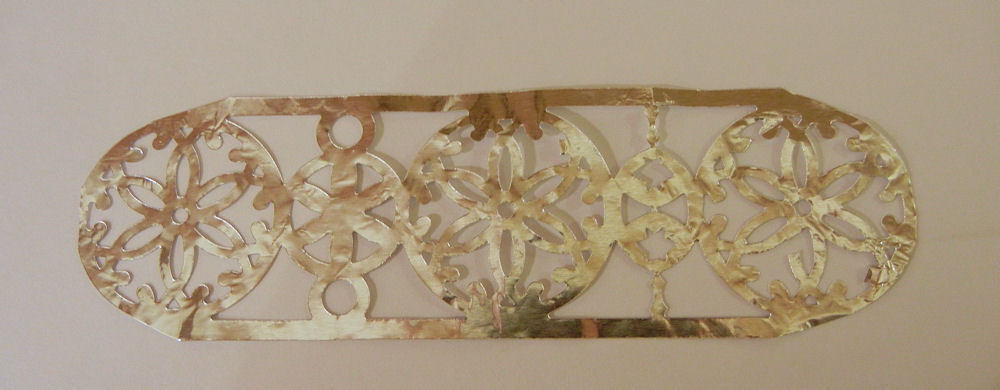
I discovered through trial and error that you can fold up to 3 layers of aluminum foil inside a folded piece of typing paper, and then punch a design. When you’re done, you have a pretty, shiny design! Be aware, however, that the Fiskars® AdvantEdgeâ„¢ Punch System is designed only for paper or card stock, not other materials, so you are using the tool at your own risk when you experiment with anything else.
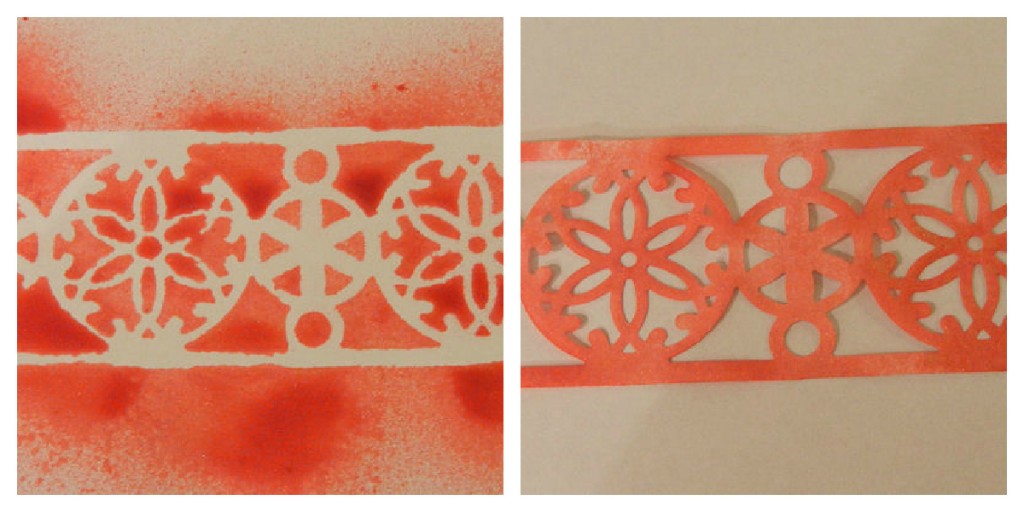
I can imagine using a punched design as a stencil, spray misting, chalking or sponging over it. The “stencil” can be re-used as a design element. I’ll bet these punched designs would work well with mono printing, too, if you have a Gelli pad.
Though I do like my new tool, I must admit that there are both pros and cons to the Fiskars® AdvantEdgeâ„¢ Punch System. You’ll have to decide for yourself if the pros outweigh the cons.
Pros:
- The system is easy to learn how to use.
- The lock-and-slide technology makes it easy to align both your paper and your punch for consistent results.
- The wide AdvantEdgeâ„¢ punch is unique on the market (so far), punching deep, double-sided borders.
- The system accommodates standard-sized Interchangeable Border punches at a reasonable price of $11.99 each (even cheaper online!), giving you a nice range of designs from which to choose.
- There are lots of creative ways to use the border punches.
Cons:
- The price of the system and individual AdvantEdgeâ„¢ punches is steep (but can be overcome if you shop for sales or look online).
- Improper insertion of the standard-sized Interchangeable Border punches will break them.
- The handle on the frame does not fold down and lock into place, making storage tricky unless you bind it with a rubber band or elastic headband.
- The AdvantEdgeâ„¢ punches are heavy, so you need to handle them with care. You’ll definitely want to keep them out of reach of young children.
- AdvantEdgeâ„¢ punches are a little difficult to remove from the carriage. However, I discovered that if you turn the frame around, you get a better grip on the punch and can more easily remove it.
© 2013 Judy Nolan. All rights reserved.



That looks like fun.
Oh wow, I love these! Too bad Fiskars products are sooo expensive here. I really enjoy paper crafting and I’d love to stock up on some border punches. It’s an expensive hobby, I know 😉
That’s a bit annoying that the handle of the frame doesn’t fold down. Good idea to rubber band it 🙂
hope you have a pleasant and productive week, Judy!
This looks like a fun new tool! I love that it lines up perfectly each time you punch! I can’t wait to see what you create with these!!!
What a neat gadget — such pretty lacy designs! I love Fiskars products — and I’m not even a “paper” person!! But I like to look….
I had seen this type of continuing punch, but didn’t know that Fiskars had a system like this! Awesome
What a cool tool. Love the lacey look.
I’ve seen these in stores but have never gotten any basic tools. It kinda grows on you, eh? I’ll have to remember the name of this one. The edging is such a great idea – I know I’d rather use it as a stencil than anything else! {:-D
I like it, use it on most things to see how it looks, even vinal. My question is what different things have been used with the paper ribbon after cut out?
I just discovered this punch system and was fortunate to pay $14.99+tax on clearance at Michaels.. I also purchased several of the larger cartridges for $4.00+tax on clearance at Joanne Fabrics. I love the larger size borders and this little gadget makes it possible!