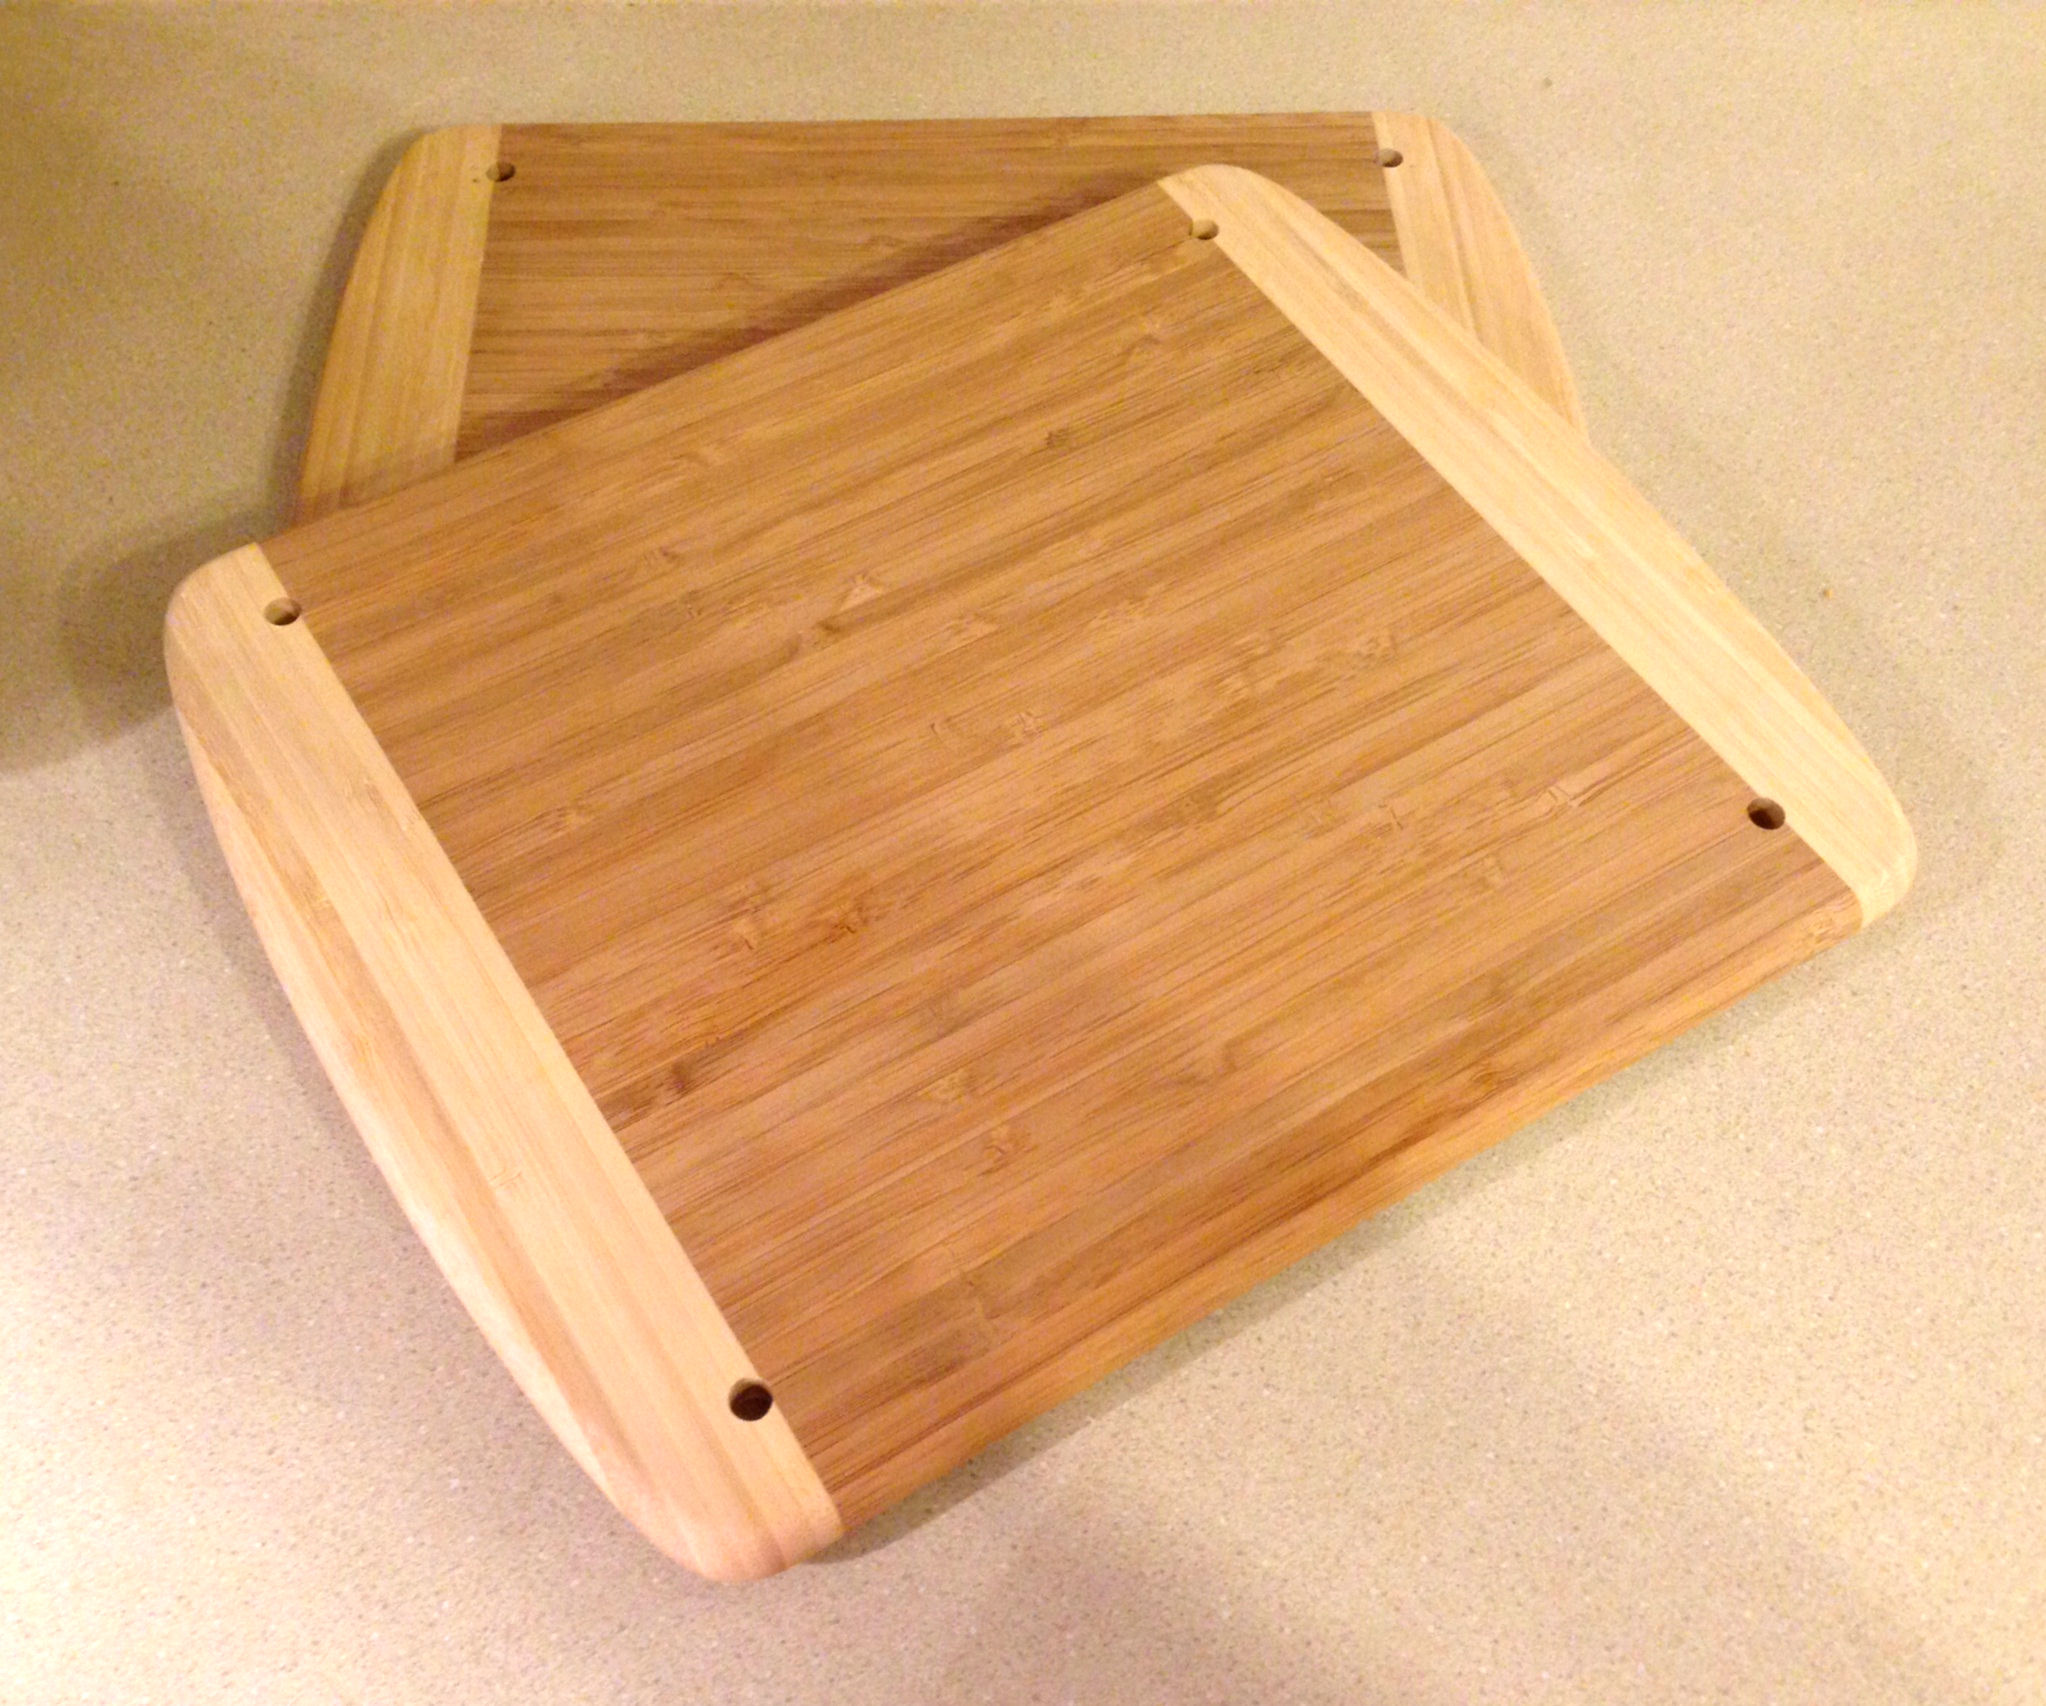
When I first began making books, I used stacks of books and magazines to press covers flat after adhering paper to chipboard. This definitely worked, but I’m afraid it left my kitchen table in disarray much of the time. “You really need a book press,” my husband said. “I’ll make you one.” As it happens, I had just begun subscribing to the Sea Lemon channel on YouTube, where Jennifer Bates has a how-to series on making books. Jennifer uses a book press she made herself from a couple of cutting boards. Great idea, I thought. That design would work for me.
Jennifer’s book press calls for two cutting boards you can pick up in the kitchen department of most big box stores such as Target or Wal-Mart. John found two bamboo ones at Target for about $10 apiece. That represented the majority of the cost. Jennifer’s version of the book press calls for two holes to be drilled in each of the boards, centered on the short sides. John thought, however, that the book press would distribute weight more evenly if there were four holes for the bolts, one in each corner.
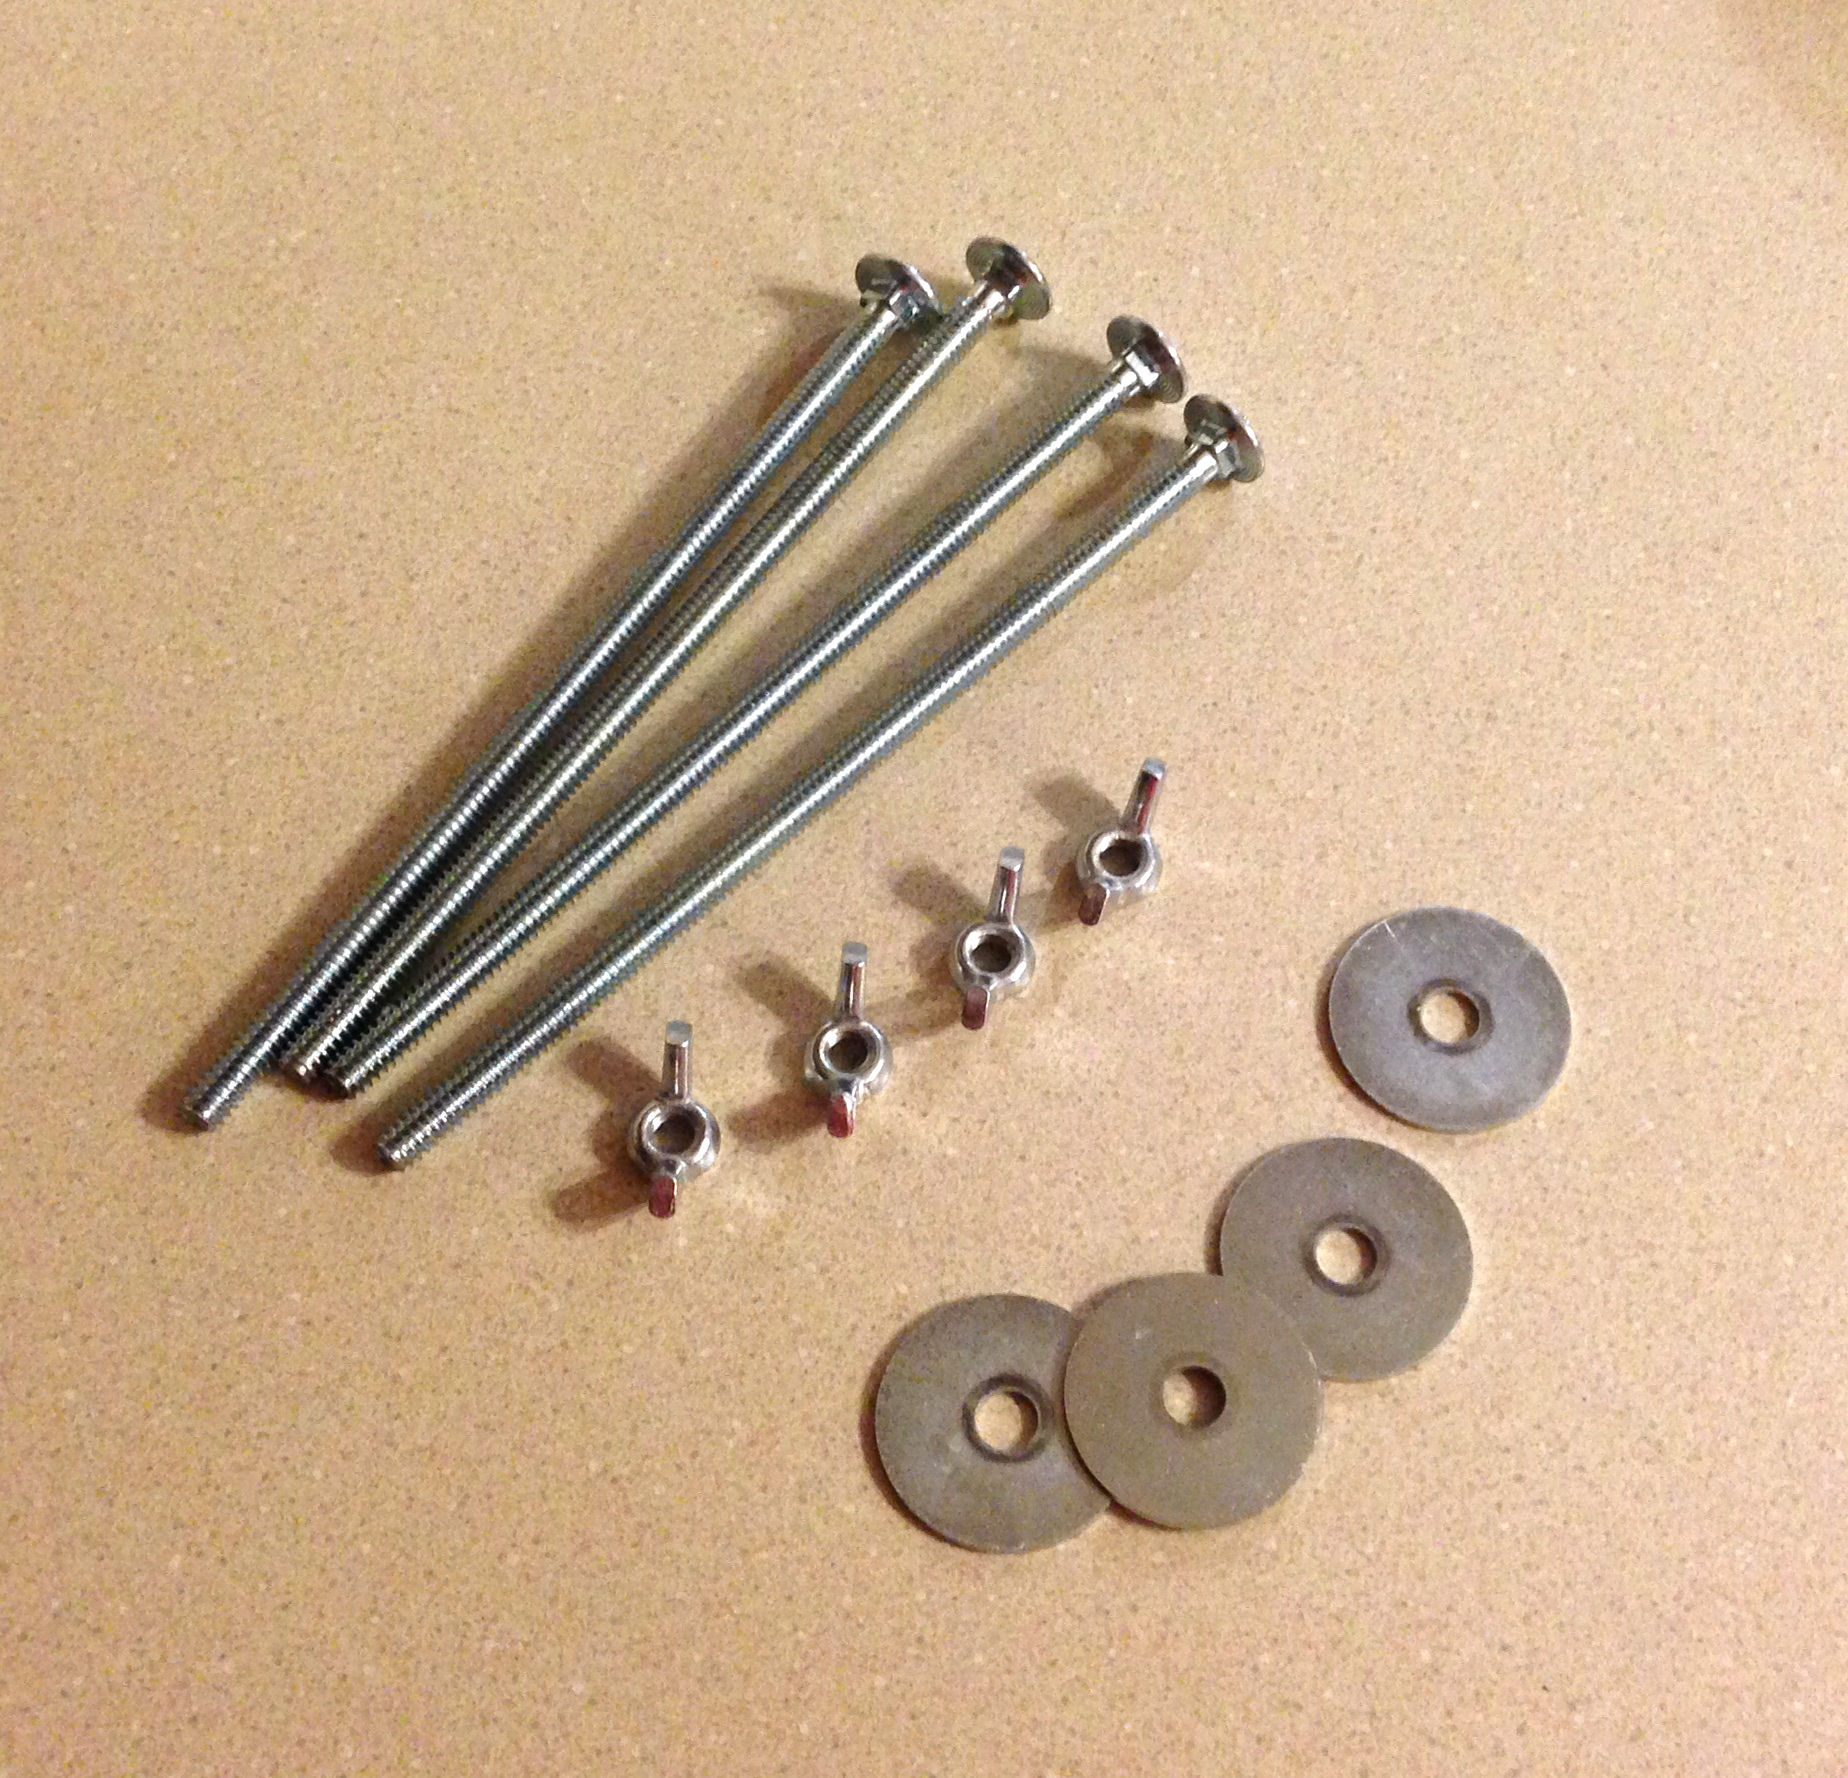
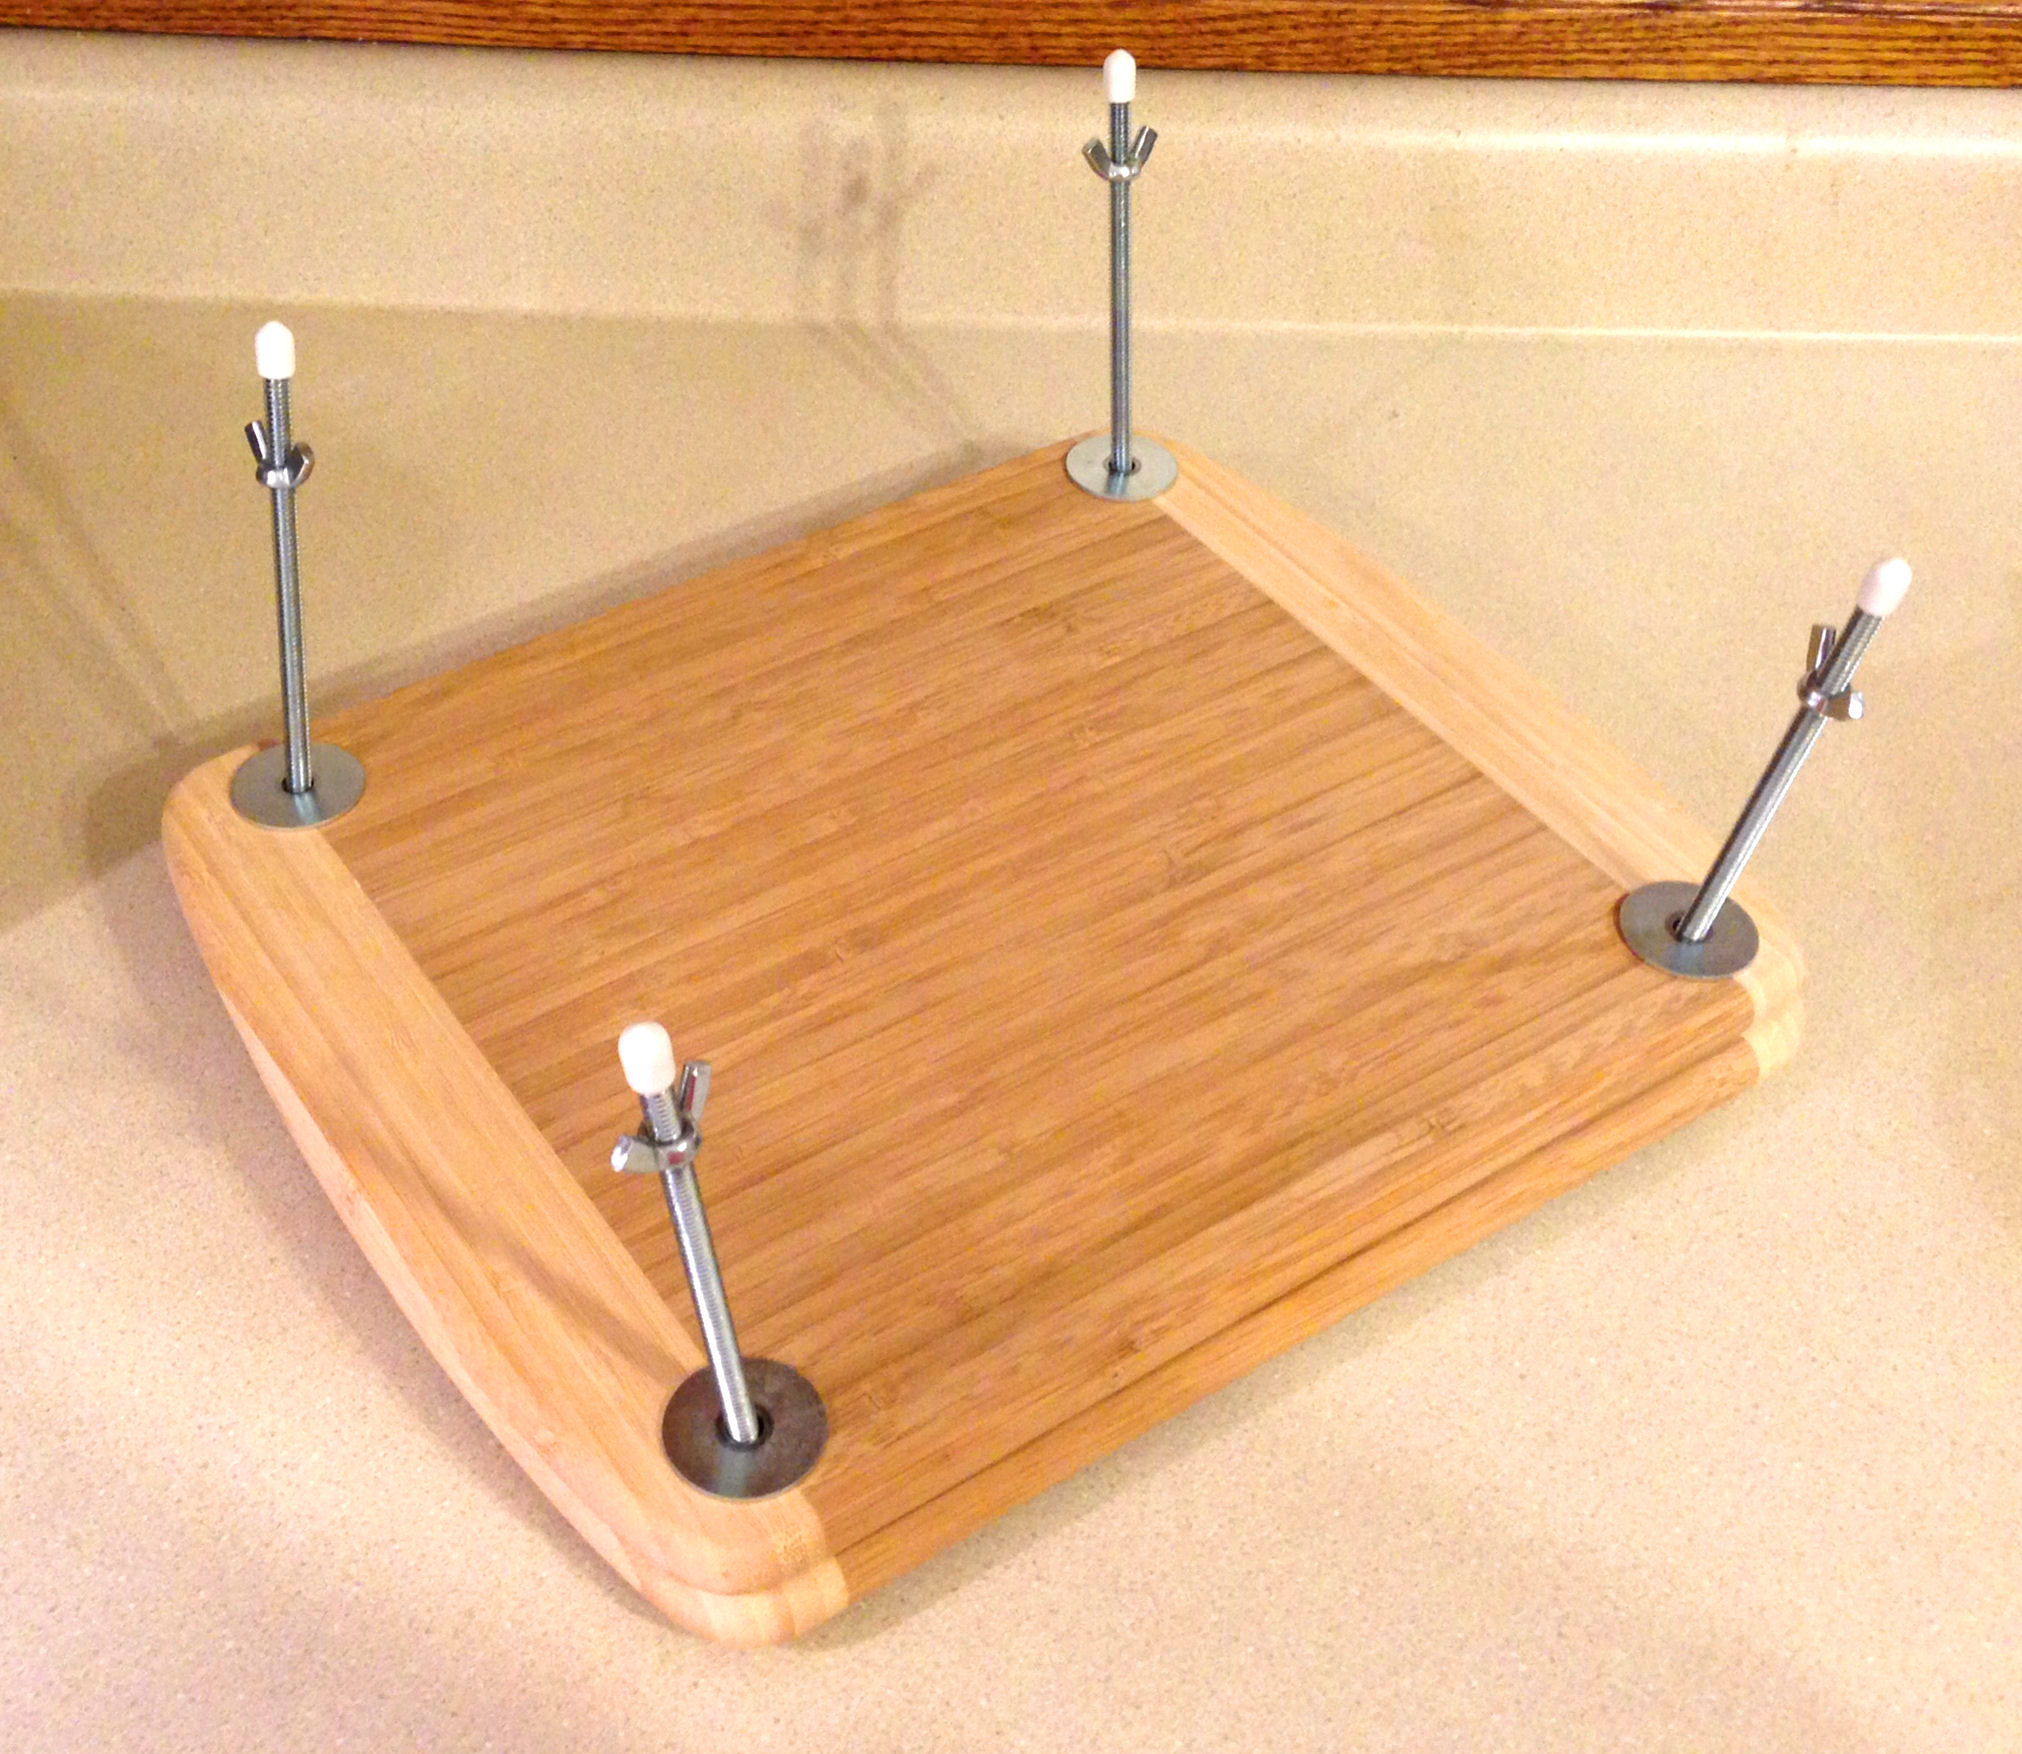
He purchased four quarter-inch diameter bolts, five inches in length, along with four matching wing nuts. He also bought four washers to place beneath the wing nuts, to prevent them from gouging the wood. I doubt he spent more than $3 on hardware.
If you don’t protect your work surface, the bolts can scratch the surface on which your book press sits. An easy solution is to adhere rubber feet to the bottom.
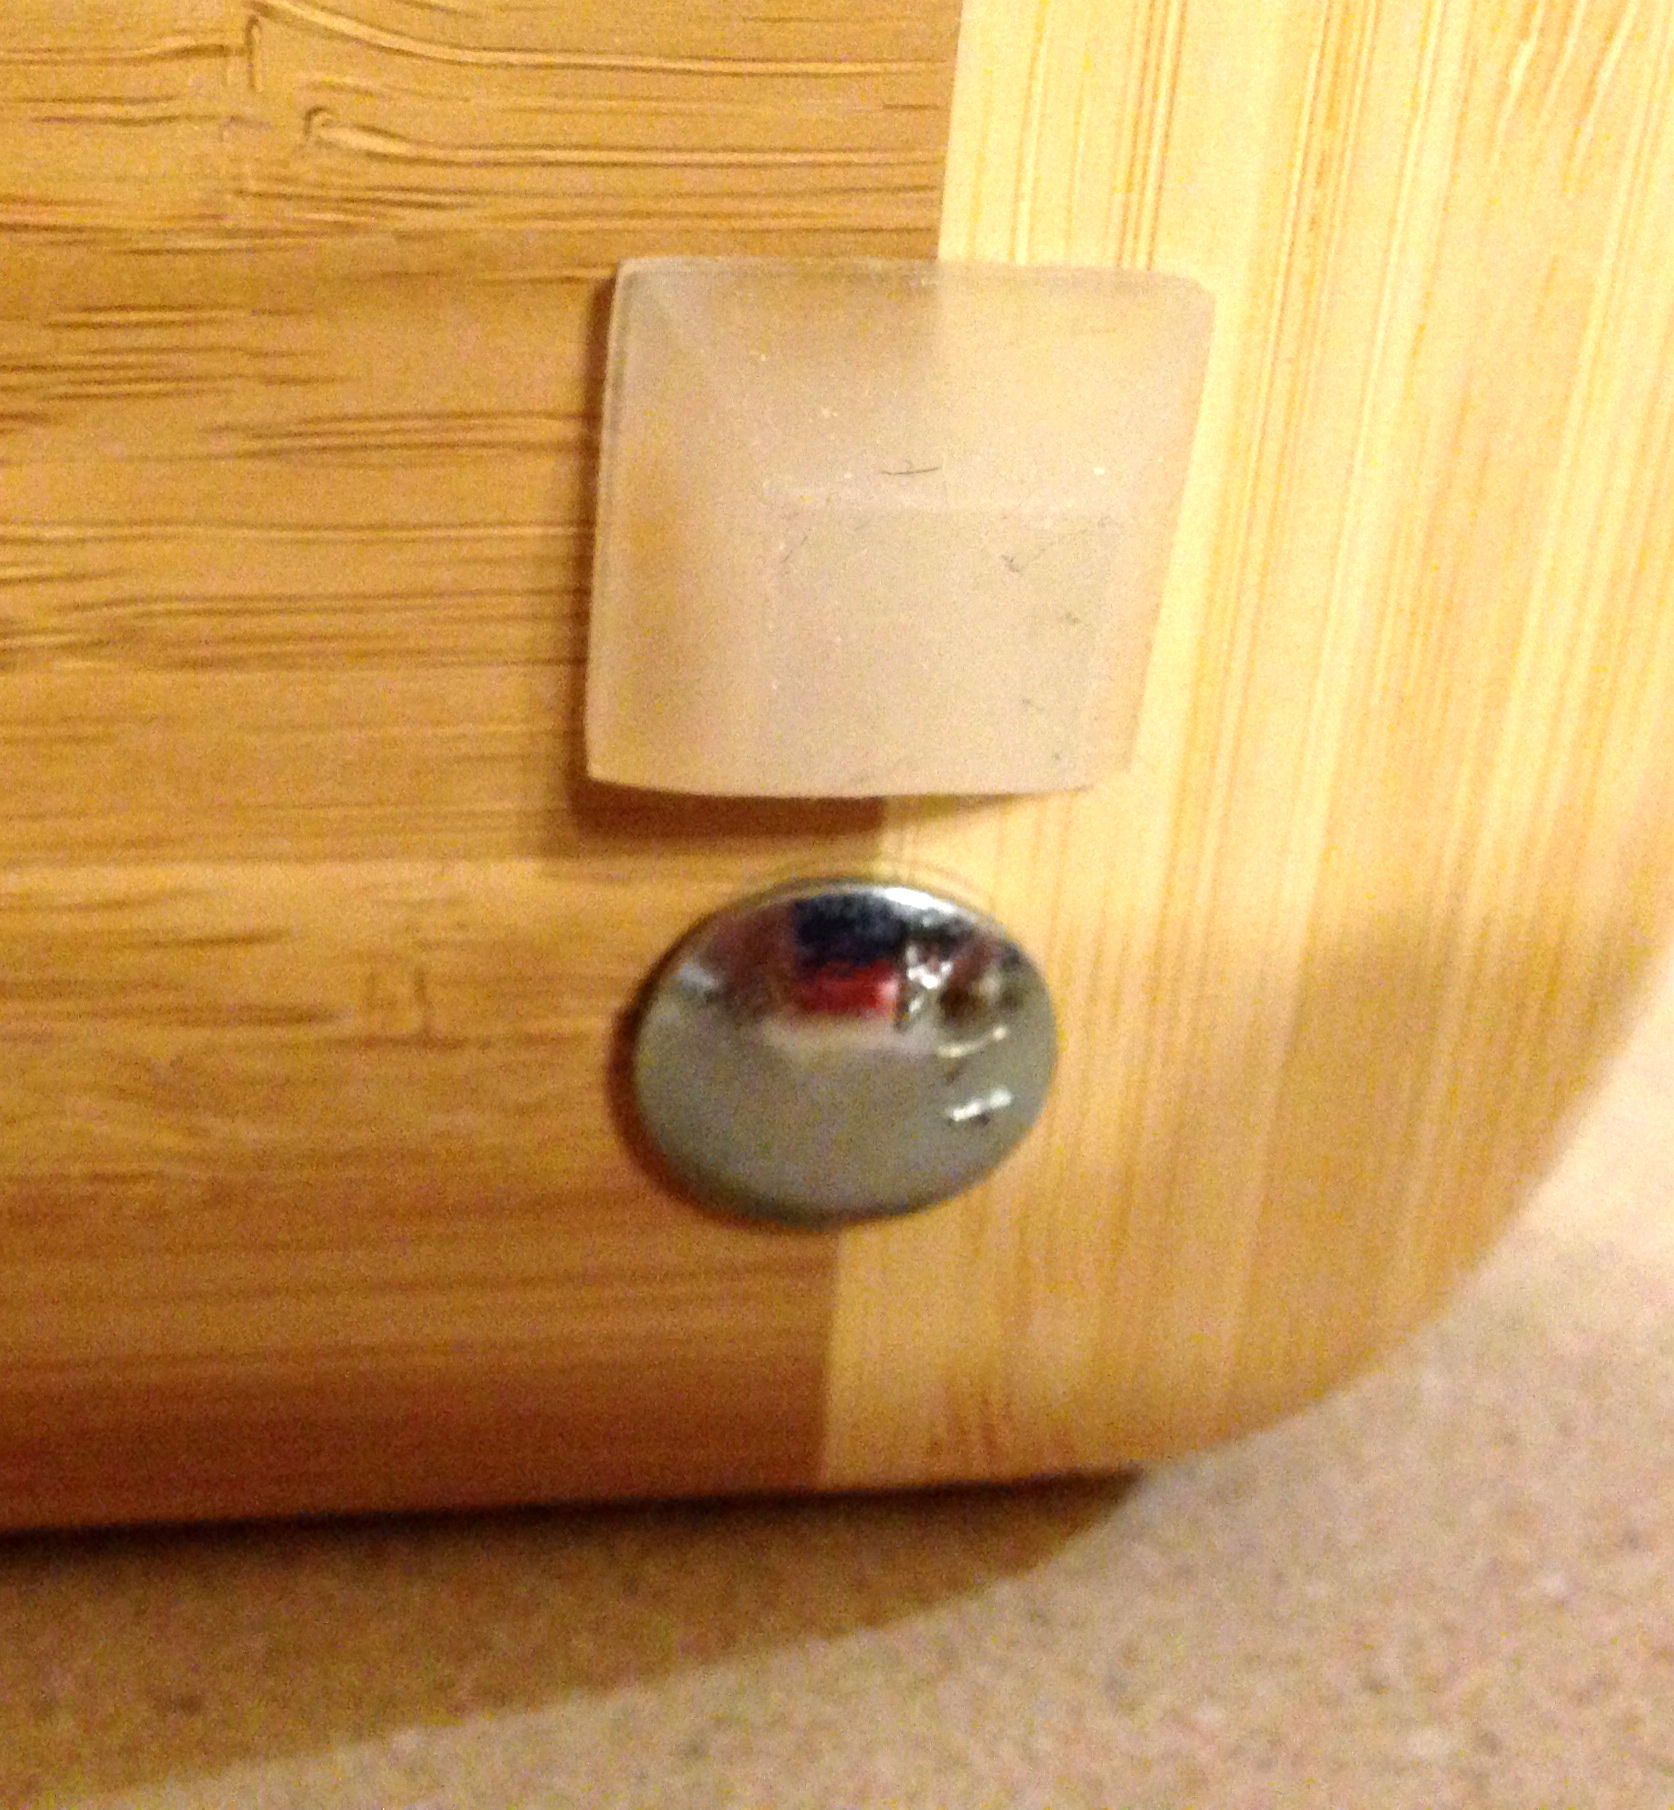
I pointed out to John that I was afraid I would I scratch myself on the ends of the bolts, so he added vinyl end caps to the bolts. He had a quite a few of these left over from some unused wire shelving, but you can purchase a bag of these at an economical price from any home improvement center. The added benefit is that if I stand the book press on its side to apply glue to the spine of a book, the bolts act as a stand, and the capped ends can’t scratch my table top.
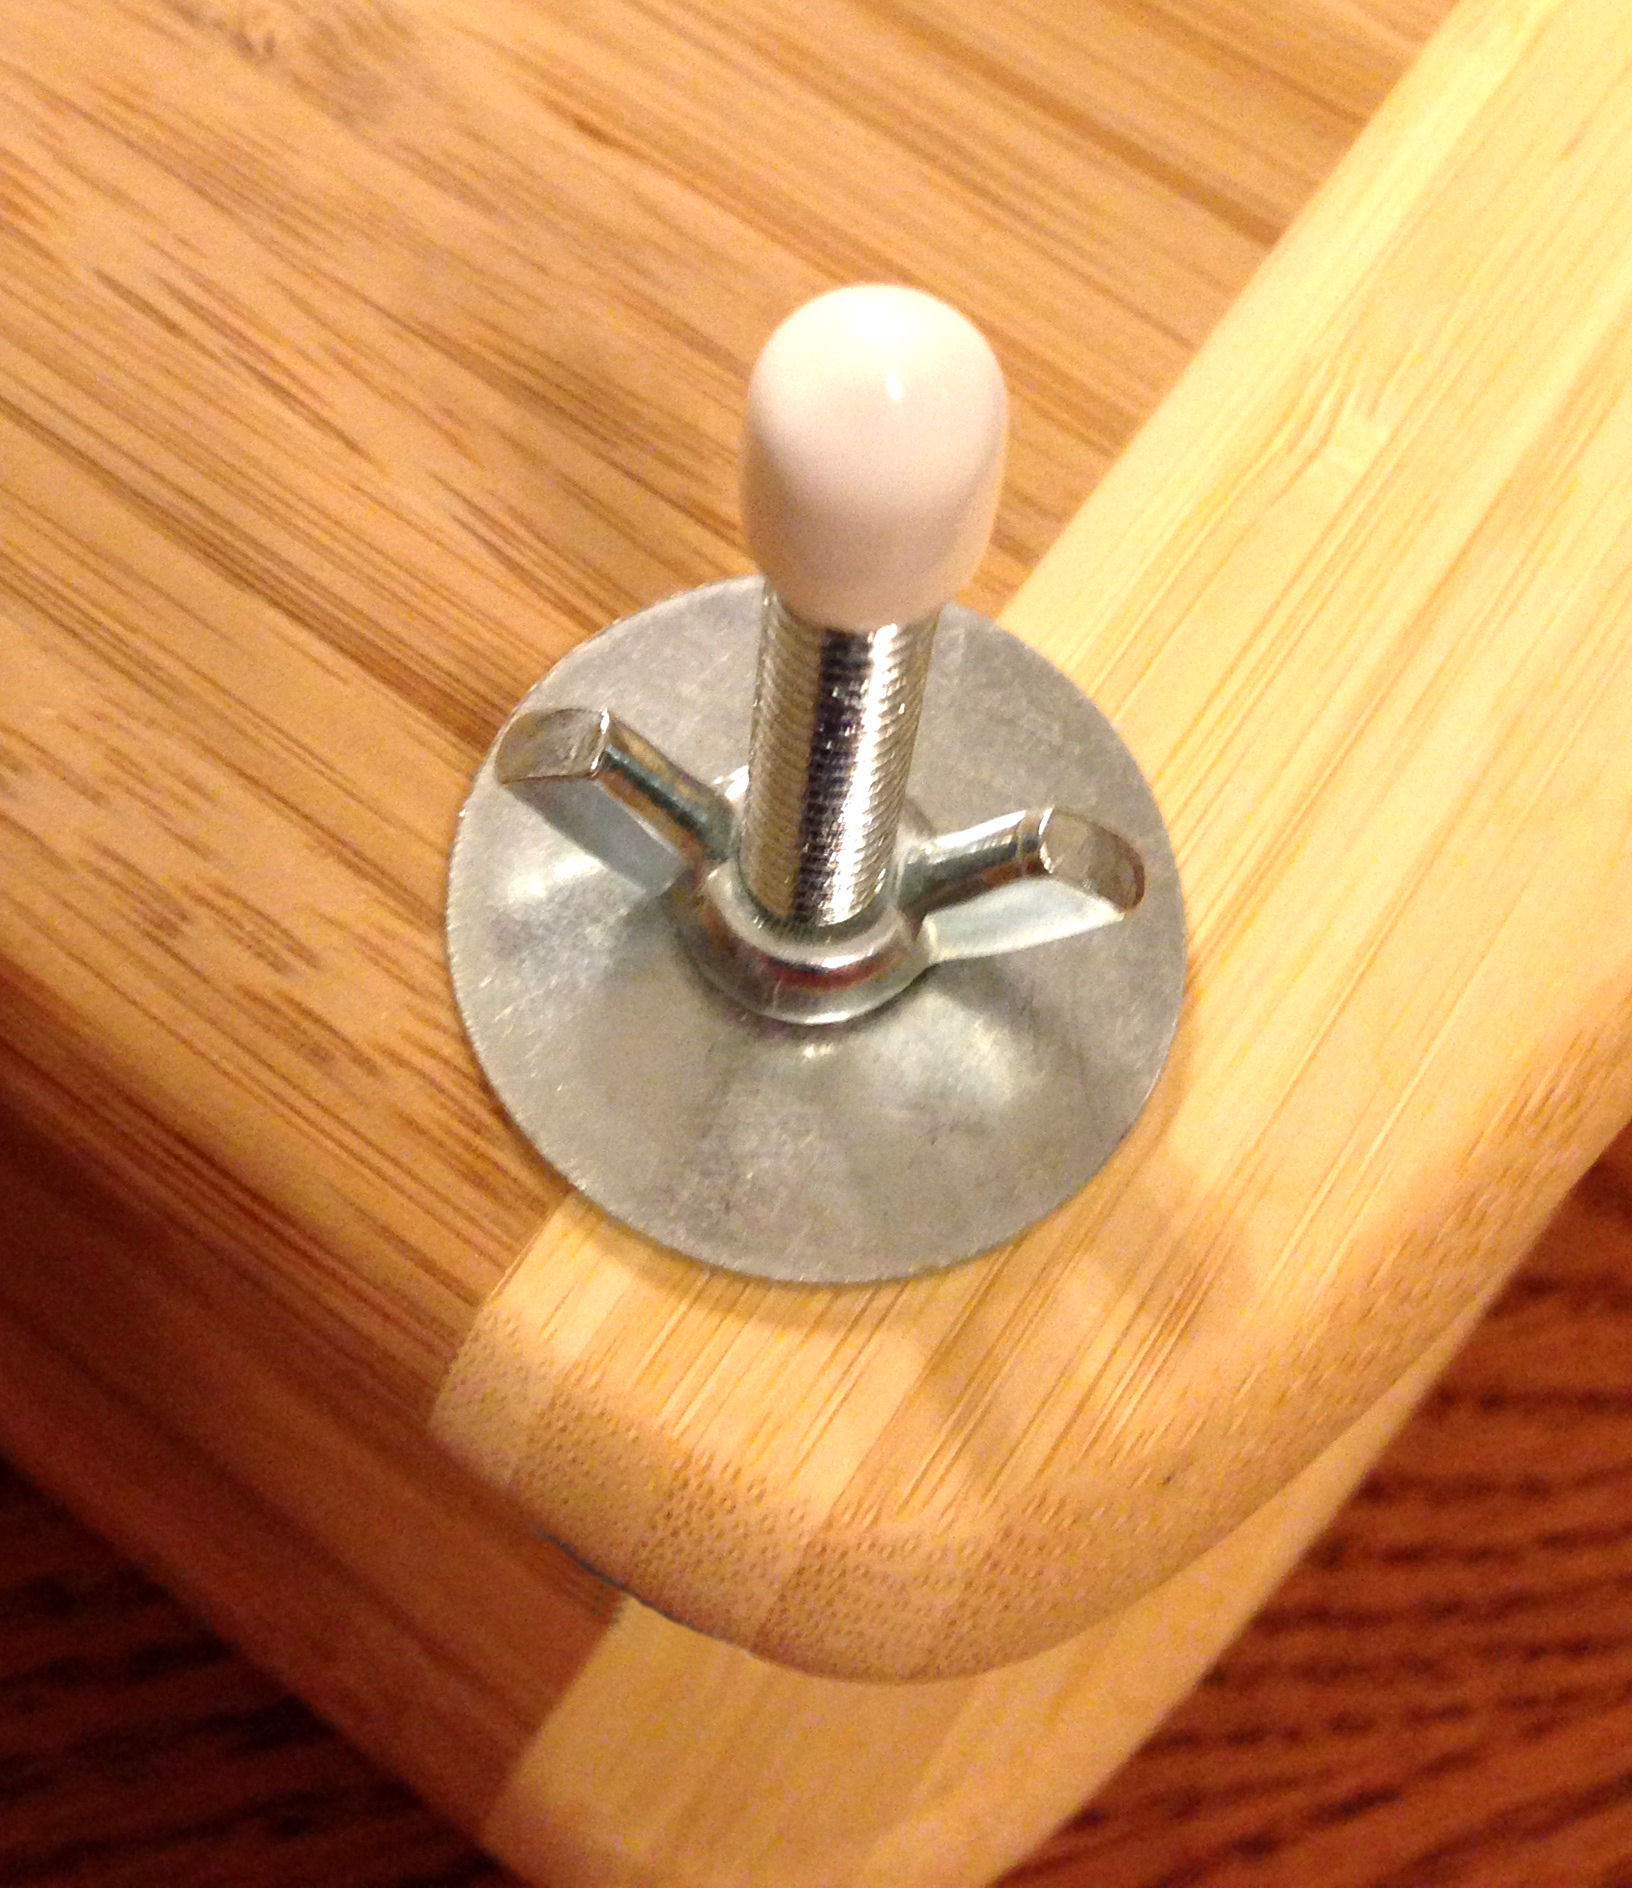
When the book press was assembled, it worked very well, with one exception. We noticed that the bolt threads were creating resistance as I slid the upper board up and down. John solved that issue by drilling slightly larger holes in the upper board. In the version sold by Jim Poelstra of Affordable Binding Equipment, we observed that his version of a similar book press includes compression springs that hold up the top board. He also added copper bushings to the insides of the holes in the wood to prevent resistance. John does not have the kind of tools that will allow him to do the equivalent, so if I really need to raise my upper board while sliding in a book, I simply have to lift the board manually with one hand while sliding in the book with the other hand. It’s not a big deal. The fact that my book press cost under $25 to make versus Jim’s admittedly much more professional one that costs $60 doesn’t displease me.
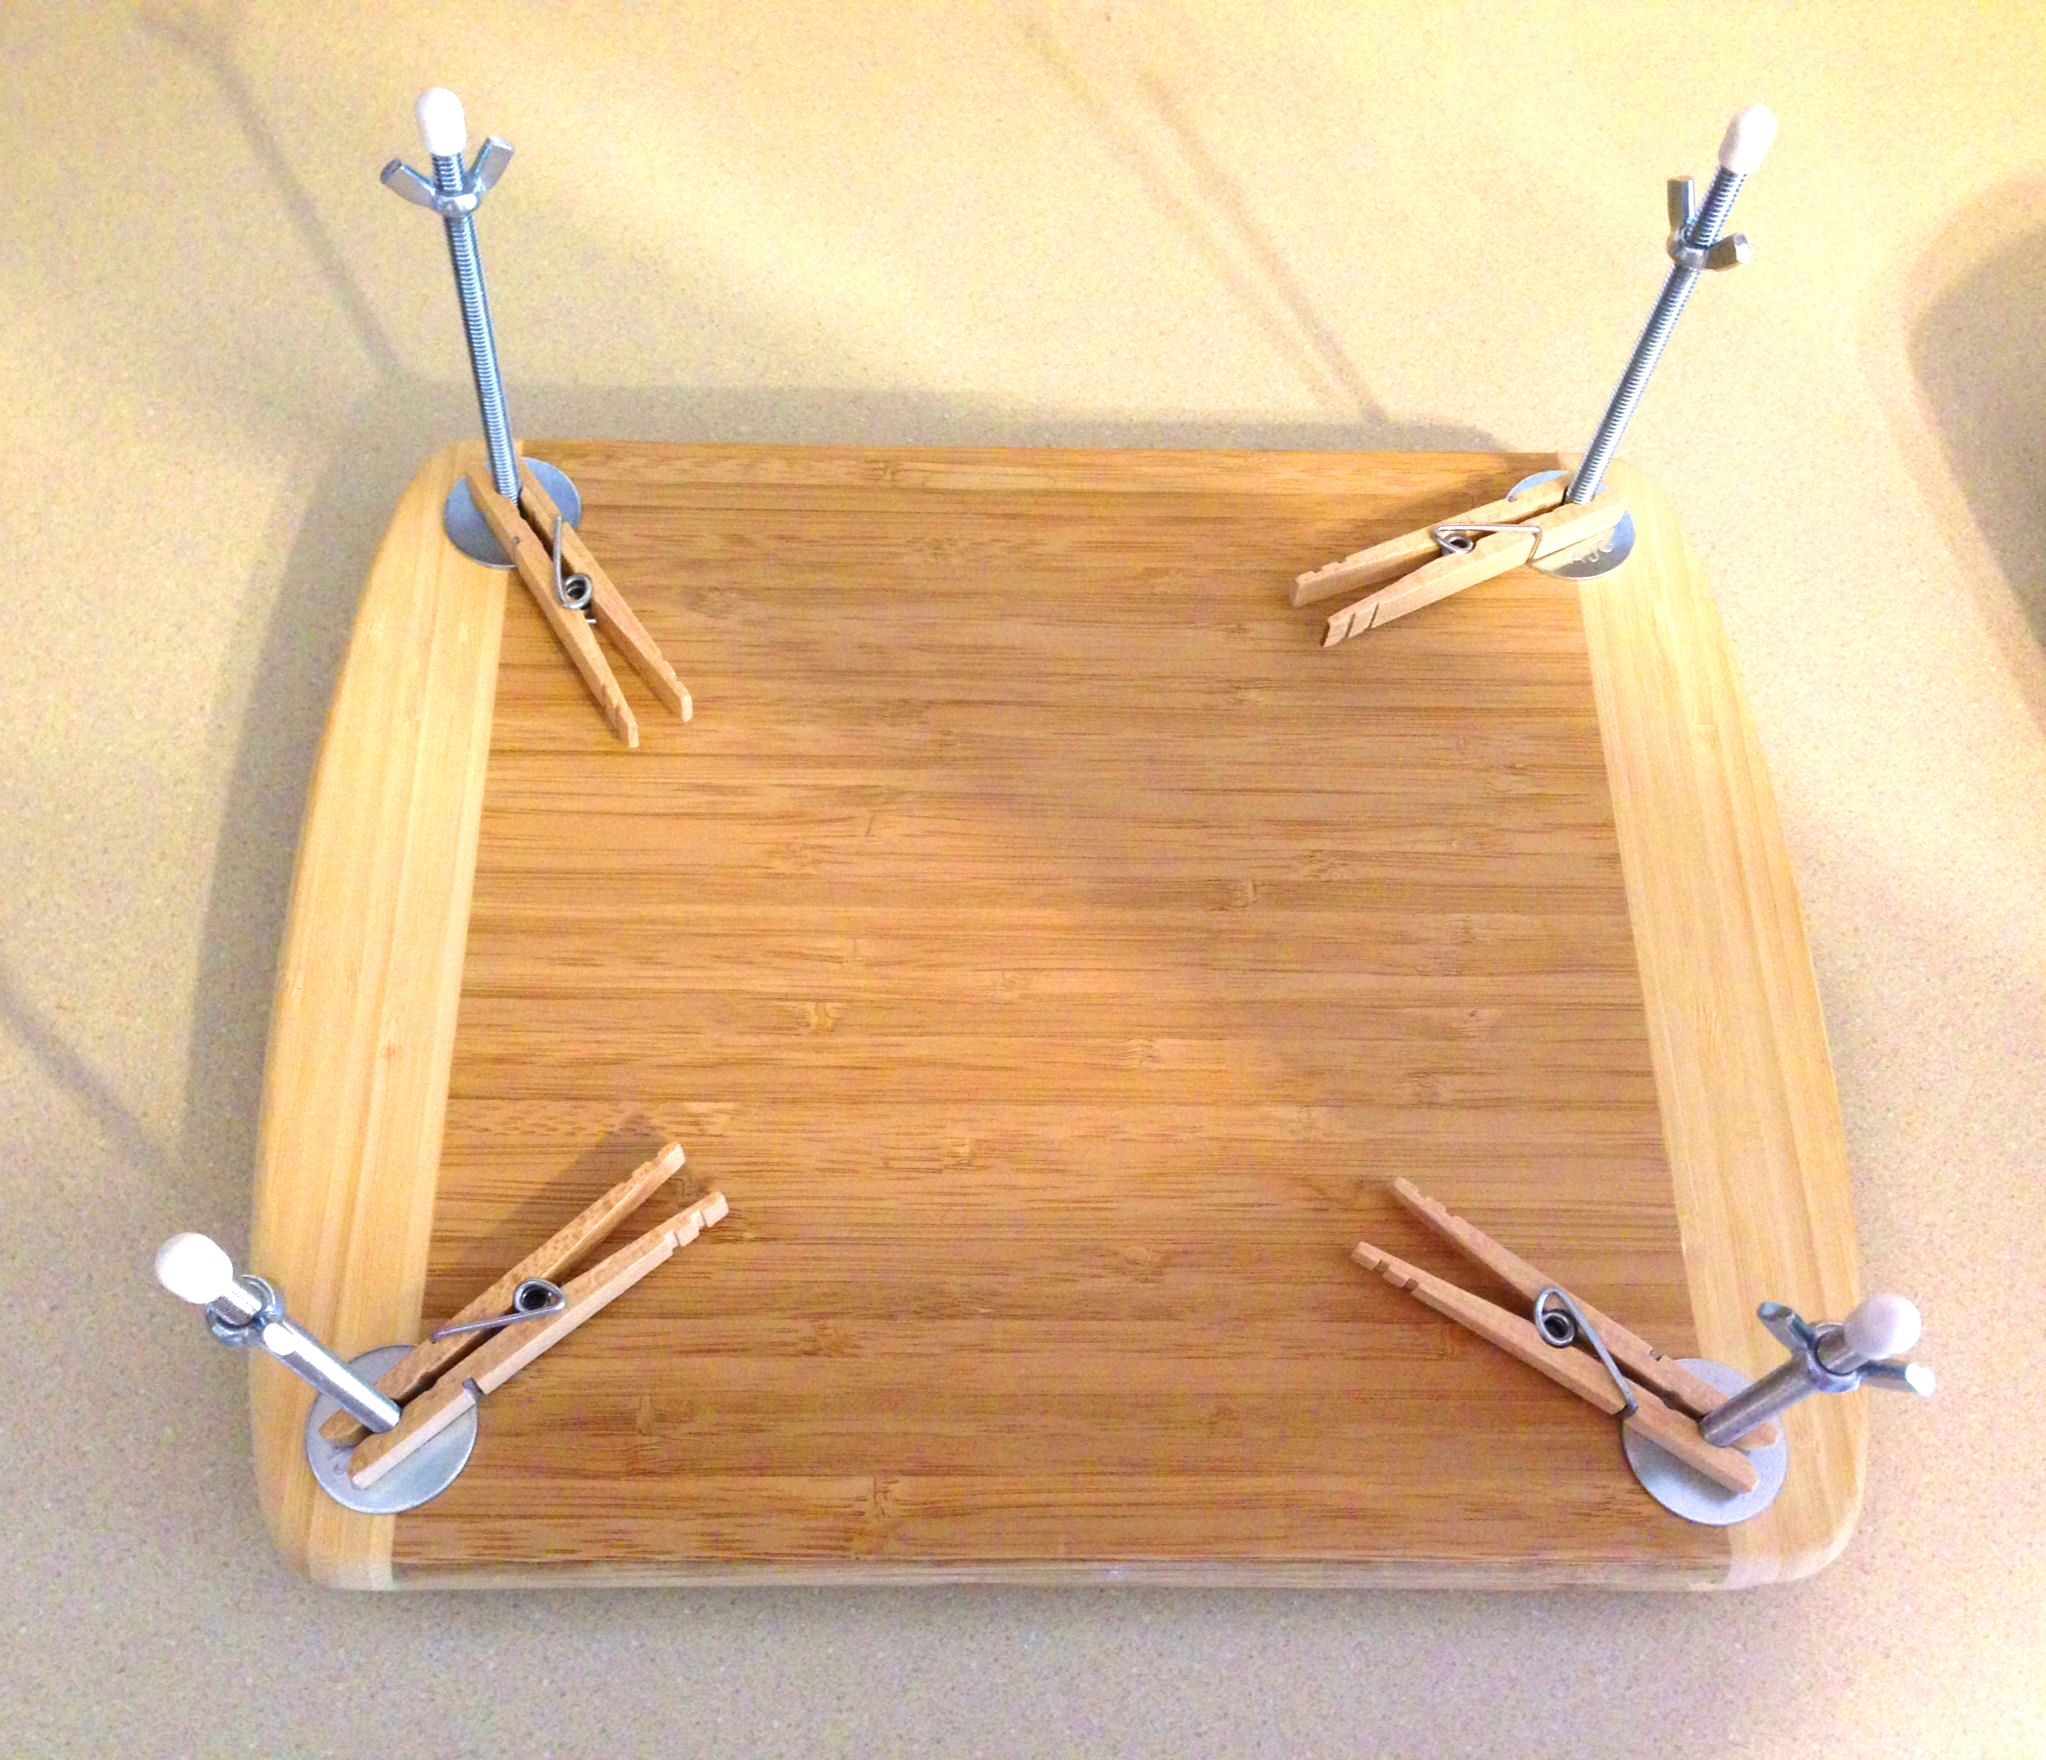
I pointed out previously that when you adhere rubber feet to the bottom board, you’ll avoid scratching your table top. However, I noticed that if you’re carrying around an empty book press without the wing nuts being screwed all the way down, the bolts drop down through the holes. The Safety Girl inside me immediately considered how easy it would be to gouge yourself, a piece of furniture or a wall (assuming you can’t want walk a straight line for whatever reason). The DIY solution is humorous, however. I grabbed some clothespins from the laundry room to anchor the bolts in place. Secondarily, they act as a third hand to raise the upper board if you’re pressing a thick stack of books or a single thick book. Just slip them beneath the upper board, and they support it (temporarily) quite nicely.
Yesterday I visited the Affordable Binding Equipment Web page again, where I drooled over the images showing a lying book press, a punching cradle, paper making press, and other impressive pieces of bookbinding equipment. The owner of the business is a journeyman cabinetmaker who sells these items using scraps from his cabinetry business, so his prices are more affordable than if you were to shop from a company that specializes in making only bookbinding equipment. However, that doesn’t mean his equipment is in any way inferior. I have a feeling I’m going to take the dollars I saved from having John make me a book press and apply them toward the purchase of a bookbinding plough and and lying press. The plough trims text blocks, and the lying press holds the pages steady as you cut. “I have neither the tools nor the experience to make those items,” John said.
Not that knowing the correct terms makes any difference when it comes to bookbinding, but I learned from Jim’s Web page that the boards of a book press are called platens, and the space between them is called daylight. Bet that makes you feel just as knowledgeable as I do—ha! Seriously, though, it’s not too difficult to make a no-frills book press, if you have a drill, a few washers, wing nuts, bolts and a couple pieces of wood. Even if you don’t bind books, the press is great for flower pressing.
Have you made some tools for yourself that would have cost much more if you had purchased them? Describe them in the comments below.
© 2014 Judy Nolan. All rights reserved.
What a creative idea for a press! I love that you used cutting boards 🙂
So inventive! All those years in DI have paid off! Happy pressing!
Beautiful press! And what a clever use of cutting boards. I need to check out that YouTube channel!
This is a great idea! I have a little mini flower press that I bought at a charity shop for 50p but it’s teeny! I could use this for making my notepads too. And presumably, if I were making thin notepads I could stack them, separated with cardboard or something. Interesting … !
you thought of everything! So nice of your husband to help. {:-D
Thanks for these creative Bookpress