Each month Blogging Business Artisans (BBA) hosts a challenge suggested by a team member. Team members are required to complete at least four of these challenges each year. The March challenge was proposed by Cynthia of Antiquity Travelers, as follows:
The first signs of spring . . . what does spring mean to you? What inspires you as the weather starts to warm up?
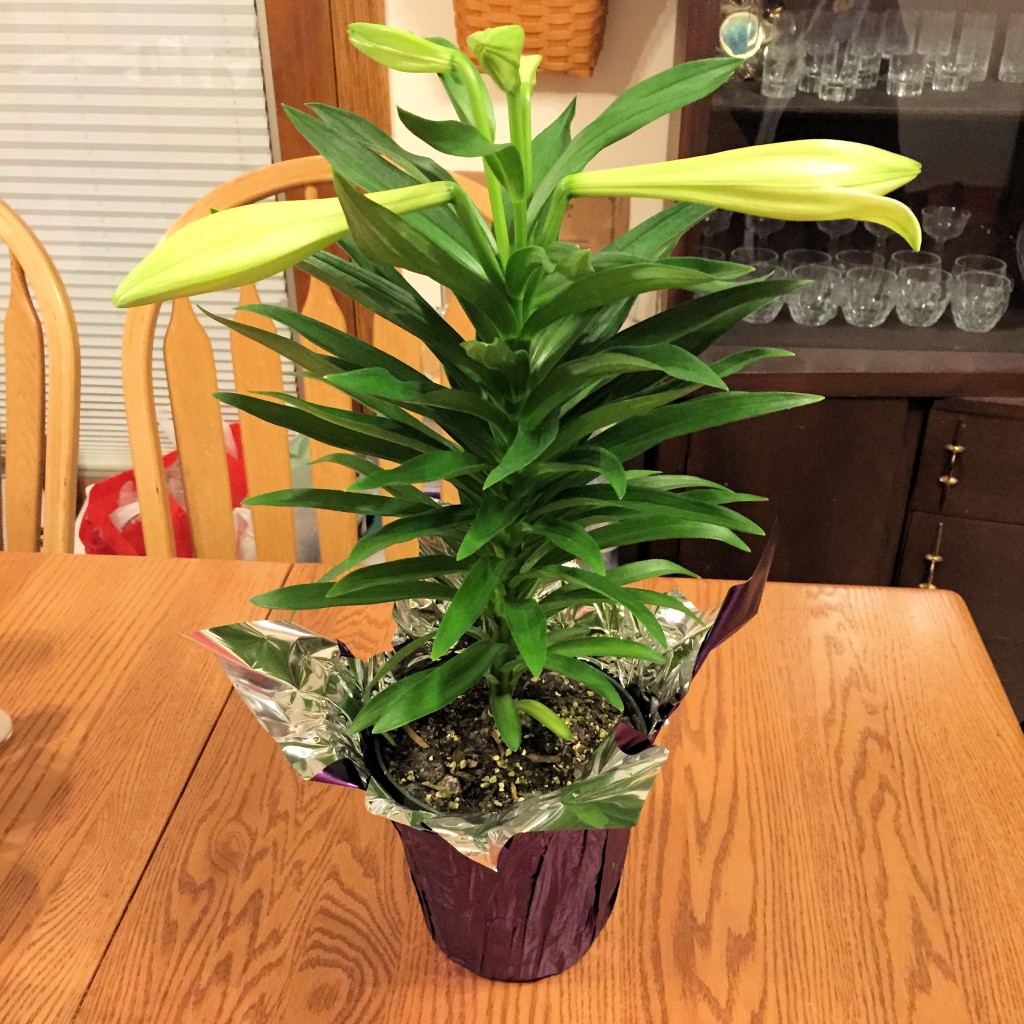
It should come as no surprise to anyone that spring always suggests flowers to me. I’m sure I’m not alone! Of course, with my black thumb, we are not generally talking about live flowers in my household. When my husband brings me fresh flowers, he’s the one who remembers to water them. In fact, he brought me an Easter lily yesterday, with the blooms not yet open.
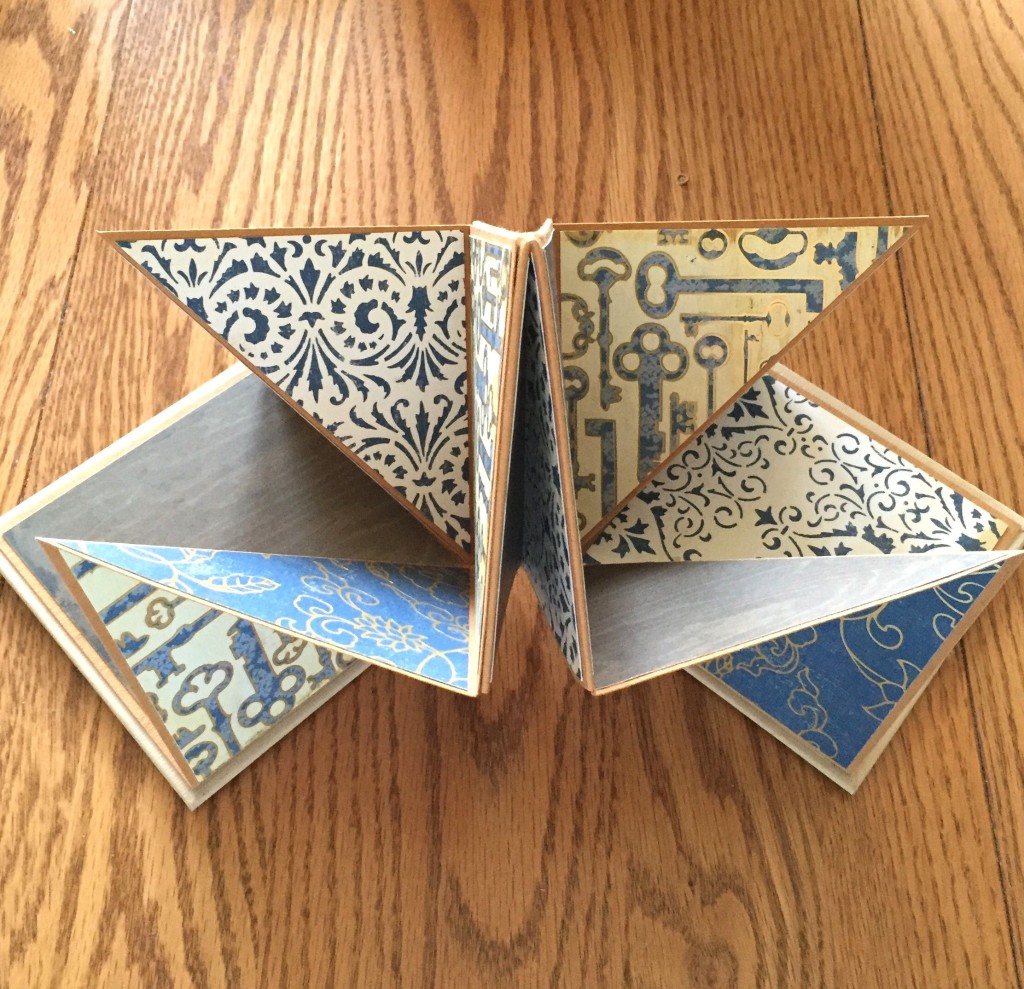
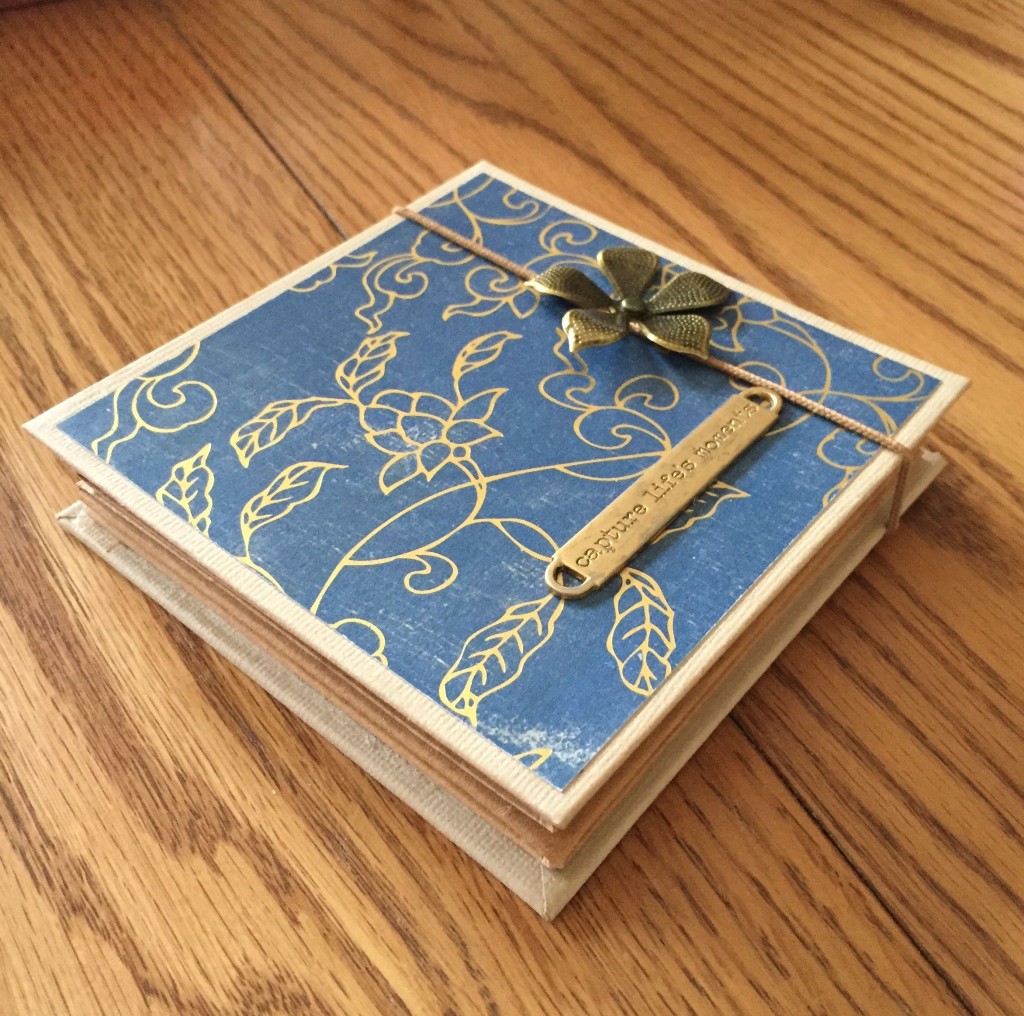
You nearly always find my version of artificial flowers on the covers of my books, on items I sew, and on the women’s accessories I crochet. This month, in the spirit of honoring Cynthia’s challenge, I decided to tackle a new type of book project that incorporates a floral theme. Have you ever heard of an explosion book? Some people also call this a squash book because of the way that the pages smoosh together when you close the book. But when you open up the book, you might be reminded of the way the petals of a flower open when they first begin to bloom.
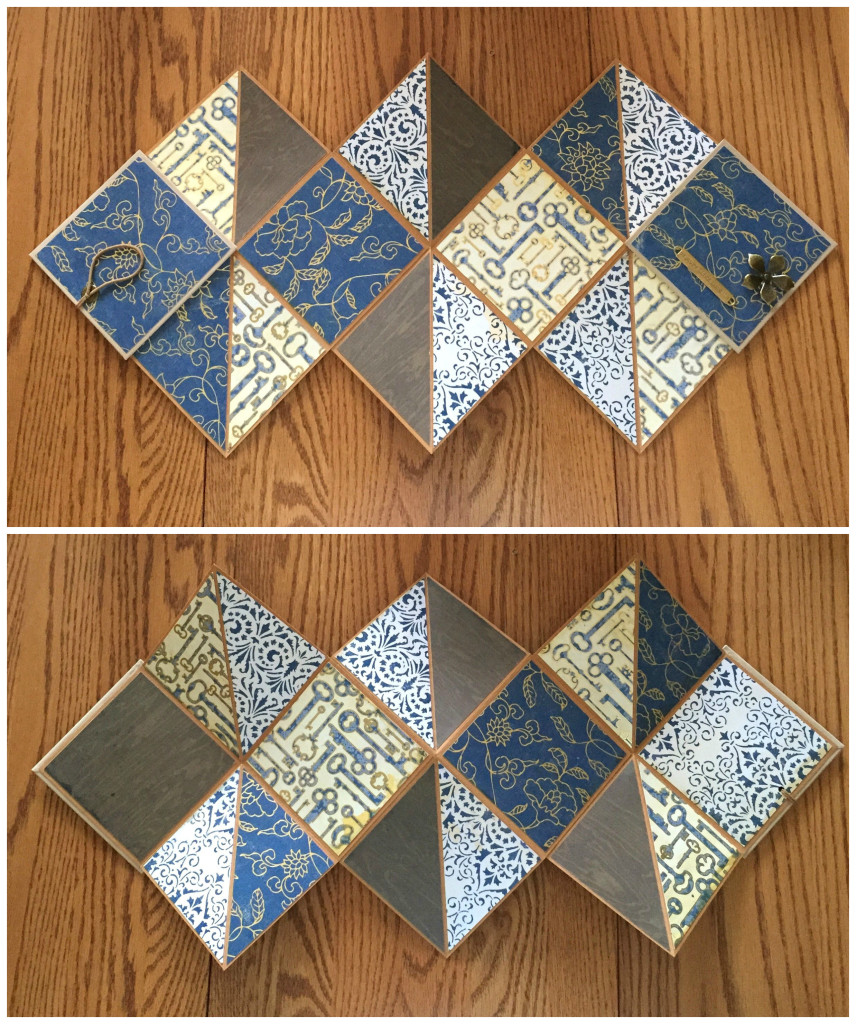
Except that this book opens up completely, like an explosion, and occupies some acreage when the “pages” are spread out. I decorated both sides of the book.
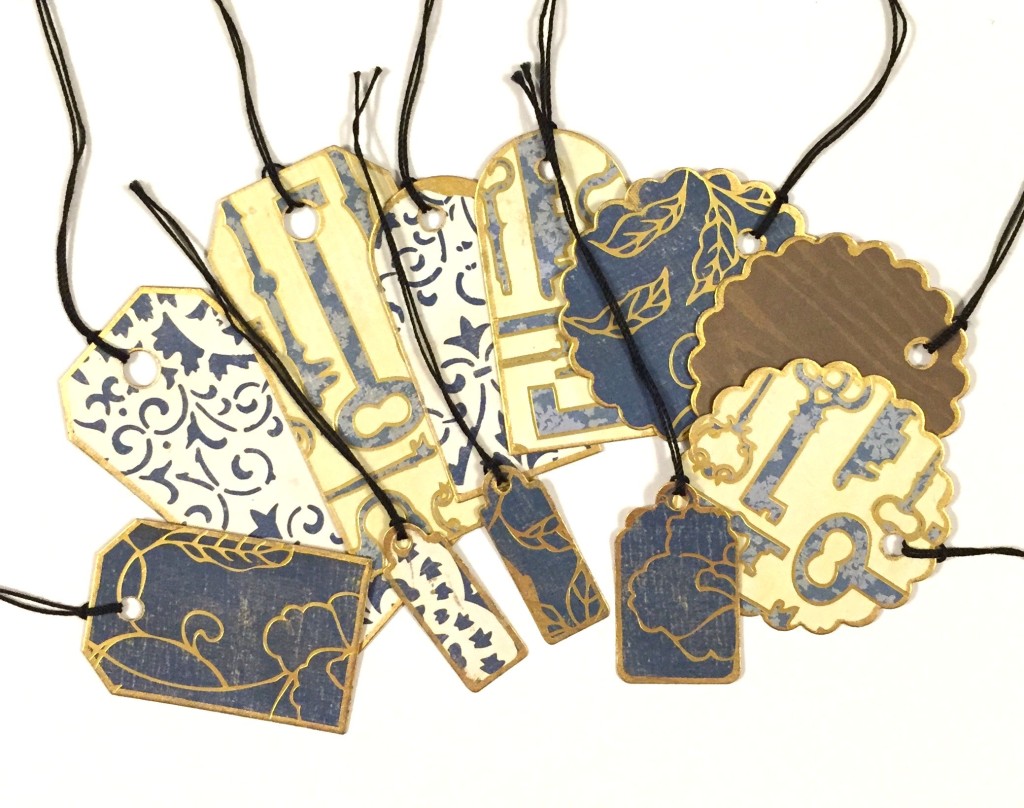
So, what do you do with an explosion book? Fill it with memories, of course! It’s a scrapbook mini album where you can paste photos, ticket stubs, dried flowers, write some favorite lines of poetry, collect signatures, or simply glue in your choice of ephemera. And it’s a great place to add decorated tags. I made a collection of them from leftover paper. Don’t want to use them in the book? Fine. Use them as gift tags, bookmarks, or in another album.
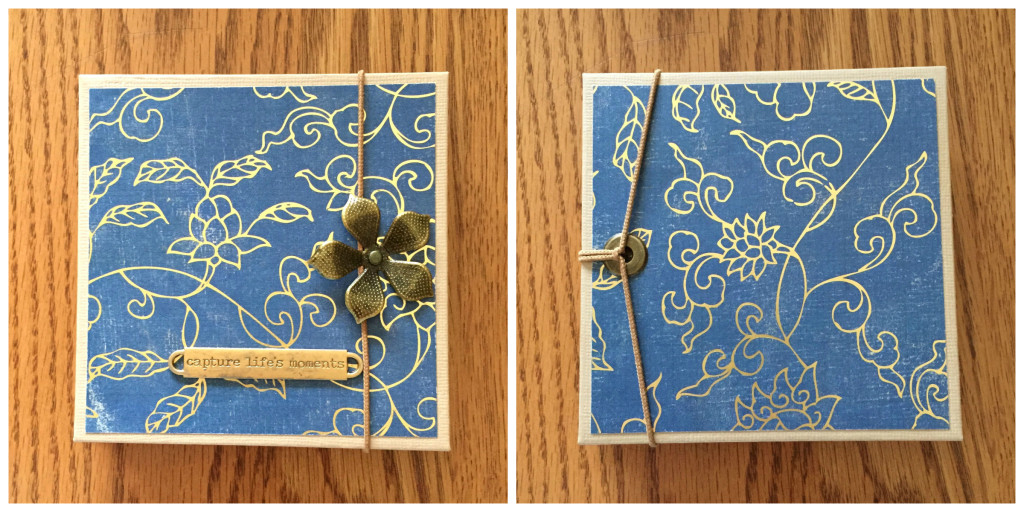
 And here is the cover, front and back. The book stays shut with the help of a ponytail holder, threaded through a large eyelet on the back cover. If you prefer to tie the book shut, you can add ribbon to one or both covers, depending on how you want to tie it, before you adhere the pages. For this book, I wanted a closure that would open and close quickly.
Now, I have a confession to make. This is actually the second version of the explosion book I made. The first version used good quality Bazzill card stock for the pages, a heavy-weight textured paper that ordinarily is great for book projects. But not this one. If you decide to cover both sides of the paper, the paper gets stressed wherever fold lines intersect, and after just a few openings and closings of the book, it can begin developing holes at those intersections. Not good! I thought about reinforcing these areas with extra paper, even fabric, but this adds bulk to the book and is just plain unattractive.
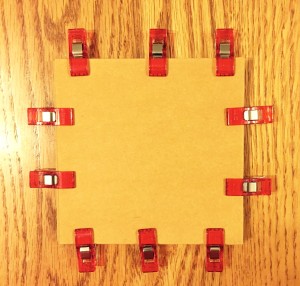
So, I gritted my teeth and started all over, keeping the cover from the first explosion book, but nothing else. What I used instead of card stock for the pages was Kraft-Tex, a heavy-duty “paper fabric” that sells in 18 or 19-inch by 1-1/2 foot rolls in kraft paper brown, black and white. What’s special about this paper is that you can cut it, sew it, paint it, sand it, emboss it, wash it, and throw it in your dryer. In other words, it’s miracle paper—perfect for a book whose pages are folded and re-folded umpty-ump times. I “trained” my paper to stay folded in the directions needed for this book by clipping the pages into place with Clover Wonder Clips, normally used for sewing.
When I decorated the pages of the book the second time around, I realized that I preferred to decorate them before I attached the covers. Honestly, it probably doesn’t make much difference except for the paper that is adhered close to the covers, as you have to tuck them beneath a corner of each cover. One of the most fun aspects of making one of these books is piecing together the paper prints. It feels a lot like quilting!
I would like to offer these books in my shop, hopefully in time for spring graduations. These could be interesting in black and white, filled with photos of friends. They might also make great bridesmaid gifts. My head is spinning with ideas. Thank you, Cynthia, for coming up with the March challenge!
© 2015 Judy Nolan. All rights reserved.



What a cool book! I can hardly even get my head around how it works. That “fabric paper” sounds really cool – I’ve never heard of it before. I love those Wonder Clips and use them for a variety of things.
Your explosion book turned out great! Smart idea with the “miracle paper”!
This is one of the first mini albums I learned to make. They make great baby shower gifts as well if you’re looking for more ideas for your shop 🙂
What a fantastic response to the challenge!! I’d never heard of Kraft-Tex. And you’re right–these would make great graduation gifts!
I’ve never heard of these! Nor have I heard of the miracle paper. Where is that sold?
Kraft-tex is sold by C&T Publishing, but manufactured in Germany. I found it in my local Hobby Lobby store, but you can also find it online if you search for “Kraft-tex.” Right now it comes in black, natural (kraft paper brown) and white, but there are new colors coming out soon.
Awesome! I love the black and white idea! Good luck with these…. they will definitely make a great addition to your shop!
I’ve never heard of an explosion book! What a unique idea! Glad you found an alternative to cardstock – the little book turned out fantastic! Love the embellishments 🙂
What a clever design! They look like patchwork blankets – lovely!
what a fantastic idea Judy! and I love the color way you picked for this!!! what a great idea to be able to tuck away all the bits and pieces of memories in one place. I know I’m forever looking for things, and if I had only just put them in one place I’d be able to find them instead of tearing the house apart looking – lol!
wow! nice book!