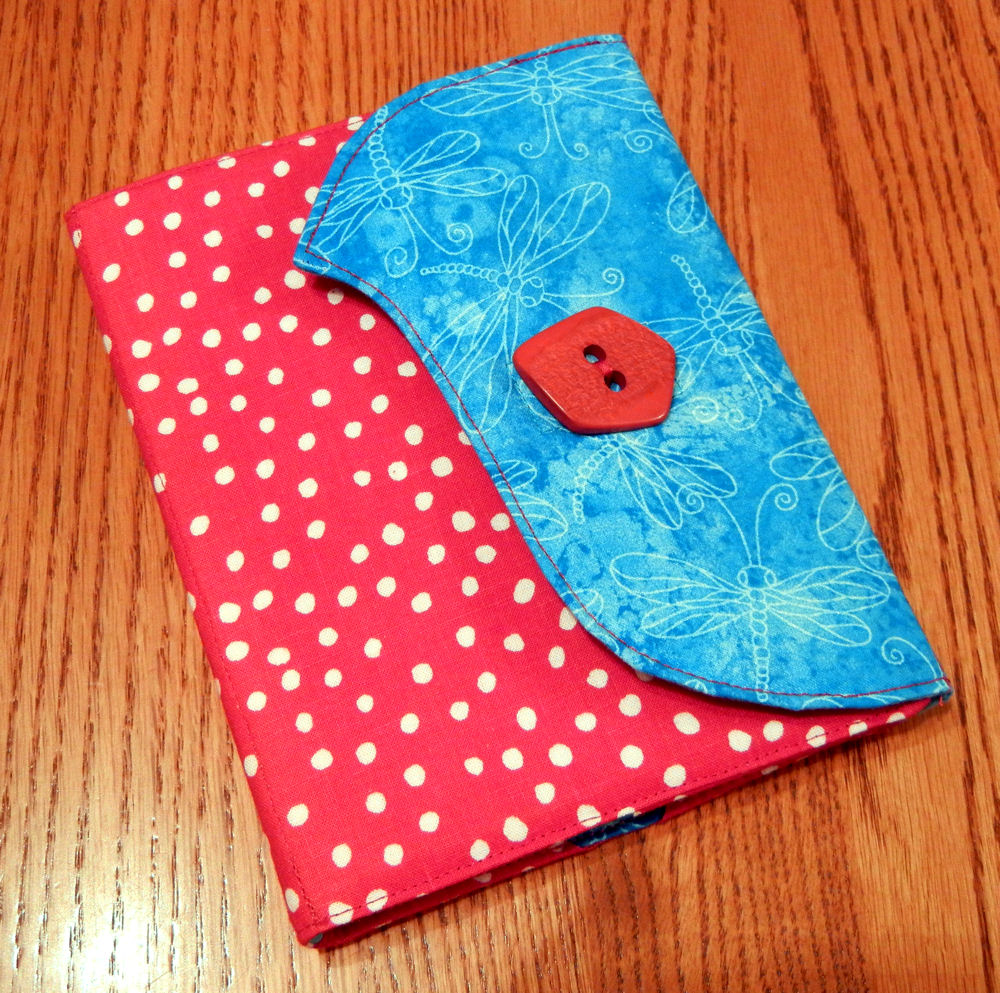
This month’s Challenge for Blogging Business Artisans, “Turquoise and Red,” offered me the perfect opportunity to make an eReader cover for my Kindle Touch using a pattern from Whistlepig Creek.
Sue Marsh, who is the talented designer behind the Whistlepig Creek name, offers patterns for products that may be made for fun or sold for personal profit. I think it would be a good idea to eventually design my own eReader cover (and to sell ready-to-ship eReader covers in my as yet-empty Dancing Thimble shop on Etsy), but I appreciate being able to practice with a readymade pattern first. At any rate, this eReader project also provided a way for me to incorporate the colors required by this month’s Blogging Business Artisans Challenge. Rose of The Beadings and Buttons of Randomcreative challenged fellow team members as follows:
Your challenge is to create any item with turquoise and red as the primary colors. Â You can incorporate other colors, too, but turquoise and red must be key components.
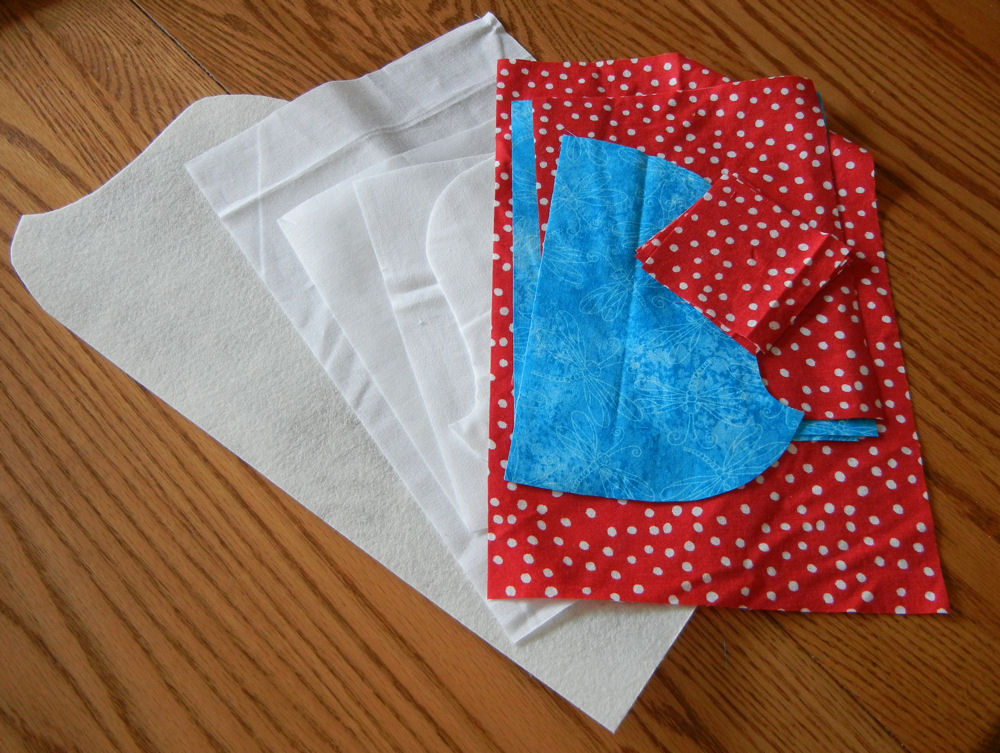
I started off by pre-washing and drying red and turquoise fabrics. Although I like the crispness that accompanies store-bought fabrics, in the back of my mind I always think about the fact that anything I sew will eventually need to be washed. Once cotton is washed for the first time, it always shrinks, and I sure would hate for that to happen after I have finished an item! Besides, you can always add crispness to fabric with spray starch. Once my fabrics were washed and dried, I cut out both the fabric and interfacing pieces.
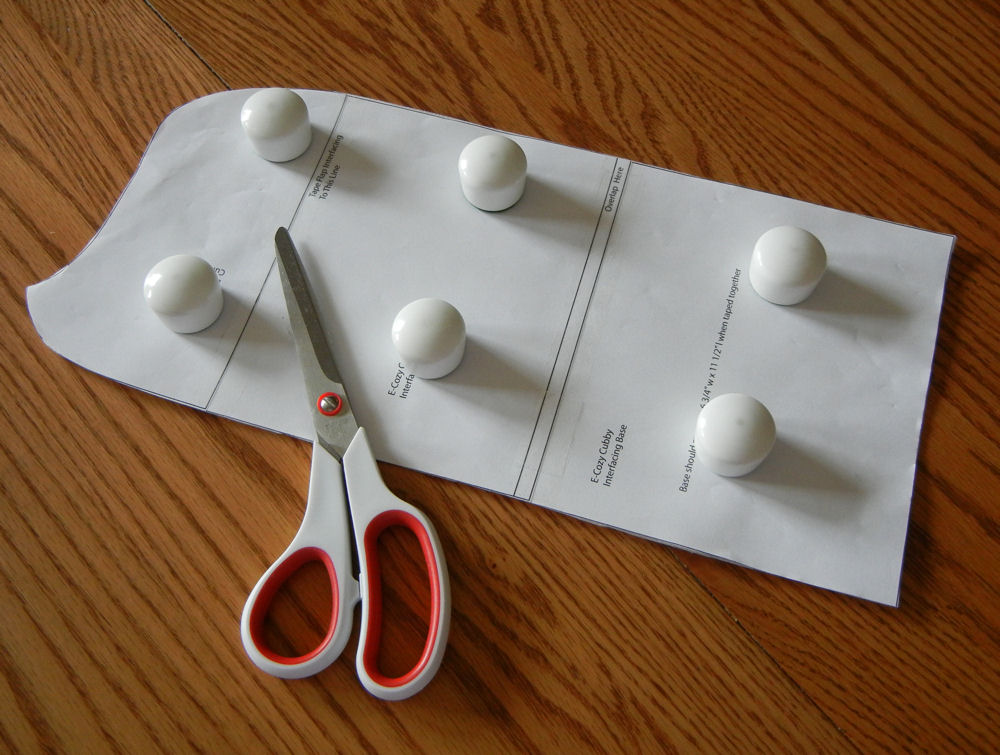
My eReader pattern suggested the use of a craft-weight stabilizer called Peltex 70 that is often used for making bags. While my local fabric stores carry it, it is rather expensive, so I prefer to use a lookalike brand in the same weight from Long Creek Mills that I buy in bulk at wholesale cost. You’ll notice that I used fabric weights instead of pins to place my pattern on the stabilizer, which makes the cutting process fast and easy. If you don’t have fabric weights, you can substitute canned goods.
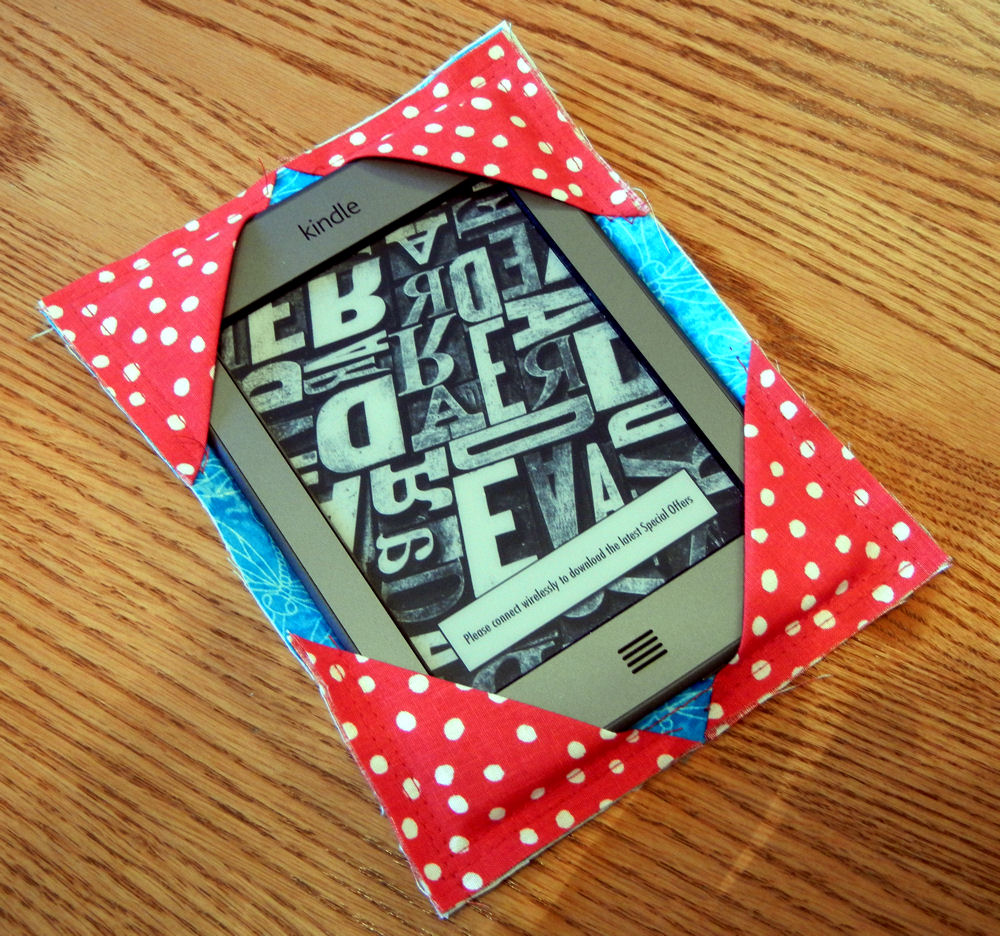
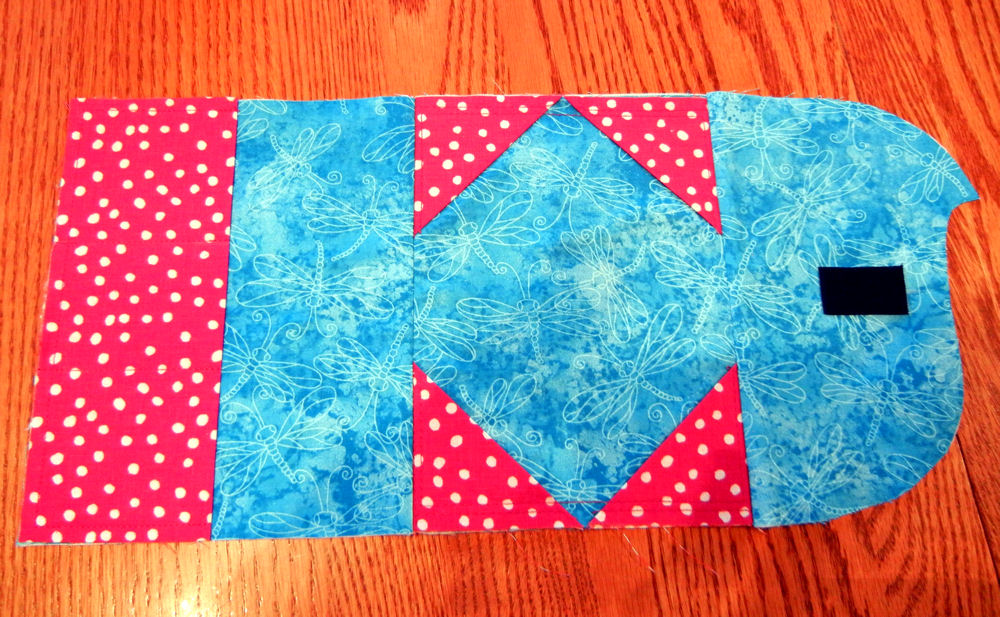
Next, I sewed corners for my Kindle Touch on the inside right page of the cover. If you baste the corners first, you can adjust them to fit your eReader.
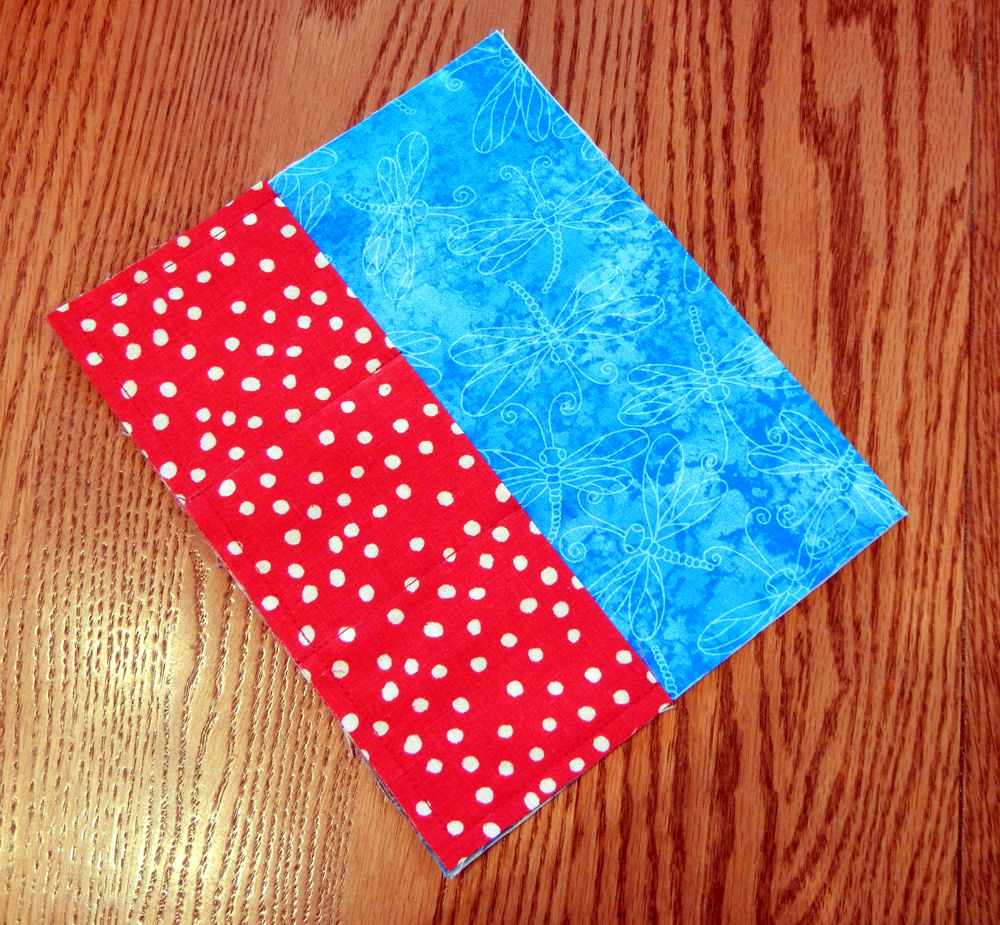
I sewed a folded rectangle to the left inside page of the cover and divided it into 3 pockets. The pockets are the right size for gift cards or credit cards, so if you want to take your eReader to a coffee shop, you can bring along payment for a coffee and snack at the same time.
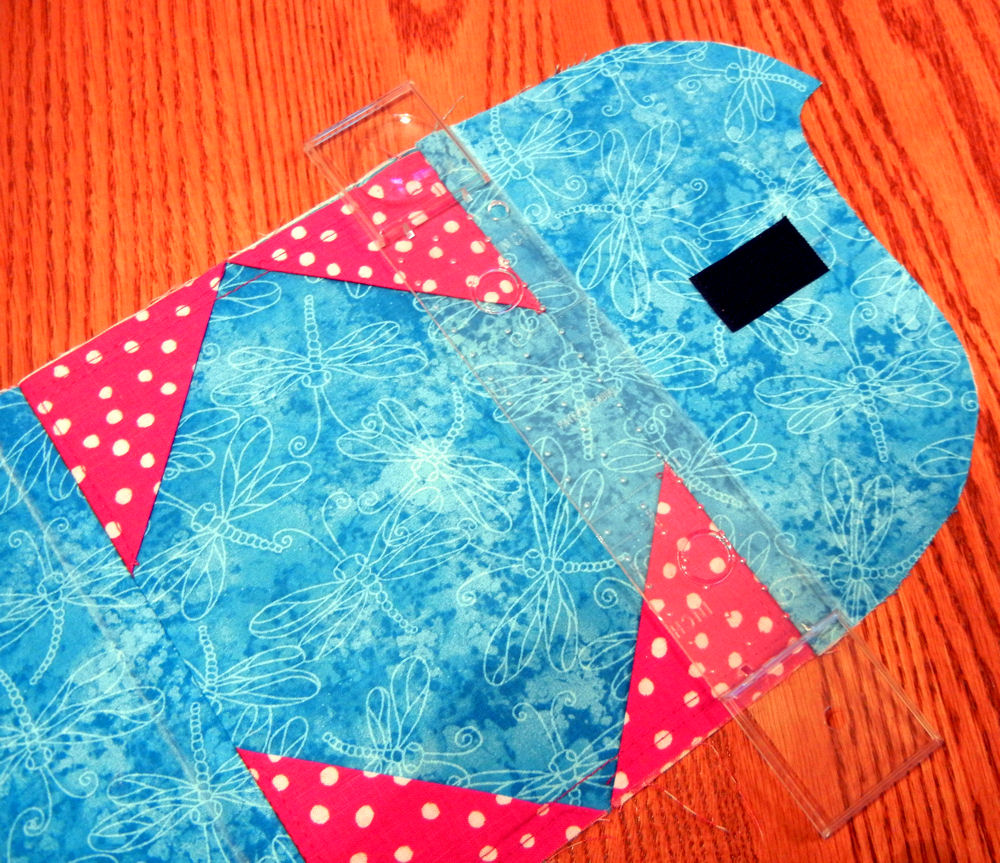
I pieced together the pieces for the inside of the cover: the left page, the right page, and the flap. You’ll notice a black hook-and-loop tape rectangle on the flap. I always wish this tape came in a greater range of colors, but on the other hand, who is going to see it once the cover is closed?
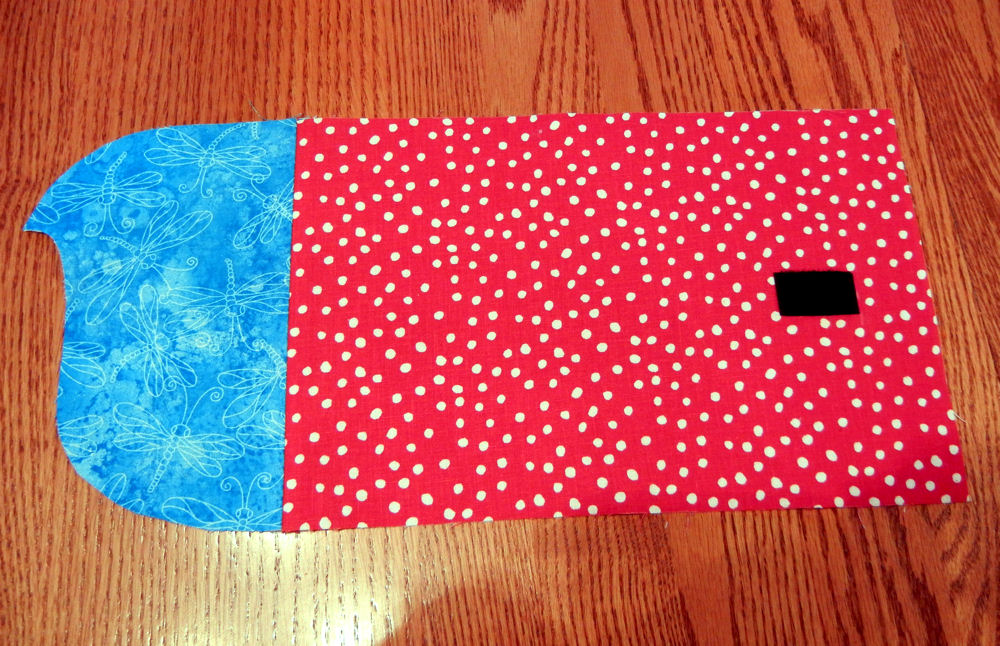
Before you can add craft-weight stabilizer to the cover, you have to sew the outside of the cover, which consists of two pieces. I added the other half of the hook-and-loop tape to the body of the cover.
The next step calls for you to face together the right sides of the inside and outside halves of the cover, and to stitch them on 3 sides, forming a bag of sorts.
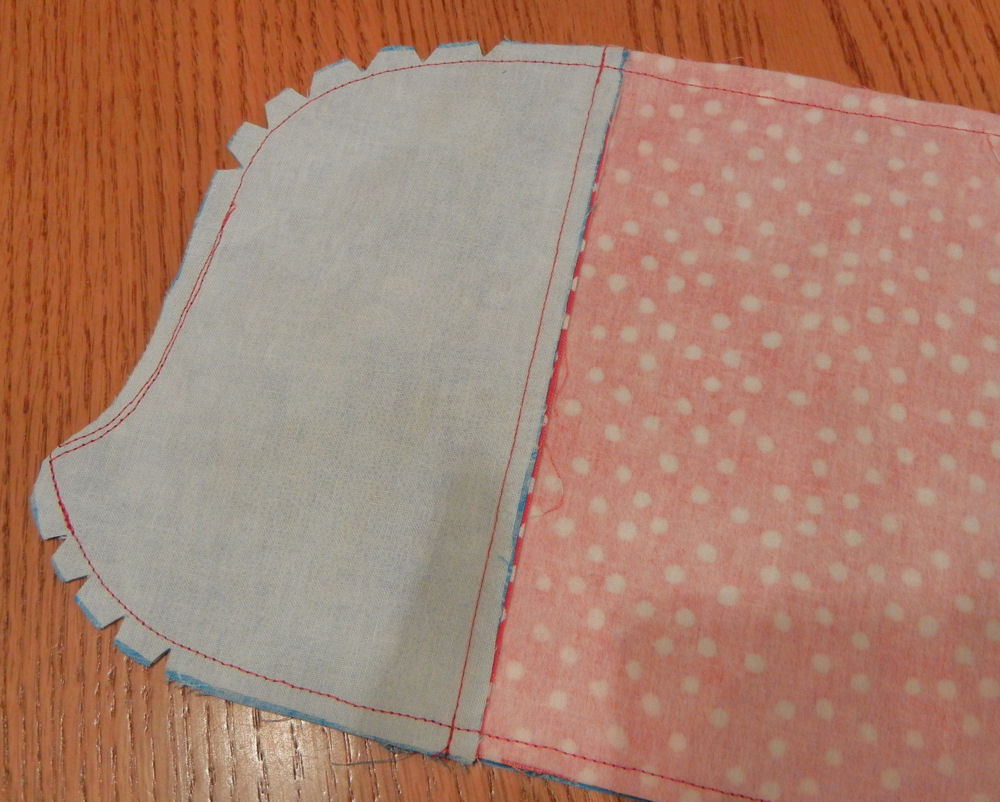
Before you can turn the cover inside out, you need to trim your corners and notch curved edges. If you don’t, your corners will be bulky, and your curves won’t be smooth.
Once you turn your cover inside out, you need to shape the corners and curves, and press the cover as flat as you can. One of my favorite tools to shape corners is a bodkin, since its ends are blunt and unlikely to tear a hole in the fabric. You can use a chopstick or a point turner if you prefer; I just prefer this tool and have it next to my sewing machine all the time.
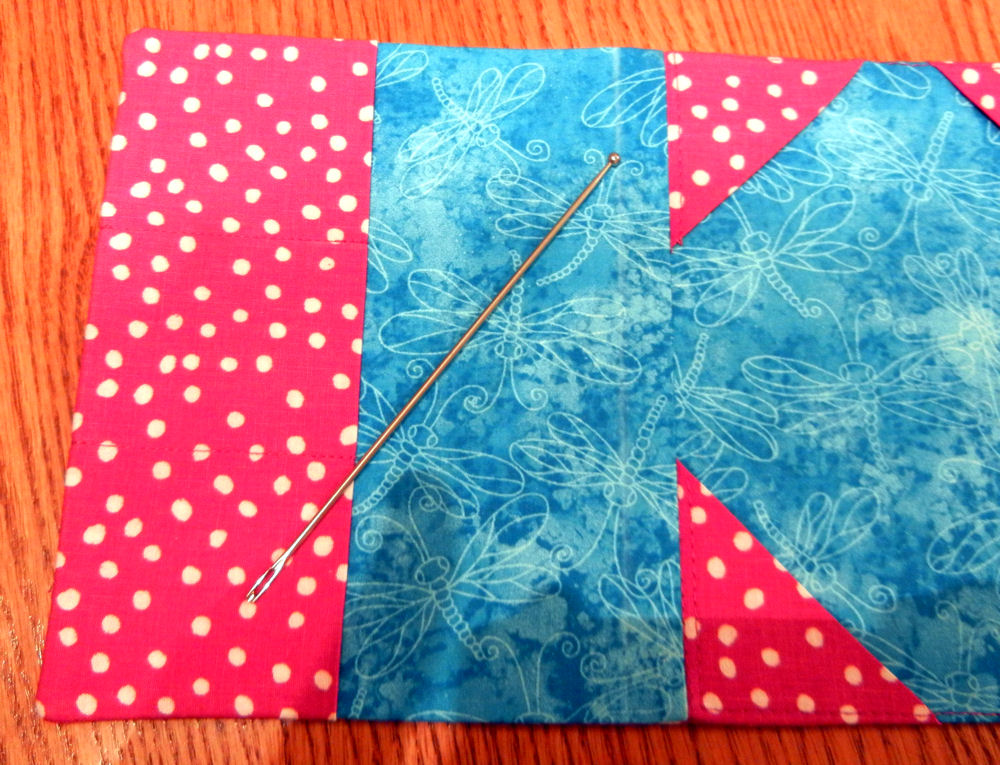
The pattern calls for you to insert the craft-weight stabilizer at this point, and then do some final detail stitching. One of the steps in the detail stitching includes a vertical line of stitching on either side of the right inside page. If you look closely at the above photo, you’ll see a white soapstone guideline I drew using a handy tool called the Stitch-Along Topstitching Guide. On the reverse side of the clear plastic tool are teeth that grab into the “ditch” created by the stitching line. You can see the tool below. I’ve had it for years, but I suspect it may no longer be sold. A quick and easy alternative is to press half-inch wide tape onto your fabric, stitch just outside the tape edge, and then remove the tape. No marking necessary!
When the detail stitching and final pressing are completed, this is what the inside of the eReader cover looks like. This is an easy project that you can finish in an evening, if your fabric and interfacing pieces are already cut out.
Thank you, Rose, for coming up with the idea for a Turquoise and Red challenge. This challenge gave me the prodding I needed to make a cover for my “naked” eReader!
© 2012 Judy Nolan. All rights reserved.




of course, I got lost after the front inside cover, but it’s due to my inexperience, not your description. I was able to follow with the photos, nevertheless! I love this cover! Wish I had an electronic device to even need one… Great challenge item {:-D
Lovely colours. A lot of work and love has gone into this and the result is stylish.
You did a great job Judy! I love the fabrics and button. Thanks for the wonderful instructions, too.
That’s very clever! Nice that it has a place for the cards/cash =) Thanks for sharing!
This is so pretty it makes me want to have an eReader! Your project turned out beautifully!!
I can imagine that any design you come up with in the future will be lovely.
I didn’t know such a thing as fabric weights existed–interesting.
Of course, the color combo is wonderful, but I also really love the fabric designs together! Great job — as a “former” sewer, I can appreciate all your detail.
I really enjoyed reading through your challenge piece! What a great project- and, there’s a lot of stuff in there I’ve been working on learning lately:) Perhaps this is a project to aspire to!
This turned out so great and I love the colors 🙂 Great idea to make pockets for gift cards too!
This is very cute! I love your fabrics and that button is beyond charming 🙂
What a great result and useful, too! I have been thinking of adding an e-reader pattern to my other shop but I am dragging my feet.
Erika
Artful Rising
Such a cute cover! I like the little pockets on the inside flap. I’ve saved that tutorial to my favorites. I’ll have to make one.
I really love your new banner!
Wow, this came out so good! I love the design. Thank you for sharing your process, too!